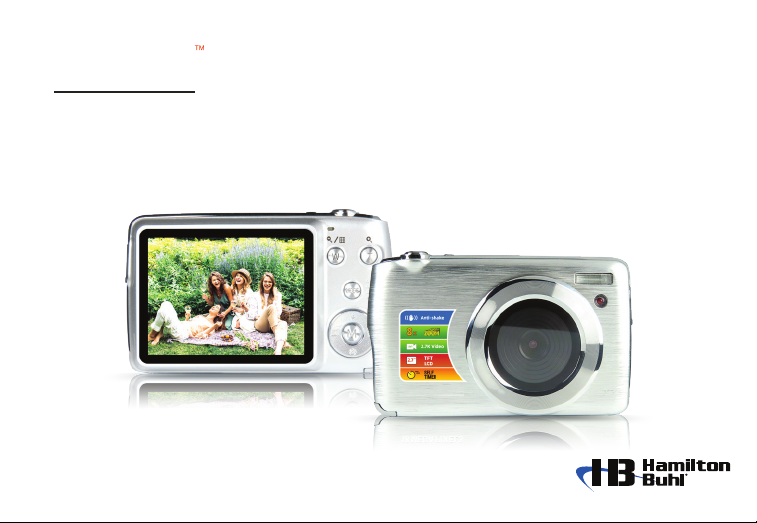
VividPro™ Digital Camera
2
Table of Contents
Introduction ................................................................................................................................................................. 3
Features and Specications ........................................................................................................................................ 3
Package Includes ........................................................................................................................................................ 4
Computer System Requirements ................................................................................................................................ 5
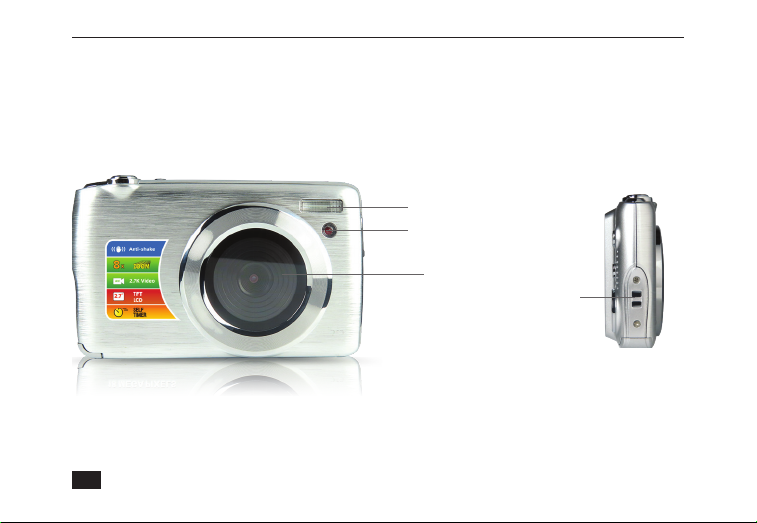
A Quick Look at Your Camera ..................................................................................................................................... 6
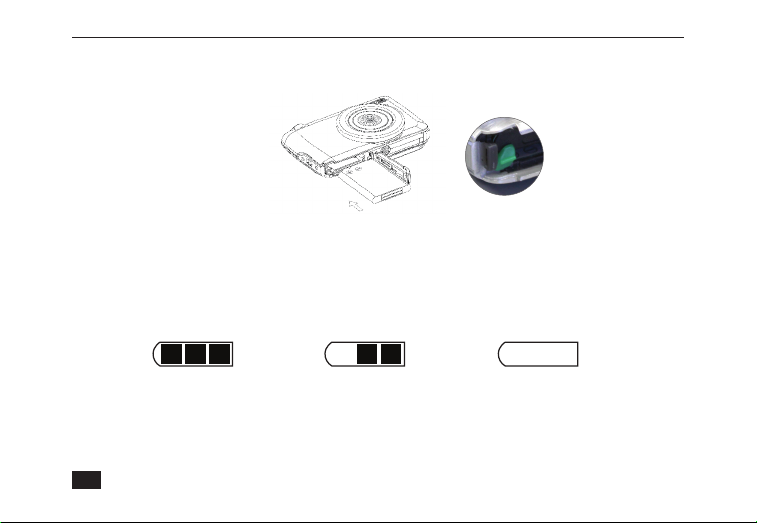
Installing Rechargeable Battery .................................................................................................................................. 8
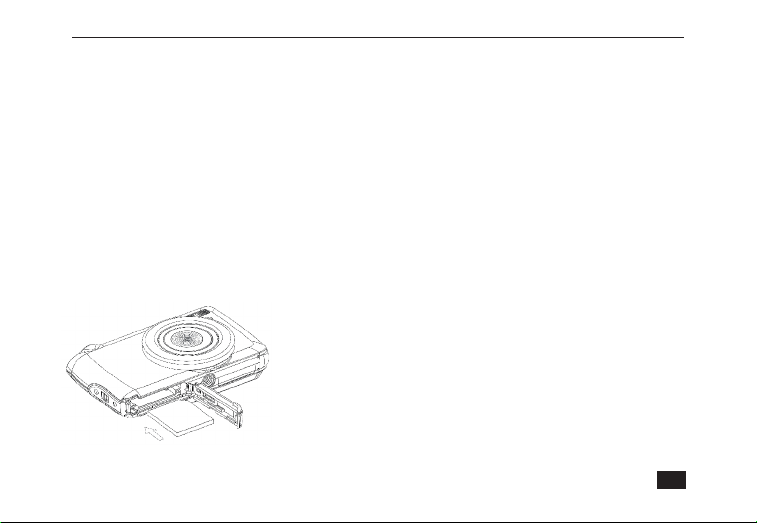
Installing SD Memory Card ......................................................................................................................................... 9
Taking Photos............................................................................................................................................................ 10
Holding the Camera Correctly .................................................................................................................................. 10
Starting Your Digital Camera ......................................................................................................................................11
Digital Zoom .............................................................................................................................................................. 12
Shortcut Buttons........................................................................................................................................................ 12
Camera Mode ........................................................................................................................................................... 14
Setup Menu ............................................................................................................................................................... 17
Video Mode ............................................................................................................................................................... 21
Playback Mode.......................................................................................................................................................... 22
Editing........................................................................................................................................................................ 23
Downloading Photos and Videos to Your PC ............................................................................................................ 25
Specications ............................................................................................................................................................ 26