Hamilton/Buhl ISD-MAG3 User manual

Instruction Manual
Digital Microscope for iPad
Never-Ending Learning Innovation
80 Little Falls Road, Fairfield, NJ 07004 • 1-800-631-0868 • www.HamiltonBuhl.com
Model #: ISD-MAG3

Metal Plate
Link
Power
A
C
B
D
E
E
E
F
E
Content
Ferrules
Metal Column USB A to B cable Compact Disc
Wireless Microscope Stand (3 parts)
DC 5V Adaptor Users Manual
Structure Introduction
I
G
H
Plug Adaptor
No Plug Adaptor
A
Power LED Light
OFF = Power off / PC mode
Green = Power on / WiFi mode
Red (power weak),
suggest charging
B
Charging LED Light
Blue=Charging
OFF=Full Power
OFF=Not Charging
C
Linking LED Light
Green = WiFi Link (priority, when you
open the wifi, the LED lights green)
Yellow = PC link (connect to PC)
Yellow=
Charging/ Full Power
OFF=Not link
Charging: The charging LED will light in Blue and the linking LED will light in Yellow at the same time.
Full Power: The charging LED will off, the the linking LED will still light in Yellow.
D
Light Adjust Wheel
Adjust the LED light of Microscope
G
Mini USB connector
for charging or work
E
LED Light
4 pcs
with computer
F
Optical Lens
H
Adjustment Wheel
Focal Length adjusted
I
Power Switch
Note: Turn on the power, please wait around 30 seconds then LED light is available.

Final, adjust the
metal column to the
suitable angle then
turn the screw nut
clockwise to tighten
it.
Metal Column
1 Plug to hole of metal
plate
Metal Plate
Turn the metal
2 column clockwise to
the end
3
Screw Nut
Thread
Thread
Holder Installation
Step 1: please put the metal column to
the metal plate.
Step 2: Put the Ferrules to the metal
column to the end as below indicator;
Thread
Ferrules
Thread
Step 3:
Put the Wireless Microscope through
the ferrules then tighten it clockwise
with thread.
Step 4:
Please adjust the wheel(as below) to get
a best focus distance.
Thread
Adjust wheel
or
looser
thread
tighter.
If you feel the adjust
wheel is hard to work,
please adjust the
Turn the thread
clockwise to tighten.

A
C
E
G
I
B
D
F
H
(1)
(2)
(3)
(1)
(2)
(3)
(4)
(5)
PC Mode Operation
Please Connect to computer by USB cable
Power OFF the device: switch to “OFF”. (PC mode. Please make sure the link light is yellow
color)
Please install the Compact Disc, then refer to the following instruction of the software.
PC Mode Software Installatiom
Start your operating system. Place the CD included in the delivery in an appropriate drive on
your computer.
The software now starts automatically and you can install the software. If the CD does not
start automatically,you must start the installation program on the CD manually (main directory
on the CD, e.g. “Autorun.exe” etc.). Follow all of the software’s instructions. The serial code
required by a dialogue window can befound on the CD cover.
On the desktop of your computer a new icon is created. Now connect the microscopic camera
to a free USB2.0 port on your computer. The operating system recognises the new hardware
and completes the driver installation. Please read the manufacturer’s information that can be
found on the CD.
Start the software by double clicking on the newly created icon.
A new window is opened. Now the program and the micro camera are ready for operation.
To operate the software different symbols will be shown:
(A) Resolution settings
(B) Create photo
(C) Video recording
(D) Delete fi les
(E) Full screen
(F) Date and time
(G) “Freeze”image
(H) Measurement grid
(I) Settings
(J) “Help fi le”
Wireless Microscope Operation
Step 1: Power on the device: switch to “on”. (please make sure the battery power is
fully charged. check if the power light is on Green)
Step 2: Open the app after 10~20 seconds. (about App operation, please refer to next
page )
Step 3: You will see the video by App.
Note: Turn on the power, wait around 30 seconds then LED light is available.

catch
I’m Scope APP Operation
Step 1: Please go to Apple APP Store / Google Play, and
search “Im Scope ”then install it.
Step 2: Please go to “”on smartphone then find the
Wi-Fi source named “Im Scope_XXXXXX”.
Step 3: Please link “Im scope”. (as right photo).
Step 4: Please open the App.
* Please power on the WiFi Microscope first or you may not
Wi-Fi signal on your iphone / ipad / Android phone.

Im Scope ios APP Introduction
Record (Hotkey) : press to start recording, press again to stop recording.
Snapshot (Hotkey) : press to take photos.
File : Press to enter the folder of video or photos. Then choose one of them to Open , Playback or
Delete.
Setting : Please refer to the following
instruction.
Record Setting
•Please go to the Record Setting to make
video filled and footage setting.
Snapshot Setting
Please go to the Snapshot Setting to set
the number of continuous photos, then
press “OK”.
05

ImScope Android Android APP Introduction
Record (Hotkey) : press to start recording, press again to stop recording.
Snapshot (Hotkey) : press to take photos.
Mirror (Hotkey) : press to make video mirror, press again to back to normal.
File : Press to enter the folder of video or photos. Then choose one of them to Open , Playback or
Delete.
Record Setting Long Press the photo you want to delete.
1. Please go to the Record Setting to make video fulled and footage setting.
Snapshot Setting
1. Please go to the Snapshot Setting to set the
number of continous photos, then press “OK”.
06
Im Scope
Im Scope
Click to delete video file.
Setting : Please refer to the following
instruction.(next page)

TroubleShooting
My wireless microscope can’t turn on.
(1)
(2)
First, please check if your microscope is out of power.
Then, check if your microscope is switched to on or not.
I can’t see anything through my microscope.
(1)
(2)
(3)
(4)
(5)
If your image is too dark, please make sure the light is on.
If there are spots in your viewing field, clean the lens with lens cleaner. Clean the ocular
lenses. Remove the ocular lens and clean its inside. Adjust the focus.
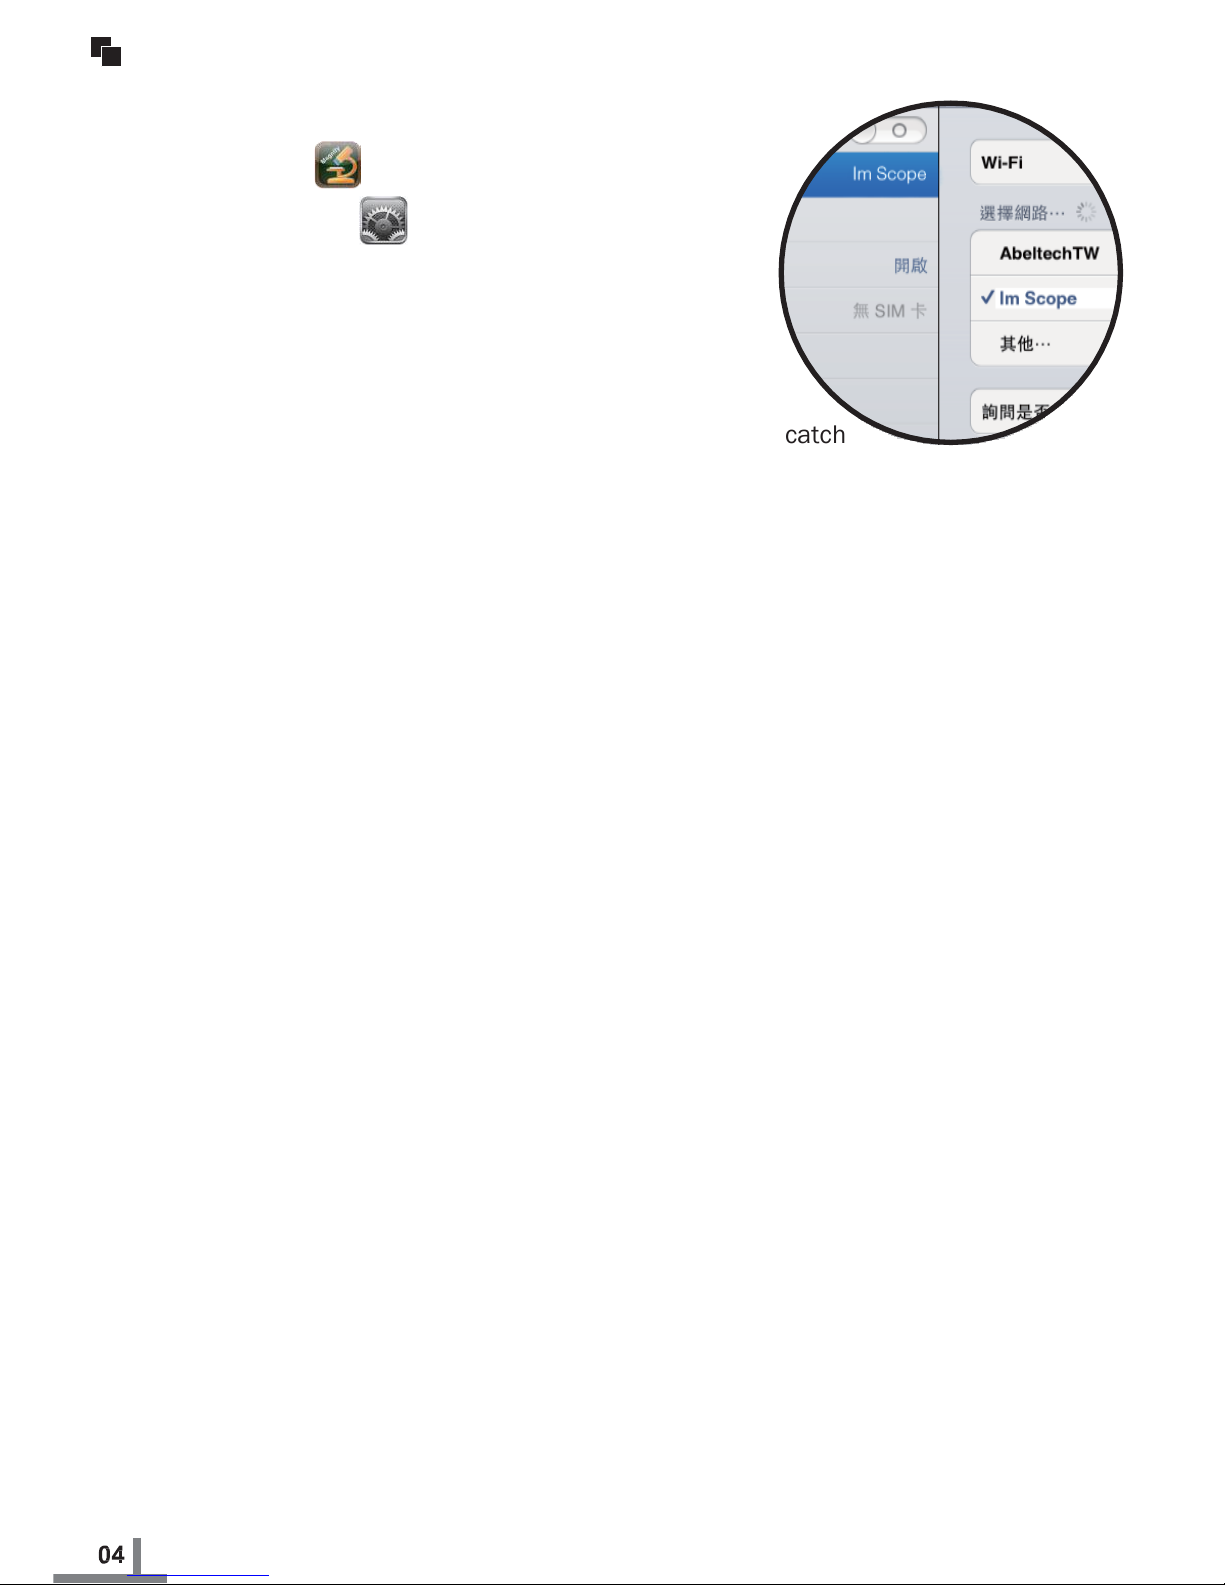
Please check if it is linking up “Im scope”, if not, please re-link the right Wi-Fi source.
The effective transmission range is 30m (open sight), try to close the distance between
iphone / ipad and Microscope to get better video signal.
If it still can’t work, please refer to follows :
a) Check if your iphone / ipad ‘s iOS version, it should be at least iOS 6.1 / Android 4.2 .
b) It might be shut down if your iphone/ipad with JB (Jail Break) model and working with our
products.
The linking is missed when the APP is in background.
(1)
(2)
(3)
Please wait 2~5 seconds to search the microscope signal first when you re-open the APP.
If it doesn’t work, please go to “setting” to check if the WiFi Source is in the “Im scope”.
If it still doesn’t work, please turn off the APP and the Microscope, then power on both of
them again.
Can I pick up the phone when I use the microscope?
(1) Yes, when you have a call, it will pop up a window to ask you to pick up the phone, and the
App is still working in the background.
How do I make sure the power capacity of microscope?
(1)
(2)
Please make sure the power switch is “on”.
Please notice the power light:
Green: Full Power
Red: Out of power (It means it should be recharged.)
Power Recharge: (Recharge Light)
Blue: Recharging
PS: The battery only works about 90 minutes, if you need to work longer,
please plug
to power adaptor.
07

Product Registration Instructions
Visit: www.HamiltonBuhl.com
1. Click on Customer Care
2. Click on Product Registration Icon
3. Please fill out all fields marked with * to register
W
A
R
R
A
N
T
Y
80 Little Falls Road
Fairfield, NJ 07004
1-800-631-0868
www.HamiltonBuhl.com
Never-Ending Learning Innovation
Warranty:
Warranty begins the date item ships from our warehouse. All products have a one year
warranty from original date of shipment, unless otherwise noted.
Table of contents
Other Hamilton/Buhl Microscope manuals
Popular Microscope manuals by other brands

Nikon
Nikon Eclipse L150 instructions

3B SCIENTIFIC PHYSICS
3B SCIENTIFIC PHYSICS 400 1003277 instruction manual

Haag-Streit
Haag-Streit Slit lamp BQ 900 Instructions for use

Optika
Optika B-510 Series instruction manual

Euromex
Euromex NexiusZoom-Range instruction manual

Zeiss
Zeiss Axio Imager operating manual