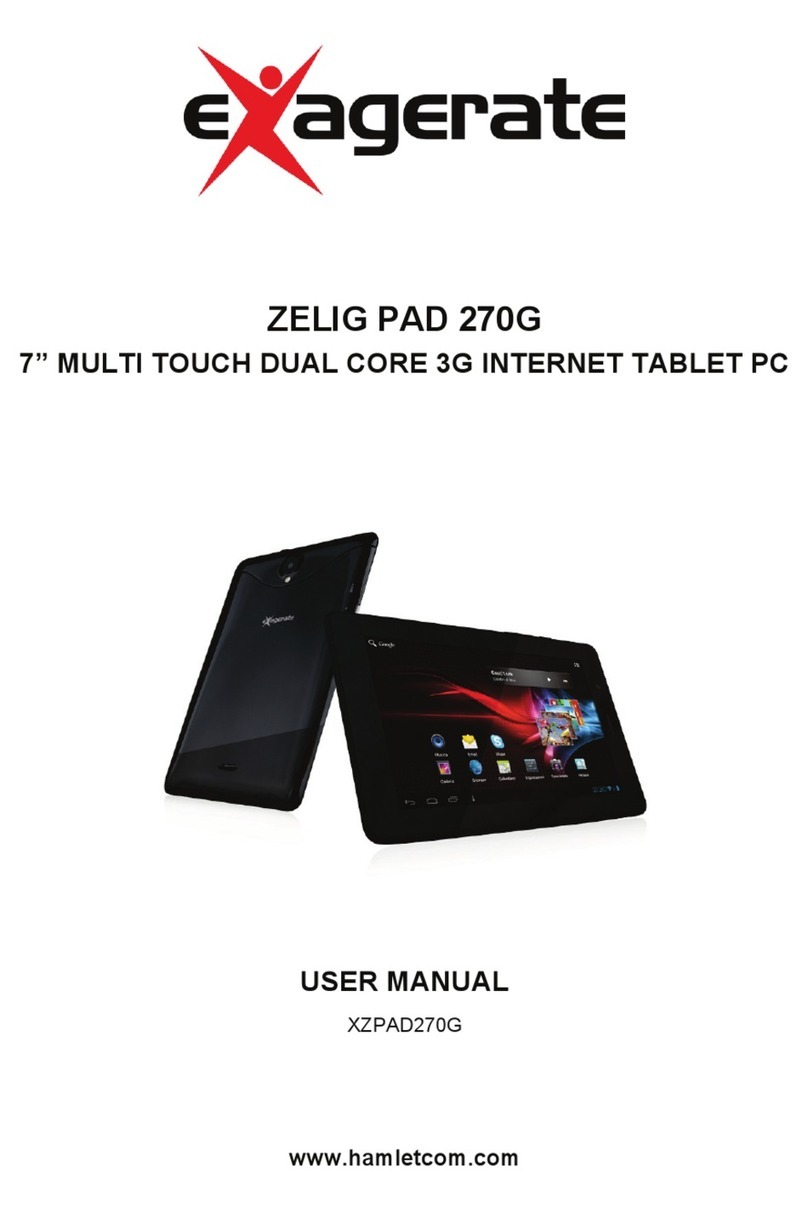
Hamlet XZPAD412W User manual

ZELIG PAD 412W
10.1” MULTI TOUCH QUAD CORE TABLET PC
USER MANUAL
XZPAD412W
www.hamletcom.com

2
Dear Customer,
thanks for choosing a Hamlet product. Please carefully follow the
instructions for its use and maintenance and, once this item has run
its life span, we kindly ask You to dispose of it in an environmentally
friendly way, by putting it in the separate bins for electrical/electronic
waste, or to bring it back to your retailer who will collect it for free.
We inform You this product is manufactured with materials and components in
compliance with RoHS Directives 2011/65/EU & 2015/863/EU, RAEE Directives
2002/96/EC, 2003/108/EC Italian Legislative Decree 2005/151 and RED
Directive 2014/53/EU for the following standards:
EN 60950-1: 2006 + A11: 2009 + A1: 2010 + A12: 2011 + A2: 2013
EN 50663: 2017
EN 301 489-1 V2.2.0 (Draft)
EN 301 489-17 V3.2.0 (Draft)
EN 300 328 V2.1.1
CE Mark Warning
This is a Class B product. In a domestic environment, this product may cause
radio interference, in which case the user may be required to take adequate
measures.
The complete CE declaration of conformity of the product can be obtained by
contacting Hamlet at info@hamletcom.com.
Visit www.hamletcom.com for complete information on Hamlet products and to
access downloads and technical support.
Imported by: CARECA ITALIA SPA - Scandiano (RE) . Italy

3
Trademarks and changes
Google™, Android™ and Google Play are trademarks of Google LLC.
Oreo™ is a trademark of Mondelez International, Inc. group.
All trademarks and company names mentioned in this manual are used for
description purpose only and remain property of their respective owners.
The material in this document is for information only and subject to change
without notice. Specifications and appearance are subject to change without
prior notice.
Product Registration
Register now your product on the home page of Hamlet website at
www.hamletcom.com.
Warranty information
The legal warranty is valid for 2 years from the date of purchase for private
users with purchase by receipt (1 year for professional users with VAT).
The warranty excludes the accessories such as power supply, connecting
cables etc. and consumable parts such as batteries.
Support
To obtain technical information or assistance please visit Hamlet website at
page http://english.hamletcom.com/support.aspx.
If the website service did not resolve your problem or the information received
were not exhaustive, please contact directly Hamlet at e-mail address
support@hamletcom.com.

4
Frequently Asked Questions
Before use of technical assistance, please find answers to frequently asked
questions listed below.
I cannot connect to download the app from the market
The tablet has to be updated, contact the technical assistance via the support
area of the Hamlet website.
Android logo is fixed on screen and tablet does not start
Press the reset button on the tablet (if present) for at least 3 seconds to restart
the device. If the problem persists, restore the firmware of the tablet following
the instructions provided in the support area of the Hamlet website.
An accessory of the tablet is not working (e.g. power supply)
Contact technical support by e-mail to get the replacement of the defective part
only at support@hamletocm.com.
The touch screen does not respond well or is not accurate
With the battery level close to zero or tablet connected to the power supply,
electrical interference may make the tablet touch screen inaccurate. Full
functionality is restored charging the batteries or disconnecting the power
supply.
If I connect the tablet to a PC or pen drive can not transfer files
To activate the connection between tablet and computer the "Turn on USB
storage" must be enabled (see section 4 of the manual). For connecting
peripherals such as pen drives, memory card readers or external hard drives a
specific OTG USB cable is required (not included).
You can purchase a Micro USB OTG cable like Hamlet XUMICROTG in the
best online stores.
The tablet does not turn on after being fully discharged
If the tablet's battery runs completely with the device on, you need to keep
charging the device for at least 15 minutes before you can restart it. After this
time, if the tablet does not turn on using the power button, press the reset
button for a few seconds.
Android
Q: What Android OS version is on my device?
A: Android 8.1 Oreo.

5
Basic functionality
Q: Do I have to charge the battery before use?
A: You should charge the battery for at least 6 hours, but you can use the
device while it’s being charged. Use the included power adapter to charge.
Media cards
Q: Which media cards are compatible with my Device?
A: Micro SD cards with capacity up to 32 GB.
Music
Q: What type of music files can I play on my device?
A: MP3, WAV, AAC, WMA.
Q: How do I add music files to my device?
A: Copy the music files from your PC, Micro SD card or USB storage device
directly to your device.
Photos
Q: What type of photo files can I view on my device?
A: JPEG, BMP, GIF, PNG.
Q: How do I add photo files to my device?
A: Copy the photos from your PC, Micro SD card or USB storage device.
Videos
Q: What type of video files can I play on my device?
A: Video decoding (Full HD) support all formats of video such as MPEG-4,
MOV, AVI, MKV and other popular video formats.
Q: Can I play YouTube videos on my device?
A: Yes, you can use the YouTube application downloadable for free from
online markets.
Q: How do I add video files to my device?
A: Copy the video files from your PC, Micro SD card or USB storage device.
Wi-Fi
Q: Do I need a Wi-Fi adapter to connect to the Internet?
A: No, the Wi-Fi adapter is built-in to the device.

6
1 Introduction
1.1 Package content
• Zelig Pad 412W Tablet PC
• Power adapter
• Micro USB cable
• User manual
1.2 Getting started
Before operating your Tablet PC for the first time, please read this manual
carefully and follow the instructions as below.
The instructions and screenshots shown in this manual refer to a generic
Android 8.x system and may slightly differ from those of the system installed
on your product.
1.3 Battery charging
The tablet is equipped with a built-in rechargeable Lithium battery. It is
suggested to fully charge the battery before use.
To charge the proceed as follows:
1. Connect the micro USB cable to the AC power adapter.
2. Plug the AC power adapter to a power outlet.
3. Connect the micro USB cable to your tablet.
You can purchase an additional AC power adapter like Hamlet XPW220MOB
in the best online stores.
Important
• We strongly recommend to use only the power adapter and micro USB
cable included in the packaging, using other adapter or cable may damage
the tablet and void the warranty.
• You can use the tablet during charging.

7
2 Appearance and buttons
1. Touch screen
2. Front camera
3. Volume controls
4. Power button
Turn on/off tablet.
5. Headphone socket
3.5 mm standard earphone jack.
6. Micro SD slot
7. Micro USB port
Use this port to recharge the tablet.
Connect to PC for file transfer or connection with external USB devices.
The USB cable must be OTG compliant.
8. Microphone
9. Back camera
10. Speaker

8
3 Turn Tablet ON/OFF
Turn the tablet On
After the battery has been fully charged, press and hold the power button for
around 3 seconds to turn on the device. Screen lock will be showed after
starting up.
Turn the tablet Off
When the tablet is ON, press and hold the power button for around 3 seconds
and the system will popup out power off option, tap on Power off to turn the
tablet off.
Remarks:
• When battery is fully discharged, the tablet will shut down itself
automatically.
• If you turn off the device improperly, at restart the system will scan and
restore the disk, and it may take longer time to enter into system.

9
4 Starting for the first time
When you turn your Tablet on for the first time, Setup Wizard will guide you
through the setup process.
Select your language and follow the onscreen instructions to configure Wi-Fi
network, user account, date, time, etc.
If you have another Android device, you can use it to copy the data and
Google’s account information on the new device.

10
5 Locking and Unlocking the Tablet
Locking the tablet (Stand-by)
To lock the tablet, quickly press power button and release.
In this way the tablet is locked and the display is turned off.
Wake up your tablet and unlock the screen
To wake up the tablet from stand-by and turn on display do as follows.
1. Press and release the power button.
2. Slide the lock icon, visible in the bottom side of the screen, upward to
unlock the screen and go to main interface.

11
6 Interface operation
After starting up, you will enter into below main screen interface also known as
Home screen.
Through the Home screen, you can view information about the device status,
access the settings and use the App (software applications).
You can customize the main screen by changing the arrangement of app
icons, adding new apps or deleting the unused one.
Status bar
The status bar is located on the top of the screen.
On the left side are shown the notifications for apps, updates, progress of
downloads and so on.
On the right side are displayed the icons related to Wi-Fi signal, Bluetooth,
location, battery power level, time, etc.

12
Quick settings
To immediately open your “Quick settings” window, swipe down from the top of
your screen.
The "Quick settings" screen allows you to quickly access frequently used
settings, such as Wi-Fi, Bluetooth activation etc. To change a setting, just tap
on its icon.
From this screen you can also access the full settings window by tapping the
gear icon in the bottom right of quick settings menu.
Navigation buttons
In the bottom of the screen it is always visible the navigation bar with the three
navigation buttons as shown in the picture below.
The operation of the navigation buttons is described in the table on the
following page.

13
Back button
It goes back to the previous screen.
Home button
Press the Home button to return to the main screen from any
window.
Recent apps
Opens a list of thumbnail of apps you’ve worked with recently.
To open an app, tap on its thumbnail.
To remove an app from the list, tap on the X on the top right of
the thumbnail or swipe it left or right.
Favorites tray
The first row at the bottom of the screen just over the navigation buttons is the
Favorites tray, in which you can find icons of the favorite apps. These icons
appear in all Home screens of the device.
At the center of the screen, immediately above the favorites bar, there is an
arrow icon pointing up (^). Touch this icon to open the All apps screen that
shows all applications installed on the device.
Note: In some devices the favorites tray can be arranged vertically on the right
side of the screen when the device is oriented horizontally.
The app icons shown in the image may differ depending on the version of the
device.

14
7 Organize the Home screen
The home screen can be customized by adding icons of your favorite apps and
widgets, the small dynamic applications that allow you to quickly view
information such as weather forecast, calendar events or the latest news.
To add an app icon to Home screen
1. Open the All Apps screen.
2. Touch & hold the app icon until the Home screen appears, then move it
into place and lift your finger.

15
To remove an app icon from the Home screen
Touch & hold the app you want to remove, then slide it over the X symbol on
the top left of the screen and lift your finger.
Add a widget to the Home screen
1. To uc h & ho ld t h e b a c k gr o un d of t h e s c r ee n f o r a f e w se c o nd s un t i l t h e
below screen appears.

16
2. To u c h the Widget icon to view the list of available widgets.
3. To uc h & ho ld t h e t h um b n a i l o f t h e d es ir e d w i dg e t t he n drag it into an
available area of the Home screen.

17
Change the background image
1. To uc h & ho ld t h e b a c k gr o un d of t h e s c r ee n f o r a f e w seconds until the
below screen appears.
2. To uc h Wallpapers icon to view the available background images.
3. To uc h t h e t h u mb na il o f th e de s ir e d i m a g e a nd th e n t o uc h Set wallpaper
item on the top left of the screen to apply the new wallpaper.

18
8 Connecting to a Computer
You can use the USB cable provided to connect the tablet to a computer and
transfer files. To connect the tablet to your computer, proceed as follows.
1. Connect the micro USB cable to your tablet then plug it into a free USB
port on your computer.
2. The tablet is automatically recognized by the computer and connected as
a multimedia device.
By sliding down the status bar to expand the notification area, you can access
the USB connection options to disable the debugging function or change the
connection mode to the computer.
The different options of connecting to computer are available in the "Use USB
for" window shown below.

19
9 Settings
Touch the Settings icon to open the window that contains all device settings.
The settings screen is organized into different sections, each containing
settings related to similar topics.
The features of main functionalities of the device are illustrated in the following
pages.
l Wi-Fi
Open “Network & Internet” screen and tap “Wi-Fi” item. The Wi-Fi settings
window allows you to enable and disable the wireless interface and shows a
list of all available Wi-Fi networks.
To connect to a wireless network, tap on the name of an available Wi-Fi
network in the list. If the Wi-Fi network does not require a password, tap
Connect to start the connection.
If the Wi-Fi network requires a password, then input the password in the popup
window that appears and tap Connect to establish the connection.
If the connection to the Wi-Fi network is completed successfully, the
connection information is saved in order to connect automatically whenever
necessary.
When the tablet is connected to the wireless network, the Wi-Fi icon appears
on the status bar at the top right of the screen.

20
l Data usage
Select this setting to view information about the use of data on Wi-Fi, mobile
and Ethernet networks.
The screen displays a graph with total data traffic and data usage for each
individual app.
l Bluetooth
Select “Connected devices” and tap “Bluetooth” item to enable Bluetooth
connection, pair new devices or change settings of Bluetooth devices already
connected.
This manual suits for next models
1
Table of contents
Other Hamlet Tablet manuals

Hamlet
Hamlet XZPAD270 User manual

Hamlet
Hamlet ZELIG PAD 470LTE User manual

Hamlet
Hamlet ZELIG PAD 412W Manual

Hamlet
Hamlet XZPAD470LTE User manual

Hamlet
Hamlet ZELIG PAD 970H2G User manual

Hamlet
Hamlet XZPAD270G User manual

Hamlet
Hamlet ZELIG PAD 412LTE User manual

Hamlet
Hamlet Exagerate ZELIG PAD 410 User manual

Hamlet
Hamlet ZELIG PAD 700 User manual