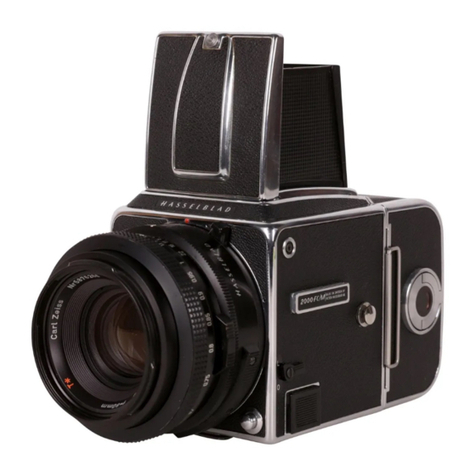
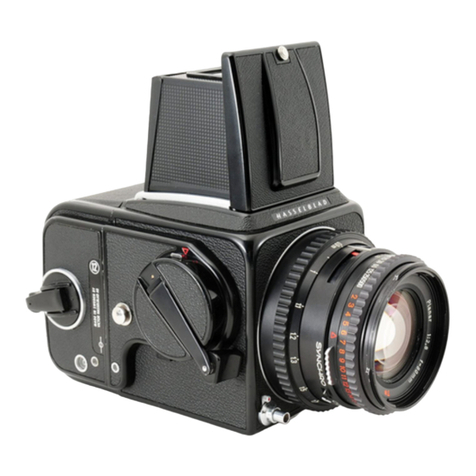
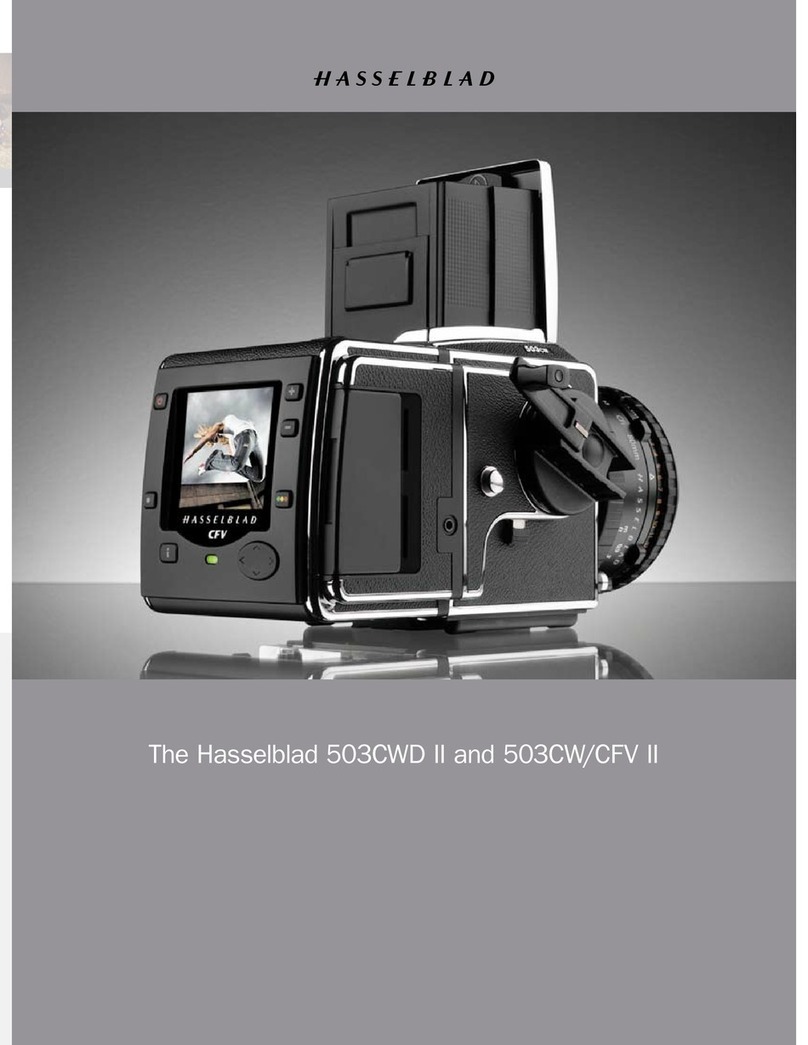
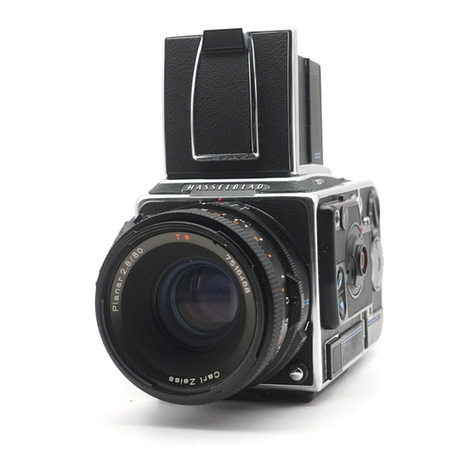
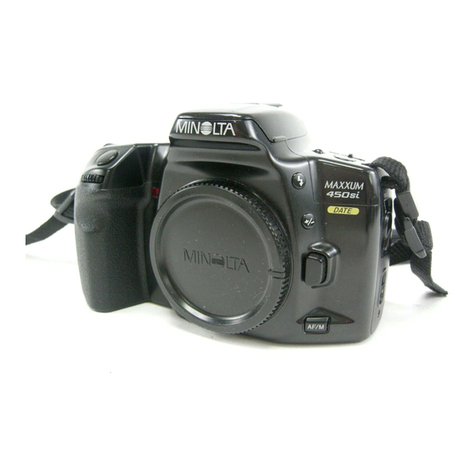
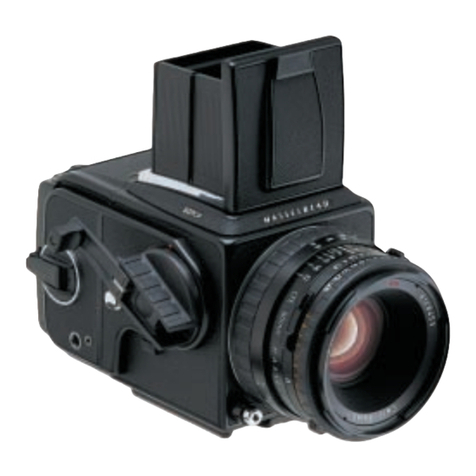
Hasselblad 503CW User manual

5()3cw
INSTRUCTION
MANUAL

EI
'Gl
Hasselblad
503CW
- ffie
"wunkhnrse"
mototizeil
Well
- wehavetoadmitthattheheadlineisnot
altogether
true.However,
forthefirsttime,
you
have
theopportunityto
motorize
it
yourself
by
simply
purchasing
andattaching
the
only
true
originalHasselbladWinder
CW.
TheHasselblad
503CW
(Wfor winder)
continuesthe
Hasselbladtradition
of
well-known
and
appreciatedfeatures
thathave
carriedtheHasselbladname
beyondtheends
of
the
earthandinto
space:
reliability
andabsolutefidelity.
Although
looking
as
it
always
has,
itoffersanumber
of
new
features,
One
isthe
GMS
(Gliding
Minor
System)
which
with
its large
mirror
provides
a fullviewfinderimagewith
all
Hasselblad
CandCF
lenses,
Theimageisfurther
enhanced
bythenewimprovedfocusing
screen
"Acute-Matte
D"for
more
even
illumination
as
well
aseasier
and
more
accurate
focusing.
Originally
featuring
the6 x 6 cm
(2tl+
x 2rlt
_in)
formatthe
503CWalsoacceptsformatmasksfor
6x4.5cm
and6
x
3cm
(panoramic)
formats.
Aspecialfeature
oftheHasselbladWinder
CWistheSAI
(Self
AdjustingInterface)
functionwhich
sensesthe
camera's
status,
ensuring
mechanical
reliability.
Justdetachthewinding
crank
and
hook
thewinderonforthe
additionalfeatures
of
fastsequence
photography
andvarious
choicesof remote
control.
With
your
Hasselblad
503CW
you
have
openedthe
doortothe
Hasselblad
System,that,
in
addition
tothe
items
alreadymen-
tioned,alsofeaturesinterchangeability
of
15
differentlenses,
1,4xand2xteleconverters,
magazinesfor
ditferentimagefor-
matsandfilmsincluding
Polaroidfilms,viewfinders
with
or
without
exposure
metering
properties,
a number
offocusing
screensanda
variety
of
accessories
tofit
your
specialrequire-
ments,
Thecompleterange
ofaccessories
affordsalmost
limitless
flexibility
and
potential
for
superior
photography
inany
appli-
cation.
The
realization
ofthis
potential
isonly
dependantupon
your
skill,cafeand
judgement
asa
photographer.
Leruses
Sincetheearly1950'sHasselbladlenses
have
beenmanu-
factured
by
Carl
Zeissin
Germany.TheHasselblad
503CW
usesCand
CF
lenses
made
byCarl
Zeiss.
Withthe
exception
ofFand
FE-type
lenses,allHasselblad
lensesmanufactured
since
1957
canbeusedwith
the503W.
FE-typelenses
canonlybeusedwiththeHasselblad
focal
olane
shuttercameras.
This
instructionmanual
describesin
detail
howto
operate
your
503W.Pleasereadit
carefully.Theknowledge
gained
fromit
will
give
you
fullaccess
totheHasselblad
potential.
Exploiting
the
potential
isleftto
your
imagination!
Congratulations
ona very
wisechoice!

LI
'cE
1
2
3
4
30
29
28
27
24 23 ?2 21 20 19 18 17 16 15
1.
2. Focusing
hood
Focusingscreen:
Acute-Matte
D.
screen
11.PC
flashterminal
12.
Externaland
internal
lensaccess-
ory
mount
17.Threaded
cable
releasesocket
18.Shutter
releasebutton
19.
Viewfinder
mirror
20.
Name
plate
21.
Winding
crank
and
Winder
coupling
22.Pre-release
button
23.
Winderbayonet
mount
24.Strap
lug
25.
Winding
crank
26.
Windingcrank
index
27.
Framecounter
28.
Magazinestatus
indicator
29,
Filmwinding
crank
30.
Magazine
driving
gear
31.
Magazine
catch
with
magazine
type
designation (continued)
3.
Screen
retaining
clip 13.Exposure
valuescale
4.Flash
function
indicator 14.Exposure
value
index
5.Focusing
ringand
scale 15.Lens
release
button
6.Shutter
speed
andaperture
interlock
16.Driveshaft
button
7,Central
lens
index
8.Depth-of{ield
scale
9.
Aperture
ringand
scale
10.
Shutter
speed
selector
ring

tll
'eE
Gamera
type: Single
lensreflexcamerawith
6
x
6cm
(2tl+x2tlqin)
max.
film
size.Interchangeable
lenses.filmmaoazines.viewfinders.
and
focusino
screens.
Design: Mechanical,with
analuminumalloycamerabody
shell
cast
in
one
piece.
Viewfinders: Foldingfocusing
hood
interchangeable
with
reflex
viewfinder,
prism
viewfinderswith
or
without
built-in
light
meter,ormagnifying
hood.
Film
advance: Manual
advanceor
motor
driven
withWinder
CW.Simultaneousshutter
winding.Winder
CW
windingtime:1.05
sec,approx.0.8
frames/secin
continuous
mode.
Flash
control: TTL/OTF-metering,lS0
16-1000
with
flashadaptorsSCA390orSCA590forconnection
with
flash
unilsfromthe
SCA300orSCA500systems
resp.Metering
area
within
40mm
diameter
in
thecentreoftheimaoearea,
Tripod
coupling: 1/4in.
and
3/8
in.
socket
threads
andbase
plate
for
quick
couplingattachment.
External
dimensions: Camerabodyonly
-
see
page(vi).
CamerabodywithPlanarCF80
mm
lens,
film
mag-
azine412andfocusinqhood:1
80mm
Lx114mmWx'l1
Omm
H
(
7x
4tlz
x
41lain).
Weight: Camerabodyonly:0,6kg
(1.3
lb).
Camerabody
withPlanar
CF80
mmlens
and
A12filmmagazine:
1.5kg
(3.3
lb).
Focusing
screen: Hasselblad
Acute-MatteD-focusing
screen
The
canerabody
(chrone
nldel,catn010243,
black
model
cat.
n0.10246)
c0mes
wrthfocusrnghood,focusing
screen,windingcrank,standardstrap,
and
front
and
rear
prltective
clvers.
For
comprehensive
information
onaccessories
please
refertotheHasselbladProduct
Catalogue.
Hasselblad
reservetherighttonakechangesin
the
published
specificatrons
without
pnor
notice
Acute-Matte
D-desionedbv
MINOLTA

EI
to
Contents
I
tl
iii
1
2
lntroduction
Parts
&components
Tech
ni
ca
Is
pec
ifi
catro
n
s
Contents
GETTING
STANTED
16 Exposure
values
16 Interlockedshutterspeed/aperture
17 Focusing
and
depthoffield
17 Depth
oitietd
preiview
18 Pre-release
andcablerelease
18 Double
exposure
19 Flash
synchronization
19 Infrared
photography
20 THE
VIEWFINDEfr
SYSTEM
2 Front
and
rear
protective
covers
8 Exposure
release
9 MAGAZINE
OPERATION
9 Loading
themagazine
1q Slep-bi-step
filfi
bading
12 Magazine
load
status
12 Removing
film
from
themag
azine
12 Film
tabholder
13 Installing
format
masks
13 Film
plahe
index
14 LENS
AND
SHUTTEN
FUNCTIONS
Accessory
mounts
Attaching
andremoving
theWinder
CW
Accessory
charts
TROUBLESHOOTINE
C_amer4
care,
service
and
guarantee
Parts
&components
Camerabody
dimensions
28
29
30
IV
V
VI
14
15
15
32
Shutter
speed
andaperture
Exposure
Warning
mark

ltl
'o
Thissectiondescribes
howto
prepare
your
camera
for
useas
wellas
the
basic
operations.
Followthe
instruc-
tions
step-by-step
toavoiddamaging
theequipment.
Getting
$tanted
Check
thatthe
windingcrankon
therighthandsideof
thecamera
is
lockedthus
ensuring
that
thecamera
is
fullywound.lfthecrank
isnotlocked,
rotateitclock-
wiseuntil
it
does
lock,thereby
windingthecamera.
Front
ProtectiueGouer
Turn thecover(bayonet
fitting) in thedirectionof
the arrow and lift it out. Do not removeit until
you are
readyto attacha lens.
Thefrant
profective
csvetr
canonly'be
remaved
whenthecamera
is
{ullv
wound.
Rear
Prstective
Couer
Depressthe catch,tilt the cover backwards,
and
lift it off. Do not removeit though until you are
readytoattacha magazine.
Always replace
the coverto protectthe auxiliary
shutterwhen storing the camerabody without a
masazineattached.
Getting Started

LI
'CI
Attaching
theLens
Make sure that both cameraand lens are fully
wound.Theadjacent
illustration
showsthecorrect
relationship
between
thedriveshaft,
thelensdrive
coupling
andtheirindexes.
If thelensis notwound,
you can
insert
acoin in
the couplingslot androtate
it clockwise
until it
locks
(about
4/5of aturn)
When you havealignedtheredindex on the lens
with theoneon thecamera
asshownin theillus-
tration,the lenswill drop easilyinto thebayonet
fitting. You can then rotate it clockwise until it
stopswith afaint click asthelens
catchlocksit in
place.
Remouing
lheLens
Depressthelens
release
buttonandrotate
thelens
counter-clockwise
until it stops
andlift it out of
themount.
I
a,

EI
'CI
Attaehingthe
Magazine
Ensure that the magazine slide is fully inserted
with the hinge towards the front of the camera
(see
detail on page9) andthatthe magazinestatus
indicatoris white. If the indicatoris redthenfol-
low theinstructionsonthepage
5.It is alsoadvis-
ableto havethecamera
fully wound.
Restthe magazineon the magazinesupports
mak-
ing surethatthelugs are
properly engaged
in the
recesses.Carefully swing the magazine
towards
the camera body and check that the camera's
uppersupport
hooksfit into theslots
in themaga-
ztne.
Push the magazinegently but firmly against the
hooks while sliding the magazine catch to the
right. Releasethe button when the magazinehas
madecontact
with thecamera
body,and
then
push
thebuttonto theleft to ensure
thatit has
reached
thelockedposition.Removethe slideto positive-
ly lock the magazineto the camerabody. The
camera
is now readyto use.
Remoulnu
tne
ffiagaiine
Justaswhen attaching
the magazine,
it is advis-
ableto havethecamera
fully woundand
themag-
azine
indicatordisplayingwhite.
Getting Started

El
!GE
Insert the magazineslide fully with the hinge
towards the front of the camera (see detail on
page9). Slide the magazine
catch to the right,
swing the magazine
back and lift it off the lower
supports.
The
Magazihe
$tatus
Indicalor
The status
indicatoron theright hand sideof the
magazine
showsWHITE when the magazine
is
readyto operate
andRED when the film hasnot
been advancedafter an exposure.If the status
indicator shows red, release the camera first
before attaching the magazine.
Then, winding the
camera
againwill automatically
advance
thefilm
by oneframe.
The
magazins
cannot
he
removed
wifft-
outfirstinsefting
the
magazine
stide.
Note
alsothatthecamera
cannot
be
nperatedwhnn
a m&gazine,
withslide
inserted,
isattathed
tatheffiffiEra"
?
o
See
page 9for a-gbneralexplanation of
these
magazine
feature
s.
./
@
-t
7
@
-T
Getting Started

El
'o
0pening
thefocusing
Hood
Lift the lid by firmly gripping the tab on its rear
edge,
and swing it up to a vertical position.The
hoodunfolds automatically
andlocksin theopen
posltlon.
The
Euilt-in
Magnilier
The magnifier flips up into the viewing position
whentheovalbutton
insidethelid ismoved
tothe
right, asin theillustration.
To fold the magnifier down simply press
it back
down towardsthelid until it locks into place.
It caneasilybe exchanged
to suit individual eye-
sight(see
page2l).
focusing
Screen
and
Uiewfinder
lmage
The 503CW is fitted with the Acute-Matte D
focusing screen featuring unrivalled brightness
andthe highestresolutionamongthe Hasselblad
focusingscreens.
The centreof the screen
is indi-
catedby ahairlinecross.
The screencan easily be exchanged
for others
specially designedfor various applications(see
page22).
I
+
Getting Started

EI
'o
elosing
the
Fnmsing
Hood
Fold away
themagnifier
by pressing
it backdown
towards
the
lid until it locksintoplace.
'Pinch'in
the sideplatesat the hinge points andthenpush
thelid lightly backwards.
Thehoodthen
automat-
ically folds backdown.
Removing
the
t{finding
erank
Push
thecatch
lever
downwards
while rotatinsthe
crank counter-clockwise.Then pull the c"rank
straight
out from theshaft.
Attaching
tile
Winding
Crank
Attach thecrankto theshaft,
aligningthesmaller
triangular index mark against the red dot just
above
the mount. Keep the crank pushed
against
the camerawhile turning it clockwise until the
larger
triangular
mark is aligned
with thereddot.
:-2
Getting Started

$trapAttachment
Place
themain body of the strapclip overoneof
the camera'sstraplugs. Pressthe tip of the clip
towards the camera while pulling back on the
strap
sothattheclip slidesoverthelug andlocks
lntoposltlon.
Removing
the
$trap
Lift theclip locking platehigh enough
to be able
passover the cameralug. Slide the clip in the
directionawayfrom thestrapuntil it is free.
Left
Hand
Grip
Without a Winder CW attached.mav find that
holding the camerain your left handis the most
convenientgrip; operating the exposurerelease
button with your index finger.
Your right handis
then free for focusing, setting the exposure,
rewinding,andchangingthelensor magazine.
ExposureRelease
Before you can take a photograph, you must
remove the magazineslide. The magazinewill
thenbe lockedon the camera
bodv.andthecam-
era
release
buttonwill beunlocked.
After exposure,theviewfinderremainsdark until
you haverewoundthecameraby onefull turn of
thecrank,which alsoadvancesthefilm.
Getting Started

lll
'K)
Hasselblad
film
magazines
provide
the
opportunity
to
varyformat,
length
andtype
offilm
used.They
canbe
quickly
and
easily
switchedmid-film
without
theloss
of
asingleframe.
Operation
ofthemagazines
is
not
difficultbut
paypar-
ticular
attention
tothe
section
onloading.
Go
through
the
procedure
one
stepat
atime
and
practice
alittle
until
you
feel
confident.
Note
especially
which
way
round
the
spooloffilmis
placed
andthe
positioning
of
the
backing
paper
underthe
clamp
bar.
Magazine
0penation
The
{m.r.ra[omatically
advancedframe-byJrame
in
themagazine
bythe
camerawinding
mechanism
and
consequently
onlywhen
attached
tothe
camera
body.
Therefore
when
separated,
themagazine
andcamera
bodycould
become
unmatched.
This
canbe
deter-
mined
bycheckingthe
magazine
status
indicator
(see
page
5)orbythewinding
crank
status
(seepage
2),
Try
to
adoptaroutine
that
suits
you
regarding
winding
andremoval
aswell
aschecking
onthe
status
ofeach
item.
Thiswill
ensurethatthe
camera/lens/magazine
combination
statusis
alwaysfully
operative,
Loading
the
Magazine
The magazine
canbeloaded
on,or off thecamera.
If it is to be loaded
off thecamera,thenthemag-
azineslidemustbeinserted
flrst.
In eithercase,
wheninserting
theslideensure
that
its flat sideis towards
therear(see
detailin illus-
tration) asthis facilitates
the removalof the film
holder.
Magaz,ine Operation

'[o
Step-by-step
FilmLoading Follow theprocedure
below in thecorrectorder.
GW
= clockwise
C-GW
= counter-clockwise
t) Foldoutthefilm holder
key.
2) Turn thekey C-Cti andwithdraw the
film holder
(magazine
insert).
10 Magaz.ine Operation
3) Place
anemptytake-upspoolunderthegrooved
knob
of the spool clamp bar. Insert a roll of film under the
otherendof thebar,turnedthe sameway asin theillus-
tration. Be sure to remove all of the paper band sur-
roundins
anewroll of film.
4) Turn the film holder key GWto openthefilm clamp.
Pull8-
l0 cm (3- 4 in.)of paper
backing
off thefilm roll
andslidetheedge
underthe
clamp.

5) Insert
thetongue
of thebacking
paper
intothe
slot
in the
take-up
spool. -
6) Turn the groovedknob GWuntil the
arrow on the paper backing is aligned
opposite the triangular index on the
spool
clampbar,
butno further.
El
IQ
7)Turnthefilm holder
key G-CW
andinsert
thefilm hold_
er into1!heryag1zine.
Ensure that it is correctly posi_
tioned.
Turn thefilm holderkey cw to lock thefilm hold_
er in the magazine
andthen fold thekey back into place.
8)Fold outthefilm crankandrotate
it GW
about
tenturns
until it stops.
Thenturn it C-GW
andfold it in. The fisure
(1) will now bedisplayed
in theautomatic
frame_couiter
window indicatingthat
the magazine
is loaded
and
ready
for use.
The magazine's
film winding crank is only blocked at
fram_e
1.A partially exposed
film may be wound off at
anyframeafterthat.
MagazineOperation 11

El
'CI
MagazineLoad
Status
In thecentreof the
film holderkey
there
isacres-
cent-shapedindicator window that shows white
whenthe magazineis freshly loaded.It gradually
changesto red as the film is wound through.
An
all redindicatorshowsthateitherthefilm is used
uporthatthemagazincisempty.
RemouingFilm
from
the
Magazine
Whenthelastframehasbeenexposedandwound
on, the magazine blocks the camera for further
release.
Wind off thefilm by folding out thefilm winding
crank, and rotateit clockwise until you can feel
thefilm leavingthesupplyspool.
You can now withdraw the film holder from the
magazine
andremove
theexposed
film.
Theframecounteris automaticallyreset
whenthe
film holderis withdrawn from themasazine.
FilmTabHolder
Theendtabof thefilm packcanbeinsertedin the
holderon thebackof themagazineasareminder
of thekind of lllm thathas
been
loadedinto the
magazlne.
12 MagaTine Operation

El
'cE
Installing
Format
Masks
The body'srearplatehas
anaccurately
machined
mount
that
accepts
the
6 x 4.5
and
6x 3panoram-
ic format masks.
To installa mask,
push
it in place
in themount.
The masks
canbeused
horizontallyor vertically.
Eachformat maskhasa corresponding
viewfind-
er mask
which isplaced
overthefocusingscreen.
Film
Plane
lndex
The film plane
indexon theright handside
of the
magazinebody indicates the position of the film
plane to facilitate accurate determination of the
film-to-subjectdistance.
This can be particularly
importantin close-up
photography.
t
o
Magazine Operation 13

u
'o
lgfij:;$ftufrar
$peed
lens
and
$hutter
Functions
The shutterspeedselector
ring is thering located
closest
to the front 6f,'ihe.lens.To setthe speed,
turn the ring until the desired marked shutter
speed
positionalignswith thecentrallensindex.
The white scaleshowstheshutterspeeds,
and
the
orar.rgescaletheexposurevalues
(EV).
Thegieen'F' settingis usedonly whenthelensis
attached to a Hasselblad camera in the 200 or
2000 serieswith a focal plane shutter.The opera-
tion of the diaphragm is not affected.The 'F' set-
ting can only be engaged/disengagedwhen the
green
leveris pressed.
If theF settingisusedwith
the 503CW,exposureerrorswill occur sincethe
shutter
remains
open.
Theaperturesettingring isthesecondclosestring
to the front of the lens.The aperturevalue is also
setagainstthecentral
lensindex.CF lenseshave
an automatic diaphragm that stops down to the
preset working aperture at the start of the expo-
suresequence.
-tt.:.*
e ffi
so
m
Estros@
W
mn6fls8642$
;;l
14 " Lensand Shutter
Functions

El
'o
Warning
ftlark
Youwill findared
markon the
shutter
speed
scale
above
the1,I/2, and,l/4s
settings.
Thisls towarn
you of possible
exposure
efforsas
detailed
above.
The auxiliary shutter
will terminate
the exposure
prematurely
if you relax thepressure
on thebut-
tontoosoon.
Listen to thebuzzing sound
of the delay escape-
mentin thelens'shutter
and
maintain
thepressure
on therelease
buttonuntil thesound
stops.
Tt flrRl
u ut9
Lensand Shutter Functions 15

U
'o ExposureUalues
The aperture
and shutterspeed
combination set
opposite the central lens index determinesthe
exposure.Every combination of shutter speed/
aperture
has an equivalentexposure
value (EV)
which you can read and set against
the red EV
index on therisht handsideof thelens.
Interlocked
$hutter
$peed
/ Apef,ute
If you want to change
the shutter
speed
or aper-
ture while still keeping the same shutter
speed/aperture
combination(EV), you caninter-
lock thespeedandaperturesetting
ringsby hold-
ing down the interlock button which is on the
right of the aperture
scale.
When interlocked,
the
ringsmovetogether,
increasingor decreasing
the
aperture
to compensate
for a decrease
or increase
of speedrespectively.
I
NE3
F
qoJ
F
t]:@
€o
16 Lensand Shutter
Functions
Other manuals for 503CW
3
Table of contents
Other Hasselblad Film Camera manuals

Hasselblad
Hasselblad XPAN II User manual

Hasselblad
Hasselblad Xpan User manual

Hasselblad
Hasselblad 2000FC User manual

Hasselblad
Hasselblad 501CM User manual

Hasselblad
Hasselblad 905SWC User manual

Hasselblad
Hasselblad 202FA User manual

Hasselblad
Hasselblad 503CW-CFV II User manual

Hasselblad
Hasselblad 501CM User manual

Hasselblad
Hasselblad XPAN II User manual

Hasselblad
Hasselblad 2000FC/M User manual