2 of 4
ASSEMBLY
CAREFULLY REMOVE THE CONTENTS FROM THE CARTON.KEEP THE CARTON FOR FUTURE STORAGE.DO NOT FORCIBLY REMOVE CONTENTS.
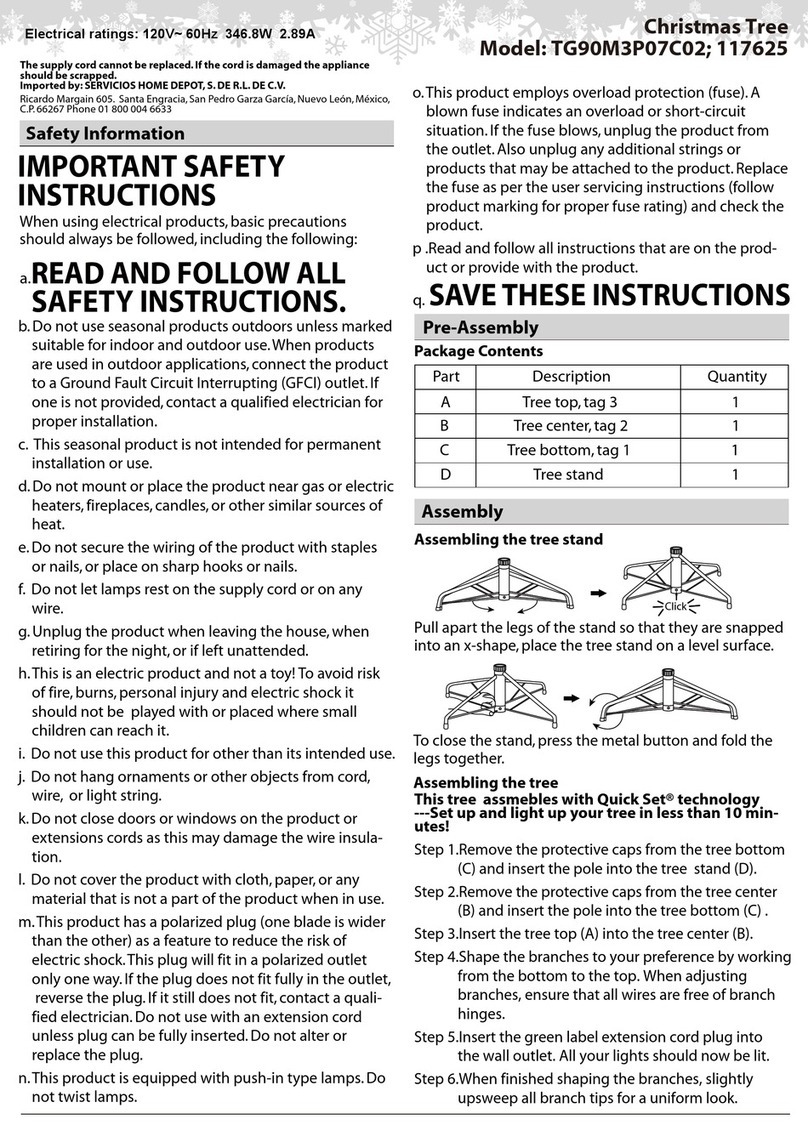
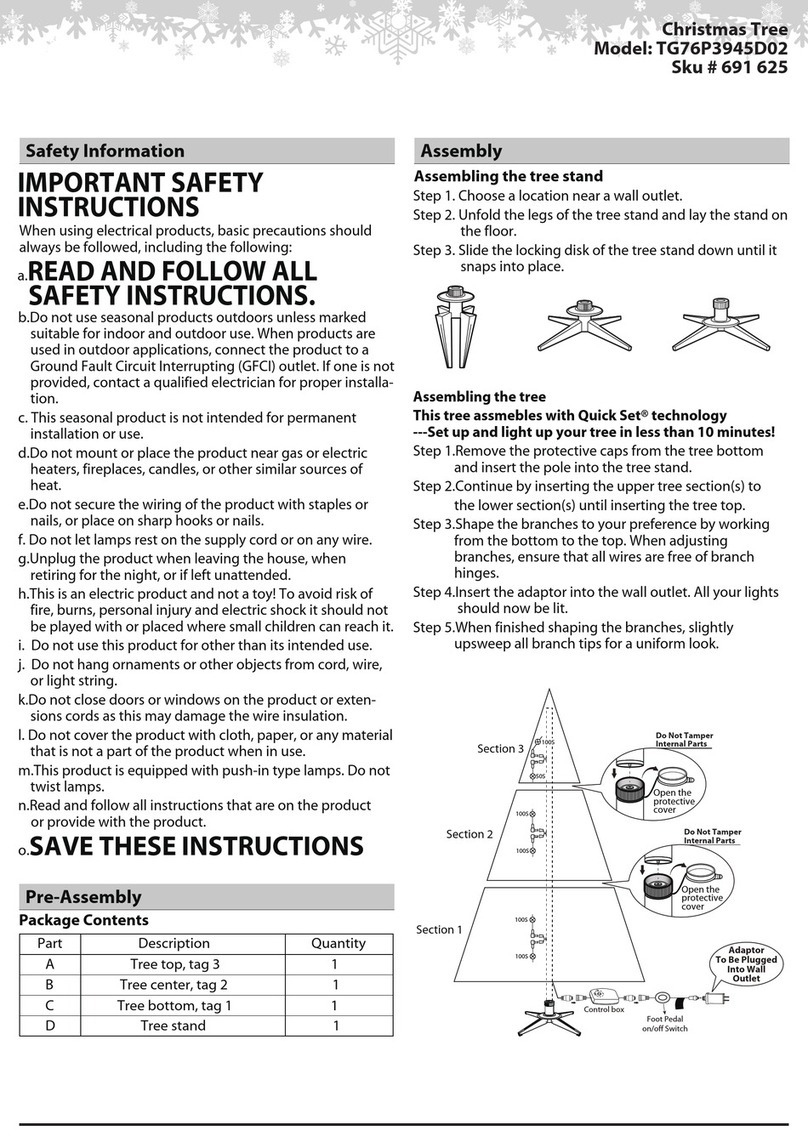
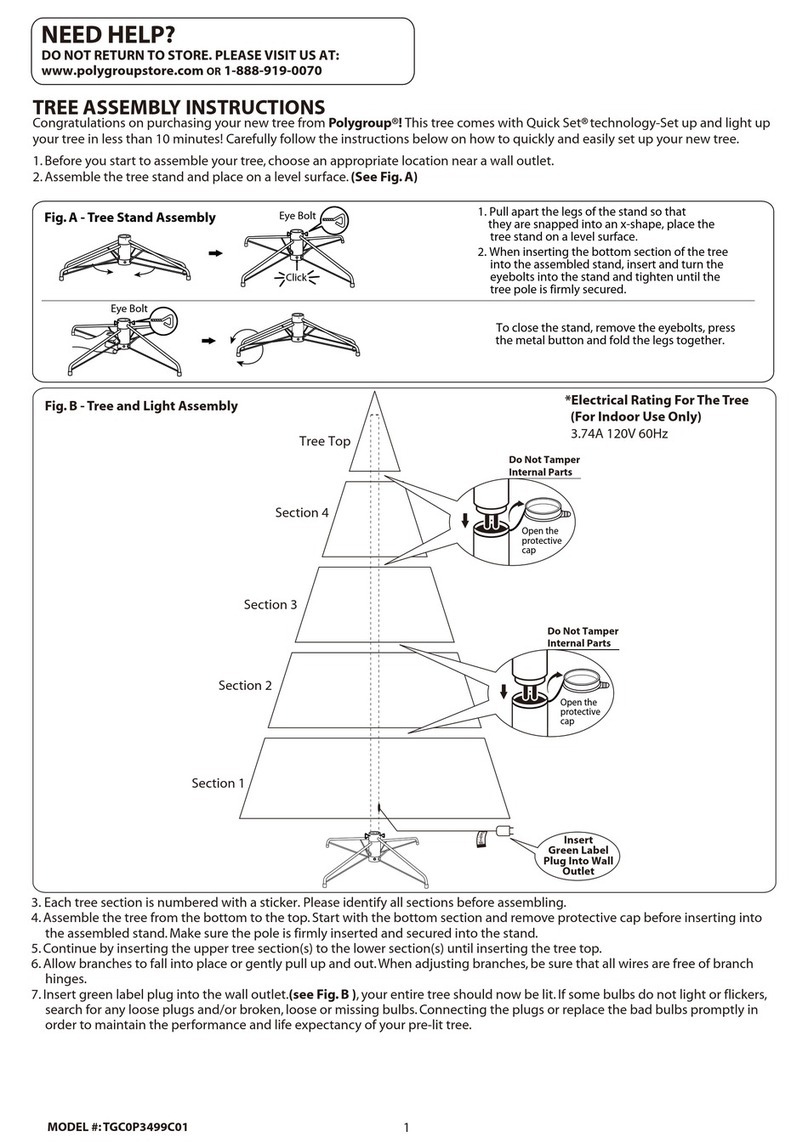
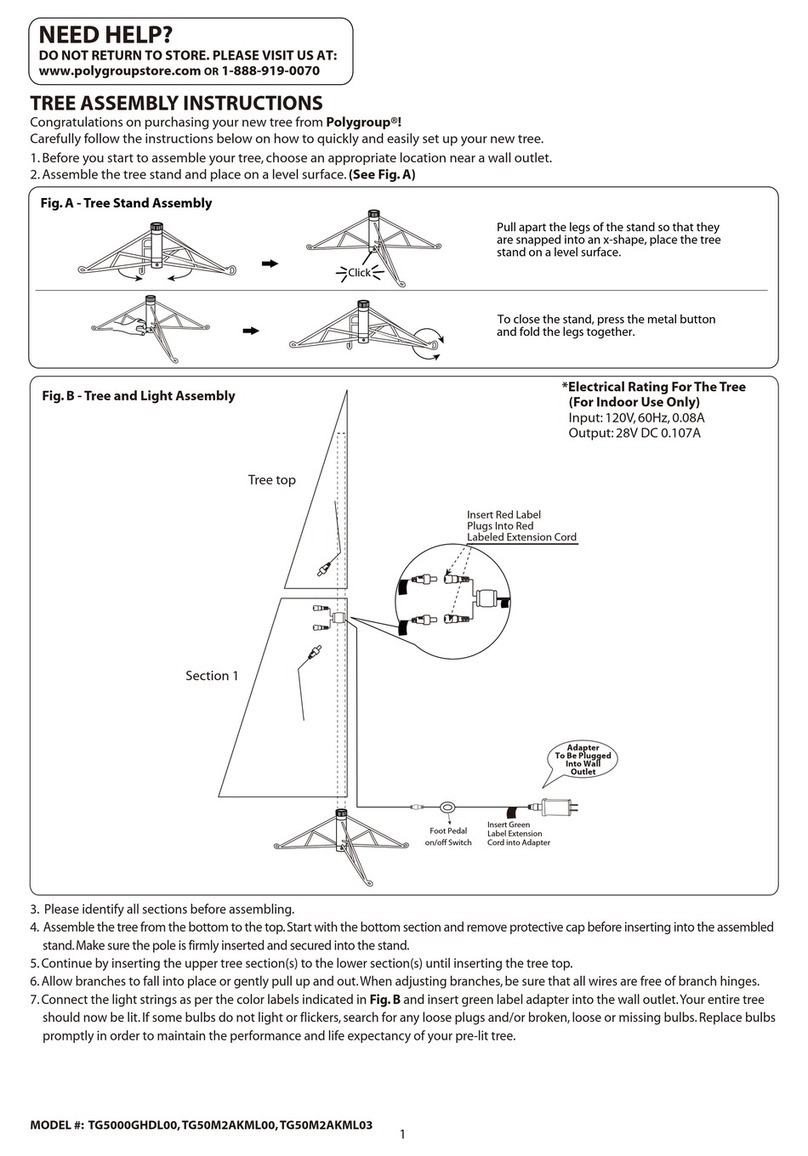
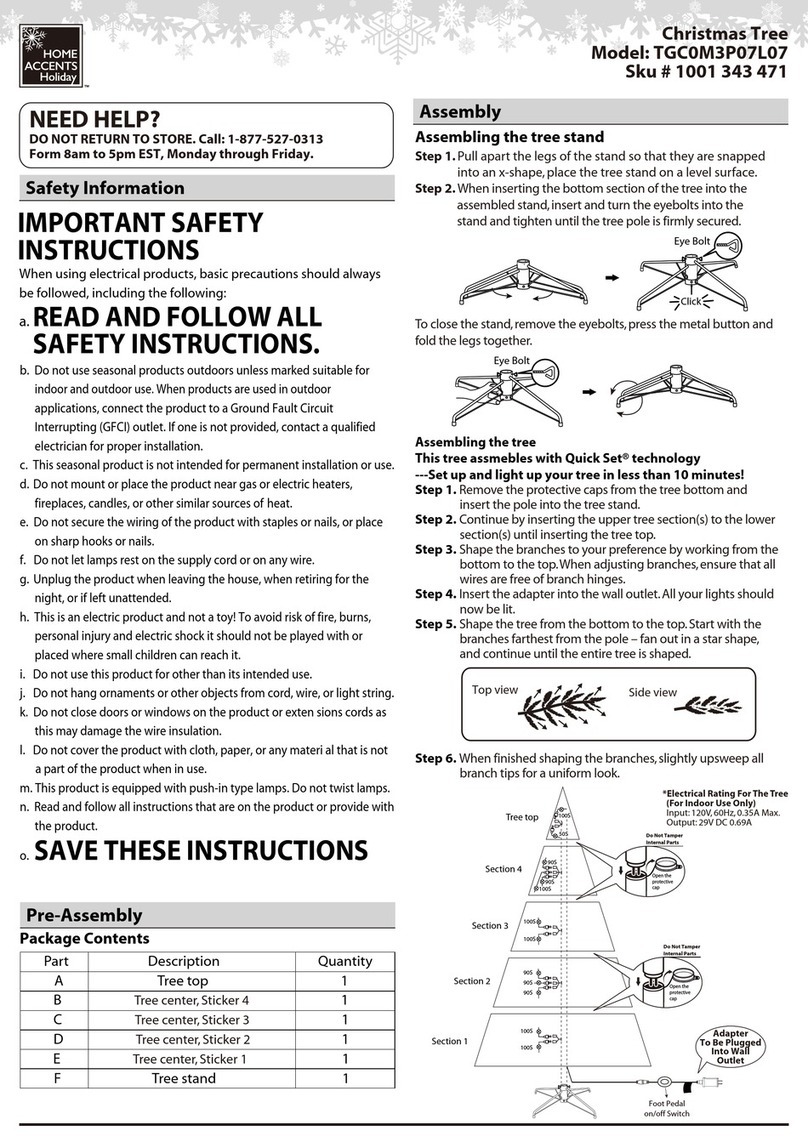
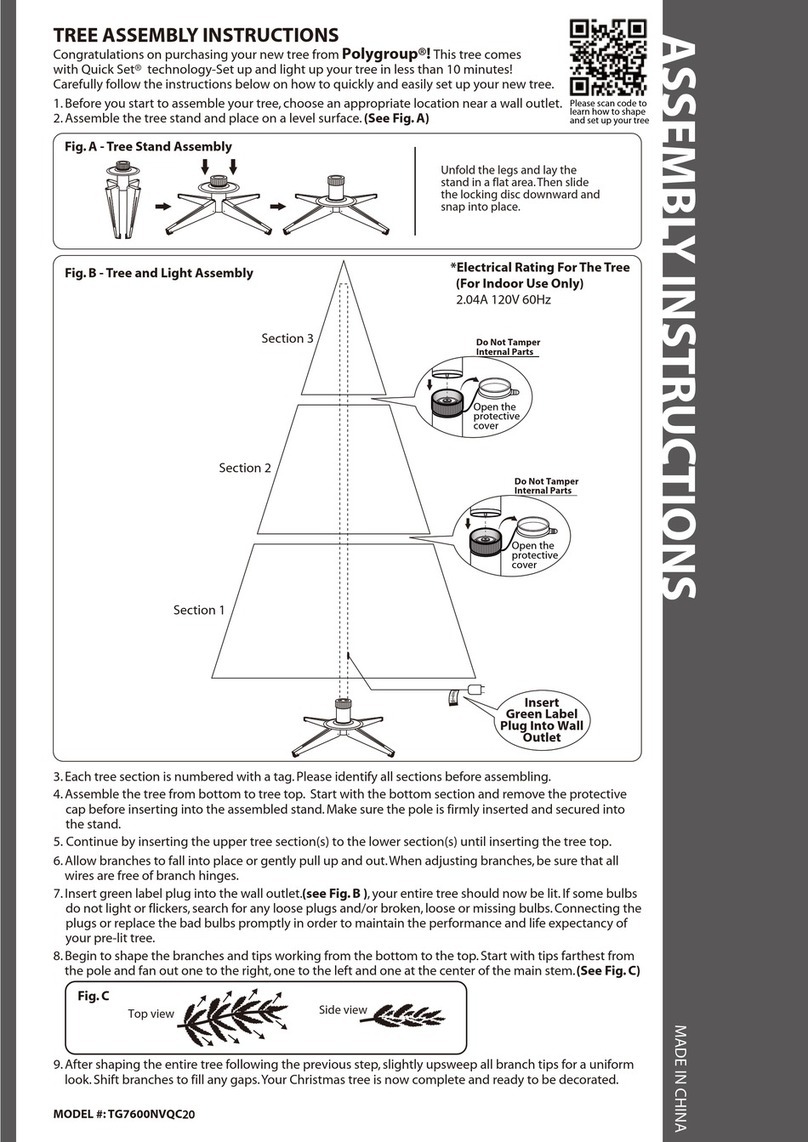
Step 1: Locate the TREE STAND.Rotate the legs until the three (3) holes on the inner
and outer walls of the hub align, and the stand forms an “X” shape (see Fig. 1). There
are three (3) screws with the stand. Insert the screws into the holes, but do not turn
all the way in. Leave space inside the hub for the tree pole to slide down.
Place the stand where you are going to set up the tree. THIS PRODUCT IS SUITABLE
FOR INDOOR USE ONLY. IMPORTANT: DO NOT PLACE THE TREE WHERE IT IS
LIKELY TO WOBBLE DUE TO UNEVEN FLOORS OR THICK CARPETING. PLACE THE TREE
ON A LEVEL SURFACE.
Step 2: Find TREE SECTION A, tagged with the letter “A”. Remove the green pole cap (see Fig. 2) that is
covering the bottom of the pole. It is a protective cover only and can be kept for storage if desired. Insert
TREE SECTION A into the TREE STAND. Do not force the pole. It will slide down to its correct position. Make
sure the pole is seated firmly in the stand. Turn all three screws evenly until they touch the pole. If Tree
Section A is not sitting straight, then simply loosen the screws, adjust the tree pole, and retighten the
screws.
Allow the branches to fall into place. The branches are connected to the tree pole by metal hinges
(see Fig. 3). NOTE:SOME BRANCHES MAY CATCH ON ONE ANOTHER.IF THAT OCCURS,SLOWLY PRESS DOWN ON EACH
BRANCH UNTIL IT FALLS INTO PLACE.
Step 3: Locate TREE SECTION B, tagged with the letter “B”. Insert TREE SECTION B into TREE SECTION A.
Make sure the section is sitting securely and allow the branches to fall into place.
Step 4: Locate TREE SECTION C, tagged with the letter “C”. Insert TREE SECTION C into TREE SECTION B. Make sure the section
is sitting securely. NOTE:THE TOP,INNER PART OF THE POLE TO TREE SECTION BHAS A GREEN POLE ADAPTER INSIDE.THIS POLE ADAPTER IS
NOT TO BE REMOVED.TREE SECTION BHAS A GREEN STEM COMING OFF THE BOTTOM OF ITS POLE WHICH FITS SNUGGLY INTO THIS ADAPTER AND
GIVES STABILITY TO YOUR TREETOP.
The branches are not hinged to the pole in this section, so you will need to pull the branches down slightly by hand.
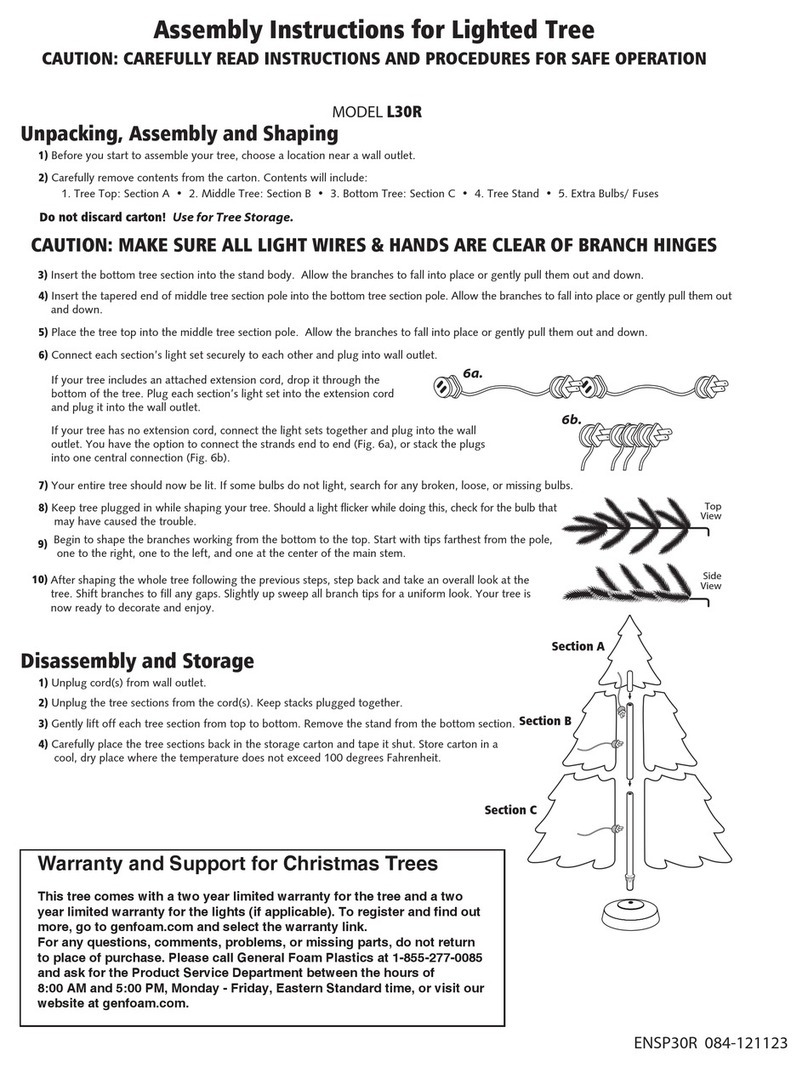
Step 5: Connect the light set plug(s) from each tree section into the
section below securely. To find the connections easier, the light sets have
a male/female plug with a colored barbell label. For the connection from
Section A to B, there will be a red barbell label with the number one .
For the connection from Section B to C, there will be a yellow barbell label
with the number two . Further secure the plug connection by screwing
the outer cover into place.
Step 6: In TREE SECTION A, there is a power adapter that is to be guided down through the tree
section to the floor. Insert it into a power outlet in your home or into a U.L. approved power strip
(not included). Tap the foot pedal (see Fig. 4) to turn the lights on. Your tree should now be lit. If
some bulbs do not light, please go to the section named TROUBLESHOOTING GUIDE FOR LIGHTS.
Press the foot pedal again to turn the tree off.
SHAPING
1. Plug in the lights as you are shaping the tree.
2. The branches were condensed to fit into the box and can be reshaped to their original fullness by bending and
separating each of the branches in a more realistic manner.
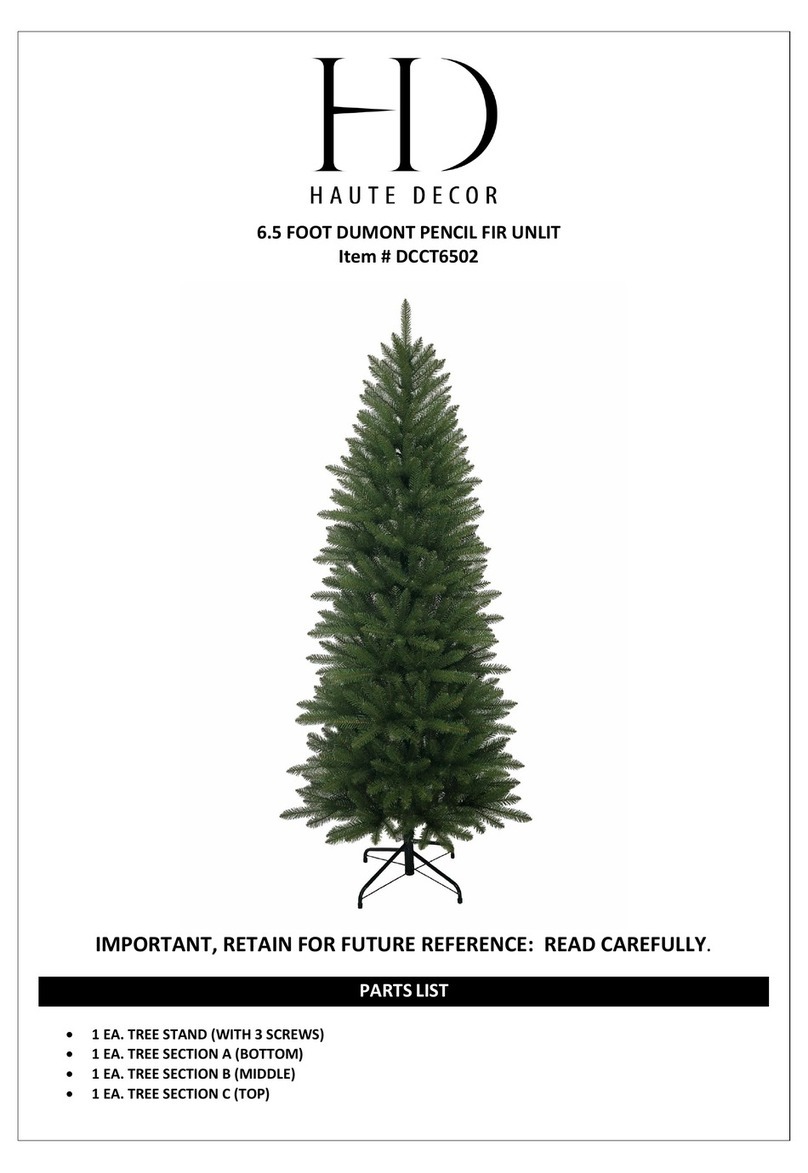
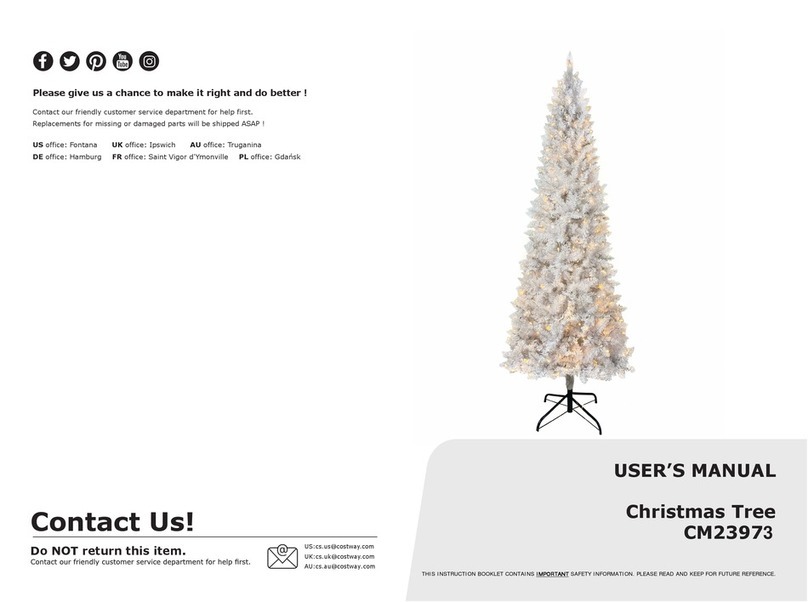
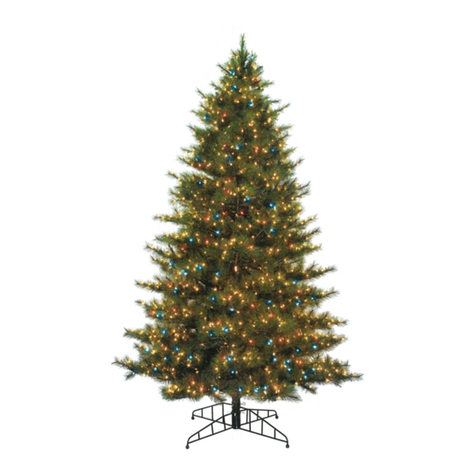
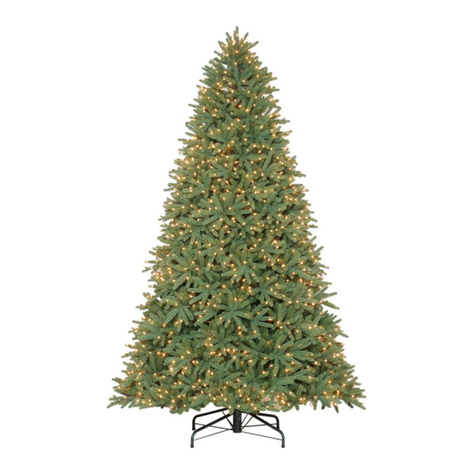
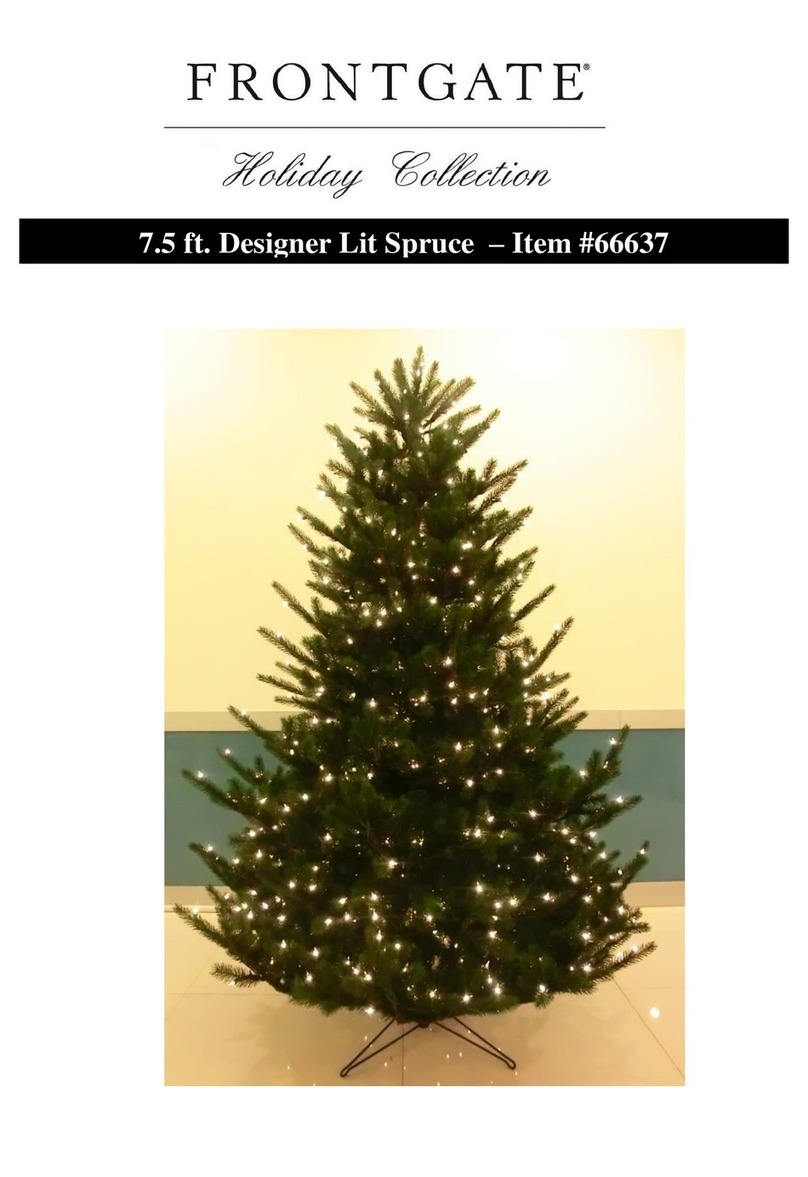
3. Please reference the image on the cover of this instruction manual to see what the tree should look like.
4. Shape by section and layer, starting at the bottom of the tree and working your way up to ensure coverage of the
whole tree.
5. On each branch, begin with the tips closest to the pole and work your way to the end of the branch.
6. The tips should be shaped up and to the sides, resembling a peacock’s fanned tail. Offset the tip from the tip before
to hide the tree’s pole and fill spaces. Continue spreading the tips until they resemble that of a real tree.
7. After shaping the whole tree, step back and take an overall look. Shift branches to fill any gaps. Your tree is now
ready to decorate and enjoy!
AS YOU WILL BE USING THE TREE EVERY YEAR,THE FOLLOWING ARE TIPS TO KEEP IT IN GOOD CONDITION AND MAINTAINED:
•Dust gently using a soft cloth or fabric duster.
•Do NOT use any chemicals or solvents to clean.
•Handle the light sets gently. Do NOT pull or tug light sets as this may inadvertently loosen the bulb.
•Follow all Storage and Safety Instructions.
O NOT REMOVE THE
BARBELL LABELS ON YOUR LIGHT SETS.
THEY WILL HELP YOU TO EASILY FIND THE
PLUGS AND CONNECT THE FOLLOWING YEAR.


