The best places to find the door switch wire are:
•At the pin switch: when testing the pin switch, check wire to ensure that it ‘sees’ all the
doors. Often, the passenger switch will cover all the doors even if the driver’s switch
will not.
•At the interior light: this may not be your best choice if the vehicle has delayed interior
light supervision, but it will work in many Hondas, or any vehicle with completely
diode-isolated pin switches.
•Once you have determined the wire colour, the easiest place to connect to the wire is
often at the kick panel, at the windscreen pillar, or in the running board. When an easy
location is not available, running a wire to the interior light itself is often the best solution.
How to find a door pin switch trigger wire with multi-meter:
1. Set to DCV or DC voltage (12v or 20v is fine).
2. In most Fords, fasten the (-) probe of the meter to chassis ground. In most other cars,
fasten the (+) probe of your meter to (+) 12v constant.
3. Probe the wire you suspect of being the door trigger wire. If the meter reads (+) 12v
when any door is opened, you have found a trigger wire.
There are two acceptable ways of making a wire connection – solder connections and crimp
connectors. When properly performed, either type of connection is reliable and trouble-free.
Regardless of whether you solder your connections or you use mechanical-type crimp on
connections are mechanically sound and that they are insulated.
Cheap electrical tape, especially when poorly applied, is not a reliable insulator. It often falls
off in hot weather. Use good quality electrical tape or heat shrink.
• Never twist-and-tape the wires together without soldering.
• Never use ‘fuse taps’ as the can damage fuse box terminals.
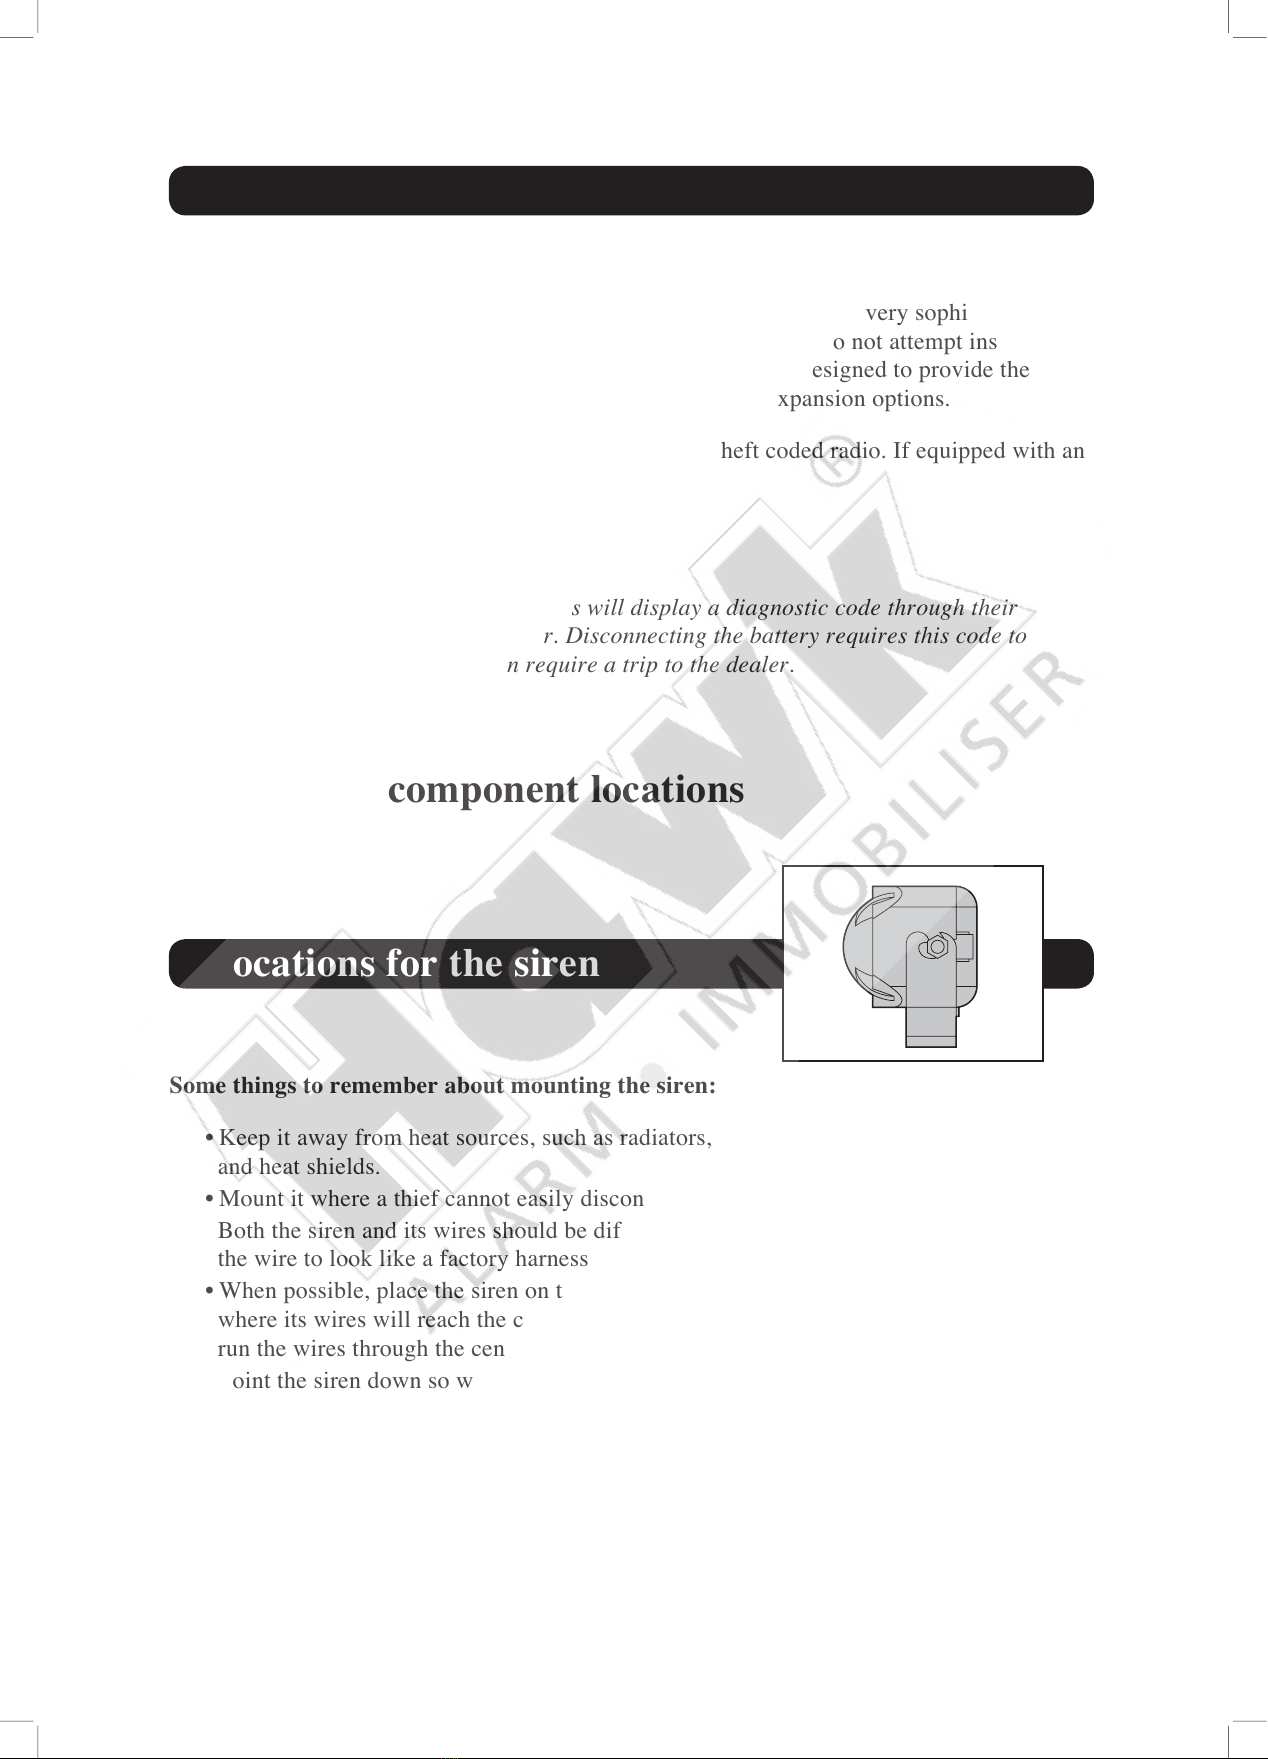
Finding the door pin switch circuit
Making your wiring connections
7