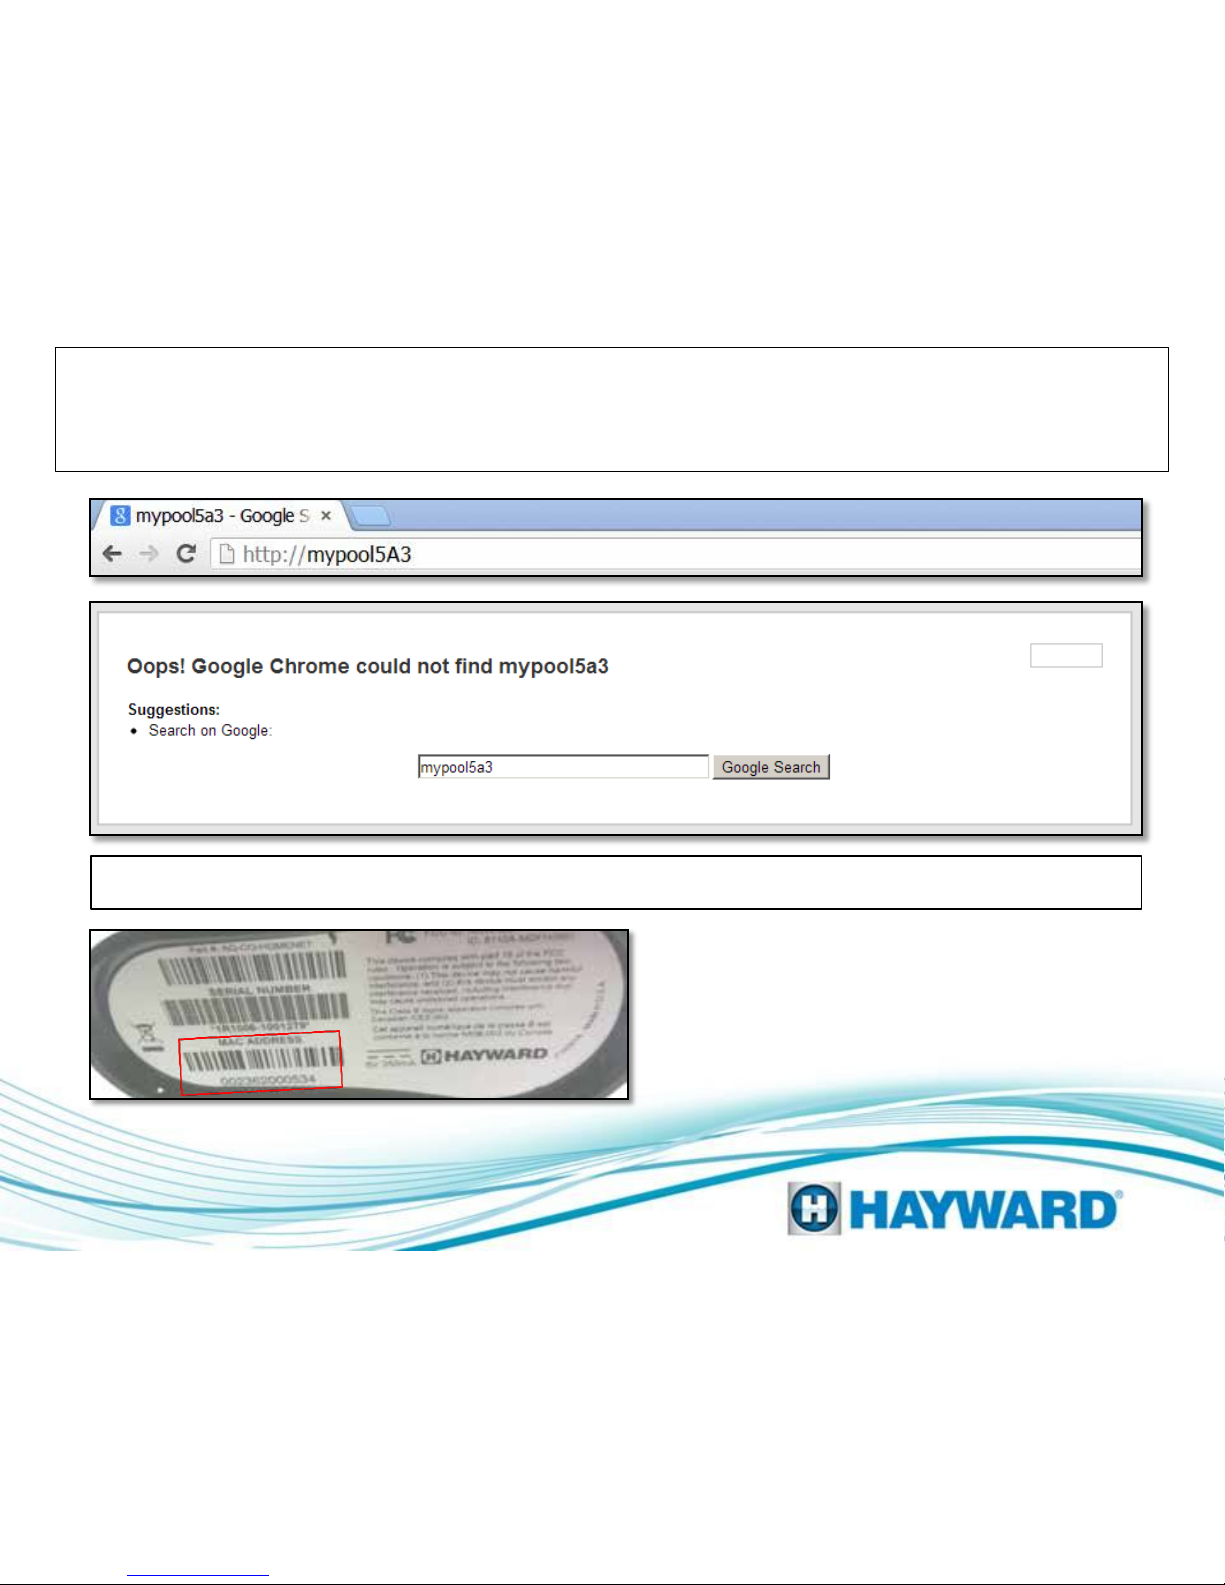
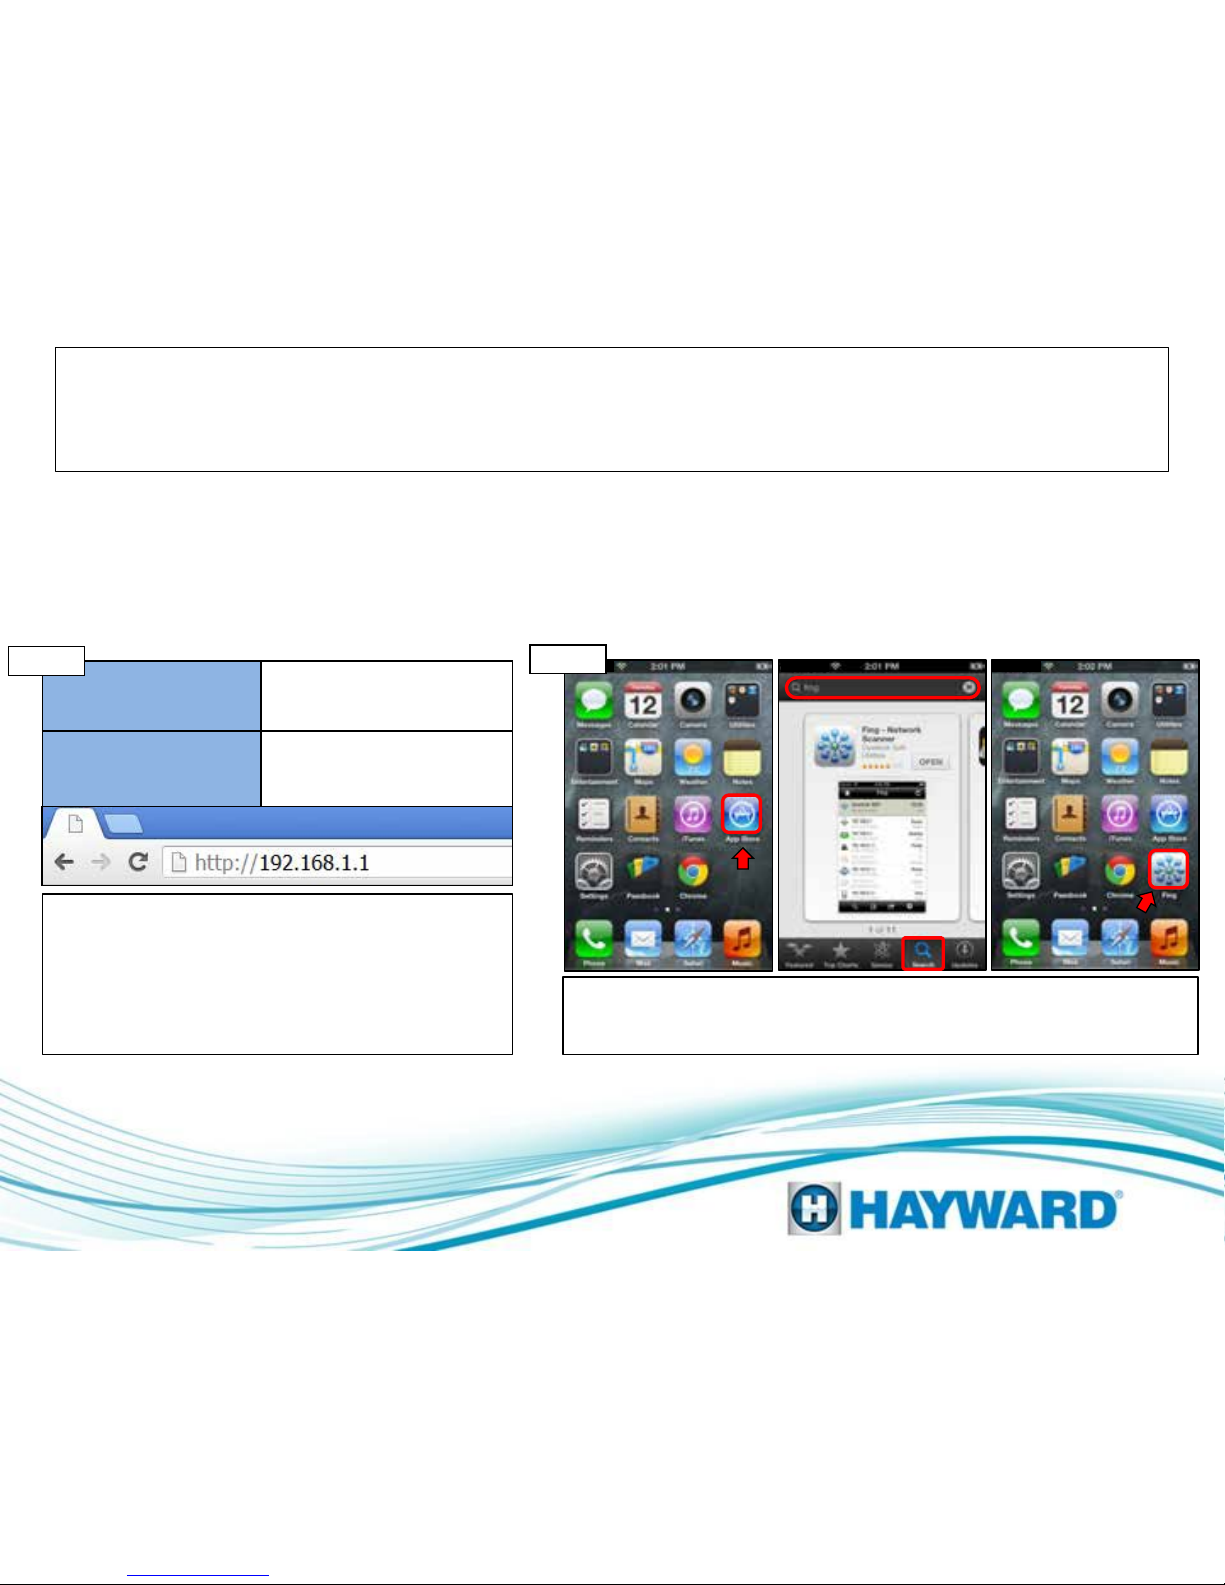
Substitute the http://mypoolxxx with
the IP address assigned to the ACHN
by the home network
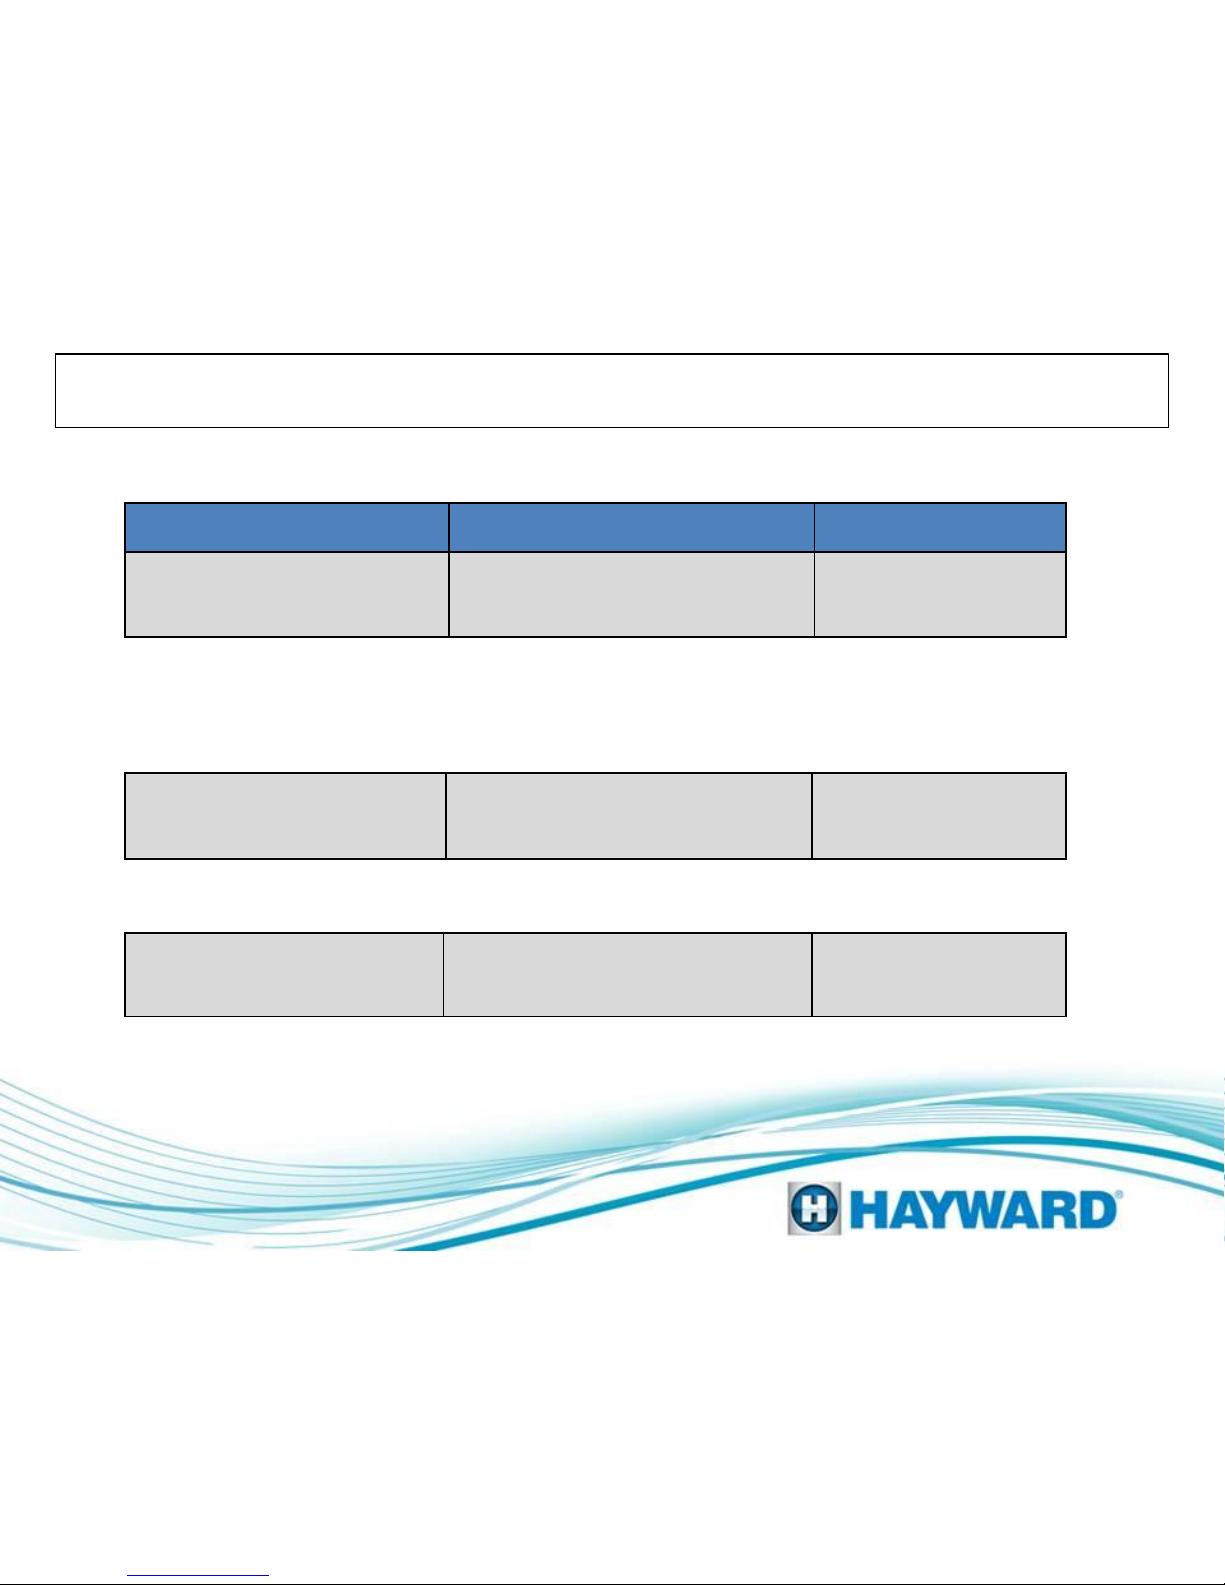
IP Address MAC Address
192.168.1.4 002362003A16
Step 1B
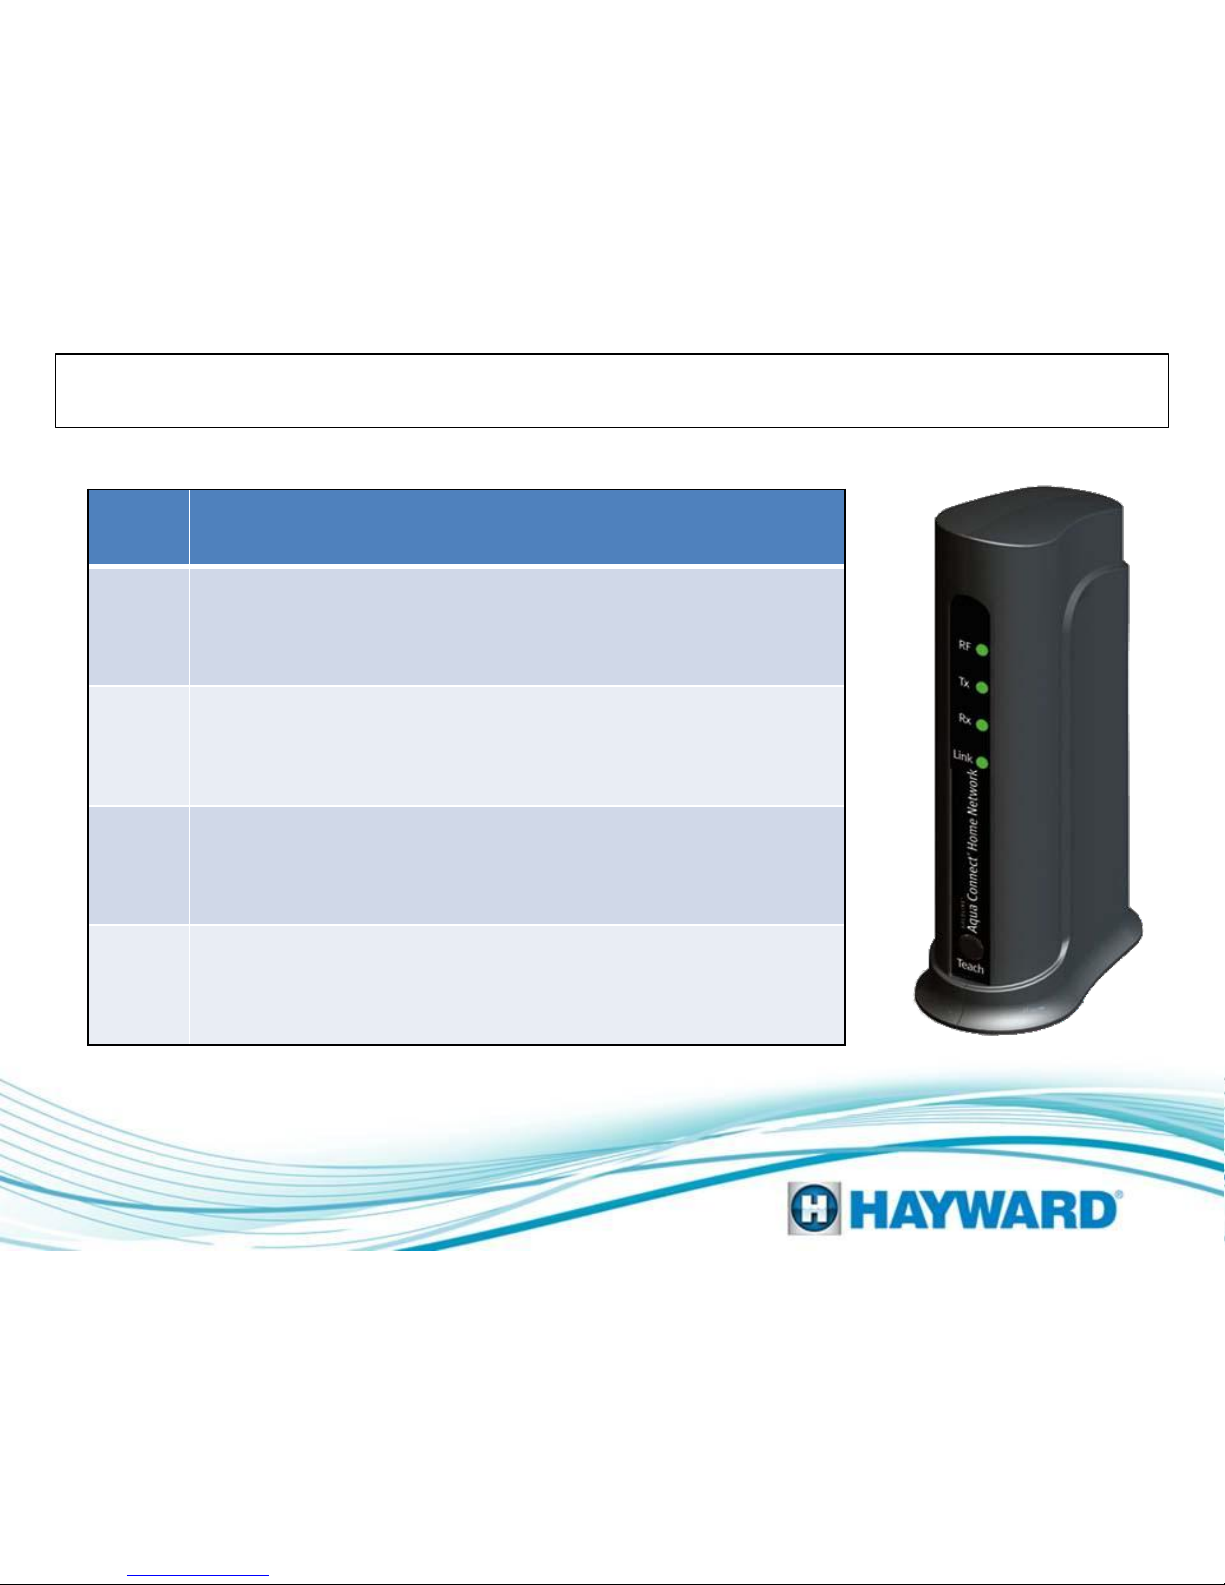
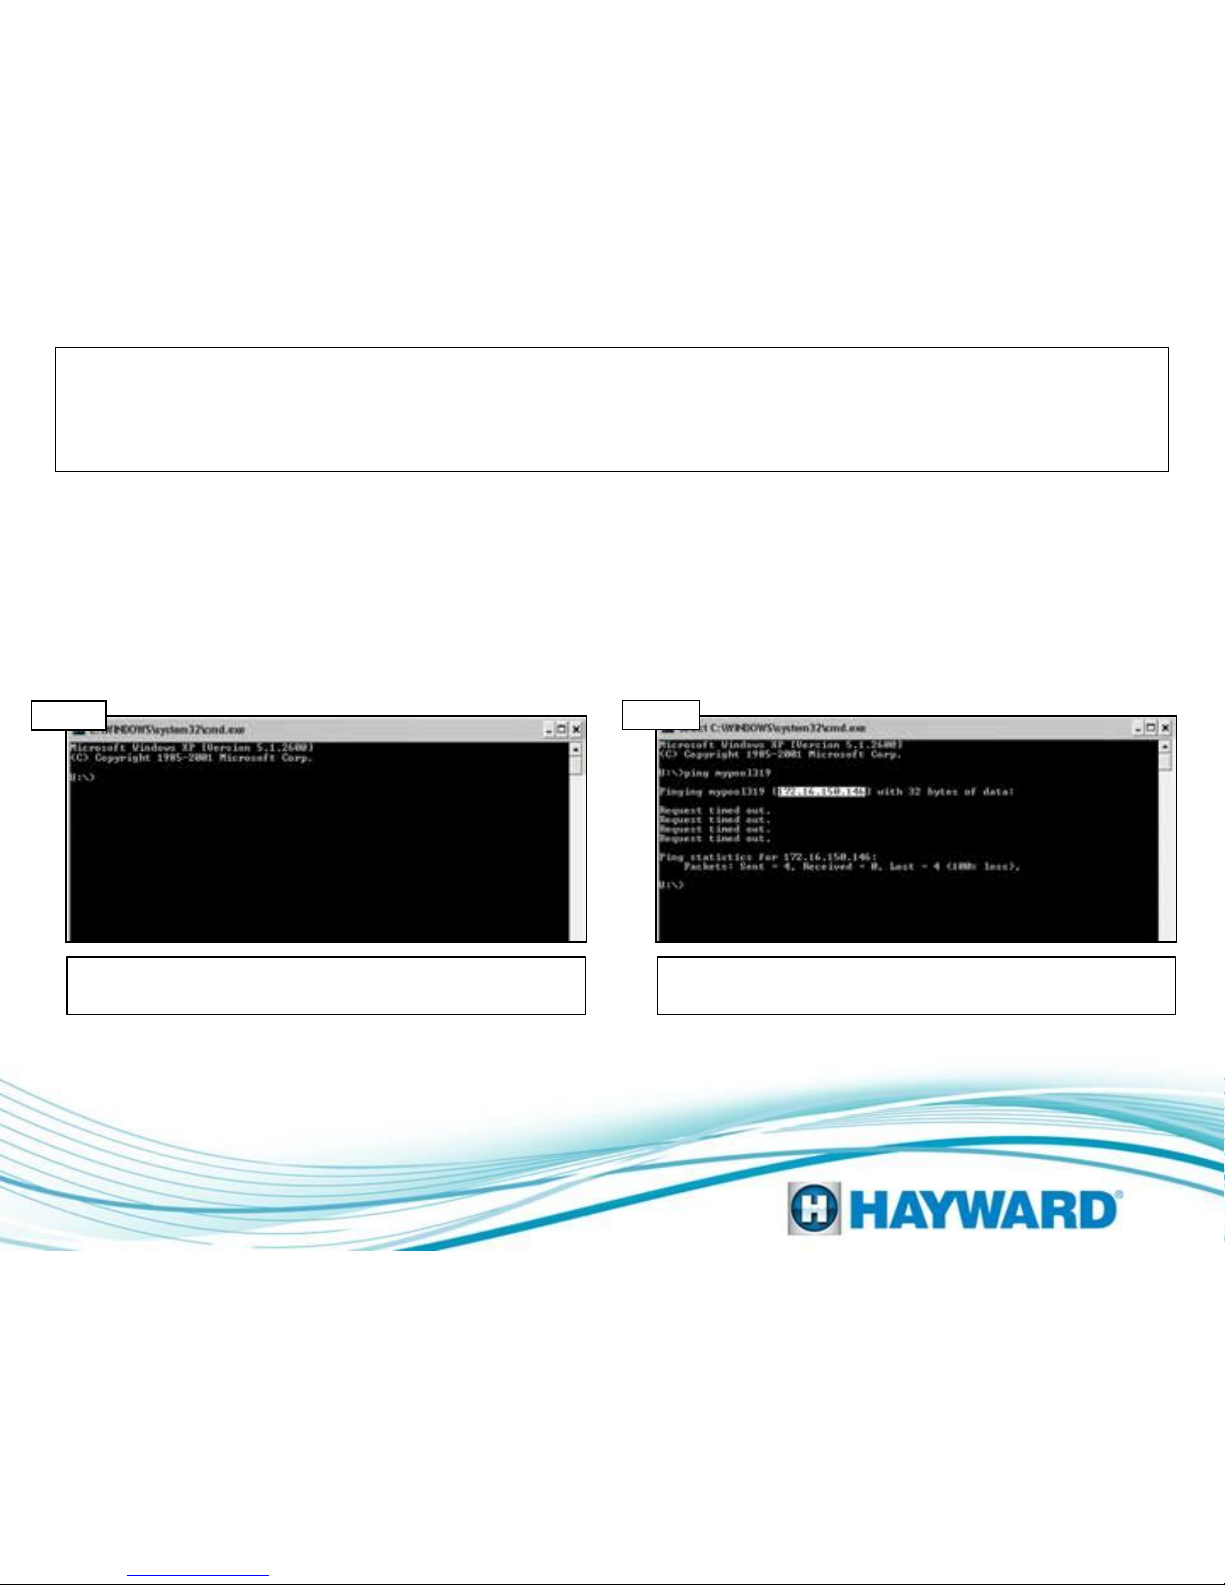
1: Aqua Connect Not Functioning
LAN Feature Not Showing Up
Highlighted in blue is an example of an IP address.
The IP address will be assigned by the customer’s
home network, whereas the MAC address is the
equivalent of a social security number and is a unique
identifier. To obtain the IP address through an Apple
product go to step 1C. To obtain the IP address
through a PC, go to step 1E. (p.7).
I: Locate and click on the App Store, II: Locate
the “Search” icon at the bottom and type “Fing”
into the search bar III: Click on the “Fing” App
I: Click on the App Store which is located on the dashboard. II: Click on the
search option and type “fing” into the search bar. Click on Install (this
should be a free app) III: Open the app and proceed to step 1D (p.7).
I II III
Step 1C
Page 6