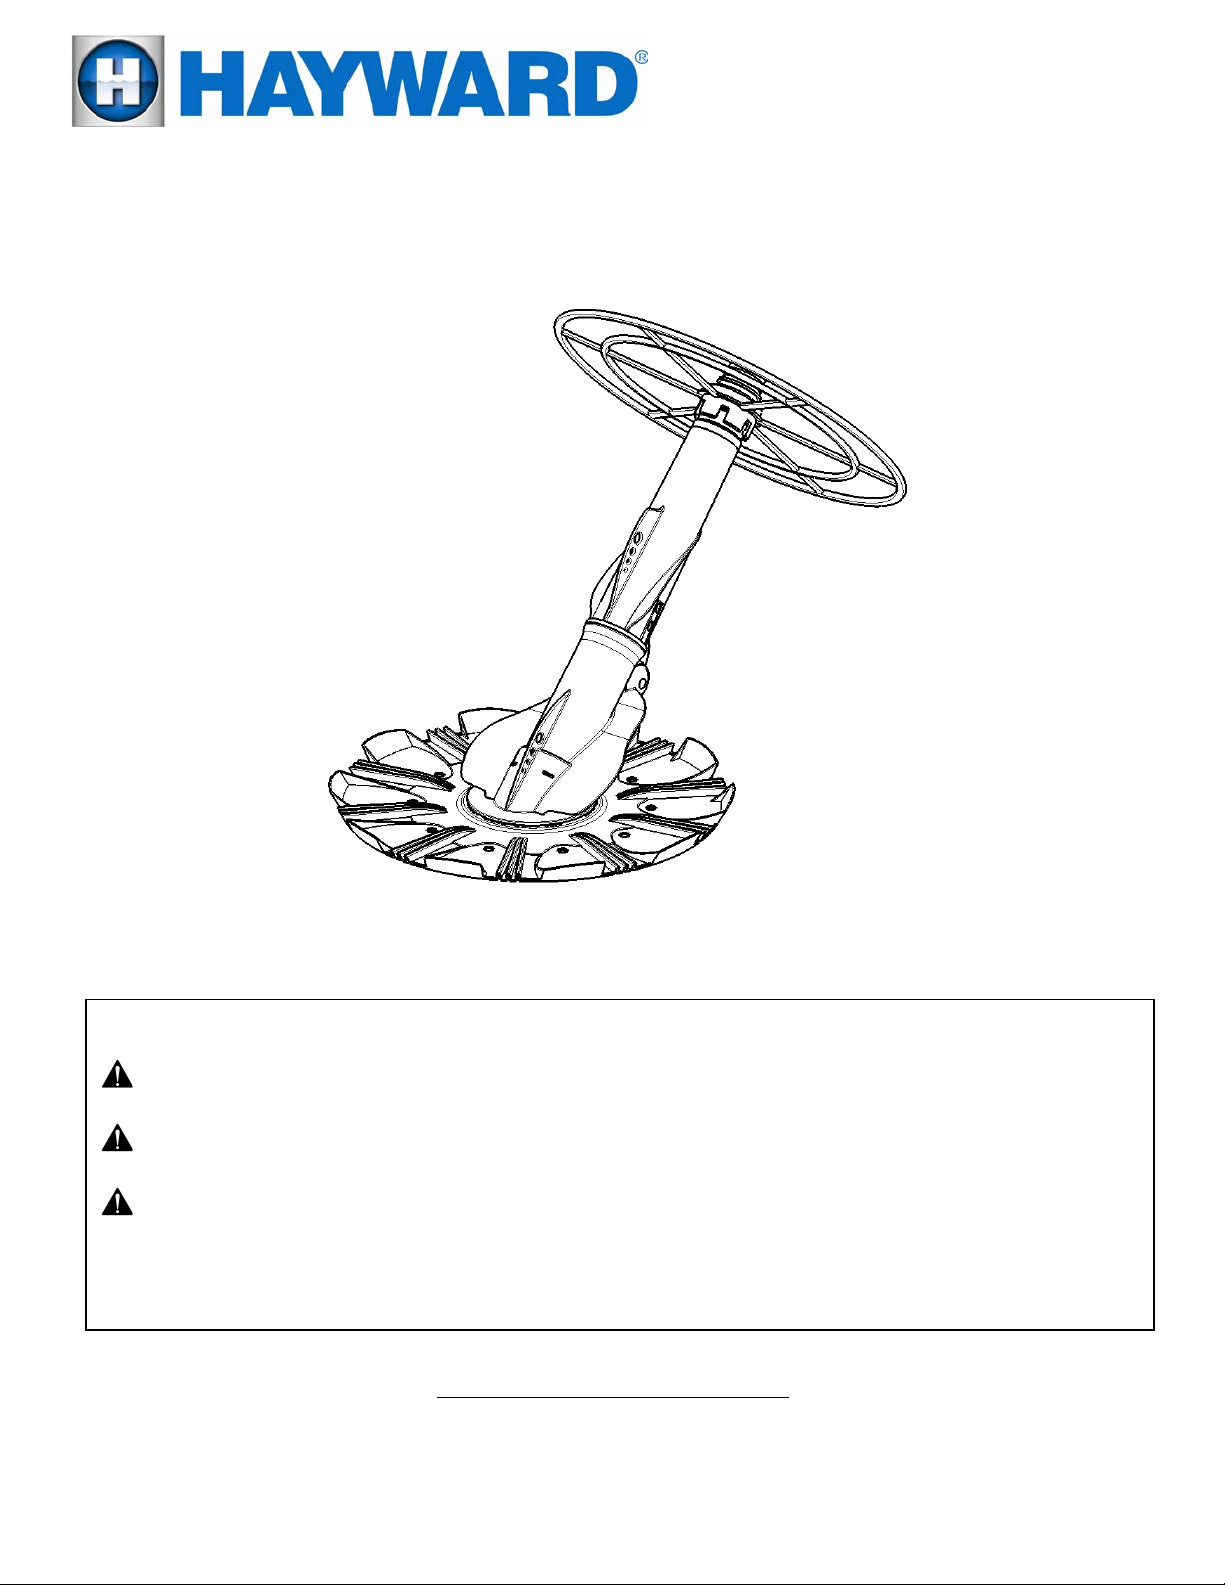
USE ONLY HAYWARD GENUINE REPLACEMENT PARTS
Page 2 of 12 DV4000 Rev. A
WARNING - Read and follow all instructions in this owner’s manual and on the equipment. Failure to
follow instructions can cause injury.
WARNING –This document should be given to the owner of the swimming pool and must be kept by
the owner in a safe place.
WARNING – This appliance is not intended for use by persons with reduced physical, sensory or
mental capabilities, or lack of experience and knowledge, unless they have been given supervision or
instruction concerning use of the appliance by a person responsible for their safety.
WARNING – Do not let children use or play with the cleaner.
WARNING – Use only genuine Hayward replacement parts.
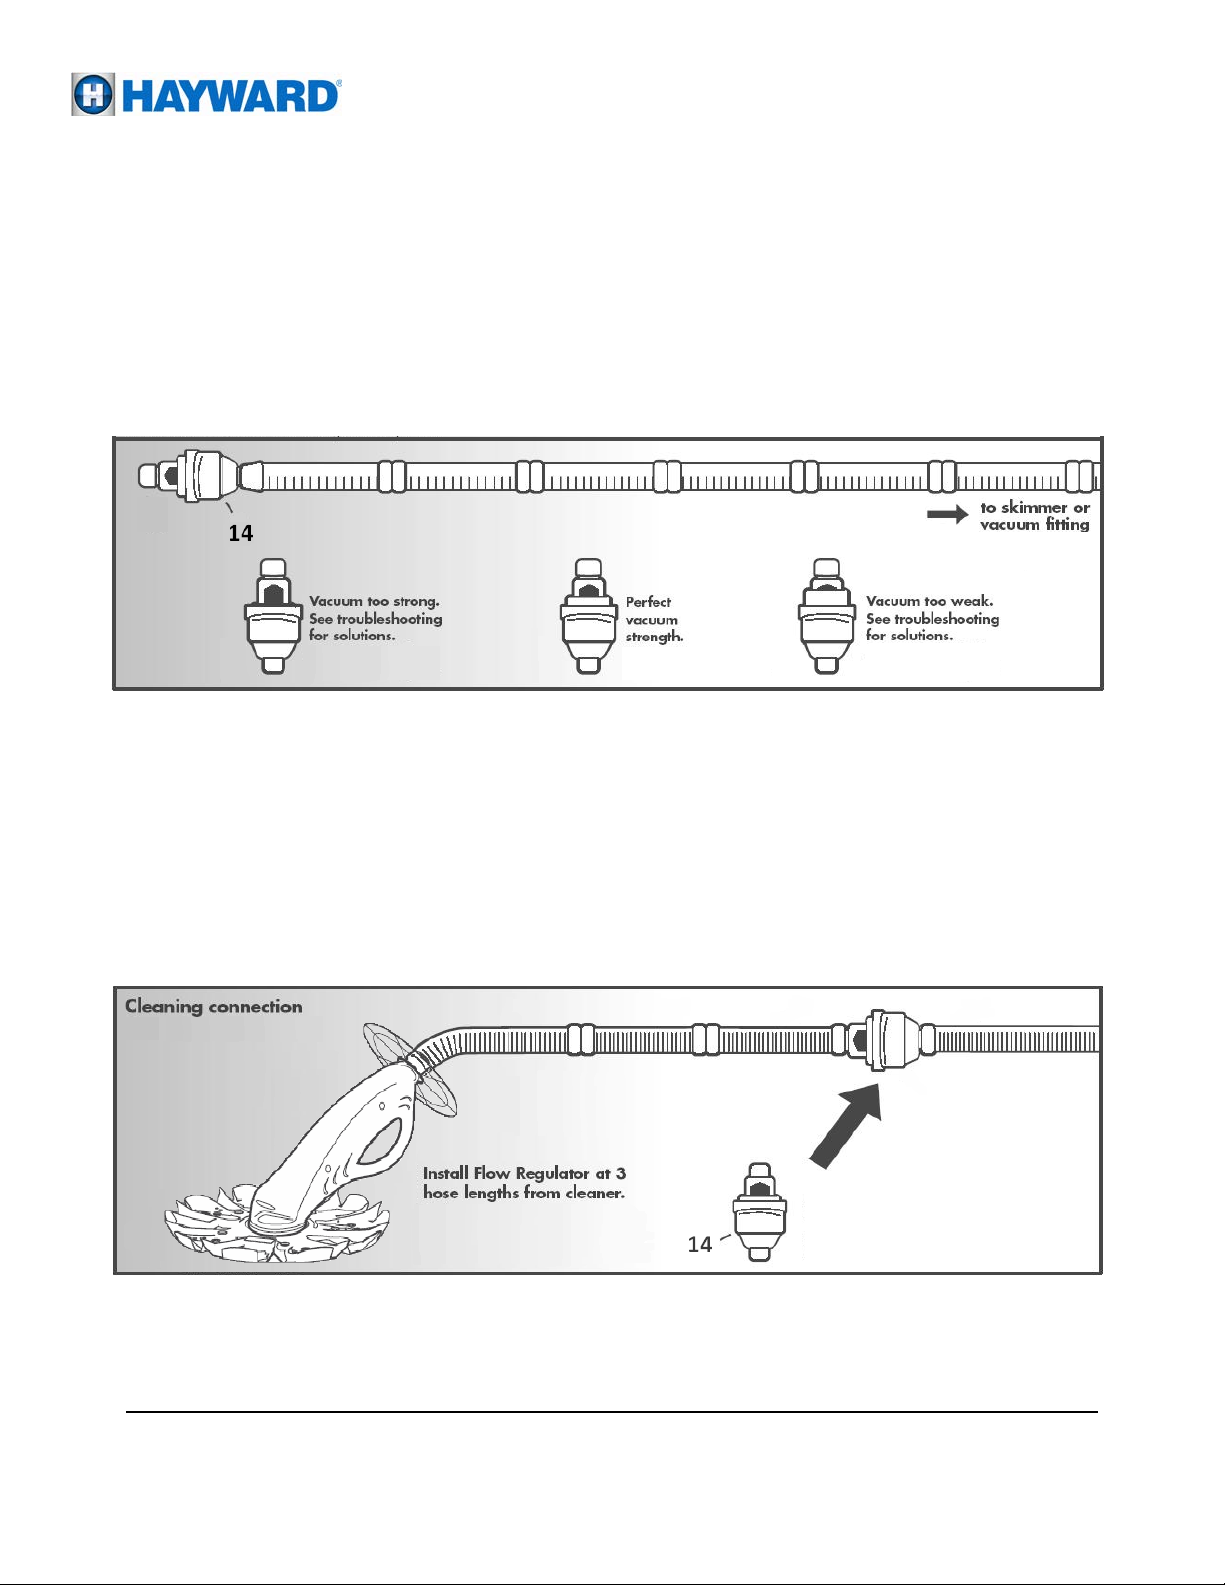
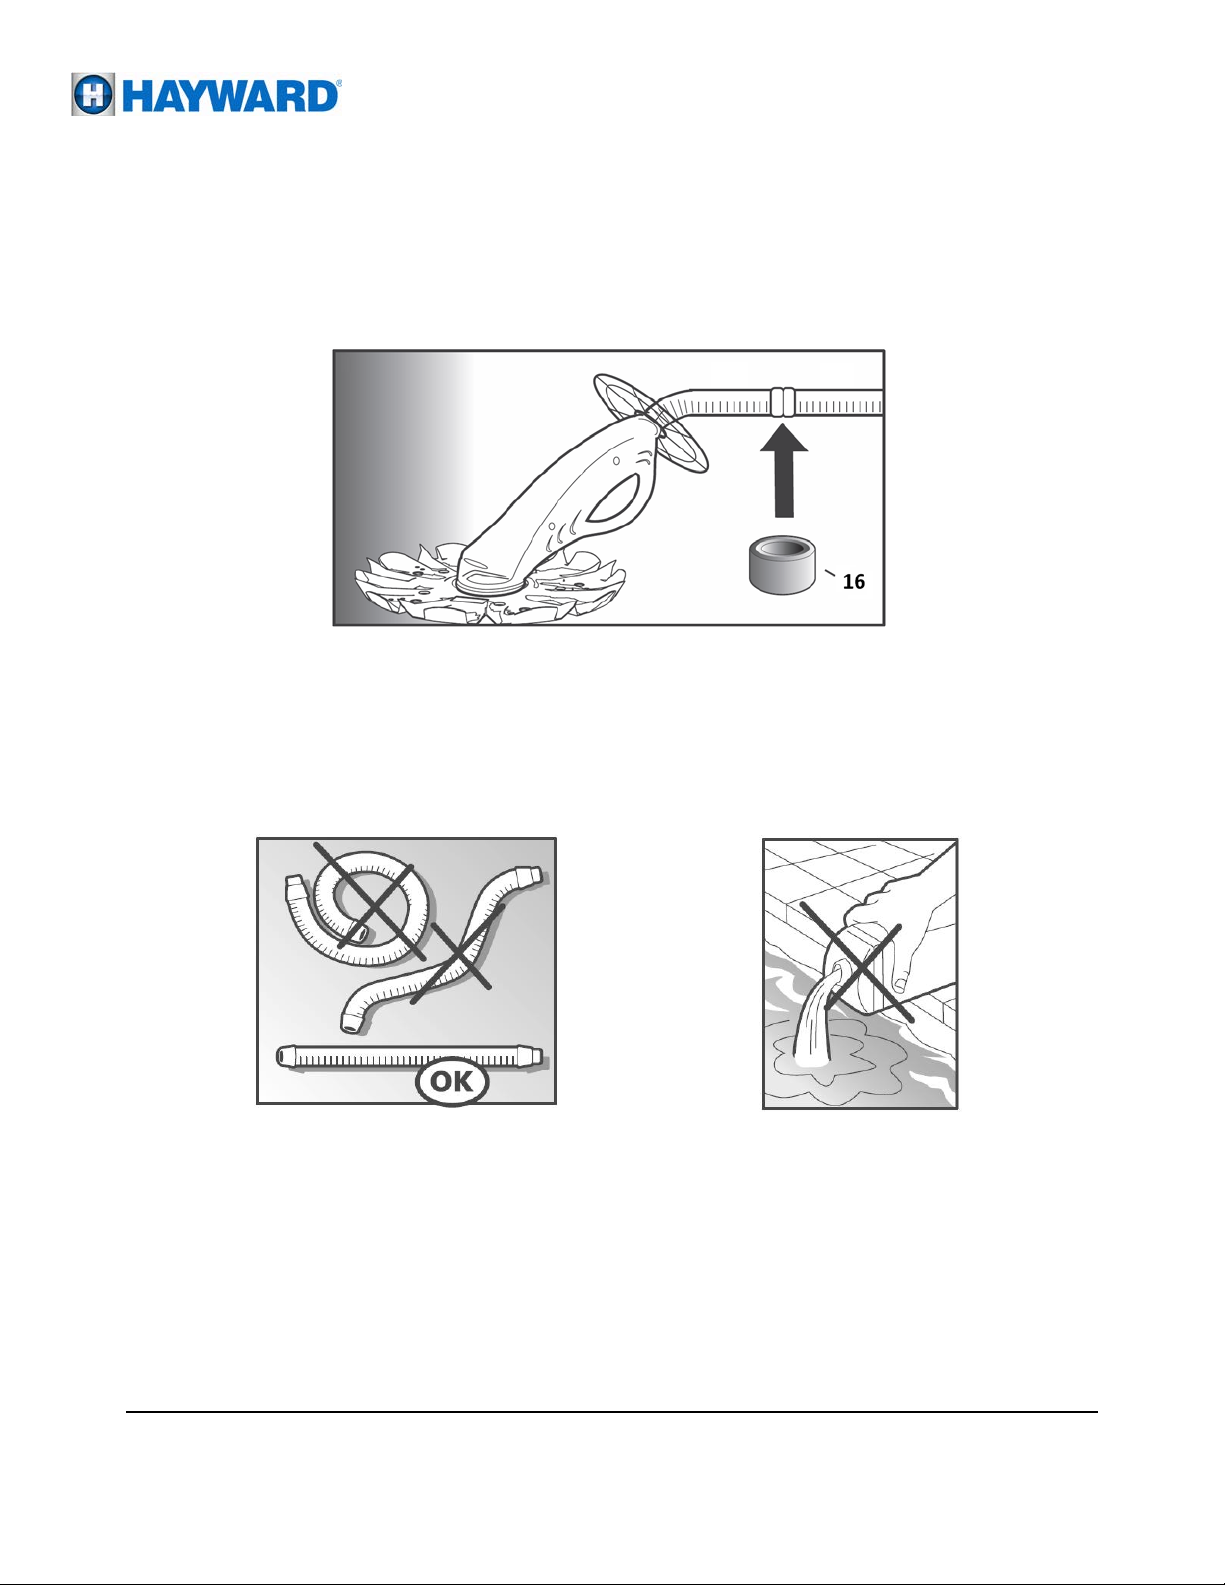
CAUTION – Regularly inspect the cleaner and hoses; do not use if damaged or if any rough edges are
visible on the cleaner as this can cause damage to the pool.
WARNING – Never operate the cleaner when there are people in the pool.
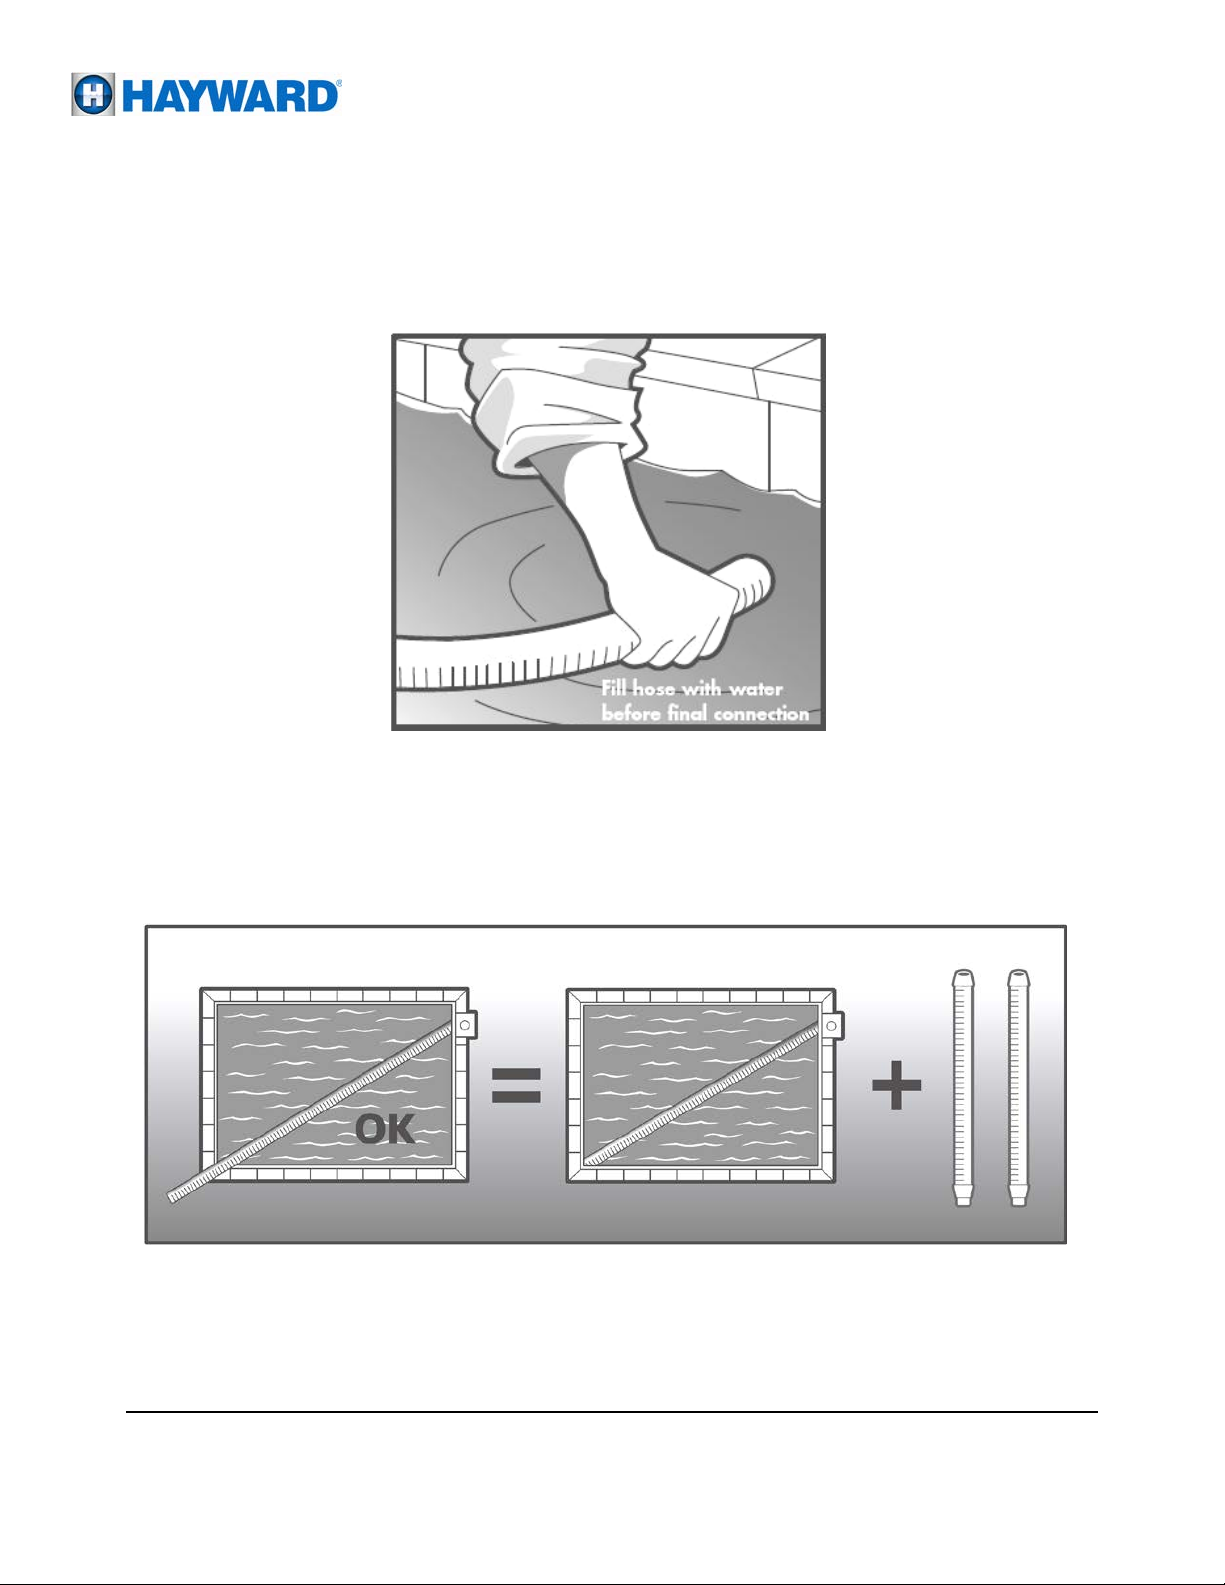
CAUTION – Vinyl liners are subject to deterioration or damage due to age, the effects of chemicals,
corrosion or failure of the supporting walls; as well as improper installation. Before installing your pool
vacuum, inspect the interior of your pool carefully. If your vinyl liner is brittle or has stones, roots, wrinkles,
metal corrosion in contact with the underside of the liner, or has damage to the base material or supporting
walls, do not install the pool vacuum before having a qualified pool professional perform the necessary
repairs or modifications. HAYWARD will not be responsible for liner damage caused by a cleaner out of
warranty or one that has been used in a pool having an aged or deteriorated liner. You are responsible for
liner damage if you use the pool vacuum under these conditions.