© 2014 HBX Controls2
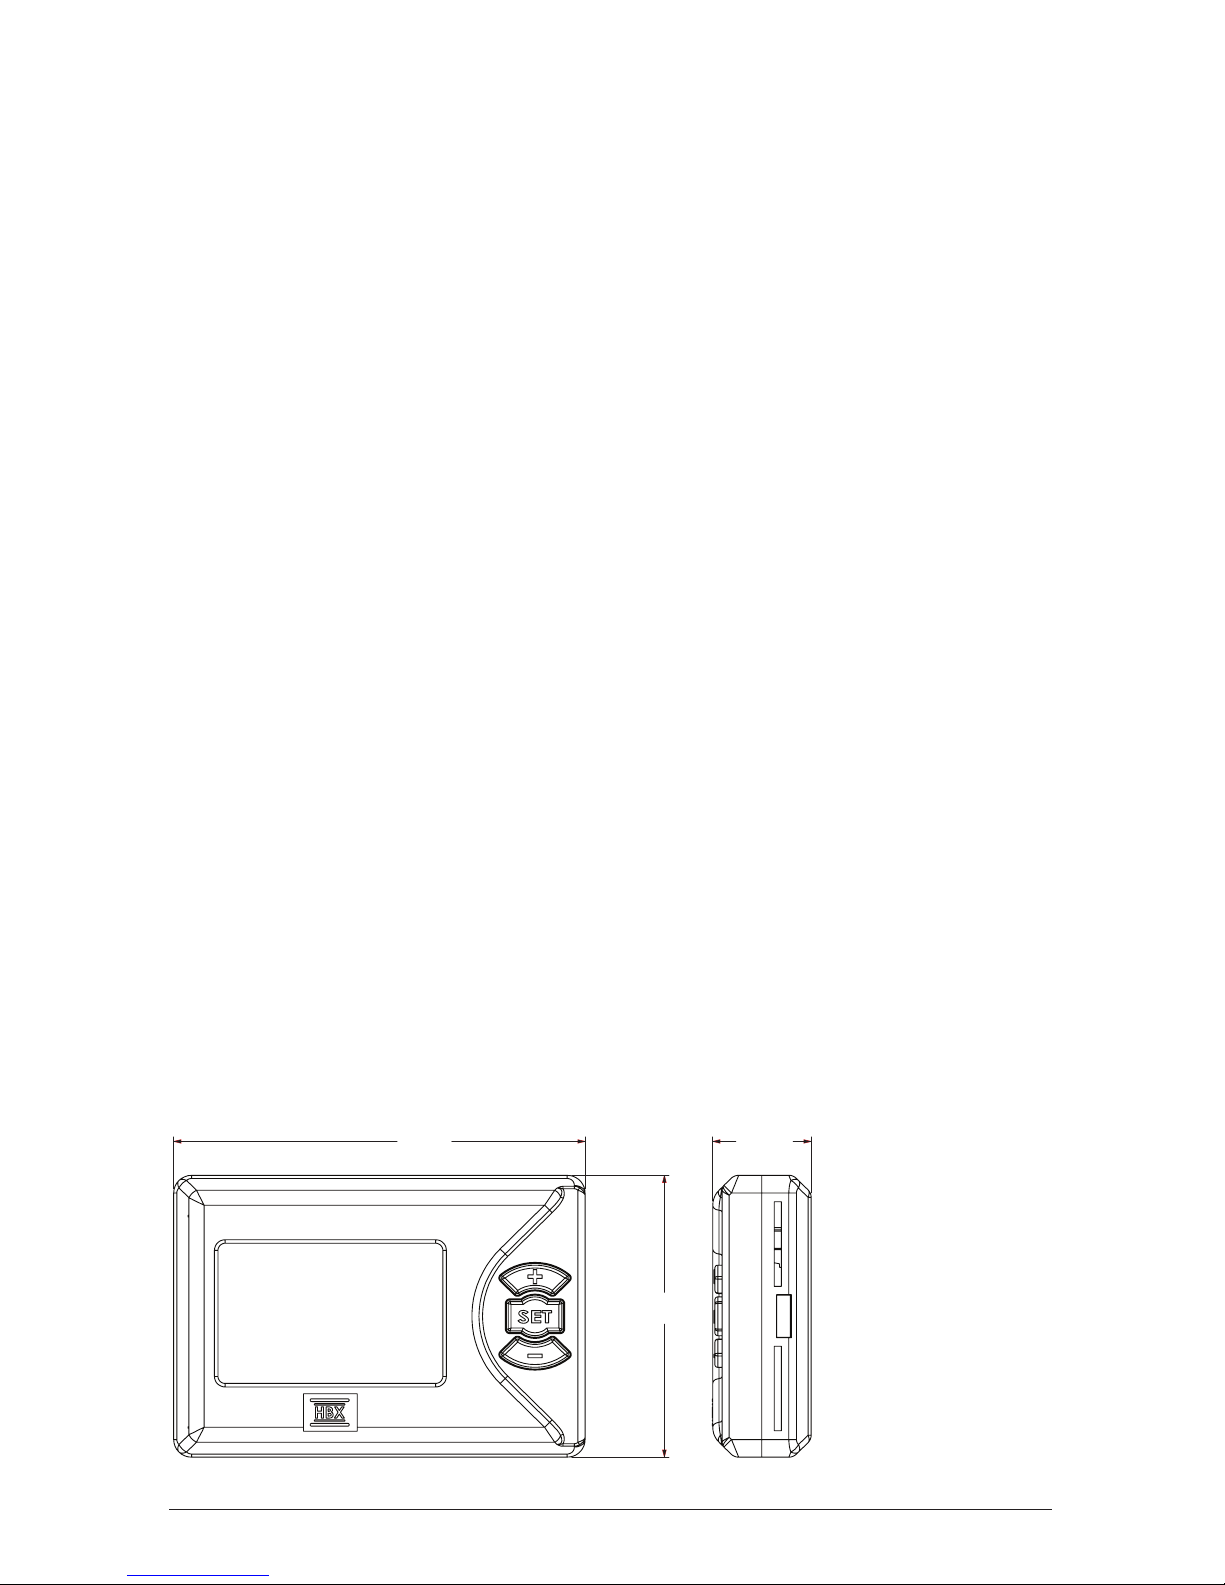
PROGRAMMING THM-0100
navigating the thermostat
All programming steps within the thermostat
are achieved by using the three buttons (and
combinations thereof) located on the right-hand
side of the thermostat.
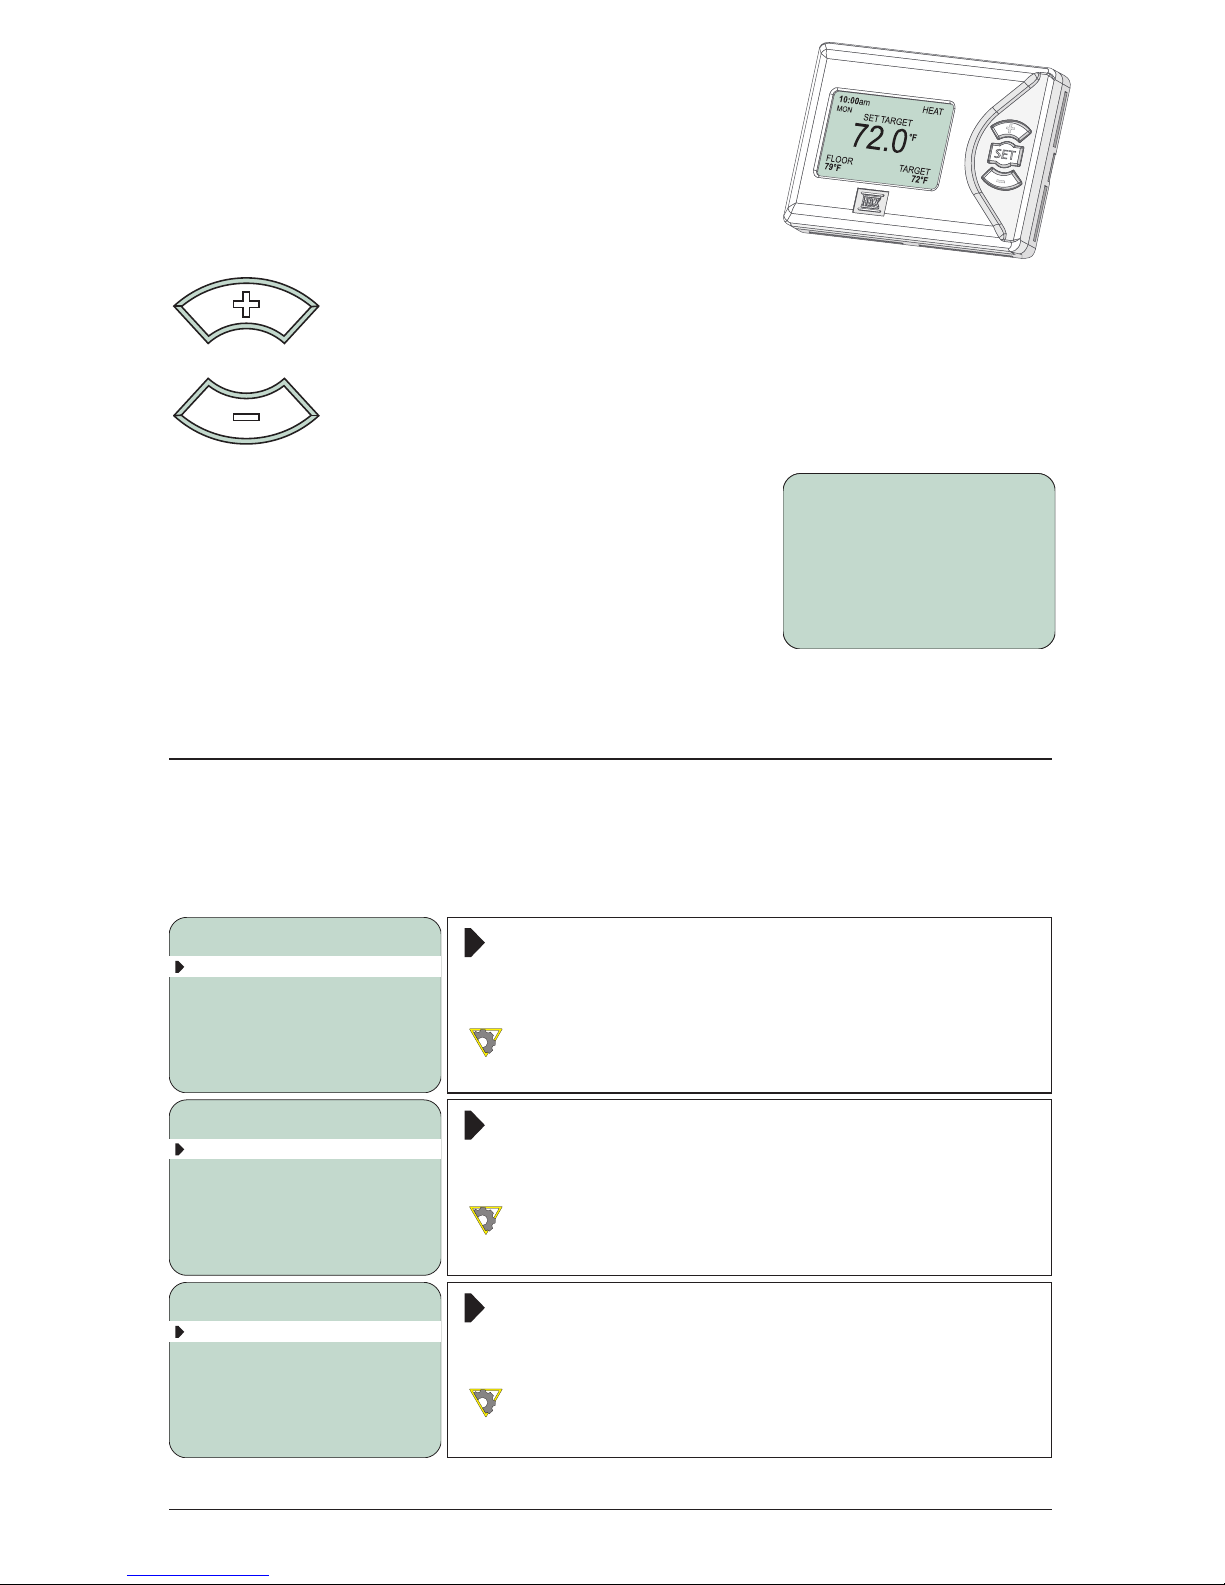
The + button is used to scroll up in menu screens and increase a
value within specic options.
The - button is used to scroll down in menu screens and decrease
a value within specic options.
Pressing the +or -button on their own for 2 seconds
while viewing the main “Status Screen” will allow you
to quickly adjust your target temperature. Once you
have reached the desired target temperature by
using the +and - buttons, waiting ve seconds will
return the thermostat to the initial “Status Screen”
mode.
SETTING THE THERMOSTAT
Special Functions
Enter the “Special Functions” screen by holding down the +and -buttons
simultaneously for 5 seconds (from the “Status Screen”). To select the desired
option, use the +and -buttons to toggle and the set button to select.
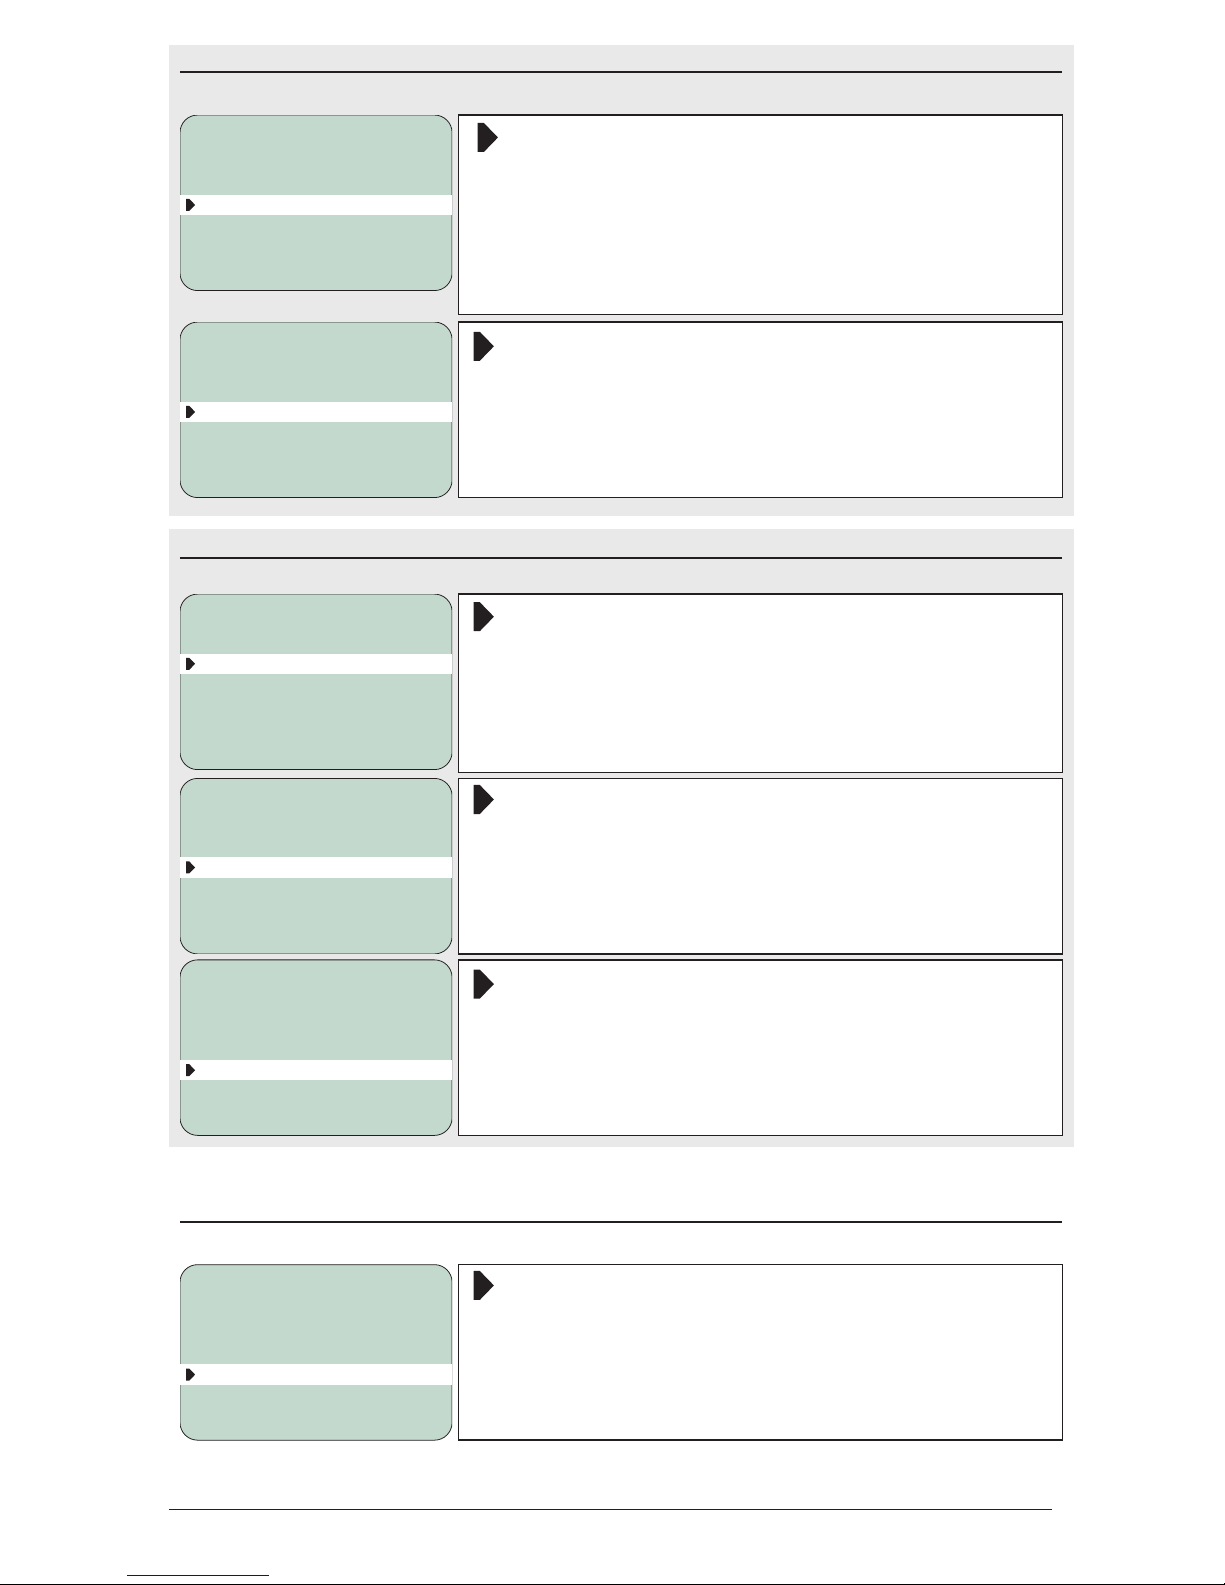
1) Type - Select between Heating, Cooling, and Setpoint modes.
Heat Function
Select the “Heat Function” for applications using a
single heating source.
See diagram 1 for wiring examples.
1) TYPE HEAT
2) VIEW ALL YES
SPECIAL FUNCTIONS
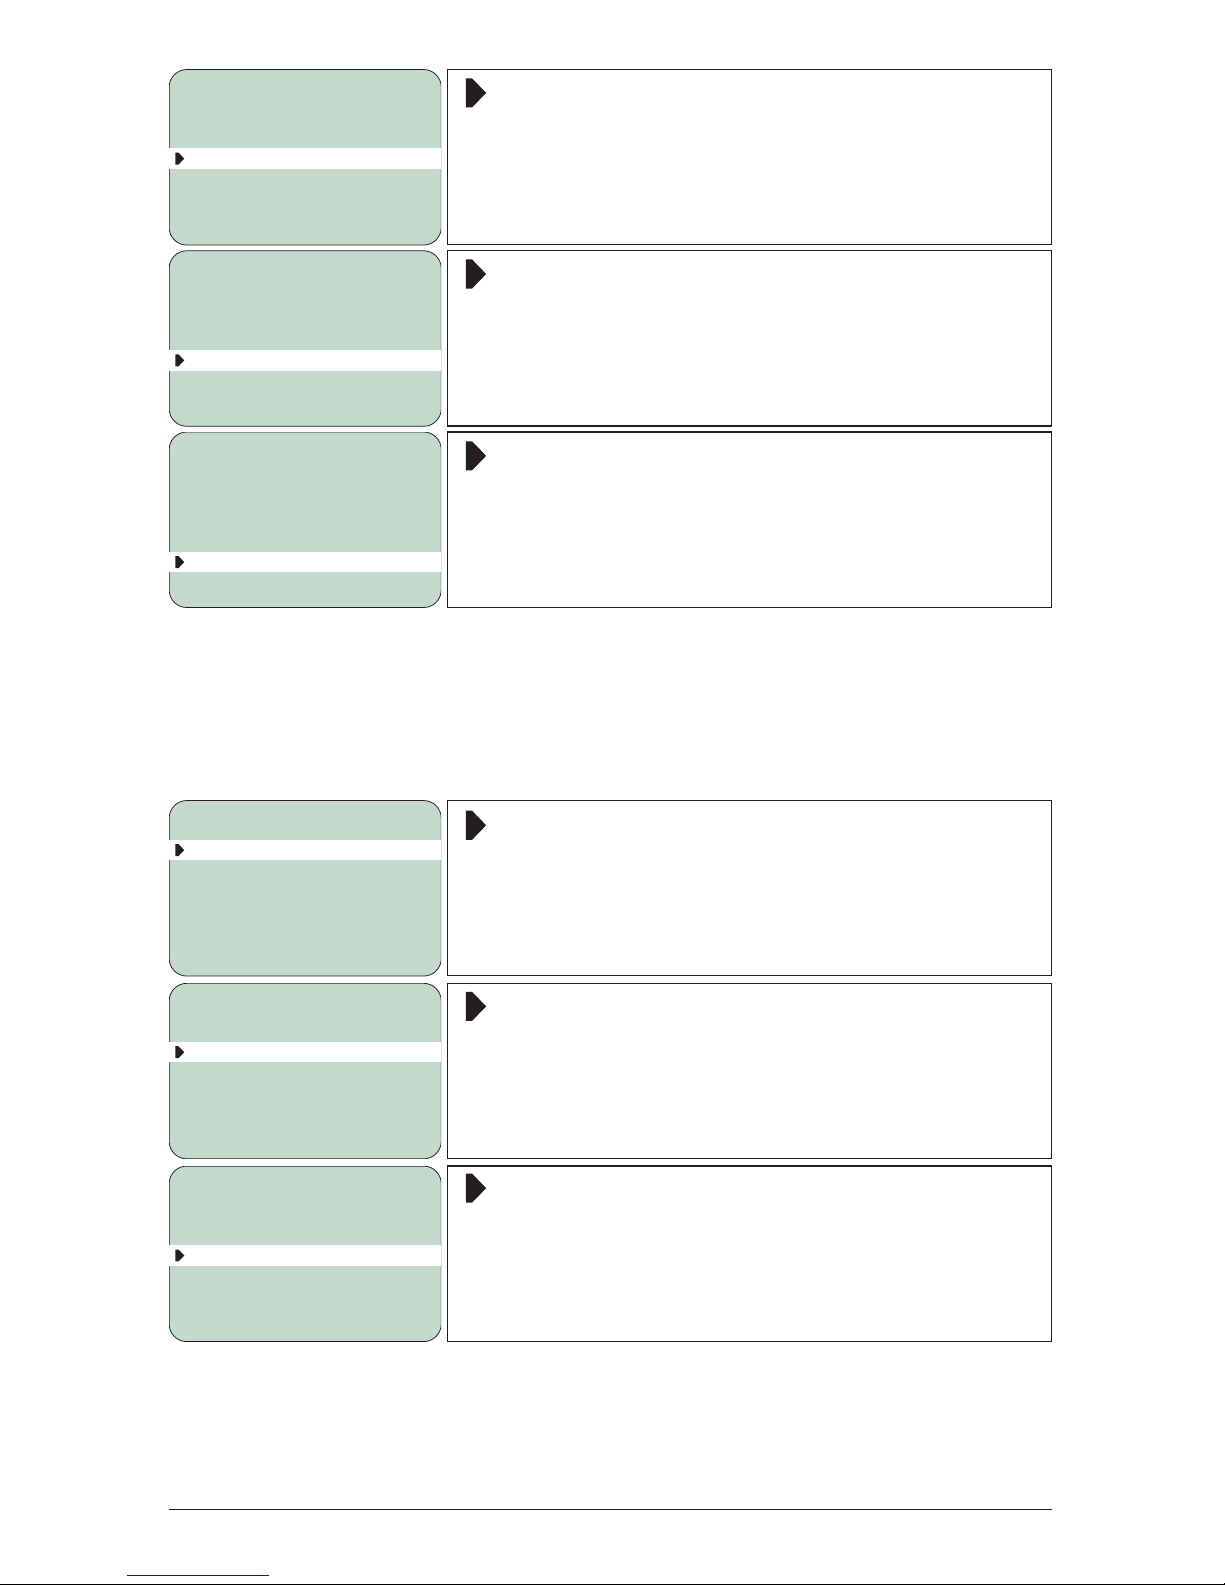
Cool Function
Select the “Cool Function” for applications using a
single cooling source.
See diagram 2 for wiring example.
1) TYPE COOL
2) VIEW ALL YES
SPECIAL FUNCTIONS
Setpoint Function
Select the “Setpoint Function” for applications using
pumps, fancoils and other equipment.
See diagram 3 for wiring example.
1) TYPE SETPNT
2) VIEW ALL YES
SPECIAL FUNCTIONS
72.0°F
10:00am
MON SET TARGET
FLOOR
79°F TARGET
72°F
HEAT