6 7
WHO Blood Pressure Classifications
Standards for assessment of high or low blood pressure have been established by the
World Health Organization (WHO) as shown on the following chart:
Category Systolic
(mmHg)
Diastolic
(mmHg)
Color
Indicator
Optimal <120 <80 Green
Normal 120–129 80–84 Green
High - Normal 130–139 85-89 Green
Stage 1 - Mild
Borderline Hypertension 140–159 90–99 Yellow
Stage 2 - Moderate
Hypertension 160–179 100-109 Orange
Stage 3 - Severe Hypertension ≥180 ≥110 Red
Isolated Systolic Hypertension ≥140 <90
140–159 <90 Yellow
160–179 <90 Orange
≥180 <90 Red
This chart is only a general guideline. Contact your physician or trained healthcare
professional to determine your NORMAL blood pressure.
Variations in Blood Pressure
Blood pressure is influenced by many factors and can change from moment to moment.
Normally, blood pressure is lowest during sleeping periods and rises during the day.
The graph below represents variations in blood pressure shown over a day with
measurements taken every 5 minutes.
The dotted line represents the
sleep period. The rise in
blood pressure at 1 p.m. (A in
the graph) reflects stressful
occurrence, and at 7 p.m. (B
in the graph), a period of
exercise.
imPortant information Before use
1. Blood pressure measurements should only be interpreted by a physician or a trained
healthcare professional who is familiar with your medical history. Through regular use
of this device and recording of your measurements, you can keep your physician
informed of the changes in your blood pressure.
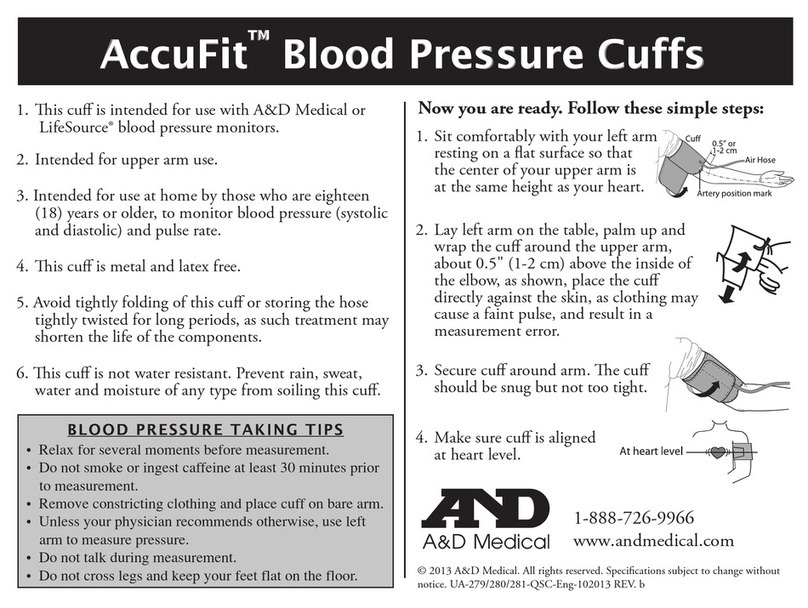
2. Measure your blood pressure in a quiet place. You should be seated in
a relaxed position.
3. Avoid smoking, eating, taking medication, alcohol consumption or physical activity
30 minutes prior to measuring your blood pressure. If you are exhibiting signs of
stress, avoid measuring your blood pressure until the feeling subsides.
4. Rest 15 minutes prior to measuring your blood pressure.
5. Remove any constrictive clothing or jewelry that may interfere with the cuff placement.
6. Apply the cuff to the proper position on the left wrist. The unit should be located
on the inside of your left wrist with the display panel in view.
7. Keep the monitor stable during measurement to achieve an accurate reading.
Remain still; do not talk during the measurement.
8. Record your daily readings on the chart provided.
9. Take your readings at the same time, each day (or as recommended by your
physician) to get an accurate indication of change in your true blood pressure.
10. Wait a minimum of 15 minutes between readings to allow for the blood vessels
to return to normal. The wait time may vary depending on your individual
physiological characteristics.
11. Although such cases are rare, weak or irregular pulse may result in errors that
prevent correct measurement. If abnormal variations are noticed, consult your
physician or trained healthcare professional.
12. This device is intended for adult use.
While taking a measurement, you can stop the inflation or deflation process of the cuff at
any time by pressing the POWER button.
04-825-001 IM_13Feb2015.indd 6-7 2/13/15 5:18 PM


