Hearst Communications FAN61T-3SP1 WHT User manual

Changing from the Standard Remote FAN61T-3SP to Universal Remote FAN61T-3SP1
To clear old codes, complete the process below 2 times
with the remote control.
Follow these instructions to
(1) Change the transmitter code if you have interference with
other fans and want to operate this fan only or
(2) Re-sync the transmitter code if your fan is not working
properly.
Step 1. Power the ceiling fan on.
Step 2. Install two 1.5-volt AAA batteries.
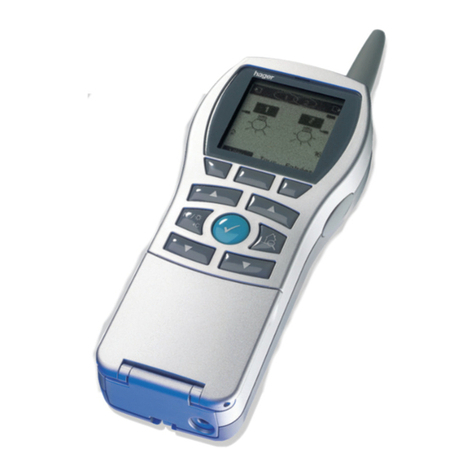
Step 3. Press the button located on the front of the transmitter
to operate the fan.
Step 4. Press the button to operate the light.
Note: The blue light will illuminate to indicate the transmitter is
working.
REMOTE CONTROL OPERATIONS
Operate Fan Using Transmitter Code Pre-Set by Factory
Step 1. Switch off the power to the fan.
Step 1. Switch off the power of the fan.
Step 2. Switch on the power to the fan.
Step 2. Switch on the power of the fan.
Step 3. Within 30 seconds, switch the lock /unlock switch
on the back of the transmitter to the lock position and then
push the sync button for about 5-10 seconds until the fan
light kit flashes 3 times.
FCC ID: 2AAZPFAN61T3SP1 / I C : 11037A-FAN61T3SP1
This device complies with part 15 of the FCC Rules and RSS-210 Issue 8. Operation is subject to the following two conditions:
1. This device may not cause harmful interference, and
2. this device must accept any interference received, including interference that may cause undesired operation.
CAUTION: Any changes or modifications not expressly approved by the party responsible for compliance could void the user’s authority
to operate the equipment.
NOTE: This equipment has been tested and found to comply with the limits for a Class B digital device, pursuant to Part 15 of the FCC Rules and
the limits pursuant to RSS-210 Issue 8.
These limits are designed to provide reasonable protection against harmful interference in a residential installation. This equipment generates,
uses and can radiate radio frequency energy and, if not installed and used in accordance with the instructions, may cause harmful interference
to radio communications. However, there is no guarantee that interference will not occur in a particular installation. If this equipment does cause
harmful interference to radio or television reception, which can be determined by turning the equipment off and on, the user is encouraged to try
to correct the interference by one or more of the following measures:
-Reorient or relocate the receiving antenna.
-Increase the separation between the equipment and the receiver.
-Connect the equipment into an outlet on a circuit different from that to which the receiver is connected.
-Consult the dealer or experienced radio /TV technician for help.
1
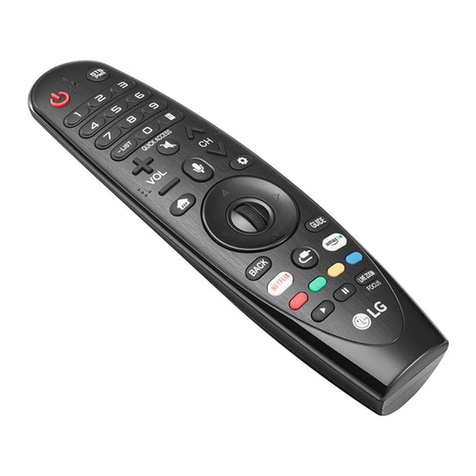
3 SPEED UNIVERSAL REMOTE CONTROL
ITM/PART NO.: FAN61T-3SP1 WHT
Step 3. Within 30 seconds, switch the lock /unlock switch
on the back of the transmitter to the lock position and then
push the sync button for about 5-10 seconds until the fan
light kit flashes 3 times.

2
3 SPEED UNIVERSAL REMOTE CONTROL
- Lock/unlock switch in the unlock position
allows a common code to be sent .
In the unlock position : The transmitter will send a common code.
In lock position : Allows a unique code to be sent to the receiver in the fan. Only the receiver of this fan will be synced with this transmitter in
lock position. More than one fan can be synced with one transmitter, in this case-follow sync instruction for each fan.
Changing unlock/lock position will cause the code change, and the receiver need synchronizing again to have the same code, otherwise the
receiver will not response to the transmitter.
N
Technical Support:
OTE :
- T
If you need any assistance with setup, operation, or parts for your new GOOD HOUSEKEEPING Ceiling Fan, please call us. Our technical support staff is
ready to help! We are open 24 hours, 7 days a week.
USA: 1-888-880-3267 (FANS)
You may also reach us online at OceanAireHomeGoodsCompany.com
An electronic copy of this user manual can also be obtained online at OceanAireHomeGoodsCompany.com
GOOD HOUSEKEEPING is a trademark of Hearst Communications, Inc.
© 2022 Hearst Communications, Inc. All Rights Reserved.
o prevent damage to transmitter, remove the batteries if not used for long periods.
- Replace batteries as a simultaneous set – always replace the whole set of batteries at one time, taking care not to mix old and new ones, or
batteries of different types.
- Please contact your local batteries recycling centre for proper battery disposal information.
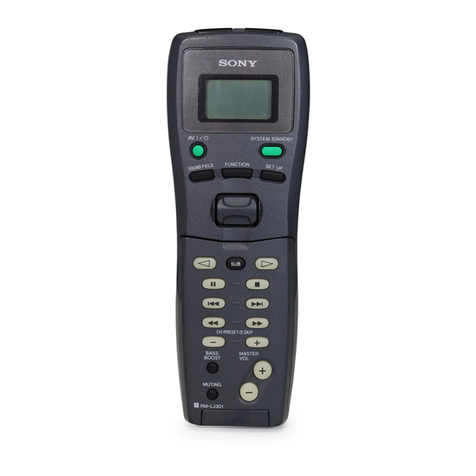
This button turns the fan ON or OFF.
" "
This button delays the light turning off
for approximately 5 seconds, enabling
you to exit your room before the light
turns completely off.
" "
This button controls the power to the light and
also controls the dimming settings. Press and
release the button to turn the light ON or OFF.
Press and hold the button to set the desired
brightness: the light will slowly illuminate to
maximum light output and then stop when
holding the button. Release the button and
hold it again until it reaches minimal
illumination where it will automatically stop
again. The light button has an auto-resume,
it will stay at the same brightness as the
last time it was turned off.
Low speed
Medium speed
High speed
Operation indicator
REMOTE FUNCTIONS
"Lock/unlock" switch
O ” and “ I ” dim switch
For this fan, the dim switch should be in the
“I” position, allowing for dimming of the light.
Place the switch in the “0” position to turn the
dimming feature off if you do not want the
dimming feature.
“ Sync ”
This button allows receiver to pair with the code
assigned by transmitter.
NOTE: For convenience, the transmitter has been preset
by the factory and is placed in unlock position initially.
The receiver has been preset with a common code. The
fan is ready for use. This transmitter can control any fan
with this same initial setting.
Table of contents
