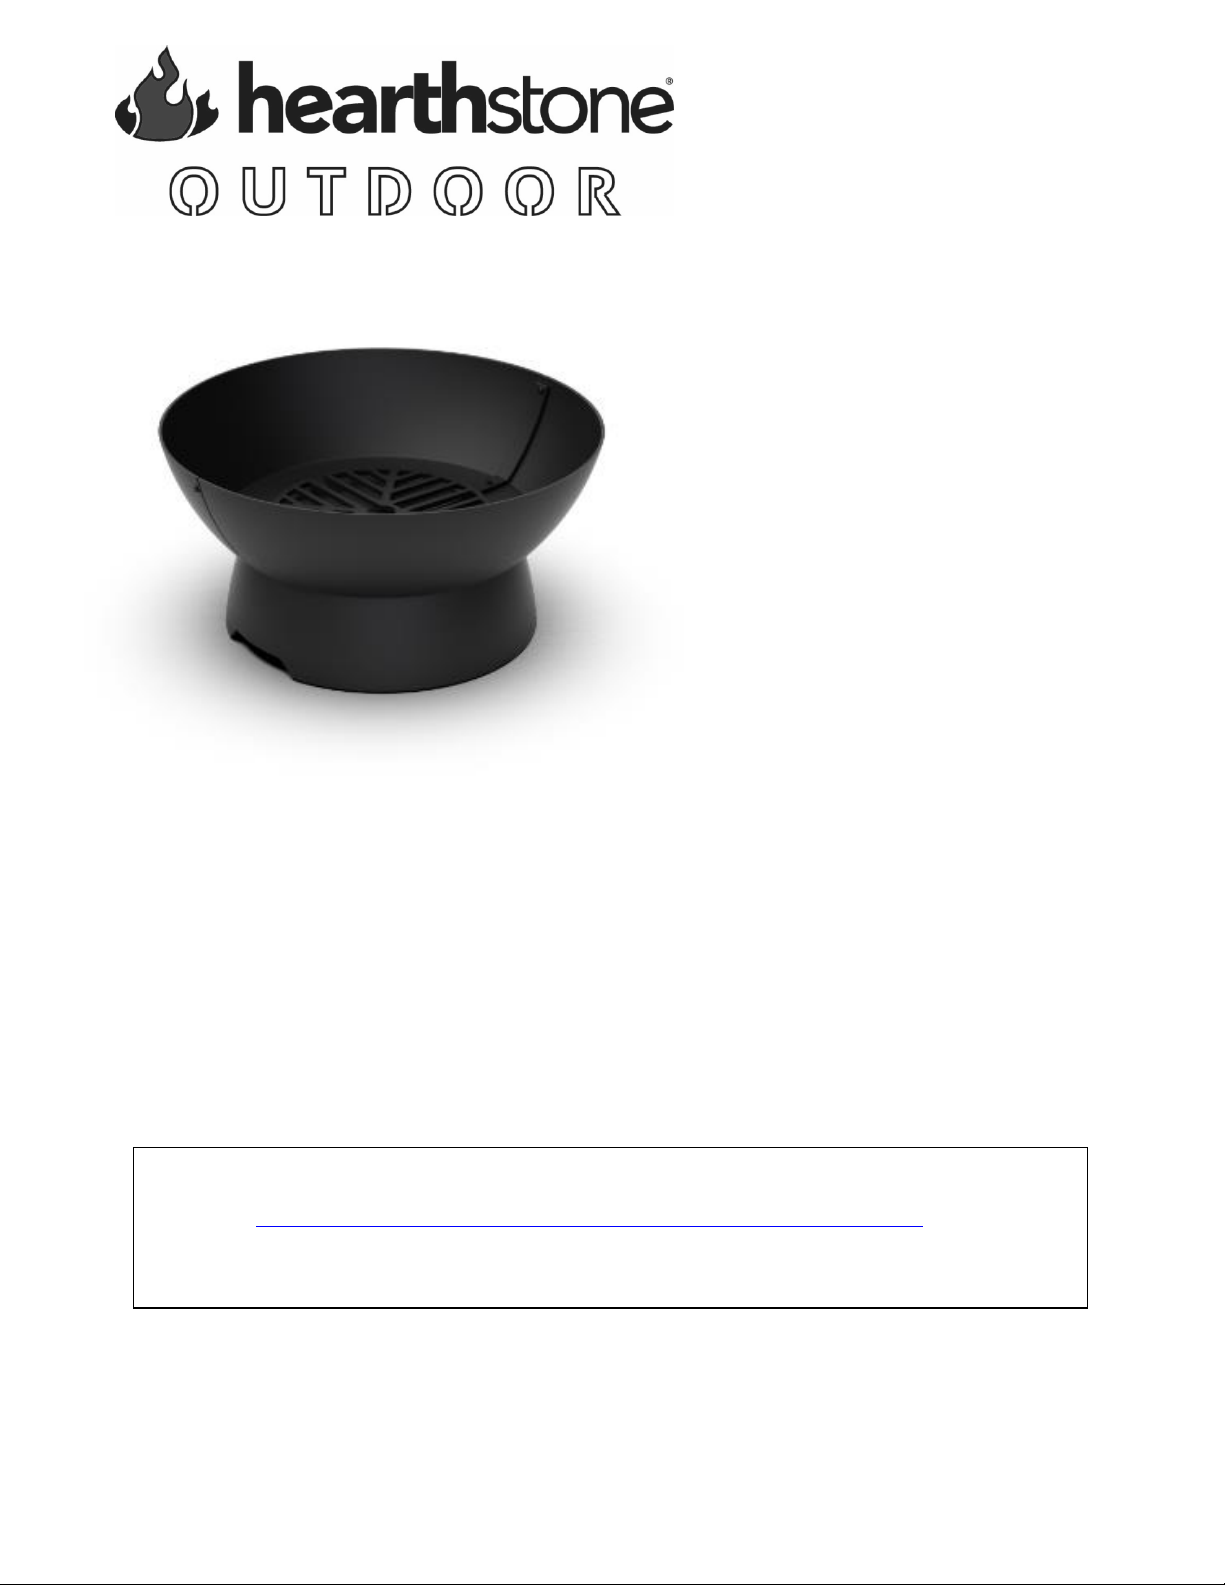
Hearthstone Quality Home Heating Products, Inc ® Page 7of 13 Fire Pit & Fire Grill (Models 810-1510 & 810-2510)
INSTALLATION
UNPACKING
Hearthstone packages your Fire Pit and Fire Grill
Outdoor Appliance with the greatest care so that it
ships safely. Under certain circumstances, however,
damage may occur during transit and handling.
When you receive the Outdoor Appliance, carefully
unpack and inspect the castings all accompanying
parts. Ensure that all parts are included per the parts
list. If any parts are damaged or missing, please
contact your authorized Hearthstone dealer
immediately.
PACK LIST
Fire Pit 810-1510
Or
Fire Grill 810-2510
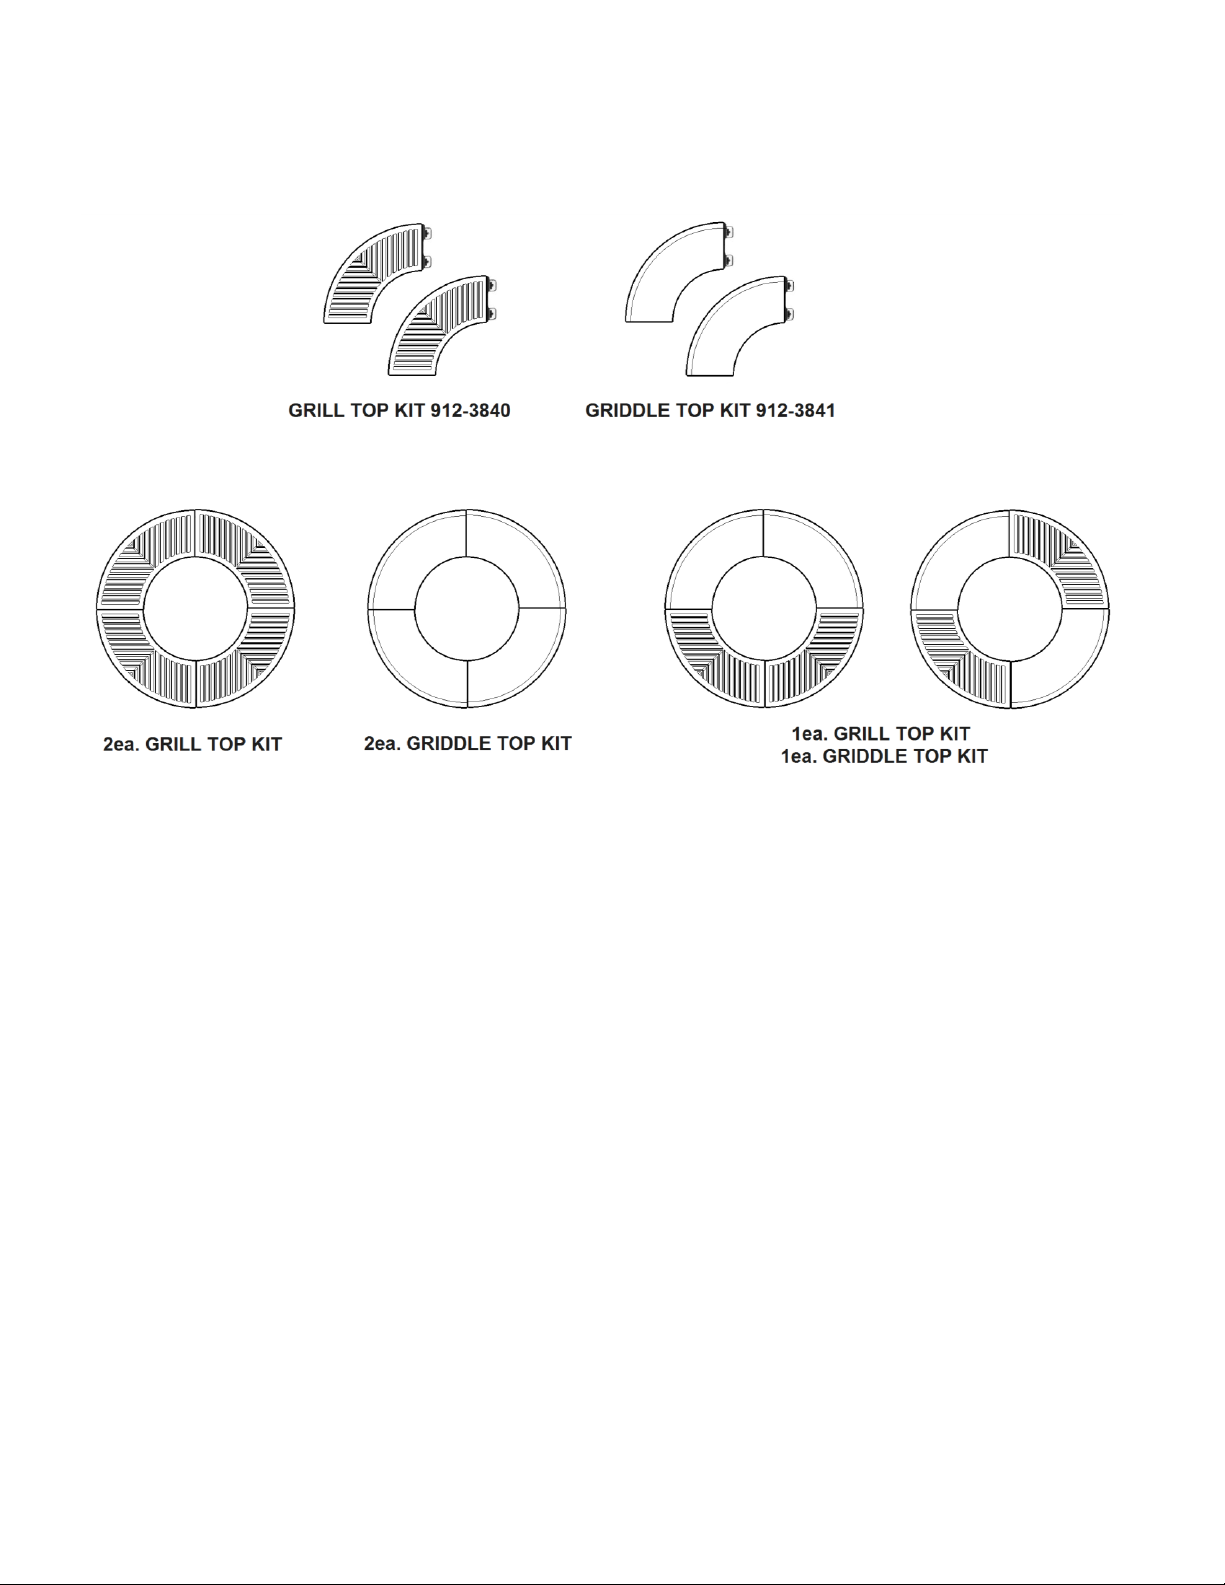
Owner’s Manual, Center Plug, Ash Grates,
Griddles/Grilles (if ordered), Hardware (See Figures
1, 2, 3, 4 for Parts Lists and assembly guidance
LOCATION: INSTALLING YOUR
APPLIANCE
Choose a place to install your Fire Pit or Fire Grill.
Consider the location of your appliance for stability,
safety, and enjoyment. In general, it is better to place
your appliance in an open area away from buildings,
overhanging foliage, and combustibles or
flammables.
Inspect this location to make sure that the appliance
will have the required 15M clearance from flammable
liquids and combustible materials. Examples of
flammable liquids are accelerants such as gasoline,
propane, diesel fuel, kerosene and heating oil.
Combustibles include walls, floor, deck, ceiling, and
overhanging foliage, limbs and trees. You must
carefully consider the clearances to all of these
combustibles before placing and igniting your
appliance.
It is recommended that your Outdoor Appliance be
installed firmly at a dedicated outdoor location
constructed of stone, masonry, earth or concrete. It
is not recommended to install this Outdoor
Appliance on any deck, wood or composite.
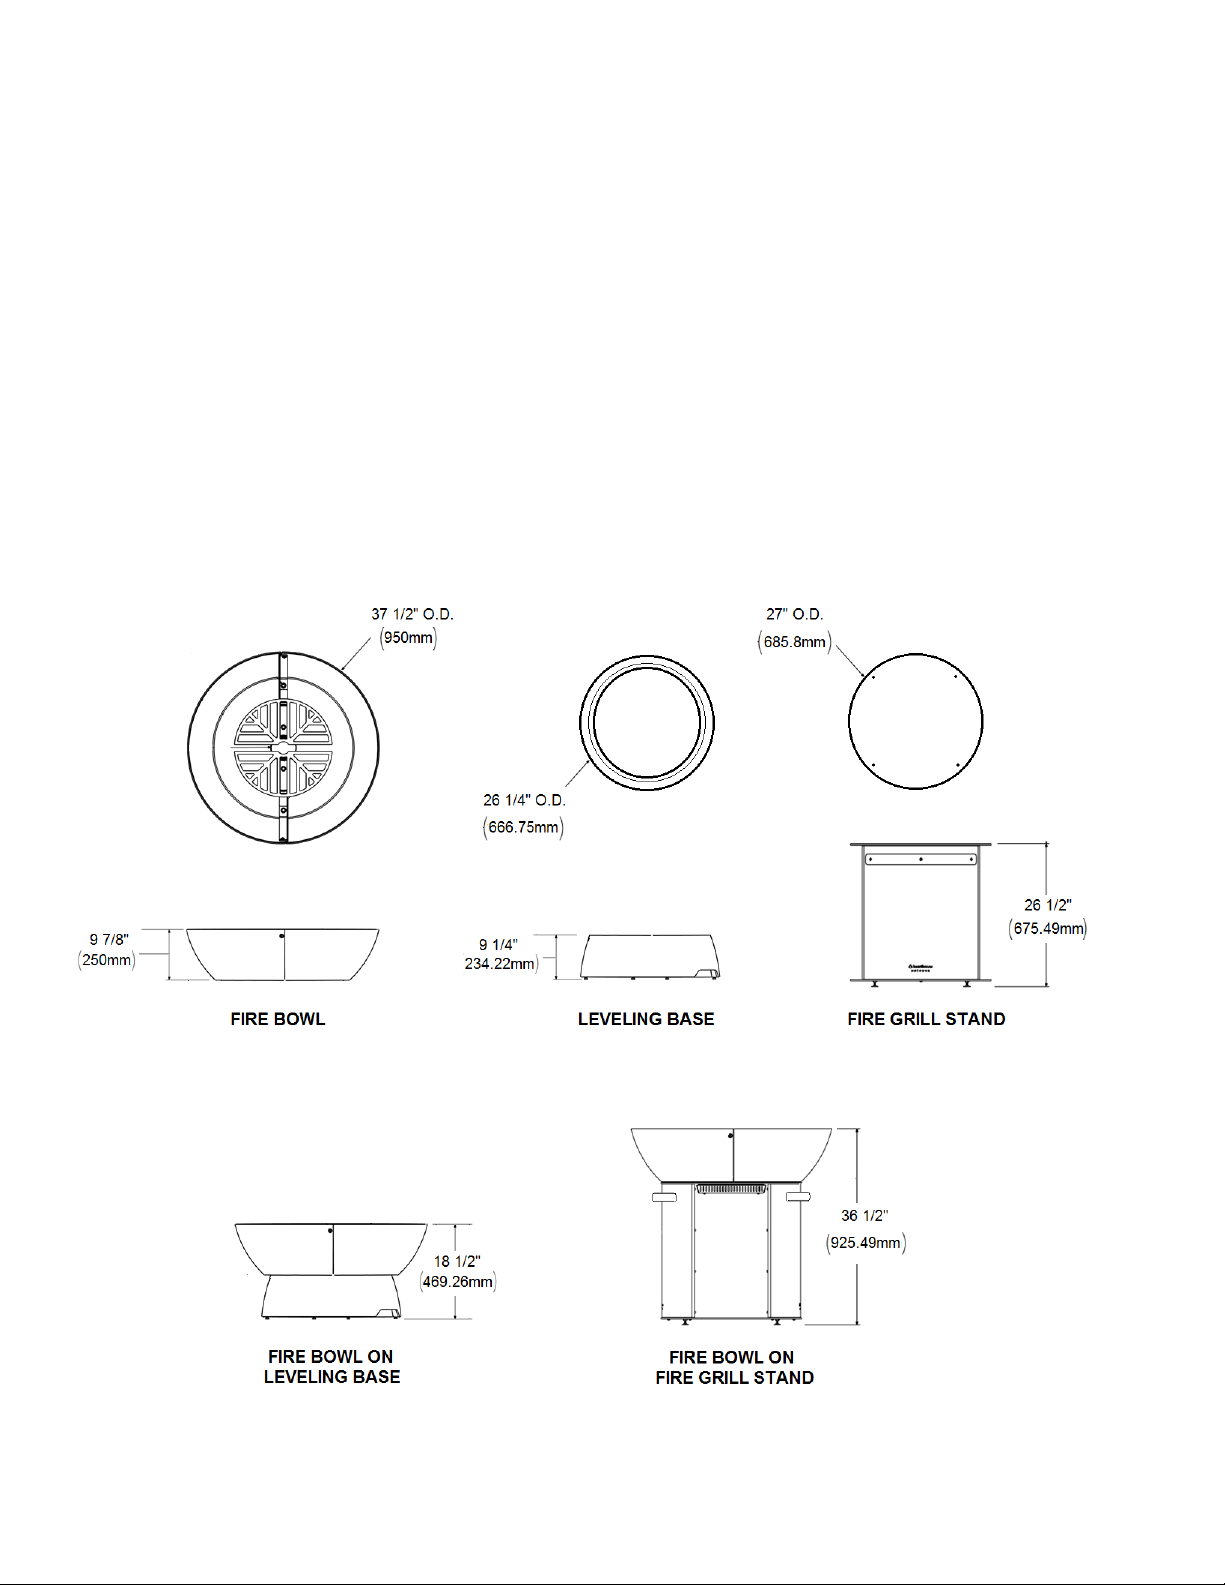
ASSEMBLING YOUR FIRE PIT
Refer to Figure 1 for guidance along with these
instructions. Carefully remove all components from
the shipping materials. Install the 4x CAP SCREWS
(item 4500-2495) into the underside of the Levelling
Base (item 2101-010). Turn the assembled Levelling
Base over and place it in the center of your chosen
install location. Adjust all four screws until the
Levelling Base is level, and stable (does not wobble).
With help from another person, place the Fire Bowl
Assembly onto the leveling base, and make effort to
center it visually. Place the Plug (item 2101-060) into
the center hole and align the raised bosses on the
plug with the overlapping seam of the two bowl
halves. Next, place each Ash Grate (item 2101-050)
into the Fire Bowl with the raised bosses of the Ash
Grates facing down. The grates should lock in with
raised bosses of the Fire Bowl seam, and Plug.
Refer to Figure 1. If your Fire Pit included the Grilling
Ring, assemble as instructed further in this
document, and install the completed grilling ring onto
the fire pit, centered and rotated as desired.
ASSEMBLING YOUR FIRE GRILL
Refer to Figures 2, 3, 4 for guidance along with these
instructions. Carefully remove all components from
the shipping materials. Begin by assembling the Fire
Grill Stand as shown in Figure 3. Install the 4x
Elevator Bolts (item 4100-0124) into Top Plate (item
5138-0120). Note: Two Top Plates are supplied, but
one is intended to be used as the Bottom Plate.
Adjust all Elevator Bolts so they are neutrally located
with room for adjustment in each direction. Next,
install each Side Panel Assembly (item 5138-0220)
to the Bottom Plate on the opposite side of the
Elevator Bolts. Note: Install each Side Panel
Assembly so that the Hearthstone Outdoor Logo is
nearest the bottom plate. Secure each Side Panel
Assembly in place using 3x Screw (item 4500-1055)
and 3x Washer (item 4600-0311) installed from
beneath Bottom Plate (same side as Elevator Bolts).
Now move this assembly and place it in the center of
your chosen install location. Adjust all four Elevator
Bolts until the Fire Grill Stand is level, and stable
(does not wobble). Secure the Fire Grill Stand
through the 4 x 5mm locating holes using Dynabolts.
Place the Top Plate (item 5138-0120) onto the Side
Panel Assemblies and align with hardware locations.
Again, secure the Top Plate using 6x Screw (item
4500-1055) and 6x Washer (item 4600-0311). Insert
4x Screw (item 4500-4535) and 4x Washer (item
4600-0311) from the top through the 4 center holes