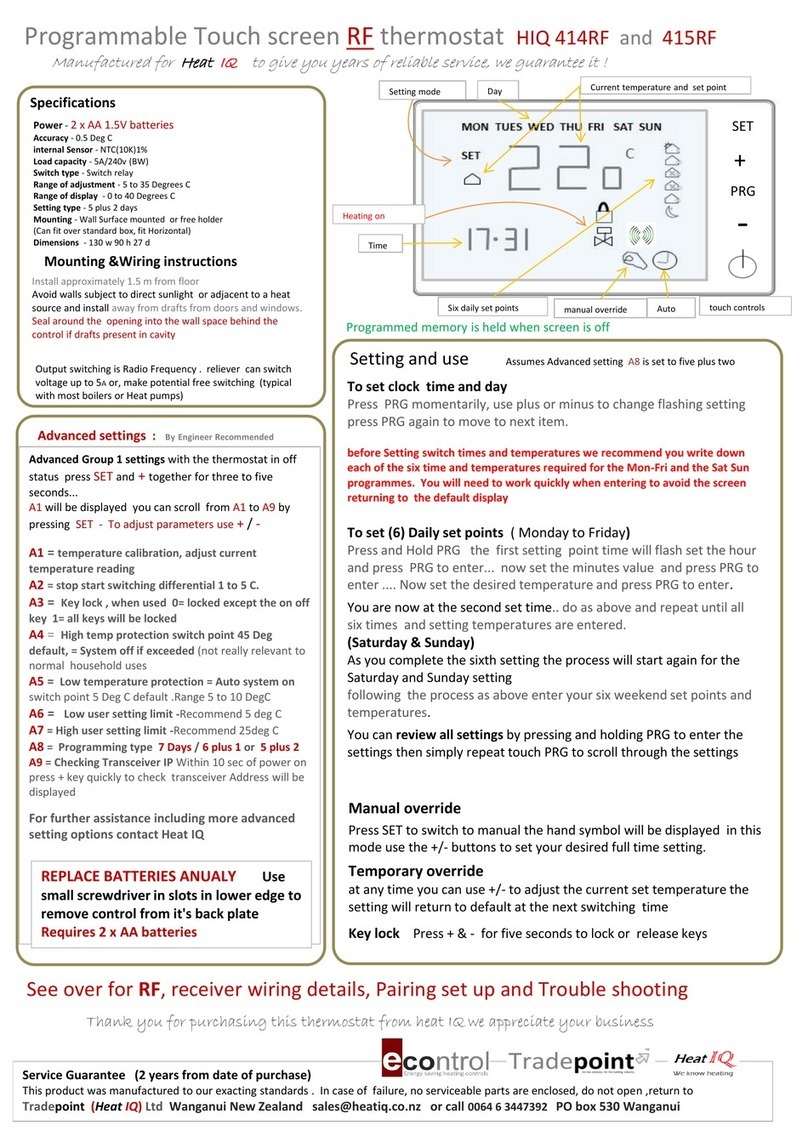
Heat IQ HIQ 425 User manual

Colour Touch Screen Heating Thermostat HIQ 425
This Thermostat is a colour touch screen unit and is designed for electric or hydronic underfloor heating
systems, as well as radiant heating.
Using a 4.3inch colour touch LCD display, the working status can be easily viewed. With built-in four
languages, you can select the language you want to display.
The thermostat has five modes, and in each mode the system can work according to your desired pre-set
temperature.
Simple heat regulation sends On/Off commands to the heating system according to pre-selected
temperatures. The thermostat control algorithm includes an anticipation function which reduces the
discrepancy between the thermostat reading and the temperature at the centre of the room.
Choose from three sensor settings: Ambient (built-in sensor)- to control the air temperature; Floor - to
control the temperature using the floor probe; Ambient and Floor - to control the ambient air, and show
floor temperature by using the floor probe.
4.3inch TFT Color Touch Screen Operation
Electric Heating System( Max.16A)
Adjustable Comfort Mode, Economy Mode, Party Mode, Holiday Mode and Program Mode Control
5+1+1 Days Programmable
External and Internal Sensor Select
Four languages select: English, French, Germany, Dutch
Three Color selectable: White, Black, Silver
Clock and Date Display
Temp. Clibration
Temp. Protection
86*86mm mounting
Voltage: 240Vac 50/60Hz
Load Current: 16A(Max)
Temp. Setting Range: 5~35℃
Ambient: 0~50℃
Sensor: NTC10K,3950ohms at 25℃
Accuracy: ± 0.5℃
Protection Class: IP30
IQ
: User Instructions
wifi thermostat
Product Features
Technical Data

1
ON/OFF
Unit ON/OFF button, when unit shows OFF pressing the button turn it OFF.
2
Mode button
This button changes the heating mode between Comfort, Economy etc.
3
Menu button
This button allows access to sub menu settings eg prog schedule, language etc.
4
Down
Decrease temperature or change other parameter.
5
Up
Increase temperature or change other parameter.
6
External Temp
Displays external or floor temperature if probe is placed in a floor slab.
7
Room Temp
Actual room temperature display/
8
Set Temp
Required set temperature for heating to maintain. Range 5-35 degC.
9
Room Temp Icon
Room temperature icon.
10
Heating Mode
Show current heating mode selected.
11
Clock
Shows current time (updates from phone App).
12
Day Icon
Shows current day of the week.
13
Heating Icon
Shows if heat source is heating the system.
14
Mode Icon
Shows current working mode.
15
Date & Time button
Use to set Weekday and Time
16
Heating Schedule button
Used to check and adjust heating schedule programme.
17
Temp mode preset button
Change preset working mode temperatures.
18
Language button
Use to select different language.
19
Temp protection
Use to set upper and lower temperature limit.
Display Overview
3
1
5
7
9
2
4
6
8
10
11
12
13
14
15
16
17
19
18
Main Screen
Display when
Menu button
pressed.

20
Comfort mode button
Once selected, Thermostat will operate at Comfort pre-set temperature.
21
Economy mode button
Once selected, Thermostat will operate at Economy pre-set temperature.
22
Party mode button
Once selected, Thermostat will operate at Party pre-set temperature.
23
Holiday mode button
Once selected, Thermostat will operate at Holiday pre-set temperature.
24
Programme mode button
Once selected, Thermostat will operate at Programme pre-set temperature.
1. Press ‘Date & Time’ button (15).
2. You will now see the screen on the right. You are now able to
adjust the Day, Hour, Min.
3. Once you have finished press Apply to save.
1. Press ‘Heating Schedule Button’ (16).
2. You will now see the screen on the right. You can now select one of
three columns to edit.
3. For example if you select the Sunday column, the screen below will
be displayed, so that you can edit it.
You are now able to edit each one of the 3 ON/OFF time periods, to
switch your heating on and off. Once you have finished press Apply.
Although we say OFF period, if this temperature is left to high, the
heating will still come on if the temperature drops.
Display when
Mode button
pressed.
21
22
23
24
20
Set Date and Time
Check and adjust your heating schedule

1. Press the ‘Temp mode preset button’ (17). You will now see the
screen to the right.
2. Its now possible to change to each mode setting and adjust the
preset temperature for each of the 5 modes.
3. After setting each one to your desired temperature, press Apply to
save your settings.
1. Press the ‘Temp protection’ button (19). You will now see the
screen to the right.
2. You are now able to see the current settings and also adjust your set
points.
3. After setting the upper and lower limits, press Apply to save your
settings.
Notes on protection settings-:
High Protection uses external sensor probe for floor temp. When floor temp exceeds set high protection temp, the
system will be shut off automatically.
Low Protection functions only when thermostat is in OFF mode. It uses internal sensor to detect the room temp.
When room temp goes below set Low protection temp, the system will be turned on automatically until the
minimum temperature is reached.
1. Press the ‘language selection’ button (18). You will now see the
screen to the right.
2. You are now able to select the language you require, then press
Apply to save your settings.
Temperature Mode Pre-set
High & Low Protection Settings
Language Selection

Page
Description
Range
1
Temp Offset
-8 ℃~8℃
1
Dead Zone
0℃~3℃
1
Set Point Max
5 ℃~35℃
1
Set Point Min
5 ℃~35℃
2
NTC Select(Internal, External)
I only, E only, I & E, I or E
3
Low Protection Max.
5 ℃~10℃
3
Low Protection Min.
5 ℃~10℃
3
High Protection Max.
5 ℃~90℃
3
High Protection Min.
5 ℃~90℃
4
Backlight off Time after Operation.
3s~180s
4
Min Backlight Brightness of Standby Status
1%~100%
4
Max Backlight Brightness of Standby Status
1%~100%
4
Turn backlight ON/OFF
ON/OFF
5
Relay Delay Time
0s~250s
5
Relay Output
Normal(NO); Inverted(NC)
6
Restore to factory default
<< or >>
Please note that on the back of the unit itself it depicts a
Neutral and a load on the volt free relay contacts, this is for
illustration only. Terminal 1 and 2 can be used as volt free relay
contacts. Max 16A @ 240vac.
Advanced settings and installer information
Table of contents
Other Heat IQ Thermostat manuals
Popular Thermostat manuals by other brands
Sangamo
Sangamo Rstat8 Quick reference guide

Hunter
Hunter 44200 owner's manual
Honeywell
Honeywell LYRIC T4R Quick start installation guide

Heatmiser
Heatmiser PRT-W operating instructions

Honeywell
Honeywell Prestige IAQ YTHX9421 installation guide
Dettson
Dettson R02P033 Installation instructions and homeowner's manual


