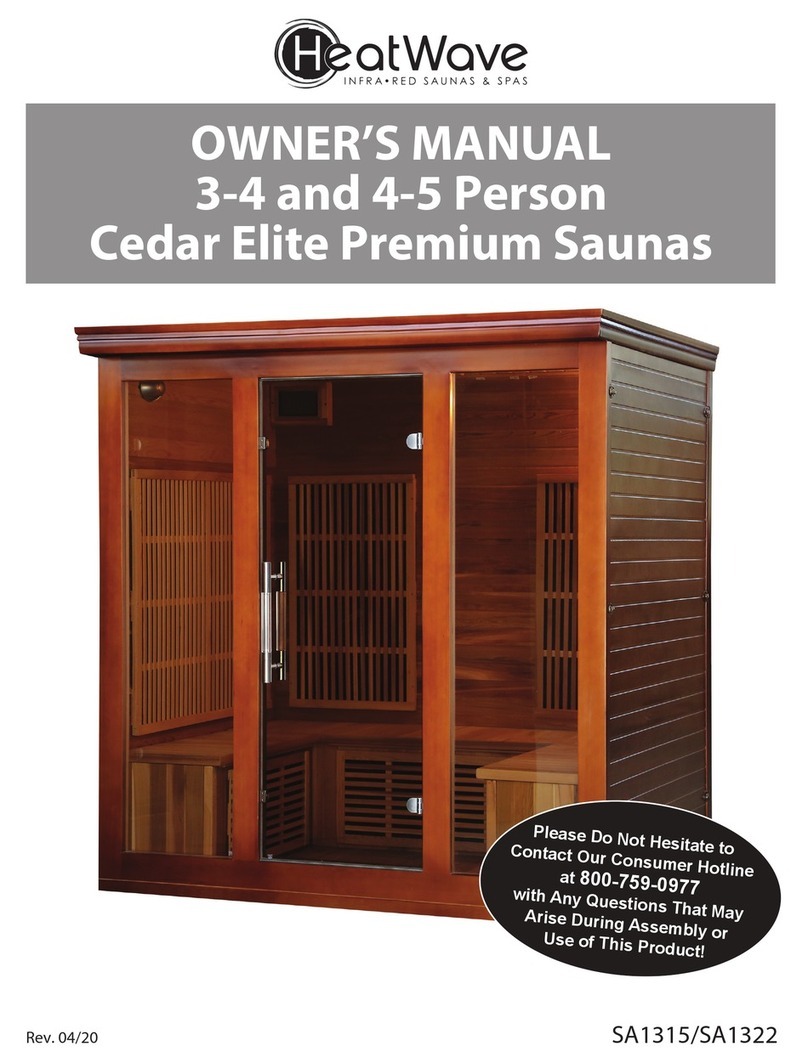
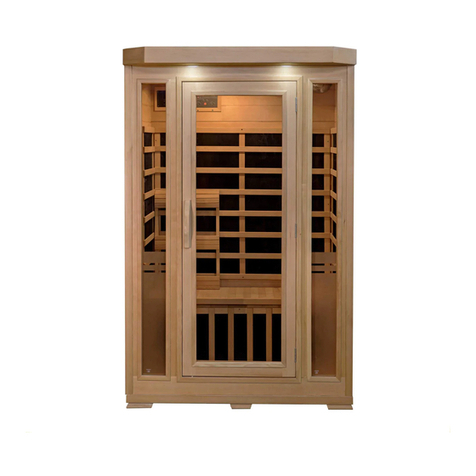
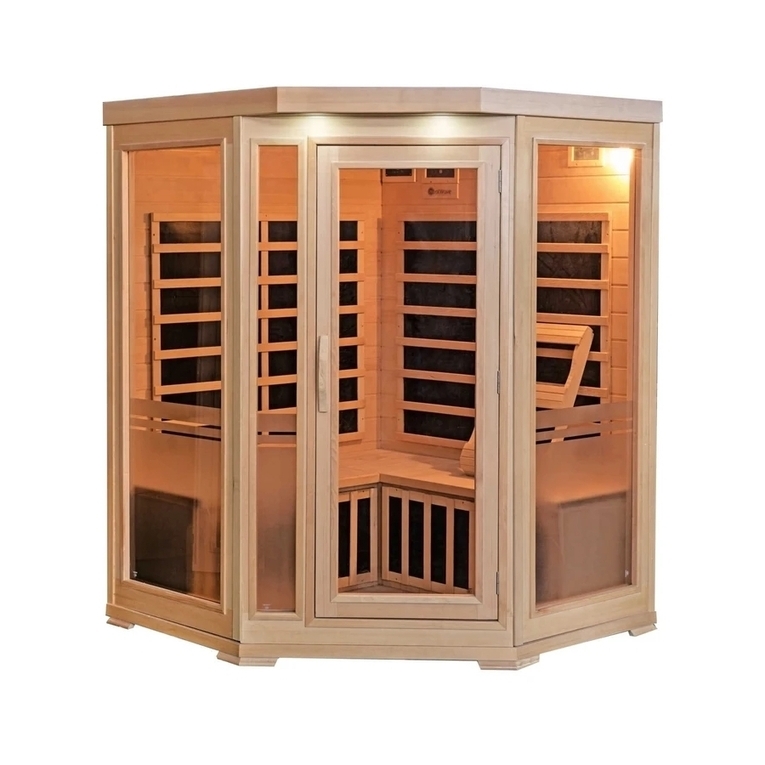
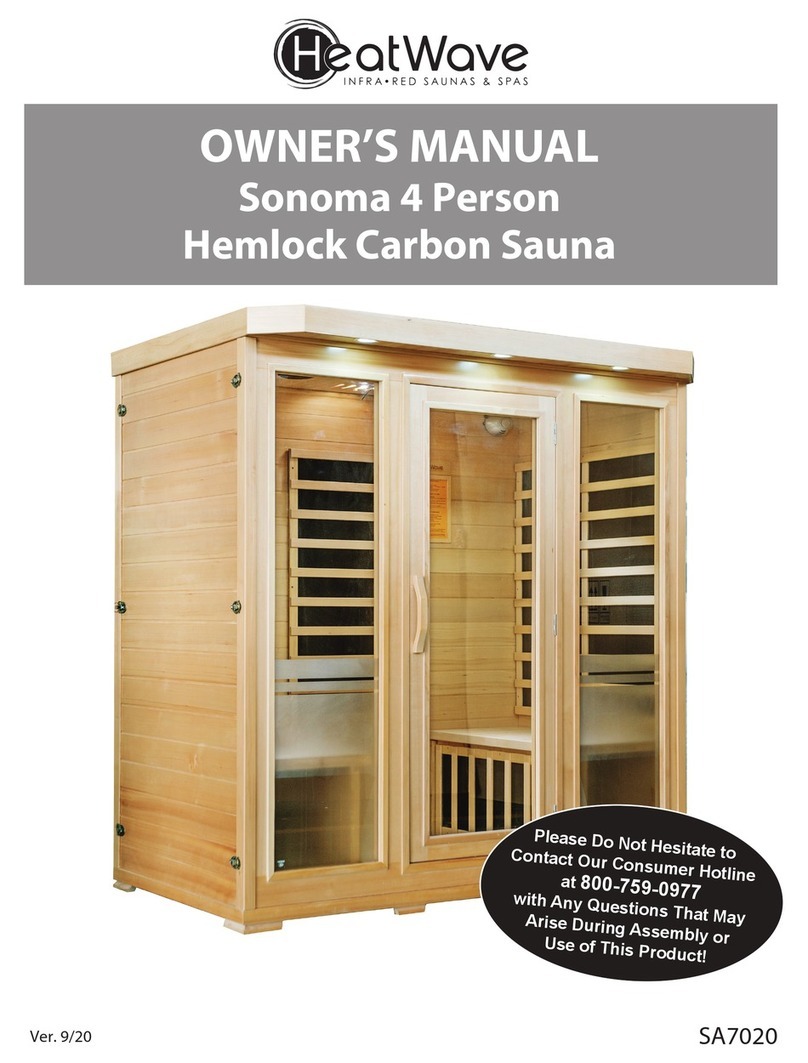
Heat Wave SA8000 User manual

SA8000
HEATWAVE 2 PERSON
HEMLOCK INFRARED SAUNA
WITH 6 CARBON HEATERS
Questions, problems, missing parts?
Before returning to your retailer, call our Consumer Hotline at 1-800-759-0977,
Monday – Friday. 8am – 5pm (CST)
V1: 0821

TABLE OF CONTENTS
THANK YOU! ........................................................................................................................................................... 3
SAFETY INFORMATION ........................................................................................................................................ 3
ASSEMBLY TIPS & WARNING .............................................................................................................................. 3
PARTS IDENTIFIER.................................................................................................................................................. 5
ASSEMBLY INSTRUCTIONS .................................................................................................................................. 6
INSTALLATION INSTRUCTIONS ...........................................................................................................................10
HOW TO USE INSTRUCTIONS..............................................................................................................................12
OPERATION INSTRUCTIONS................................................................................................................................13
ENJOYING YOUR SAUNA......................................................................................................................................15
HEALTH AND SAFETY WARNINGS......................................................................................................................15
TROUBLESHOOTING..............................................................................................................................................17
REPLACEMENT PARTS ...........................................................................................................................................18
CARE & MAINTENANCE ........................................................................................................................................19
SPECIFICATIONS .....................................................................................................................................................19
WARRANTY/WARRANTY CARD............................................................................................................................19
The information contained in this manual is subject to change without notice.

3
!SAFETY INFORMATION
ATTENTION!
WARNING!
REPRODUCTIVE
HARM
CANCER ET TROUBLES DE LA REPRODUCTION
WWW.P65WARNINGS.CA.GOV
CANCER AND
CAUTION
THANK YOU!
Thank you for purchasing this product. We work around the clock and around the globe to ensure
that our products maintain the highest possible quality. However, in the rare case of issues during
assembly or use of this product, please contact our Consumer Hotline at 800-759-0977 for immediate
assistance before contacting your retailer. Please read the warranty information at the back of these
assembly instructions for further details.
Please read this entire manual before attempting to assemble, operate, or install the product. The
installation of the sauna requires a minimum of 2 people. You should not try to install the sauna on
your own as damage will easily occur.
ASSEMBLY TIPS & WARNINGS
1) No plumbing or plumbing fixtures should be placed in the sauna.
2) Keep all liquids away from the heating panels.
3) Install the sauna on a completely level surface.
4) Install the sauna in an area that is dry.
5) Flammable objects and corrosive chemical substances should be kept far away from the sauna.
Each side panel has a white label to identify the side and direction. The panel with
“LEFT’ label should be placed on the left side according to the sauna (View from the
inside of the sauna). The same goes with the other panels.
NOTICE

4
ASSEMBLY TIPS & WARNINGS
•Before you begin, read all assembly instructions and safety warnings carefully.
•This sauna requires at least 2 adults to complete assembly.
•Before you begin assembly, remove all of the contents from the boxes. Verify that you have all the
parts shown on the Parts Identifier list. Note: Some parts may be pre-installed or pre-assembled
•Cover the sauna floor during assembly to avoid staining the unfinished wood surface.
•Keep this Owner’s Manual for future reference.
ELECTRICAL REQUIREMENTS
•We recommend consulting a licensed electrician and checking local ordinances before
installing ANY sauna.
•These saunas require a 20 amp receptacle and a 20 amp circuit breaker. Note: Electrical modifications
may be required to accommodate 20 amp power.
•Refer to the serial plate on the back of the sauna for complete electrical specifications.
•These saunas require a dedicated circuit - No other appliances should share the same
outlet with the sauna.
CHOOSING A LOCATION
•This sauna should only be placed INDOORS on a dry, level surface.
•There should be a minimum of 5 inches clearance between the sauna and any wall.
•Make surethe main power cord will reach the outlet and remains easy to access.
•The sauna should only be used in a dry location as moisture will damage the wood and
electrical components.
•Keep the sauna away from any potential hazards including water sources, flammable objects,
and combustible materials.

5
PARTS IDENTIFIER (Note: Illustration Not to Scale)
1. Front Door Panel 2. Left Side Panel 3. Right Side Panel 4. Back Side Panel
5. Roof 6. Roof Cover 7. Floor Panel 8. Bench w/ Heater
9. Oxygen Ionizer*
10. Book Holder
11. Cup Holder
12. Bench Seat
13. Backrest 14. Control Panel* 15. Color
Therapy
Light*
16. Door Handle
Individual Pc Breakdown
on Page 18
17. Hardware Pack 18. Towel Rack
Additional Equipment
Required.
Phillips Head
Screwdriver
Additional Equipment
Required.
Step Ladder
‘*’ Refers to items that are pre-installed in your sauna.
The parts identified above, unless otherwise indicated, are the main components used for assembly.
Other pre-assembled parts are listed on PAGE 18.
See REPLACEMENT PARTS (Page 18) to determine the correct part number when ordering
replacements.

6
ASSEMBLY INSTRUCTIONS
For Square Style (
m
o
d
e
l
k
n
-
a
,
k
n
-
b
,
k
n
-
c
,
k
n
-
d
)
1. Begin assembly by determining an appropriate location for your sauna (See ASSEMBLY TIPS &
WARNINGS for details). Place the FLOOR PANEL on the desired location.
NOTE: On your model
the FLOOR HEATER is
pre-intsalled in the floor.
2. Place the BACK SIDE PANEL on the FLOOR PANEL, lining up the BACK PANEL vertically and tightly
on the backside trim piece of the floor.
3. Place the LEFT SIDE PANEL on the FLOOR PANEL in the same manner as step two. Insert the INNER
WALL CONNECTORS on the side into the three corresponding holes of the BACK SIDE PANEL,
then push down to lock panels together.

7
ASSEMBLY INSTRUCTIONS CONTINUED
4. Slide the BENCH SUPPORT with HEATER PANEL into place between the guide track of the LEFT
SIDE PANEL. It is located near the bottom center of the inner wall. Connect the floor and bench
heater plugs into wires from the back wall. Make sure connections are tight. Now, attach the BENCH
SEAT with (2) 1-3/8” SCREWS in the pre-drilled holes on the BENCH SUPPORT.
5. After the BENCH is in, place the FRONT DOOR PANEL on the FLOOR PANEL, lining up the FRONT
PANEL against the floor trim piece. Then insert INNER WALL CONNECTORS of LEFT PANEL into
corresponding holes of the FRONT DOOR PANEL. Do not forget to push down to lock in place.

8
ASSEMBLY INSTRUCTIONS
6. Now, place the RIGHT SIDE PANEL on the side lip of the FLOOR PANEL. Align it vertically between
both the FRONT and BACK SIDE PANELS. Insert the panels (6) INNER WALL CONNECTORS
into corresponding holes of the FRONT and BACK PANELS. Push down to lock in place.
7. Lift the internal ROOF above the sauna and place on top of SIDE PANELS, feeding the control
panel wiring and heater cables through the corresponding holes of the ceiling. (See Step 8 for
additional wire connection instructions). Secure ROOF to the sauna with (4) 1-1/8” SCREWS.
*While placing the roof over the sauna, feed each of the heater
cables on the side and back walls, and the wire harness and power
plug in the back left corner, through the corresponding holes on
the perimeter of the roof.

9
ASSEMBLY INSTRUCTIONS CONTINUED
8. Please refer to the pictures below (3 steps). Connect the control panel wire, speakers, MP3 player,
and heater plugs on the ROOF to the corresponding wire connections coming up from the SIDE
PANELS through the roof holes.
9.Raise the external ROOF COVER above the sauna. Pull the main power cable out through hole in
the ROOF and plug securely. Now, secure the ROOF COVER to the sauna with (4) 1-1/8” SCREWS.
10. Attach the DOOR HANDLE through the GLASS DOOR FRAME using (2) 1-31/32” (50mm) SCREWS.

10
INSTALLATION INSTRUCTIONS
For Towel Rack, Seat Block, Cup Holder,
Book Holder, Oxygen Ionizer
The towel rack, book holder, and cup holder can be placed wherever you prefer inside the
sauna. Pre-drill the holes before installing to avoid splitting the wood. The oxygen ionizer
MUST be installed on the upper left corner of the BACK SIDE PANEL; where there is a
small wire that should be fed from the TOP PANEL for its connection (See image below).
Page 11 shows our recommended installation loctions of the cup holder, book holder,
and the towel rack.
Oxygen Ionizer Speaker Color Light
Cup Holder Towel Rack Book Holder
Hardware contains screws and four seat retaining blocks as shown in the figures below.
•The 1-1/8” (30-mm) Screws are for the
following: book holder, cup holder, towel rack,
seat retaining blocks, and the oxygen ionizer.
•The 3/4” (20-mm) Screws are for spare parts.
•The recommended seat retaining block
mounting positions are shown here:
NOTICE
NOTICE

11
INSTALLATION INSTRUCTIONS CONTINUED
RECOMMENDED INSTALLATION LOCATIONS:

12
HOW TO USE INSTRUCTIONS
1)
i) Check all the circuitry and the plug connections carefully.
ii) Install a voltage regulator if the power is unsuitable.
iii) Do NOT share the outlet with other electrical appliances to avoid danger.
iv) Do NOT use the sauna if under the influence of alcohol, drugs, or medications.
v) Pregnant women or persons with poor health should consult their physicians before use.
vi) Minors should be supervised in order to prevent injury.
vii) Allow the sauna to heat up for 30 minutes.
viii) Do NOT use the sauna for drying clothes, bathing suits, etc.
ix) Do NOT put animals in the sauna.
x) After 2 hours of continuous use, shut the sauna down for one hour.
2) USE ENVIORNMENT
i) Temperature: 59~149°F
ii) Comparative humidity: ≤85%
iii) Atmospheric pressure: 700hpa~1060hpa
iv) Power: AC 120V±10V, 60HZ±1HZ
3) CHARACTERISTICS
i) Wooden Frame
ii) Electronic controls and constant temperature automatically
iii) Imported high-precise numerical transporter
iv) Electronic keying
v) Heaters
CAUTION

13
OPERATION INSTRUCTIONS CONTINUED
T
he following is The general guide and specificaTions
f
or
r
e
f
e
r
e
n
c
e
o
n
l
y
.
Number Function Number Function
1LCD Screen 6Temperature Control
2Time Display 7Play and Pause Control
3On/Off Button 8USB
4Outside Light Control 9Bluetooth Control
5Seven Color Light Control
1. Connect the power: The power display is on and the sauna is ready to work.
2. Turn the Sauna On: Press the POWER button to turn the sauna ON/OFF. The
temperature displays the actual interior temperature of the sauna.
3. Time Display: Press the arrow UP or DOWN to set desired session time (Sauna heaters will turn off
when time has reached 0).
4. The Power Control: Start and stop the sauna.
5. Outside Light Control: Press the outside light control to turn the light on and off.
6. Color Light Control: Press the color light control to change the color of the light.
7. Temperature Display: Press the arrow UP or DOWN to set desired temperature. Press the two
arrows together to convert Celsius into Fahrenheit.
8. Play and Pause: Press the play and pause button to control the radio, MP3 or USB
9. USB: Connect a device to the USB port to listen to your favorite media.
10. Bluetooth control: Press the bluetooth control button to use the bluetooth feature.
11. Alarm System: If “----” appears in the time display, the sauna will not heat. The sensor is either
not installed properly or it’s not working.
12. Turn Off: Press the POWER button to turn off the sauna.
NOTICE

14
OPERATION INSTRUCTIONS CONTINUED
*Additional Operation Tips
Button 4: Controls the top Exterior Light located on the eave. (ON/OFF)
Button 5: Color Therarpy Light Control. Press button 3 to turn the light on and select a color. To switch
to the automatic color changing function, switch the color to white and press the button again. To turn
off the Color Therapy Light, press the button to cycle to white, and press the button one more time.
Button 9: Bluetooth Function. The bluetooth name appears as ‘BT-sauna or Sauna’.
When you use FM, MP3 and Bluetooth fuction:
•The temperature plus and minus is for changing the channel and the songs.
•The time plus and minus is for changing the volume.
•The pause key controls pause and play.
•To listen to music from a USB flash drive, plug a USB drive into the USB port and then press the
MP3 button.

15
ENJOYING YOUR SAUNA
1. Prior to initial use, wipe down all interior surfaces of the sauna with a damp cloth.
2. Turn on the sauna and set temperature to 104°F for one hour to burn off any factory dust.
3. Always drink plenty of water before, during, and after your sauna session to stay properly hydrated.
4. A normal sauna session should last 30 minutes or less.
5. Allow approximately 15 to 25 minutes for the sauna to warm up before entering.
6. Perspiration will begin within 15 to 25 minutes after entering the sauna.
7. Limit the use of lotions or oils on your body while using your sauna. These products can block your
pores and limit perspiration, decreasing the effectiveness of your sauna session.
8. For spot treatment, position your body closer to the heater, allowing for deeper heating
of that body part or area.
9. During your sauna session, place towels on the bench seats and on the floor to absorb perspiration
and maintain cleanliness of your sauna.
10. Towel off excess perspiration during your sauna session to help your body perspire more freely.
11. Open the ceiling vent or the front door to allow fresh air into your sauna.
12. Allow your body to cool down following your sauna session, then rinse the perspiration off your
body in a warm shower.
HEALTH & SAFETY WARNINGS
1. Review all instructions and warnings before operating your sauna. A sauna is not a toy. Serious
injury may result from negligence, intentional misuse, and failure to follow safety instructions.
2. Hyperthermia Danger: Hyperthermia occurs when the body absorbs more heat than it can
dissipate. When the elevated body temperatures are sufficiently high, hyperthermia is a medical
emergency and requires immediate treatment to prevent disability or death. It is very important
not to allow your body’s core temperature to rise above 103° F. Symptoms of hyperthermia
include dizziness, lethargy, drowsiness, and fainting. The effects of hyperthermia may include
failure to perceive heat, failure to recognize the need to exit the sauna, unawareness of the
impending health hazard, physical inability to exit the sauna, and unconsciousness.

16
HEALTH & SAFETY WARNINGS CONTINUED
3. If you are feeling uncomfortable, faint or dizzy, exit the sauna immediately.
4. Do not exceed recommended time and temperature guidelines.
5. Do not touch or interfere with the temperature sensor on the control panel.
6. Do not touch or spray water on the heater elements.
7. Do not use the sauna while under the influnce of drugs or alcohol.
8. Do not sleep inside the sauna.
9. Do not use the sauna immediately following strenuous exercise. Allow your body to cool down
for 30 minutes before entering the sauna.
10. Pets should never be placed in the sauna.
11. Pregnant women, children under the age of 6, the elderly, and infirm should not use the sauna.
12. Children over the age of 6 should always be supervised by an adult.
13. People with health problems including open wounds, fever, sunburn, or dehydration
should not use the sauna.
14. People suffering from obesity or with a history of heart disease, low or high blood pressure,
circulatory system problems, or diabetes should consult a physician before using the sauna.
15. Consult a physician before using the sauna if you take any prescription medications.
16. Keep towels and combustible materials away from the heater elements.
17. Remove all towels and materials after your sauna session.
18. Never leave your sauna unattended while in use.
19. Always unplug the sauna and allow it to cool down before performing any cleaning or maintenance.
20. Always turn off and unplug the sauna when not in use.

17
TROUBLESHOOTING
I. The lights are not working.
Possibility Repairing Method
1
The bulb fuse is burned out. Change the bulb.
2The bulb and the socket are
not connected well.
Pull out the bulb and check the socket, change
the socket if necessary. Then plug it in.
3
The fuse is burned out. Change the fuse on the top of the ceiling.
II. The control panel is not working. Do
NOT t
ouch the glass part of the
bulb with fingers during installation.
Possibility Repairing Method
1The control panel cabel is
not connected well. Check the cable connection to ensure it is snug.
2
The fuse is burned out. Change the fuse on top of the ceiling.
3The power indicator light is on,
but there’s no LED display. Most likely will need a new control panel.
III. The sauna heaters are out of order.
Phenomenon
Possibility
Repairing Method
1. One of the heaters
will not heat.
1) The heater is not connected properly. Check the connection.
2) The heater needs replacement. Replace the heater.
2. All heaters
do not heat.
1) The power plug is not connected properly. Check the power plug
to ensure its snug.
2) The heaters are not connected properly. Fix the connections.
3) Relay malfunction. Change the relay.
4) Control panel malfunction. Change the control panel.
NOTICE

18
SA8000 TWO-PERSON HEMLOCK SAUNA WITH CARBON HEATERS
*These items are pre-installed in your sauna
**35-37 are included in the hardware pack
REPLACEMENT PARTS
Rev. 6/15

19
CARE & MAINTENANCE
I. The sauna room should be kept clean and odor free.
II. Damp towels should always be used on benches otherwise perspiration penetrates the soft wood.
III. Air out the room often by keeping the door and vents open when the room is not in use.
IV. Saunas that are in daily use should be wiped down with a wet towel at least once a week. Ensure
the towel is only slightly damp. The towel should not wring water, drip or cause water stains.
V. Inspect benches regularly for required maintenance.
VI. After use, open the ozone and close the door. Let disinfect for half an hour without anyone inside.
VII. Badly soiled surfaces may require sanding. Sand paper wrapped around a wooden block works
well.
SPECIFICATIONS
Type Capacity (Person) Size (LxWxH mm)
Square Style
KN-001 One Person 900x950x1900
KN-002 Two People 1200x1050x1900
KN-003 Three People 1500x1150x1900
KN-004 Four People 1800x1250x1900
Corner Style KN-005 Four or Five People 1550x1550x1900
SAUNA WARRANTY
1. Please fill out the warranty card on the following page within 30 days to register your sauna and
receive a full warranty.
We guarantee our sauna against defective material and/or workmanship for a period of 12 months
from the purchase date. We warranty the replacement of heaters and any electronic components
associated with the sauna for six years to the original owner only. Variations in wood texture, color,
and normal wear are not covered by any warranty. We do not warranty the CD/DVD/LCD System as it
carries its own manufacturer’s warranty. The warranty is deemed void if the sauna has been misused,
altered, or open to the elements of weather. Any deviation from the instruction manual causing
damage to sauna will not be under warranty. Our Saunas and any of its subsidiaries and/or associates
shall not be held responsible for any misuse of the sauna by customer. Our Saunas shall not be liable
for any damage and/or injury caused by customer misuse of product. Customers shall use sauna at
their own risk. Conditions are subject to change without notice.

20
SAUNA WARRANTY CONTINUED
2. Any damage sustained to the sauna set during transportation is not covered by this warranty. Claims
for damage must be filed through the transport/shipping company. Any damage must be reported
on the Bill of Lading through the transport shipping company.
3. This sauna has a One Year Limited Warranty against defects in materials and workmanship from date
of purchase. To receive the warranty, the card below must be filled out completely and returned
within thirty (30) days from date of purchase. This One Year Limited Warranty covers the wood
structure*. Heating elements and all electronics are covered by a 6-Year Limited Warranty. The radio/
CD player (if included with your sauna) is covered by a limited 1-Year Warranty. The light bulbs and
light fixtures are covered for 90 days.
4. This product is intended to be utilized for private, non-commercial use. Blue Wave Products’
sauna must be used as directed in the Product Operation Manual. Utilization of non-Blue Wave
replacement parts or repairs which are not done by or under the direction of Blue Wave Products,
Inc. shall also void any warranties/guarantees, expressed or implied.
5. This warranty does not cover defects or damage due to improper installation, alteration, accident,
installation of unauthorized parts or any other event beyond the control of the Blue Wave Products.
Defects or damage resulting from misuse, abuse or negligence will void this warranty. This warranty
does not cover scratching or damage that may result from normal usage.
6. Please notify Blue Wave Products in advance of any sauna warranty claim prior to shipping the sauna
back. Contact our warranty claim department at warra[email protected]. This warranty
becomes valid at time of purchase and terminates either by specified time frame listed above, owner
transfer, or relocation.
7. This warranty is nontransferable and is expressly limited to the repair or replacement of the defective
product. During the warranty period, Blue Wave Products shall repair or replace defective parts at no
cost to the purchaser. Shipping charges and insurance are not covered and are the responsibility of
the purchaser. Labor charges and related expenses for removal, installation or replacement of the
product or components are not covered under this warranty.
8. If the warranty claim department determines that the item must be returned, it must be returned with
freight prepaid and a receipt showing date of purchase, purchase price, and the dealer from which
the sauna was purchased. No warranty claim will be honored without a receipt.
9. Warranty claims will only be resolved with the repair of the current product, or shipment of a
replacement product or parts at the sole discretion of Blue Wave Products. NO REFUNDS will be
given.
10. Blue Wave Products reserves the right to make substitutions to warranty claims if parts are
unavailable or obsolete.
11. Blue Wave Products shall not be liable for loss of use of the product or other consequential or
incidental costs, expenses or damages incurred by the consumer of any other use. The user assumes
all risk of injury resulting from the use of this product.
12. Improper installation, misuse or damages resulting from acts of nature will render this warranty
null and void.
Table of contents
Languages:
Other Heat Wave Plumbing Product manuals

Heat Wave
Heat Wave SA1315 User manual

Heat Wave
Heat Wave Sonoma SA7019 User manual

Heat Wave
Heat Wave Blue Wave VALERIAN User manual

Heat Wave
Heat Wave Sonoma SA7018 User manual

Heat Wave
Heat Wave Sonoma 4 Person Hemlock Carbon Sauna User manual

Heat Wave
Heat Wave SA1312 User manual

Heat Wave
Heat Wave Blue Wave SPIRIT DELUXE User manual