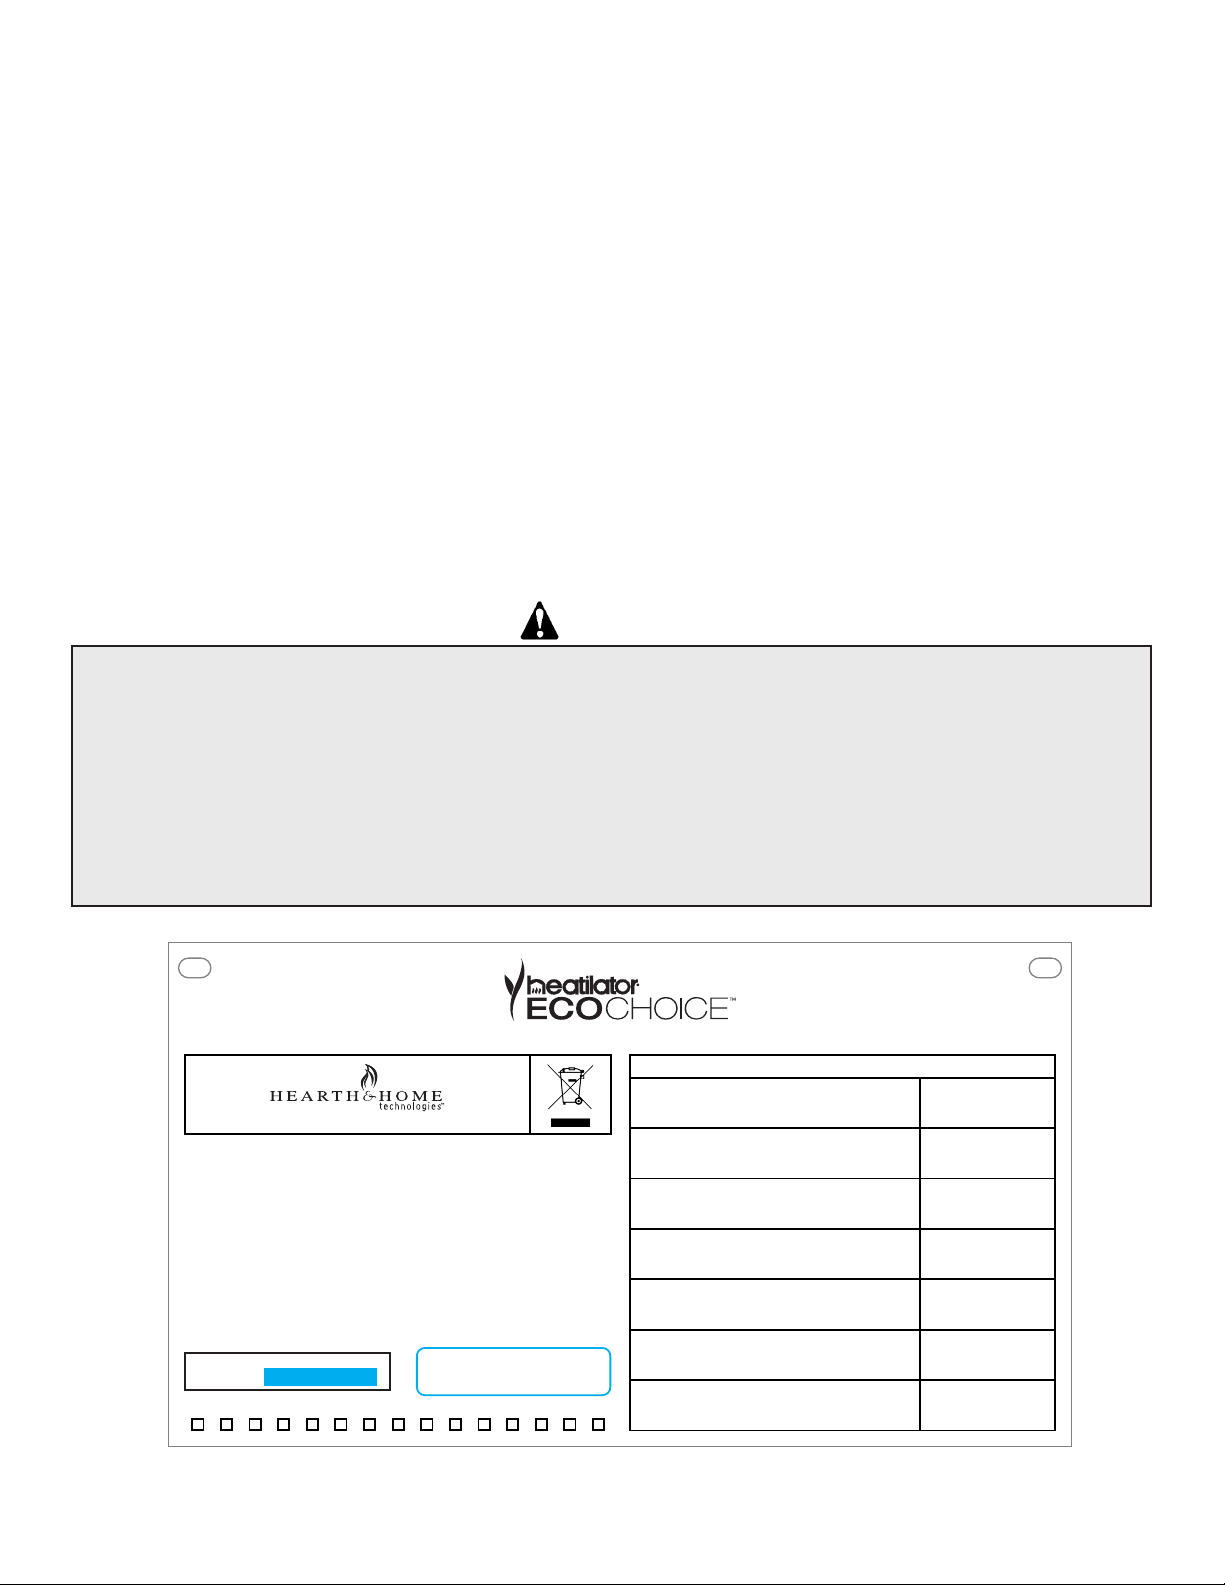
8 www.heatilatorecochoice.com
Heatilator • ECO-NZ-PS35 • 7072-111B • December 1, 2011
B. Fire Safety
Toprovidereasonableresafety,thefollowingshouldbe
givenseriousconsideration:
• Install at least one smoke detector on each oor of
yourhome.
• Locate smoke detector away from the heating
appliance and close to the sleeping areas.
• Followthesmokedetectormanufacturer’splacement
andinstallationinstructionsandmaintainregularly.
• Conveniently locate a Class A re extinguisher to
contendwithsmallres.
Intheeventofahopperre:
• Evacuatethehouseimmediately.
• Notifyredepartment.
C. Combustible/Non-Combustible Materials
Combustible Material
Materialmadeoforsurfacedwithwood,compressed
paper,plantbres,plastics,oranymaterialcapable
ofignitingandburning,whetherame-proofedornot,
plastered or unplastered.
Non-combustible Material
Materialwhichwillnotigniteandburn.Suchmaterialsare
thoseconsistingentirelyofsteel,iron,brick,tile,slate,
glassorplasters,oranycombinationthereof.
Non-combustible Sealant Material
Sealantswhichwillnotigniteandburn:CRCManiseal
ExhaustCement,HighTemperatureSilicon(TRV)Sealant
(orequivalent).
D. Fuel Material and Fuel Storage
Pelletfuelqualitycangreatlyuctuate.Werecommend
thatyoubuyfuelcomplyingwiththewoodpelletstandard
AS/NZS4014.6:2008.Theuseofpoorqualityfuelcan
affecttheperformanceofyourre,requiremorefrequent
cleaningorcausedamagetothereandinvalidatethe
warranty.
Fuel Material
• Madefromsawdustorwoodby-products
• Dependingonthesourcematerialitmayhaveahigh
orlowashcontent.
Higher Ash Content Material
• Hardwoodswithahighmineralcontent
• Fuelthatcontainsbark
• Standardgradepelletsorhighashpellets
Lower Ash Content Material
• Mostsoftwoods
• Fuelswithlowmineralcontent
• Mostpremiumgradepellets
Clinkers
Mineralsandothernon-combustiblematerialssuchas
sandwillturnintoahard,glass-likesubstancecalleda
clinkerwhenheatedintherepot.
Treesfromdifferentareaswillvaryinmineralcontent.That
iswhysomefuelsproducemoreclinkersthanothers.
Moisture
Alwaysburndryfuel.Burningfuelwithhighmoisture
contenttakesheatfromthefuelandtendstocoolthe
appliance,robbingheatfromyourhome.Damppelletfuel
canclogthefeedsystem.
Size
• Pelletsareeither(6-8mm)indiameter
• Lengthshouldbenomorethat(38mm)
• Pelletlengthscanvaryfromlot to lot from the same
manufacturer
Performance
• Higher ash content requires the repot and the ash
drawertobeemptiedmorefrequently
• Premiumwoodpelletsproducethehighestheatoutput
• Burning pellets longer than (38mm) can cause an
inconsistentfuelfeedrateand/ormissedignitions
Storage
• Woodpelletsshouldbeleftintheiroriginalsealedbag
untilusingtopreventmoistureabsorption
• Do not store any pellet fuel within the clearance
requirementsor in an area that would hinder routine
cleaningandmaintenance
E. General Operating Information
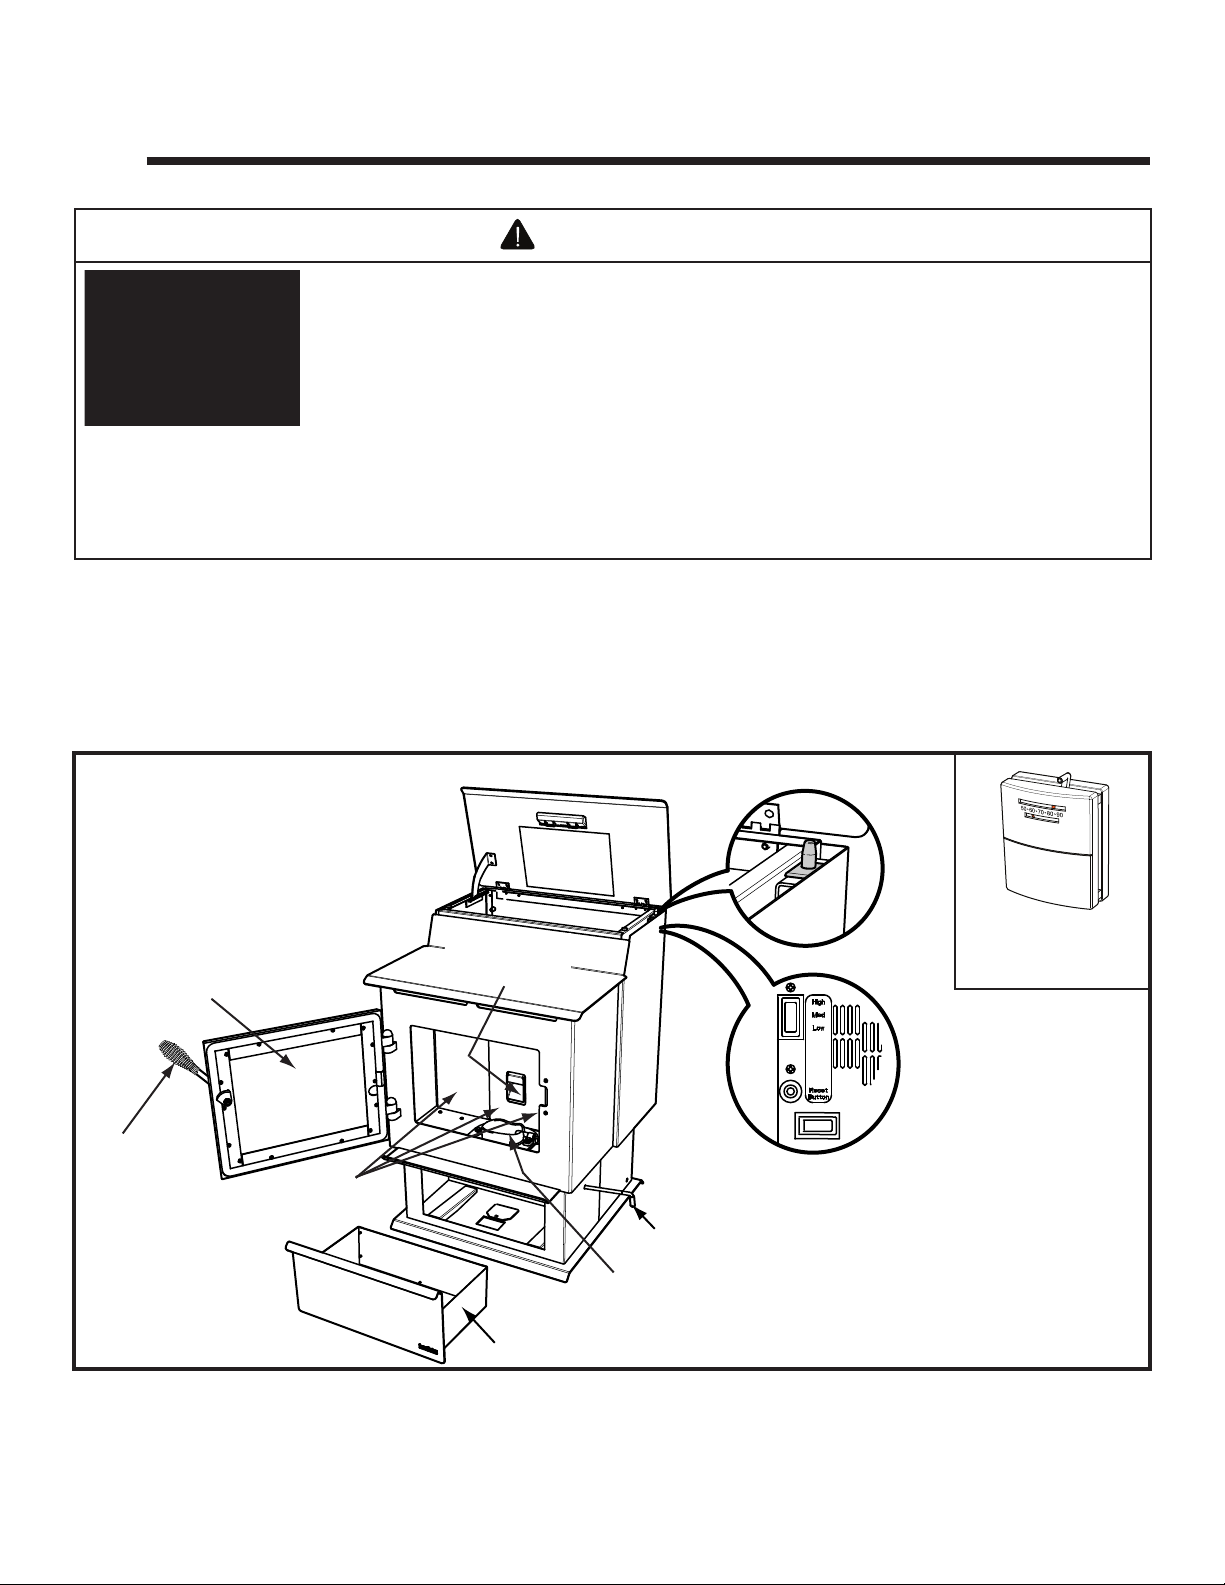
1. Turning On/Off
Therehastwoswitchesonthebackofthereoneto
turnthereonandoffthesecondistheheatoutputcontrol
(see“Figure2”onpage9).Toturnthereonpress
theON/OFFswitchtotheonpositiontherewillthengo
throughitsstart-upsequence.
Theresalsohavetheoptionofaroomthermostat,when
thethermostatcallsforheat,therewillautomaticallylight
anddeliverheat.
Whentheroomisuptotemperatureandthethermostatis
satised,theappliancewillshutdown(notrecommended
forolderdraftyhouses)