1
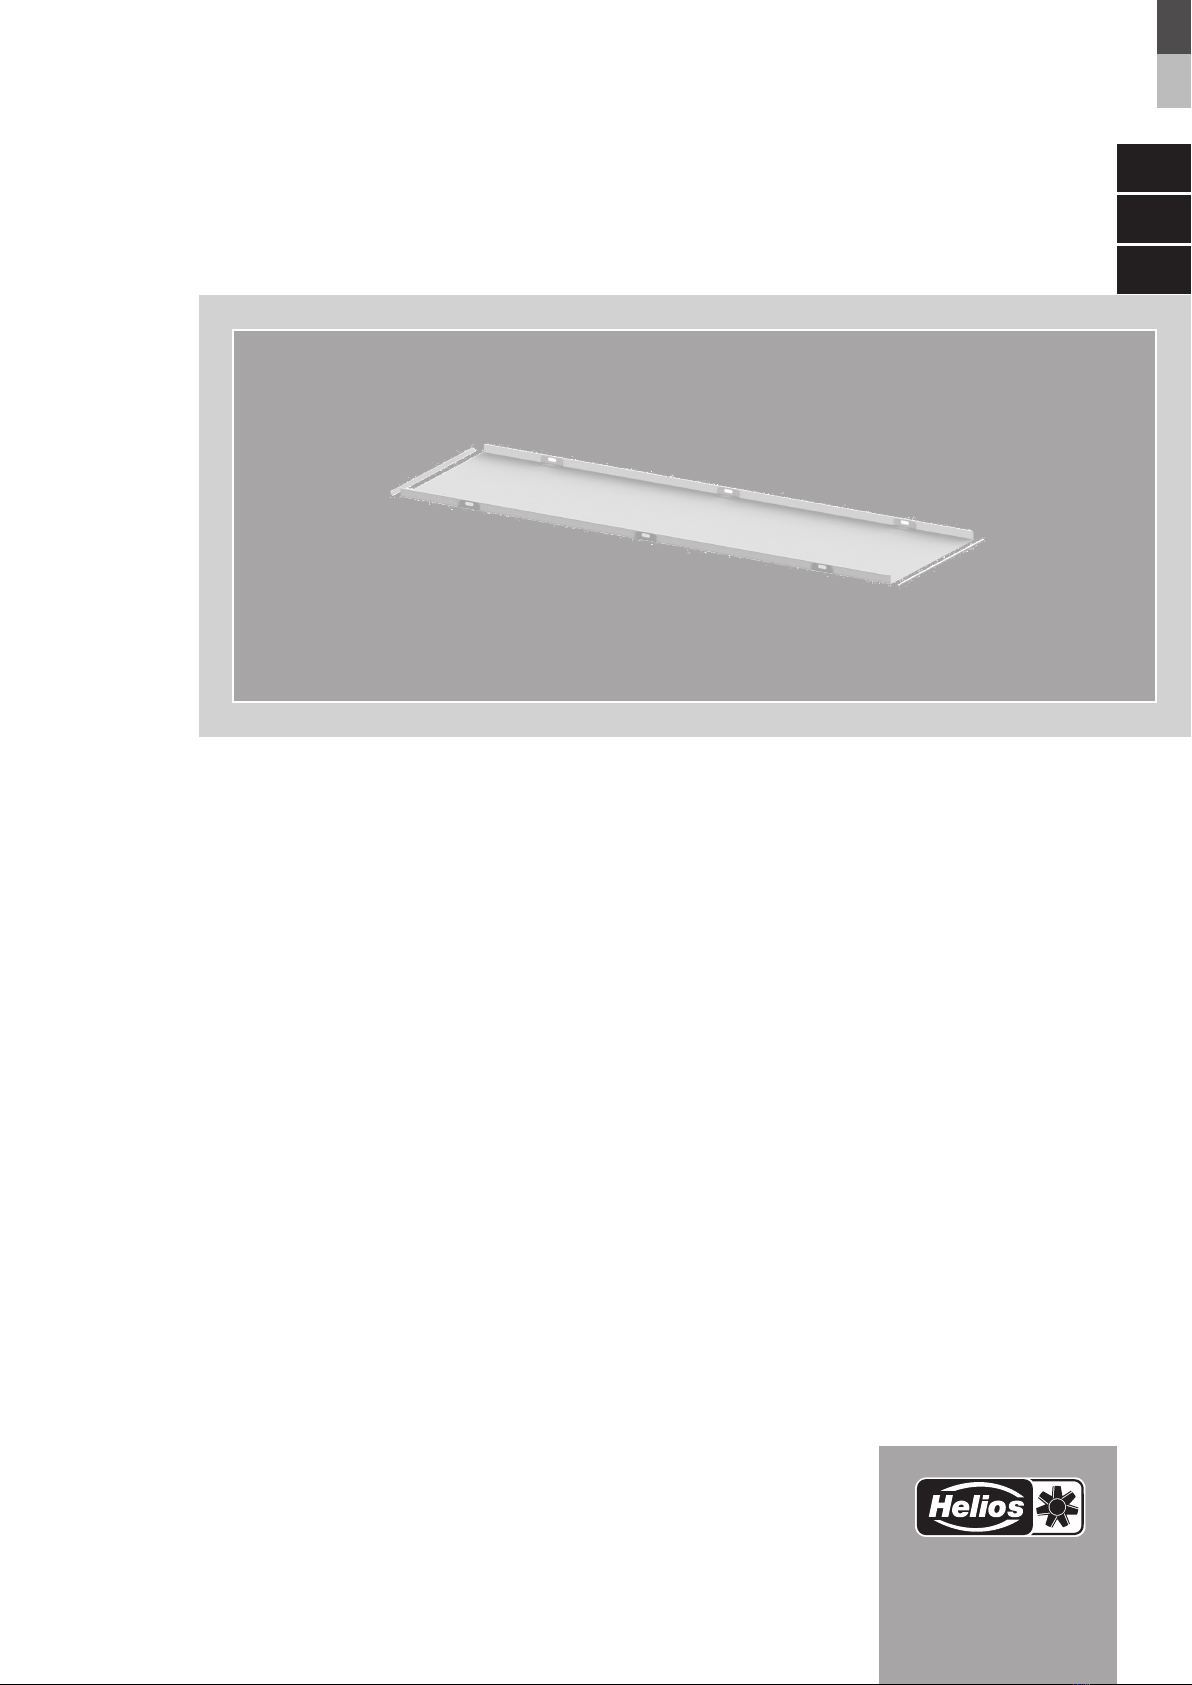
Toiture pare-pluie AIR1-AAD NH EL+WW / KR KW+DX
Notice de montage et d’utilisation
FR
1.0 Informations importantes
Il est important de bien lire et suivre l’ensemble des consignes suivantes pour le bon fonctionnement de l’appareil et
pour la sécurité des utilisateurs. Le chapitre « Montage », qui contient des instructions d’installation importantes et les
réglages de base de l’appareil, s’adresse aux installateurs professionnels.
Conserver la notice de montage et d’utilisation comme référence à proximité de l’appareil. Après le montage final, le
document doit être remis à l’utilisateur (locataire / propriétaire).
1.1 Précautions et consignes de sécurité
Les symboles ci-contre indiquent une consigne de sécurité. Toutes les consignes de sécurité ainsi que les
symboles doivent être impérativement respectés, afin d’éviter tout danger.
1.2 Demandes de garantie – Réserves du constructeur
Si les consignes figurant dans cette notice ne sont pas correctement respectées, la garantie s’annule. Il en est de
même pour toute implication de responsabilité du fabricant.
L’utilisation d’accessoires non conseillés ou proposés par Helios n’est pas permise. Les dégâts causés par cette mau-
vaise utilisation ne sont pas couverts par la garantie.
1.3 Règlementations – Normes
Sous réserve d’une installation et d’une utilisation appropriées, ce produit est conforme à la réglementation et aux
directives CE en vigueur le jour de sa fabrication.
1.4 Réception de la marchandise
Dès réception, vérifier l’état et la conformité du matériel commandé. En cas de dégâts, les signaler immédiatement
en mentionnant le nom du transporteur. Attention, le non-respect de ces procédures peut entraîner le rejet de la ré-
clamation.
La toiture pare-pluie est livrée avec tous les supports en tôle d’acier, les joints de brides, les vis et les silicones.
1.5 Stockage
Pour un stockage de longue durée et pour éviter toute détérioration préjudiciable, il convient de se conformer aux
instructions suivantes :
Protéger avec un emballage sec, étanche à l’air et à la poussière (sac en matière synthétique contenant des sachets
déshydrateurs et un indicateur d’humidité). Stocker le matériel dans un endroit abrité de l’eau, exempt de vibrations et
de variations de températures excessives. Les dommages dus à de mauvaises conditions de transport ou de stockage
ou à une utilisation anormale sont décelables et ne sont pas couverts par la garantie.
1.6 Domaines d’utilisation – Utilisation conforme
Lorsqu’un module externe d’une centrale AIR1 est monté en extérieur, celui-ci doit être protégé des intempéries (par
ex., pluie ou neige) par une toiture pare-pluie. Elle est exclusivement destinée à être utilisée en tant qu’accessoire pour
les batteries de refroidissement et de chauffe externes des centrales AIR1 XH et RH.
L’utilisation conforme implique également le respect de la notice de montage et d’utilisation et des directives du fabri-
cant de la centrale ainsi que des intervalles d’inspection et de maintenance définis par HELIOS.
Tout usage inapproprié est interdit !
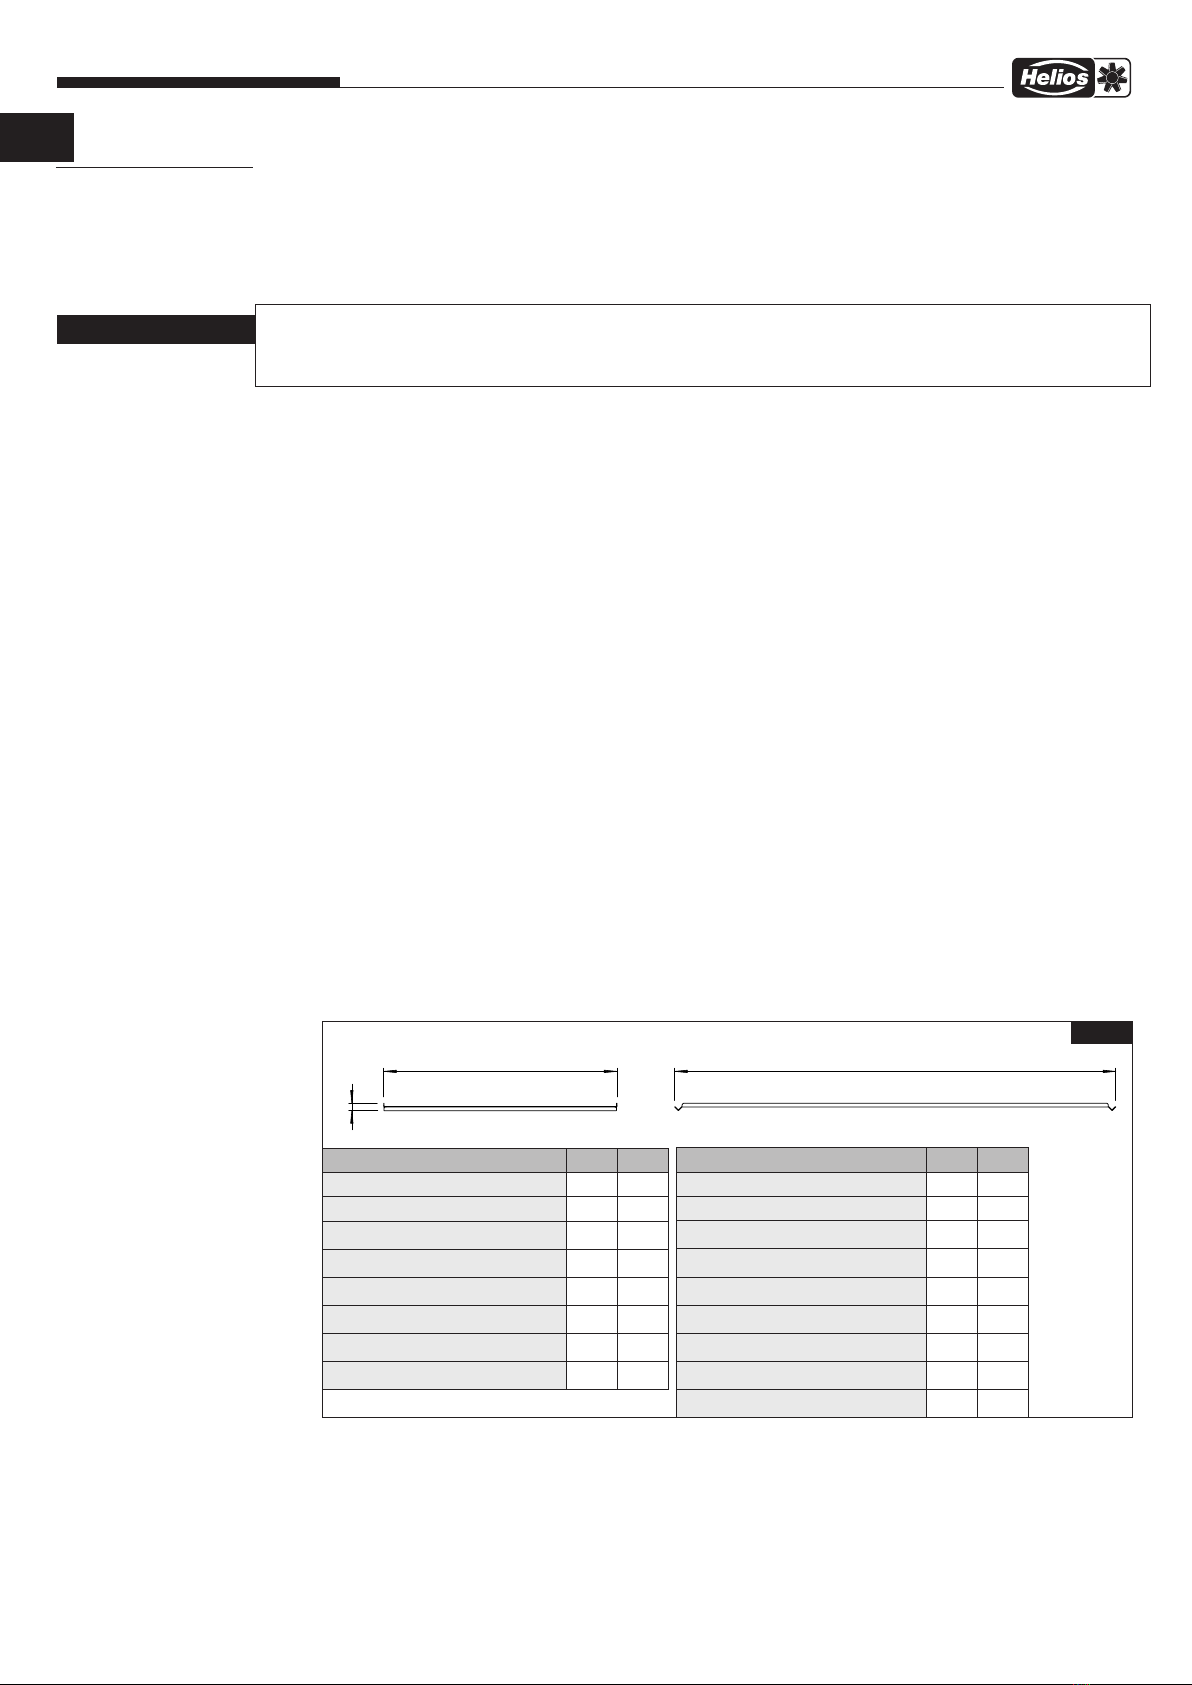
1.7 Dimensions
– Toiture pare-pluie AIR1-AAD KR KW+DX (XH 1000-8500 ; RH 1500-15000)
CHAPITRE 1
INFORMATIONS
GÉNÉRALES
m
A
35
C
Maße (mm)
Art.-Nr.
Type
A
C
06451
AIR1-AAD KR KW+DX XH 1000
1000 805
06455
AIR1-AAD KR KW+DX XH 1500
1000 812
06461
AIR1-AAD KR KW+DX XH 2500
1000 1037
06462
AIR1-AAD KR KW+DX XH 3500
1100 1138
06463
AIR1-AAD KR KW+DX XH 4500
1100 1220
06464
AIR1-AAD KR KW+DX XH 5500
1100 1430
06465
AIR1-AAD KR KW+DX XH 7000
1100 1730
06466
AIR1-AAD KR KW+DX XH 8500
1100 2080
Fig. 1
Type A C
AIR1-AAD KR KW+DX XH 1000 1 000 805
AIR1-AAD KR KW+DX XH 1500 1 000 812
AIR1-AAD KR KW+DX XH 2500 1 000 1 037
AIR1-AAD KR KW+DX XH 3500 1 100 1 138
AIR1-AAD KR KW+DX XH 4500 1 100 1 220
AIR1-AAD KR KW+DX XH 5500 1 100 1 430
AIR1-AAD KR KW+DX XH 7000 1 100 1 730
AIR1-AAD KR KW+DX XH 8500 1 100 2 080
Type A C
AIR1-AAD KR KW+DX RH 1500 1 000 932
AIR1-AAD KR KW+DX RH 2000 1 000 1 032
AIR1-AAD KR KW+DX RH 3000 1 000 1 102
AIR1-AAD KR KW+DX RH 5000 1 100 1 424
AIR1-AAD KR KW+DX RH 6000 1 100 1 544
AIR1-AAD KR KW+DX RH 8000 1 100 1 794
AIR1-AAD KR KW+DX RH 9500 1 100 1 894
AIR1-AAD KR KW+DX RH 12000 1 100 2 044
AIR1-AAD KR KW+DX RH 15000 1 100 2 294 Dimensions
en mm