Hengbida Electronic Technology Sound Pad S1 User manual
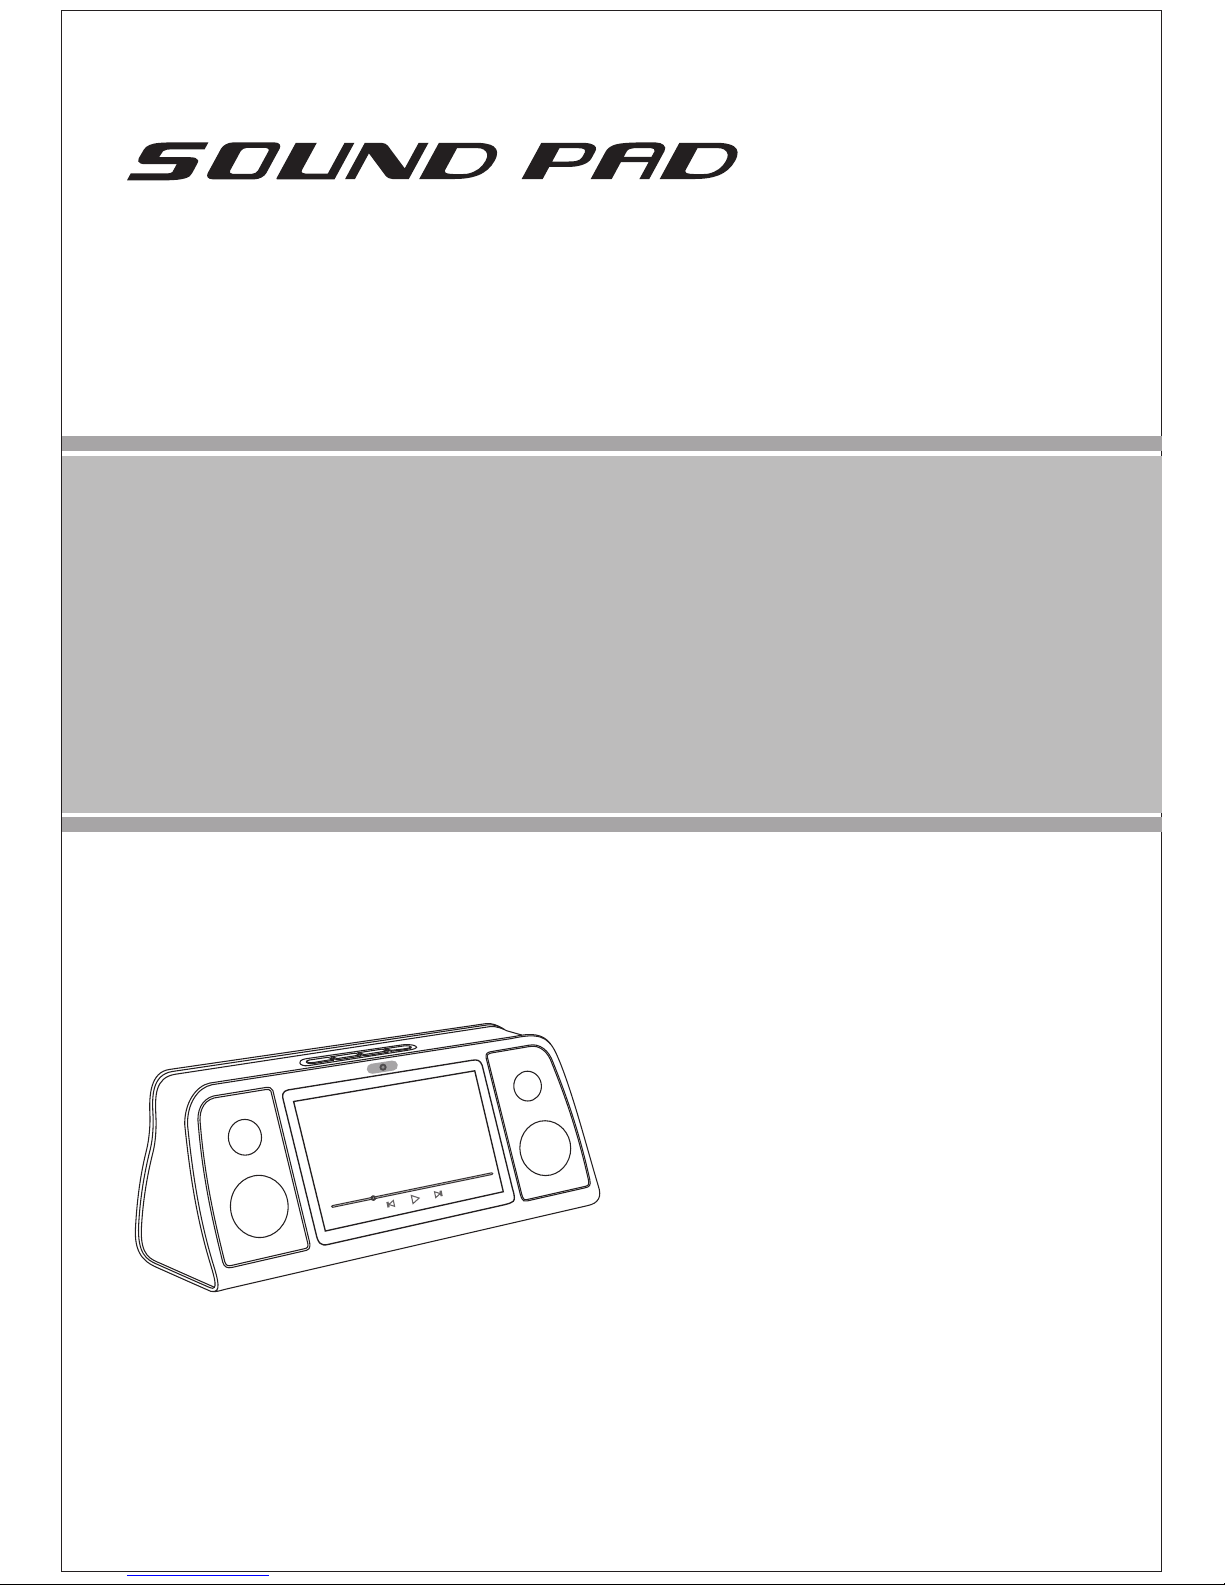
Model:S1
Porduct Manual
Thank you for your purchase of this product, please read this Manual
carefully before using this product to ensure proper use.

- 2 -
CONTENTS
CAUTIONS ......................................................................................................................... 2
SAFETY PRECAUTION ......................................................................................................3
PRODUCT FEATURES ...................................................................................................... 6
PACKAGE CONTENTS ...................................................................................................... 6
OVERVIEW ......................................................................................................................... 6
CONNECTING .....................................................................................................................7
REMOTE CONTROL .......................................................................................................... 8
QUICK GUIDE..................................................................................................................... 8
DETAILS OF OPERATION.9
C nnect t TV.9
Wifi c nnecti n10
P rtable h tsp t..10
Br wser.10
Applicati n12
File management.12
Vide player.13
Music player.14
Pictures viewer15
Settings.15
Using TF card & USB device....16
Other.16
TROUBLING SHOOTING..................................................................................................17
SPECIFICATIONS.............................................................................................................18

- 3 -
Thank y u very much f r ch sing ur S undPad System.
Bef re y u begin t use this device, please read this manual th r ughly and keep it available
f r future reference. This manual will present y u with the exciting features pr vided by ur
Entertainment System, which all ws y u t enj y unbelievably amazing visual experience.
SAFETY PRECAUTION
• Keep away from water or moisture and dusty areas
• Ambient Temperature 0-40°C Never store in hot and very cold areas
• Be carefully to keep it without dropping it or strong impact
• Do not try to open the case alone without technical support
• Only use attachments/accessories specified by the manufacturer
• No objects filled with liquids, such as vases, shall be placed on apparatus
• The ventilation should not be impeded by covering the ventilation openings with items
such as newspaper, table-cloths, curtains ect
• No naked flame sources such as lighted candles should be placed on the apparatus
• Battery shall not be exposed to excessive heat such as sunshine, fire or the like
CAUTION
Danger of explosion if battery is incorrectly replaced
Replace only with the same or equivalent type
Warning:
• To reduce the risk of fire or electric shock, do not expose to rain, moisture, dripping or
splashing
1 READ INSTRUCTIONS
All the safety and perating instructi ns sh uld be read bef re the unit is perated.
2 RETAIN INSTRUCTIONS
The safety and perating instructi ns sh uld be retained f r future reference.
3 HEED WARNINGS
All warnings n the unit and in the perating instructi ns sh uld be adhered t .
4 FOLLOW INSTRUCTIONS
All perating and use instructi ns sh uld be f ll wed.
5 CLEANING
Unplug this unit fr m the wall utlet bef re cleaning. D n t use liquid cleaners r aer s l
cleaners. Use a damp cl th f r cleaning the exteri r cabinet nly.

- 4 -
6 ATTACHMENTS
The manufacturer f this unit d es n t make any rec mmendati ns f r attachments, as they
may cause hazards.
7 WATER AND MOISTURE
D n t use this unit near water. F r example, near a bathtub, washb wl, kitchen sink, laundry
tub, in a wet basement, r near a swimming p l.
8 VENTILATION
Sl ts and penings in the cabinet back r b tt m are pr vided f r ventilati n, and t ensure
reliable perati n f the unit, and t pr tect it fr m verheating. These penings must n t be
bl cked r c vered. The penings sh uld never be bl cked by placing the unit n a bed, s fa,
rug, r ther similar surface. This unit sh uld never be placed near r ver a radiat r r heat
s urce. This unit sh uld n t be placed in a built-in installati n such as a b kcase r rack
unless pr per ventilati n is pr vided r the manufacturer's instructi ns have been adhered t .
9 POWER SOURCE
This unit sh uld be perated nly fr m the type f p wer s urce indicated n the rating plate. If
y u are n t sure f the type f p wer supply t y ur h me, c nsult y ur appliance dealer r
l cal p wer c mpany. F r units intended t perate fr m battery p wer, r ther s urces, refer
t the respective pages in this Owner's Manual f r their perating instructi ns.
10 POWER-CORD PROTECTION
P wer-supply c rds sh uld be r uted s that they are n t likely t be walked n r pinched by
items placed up n r against them, paying particular attenti n t c rds at plugs, c nvenience
receptacles, and the p int where they exit fr m the appliance.
11 POWER LINES
An utside antenna system sh uld n t be l cated in the vicinity f verhead p wer lines r
ther electric light r p wer circuits, r where it can fall nt r against such p wer lines r
circuits. When installing an utside antenna system, extreme care sh uld be taken t keep
fr m t uching such p wer lines r circuits, as c ntact with them might be fatal.
12 OVERLOADING
D n t verl ad wall utlets and extensi n c rds, as this can result in a risk f fire r electric
sh ck.
13 OBJECT AND LIQUID ENTRY
D n t push bjects thr ugh any penings in this unit, as they may t uch danger us v ltage
p ints r sh rt ut parts that c uld result in fire r electric sh ck. Never spill r spray any type
f liquid int the unit.
14 SERVICING
D n t attempt t service this unit y urself as pening r rem ving c vers may exp se y u t
danger us v ltage r ther hazards. Refer all servicing t qualified service pers nnel.
15 DAMAGE REQUIRING SERVICE
Unplug this unit fr m the wall utlet and refer servicing t qualified service pers nnel under the
f ll wing c nditi ns:
A. When the p wer-supply c rd r plug is damaged.
B. If liquid has been spilled, r bjects have fallen int the unit.
C. If the unit has been exp sed t rain r water.
D. If the unit d es n t perate n rmally by f ll wing the perating instructi ns. Adjust nly
th se c ntr ls that are c vered by the perating instructi ns, as an impr per adjustment f
ther c ntr ls may result in damage and will ften require extensive w rk by a qualified
technician t rest re the unit t its n rmal perati n.
E. If the unit has been dr pped r the cabinet has been damaged.

- 5 -
F. When the unit exhibits a distinct change in perf rmance, this indicates a need f r service.
16 REPLACEMENT PARTS
When replacement parts are required, be sure the service technician uses replacement parts
specified by the manufacturer r th se that have the same characteristics as the riginal part.
Unauth rized substituti ns may result in fire, electric sh ck r ther hazards.
17 SAFETY CHECK
Up n c mpleti n f any service r repairs t this unit, ask the service technician t perf rm
safety checks t determine that the unit is in pr per perating c nditi n.
18 HEAT
The pr duct sh uld be situated away fr m heat s urces such as radiat rs, heat registers,
st ves, r ther pr ducts (including amplifiers) that pr duce heat.

- 6 -
PRODUCT FEATURES
S und PAD System is an internet-c nnected televisi n platf rm, c mbining TV, PC, the entire
web, and applicati ns. S und PAD System brings y u a new experience int y ur life.
Andr id 4.4.4 OS: Surf and search the entire web as well as a great variety f Andr id
applicati ns. Andr id OS is flexible and intuitive, which all ws the users t install and uninstall
the applicati ns t meet their individual needs.
Online entertainment: enj y nline music, pictures, games and m re. Y u can watch
nline the high-definiti n vide s and listen nline t the newest and h ttest music.
Supp rts b th Wi-Fi and RJ45 netw rk p rt. (If you purchase the device have this function)
HDMI utput (supp rts up t 1080p): the perfect c mpani n t y ur HDTV. Supp rts
1080p vide dec ding.
Easy t use: S und PAD System can be c ntr lled by rem te c ntr l as well as wired r
wireless keyb ard and m use. It is c nvenient, fast and easy t use.
Vide playback: HD theatre; supp rt FLV (FLASH n line- n t all websites, needs t
enquire y ur l cal dealer), 3GP, MOV, MP4,MKV,H.264 f rmats. Perfect 3D feeling.
Music playback: supp rt OGG, MP2, M4A, MID, MP3, WAV, AMR, WMA f rmats.
High res luti n pictures: S und PAD System can supp rt BMP, JPG, PNG, GIF f rmats
and bring y u stunningly clear images.
Expandable mem ry: Y u can use TF card f r increased st rage space.
PACKAGE CONTENTS
Here’
s what y u sh uld find inside the b x:
S und PAD System
18V P wer adapt r
2.4G wireless M use ( pti nal)
Rem te c ntr l
2.4G wireless Keyb ard ( pti nal)
1 X Micr ph ne ( pti nal)
OVERVIEW

- 7 -
1. P wer Butt n: L ng-click the butt n f r till 3 sec nds, int system interface. In sleeping
status, sh rt click the butt n, will start int system.
2. Camera
3. VOL+/-: adjust f r v lume f the wh le system
4. Mute
5. Micr ph ne
6. Rem te c ntr l signal sens r: D n t bl ck IR receiver, s that y u can use the rem te
c ntr l pr perly.
7. L/R utput: t c nnect audi device like speakers
8. TF card sl t: f r TF card (the device can play the multi-media files in the TF card)
9. HDMI p rt: T c nnect TV f r HDMI utput
10. Reset: Press it, the system will be reset.
11. USB p rt: t c nnect keyb ard, m use, U-disk r the ther st rage device.
12. DC-in jack: t c nnect adapt r.
CONNECTIONS
Bef re c nnecting
1. Ensure that the device and ther external equipments t be c nnected are switched ff
bef re c mmencing c nnecti n.
2. Read the instructi ns carefully bef re c nnecting ther external equipments.
3. Ensure that y u bserve the c l r c ding when c nnecting audi cables.
C nnecting external device.
The device c mes equipped with a HDMI utput jack and audi utput jack. Use this feature
t c nnect the device signal t TV external equipment.
1. Be sure t turn ff and unplug y ur player and TV bef re making these c nnecti ns.
2. Use the HDMI cable t c nnect the device HDMI utput jack t utput signals.
N te: Refer t y ur TV, instructi n manual f r m re inf rmati n t set it t the pr per input
m de.
3 C nnecting external audi signal r ther device.
- 8 -
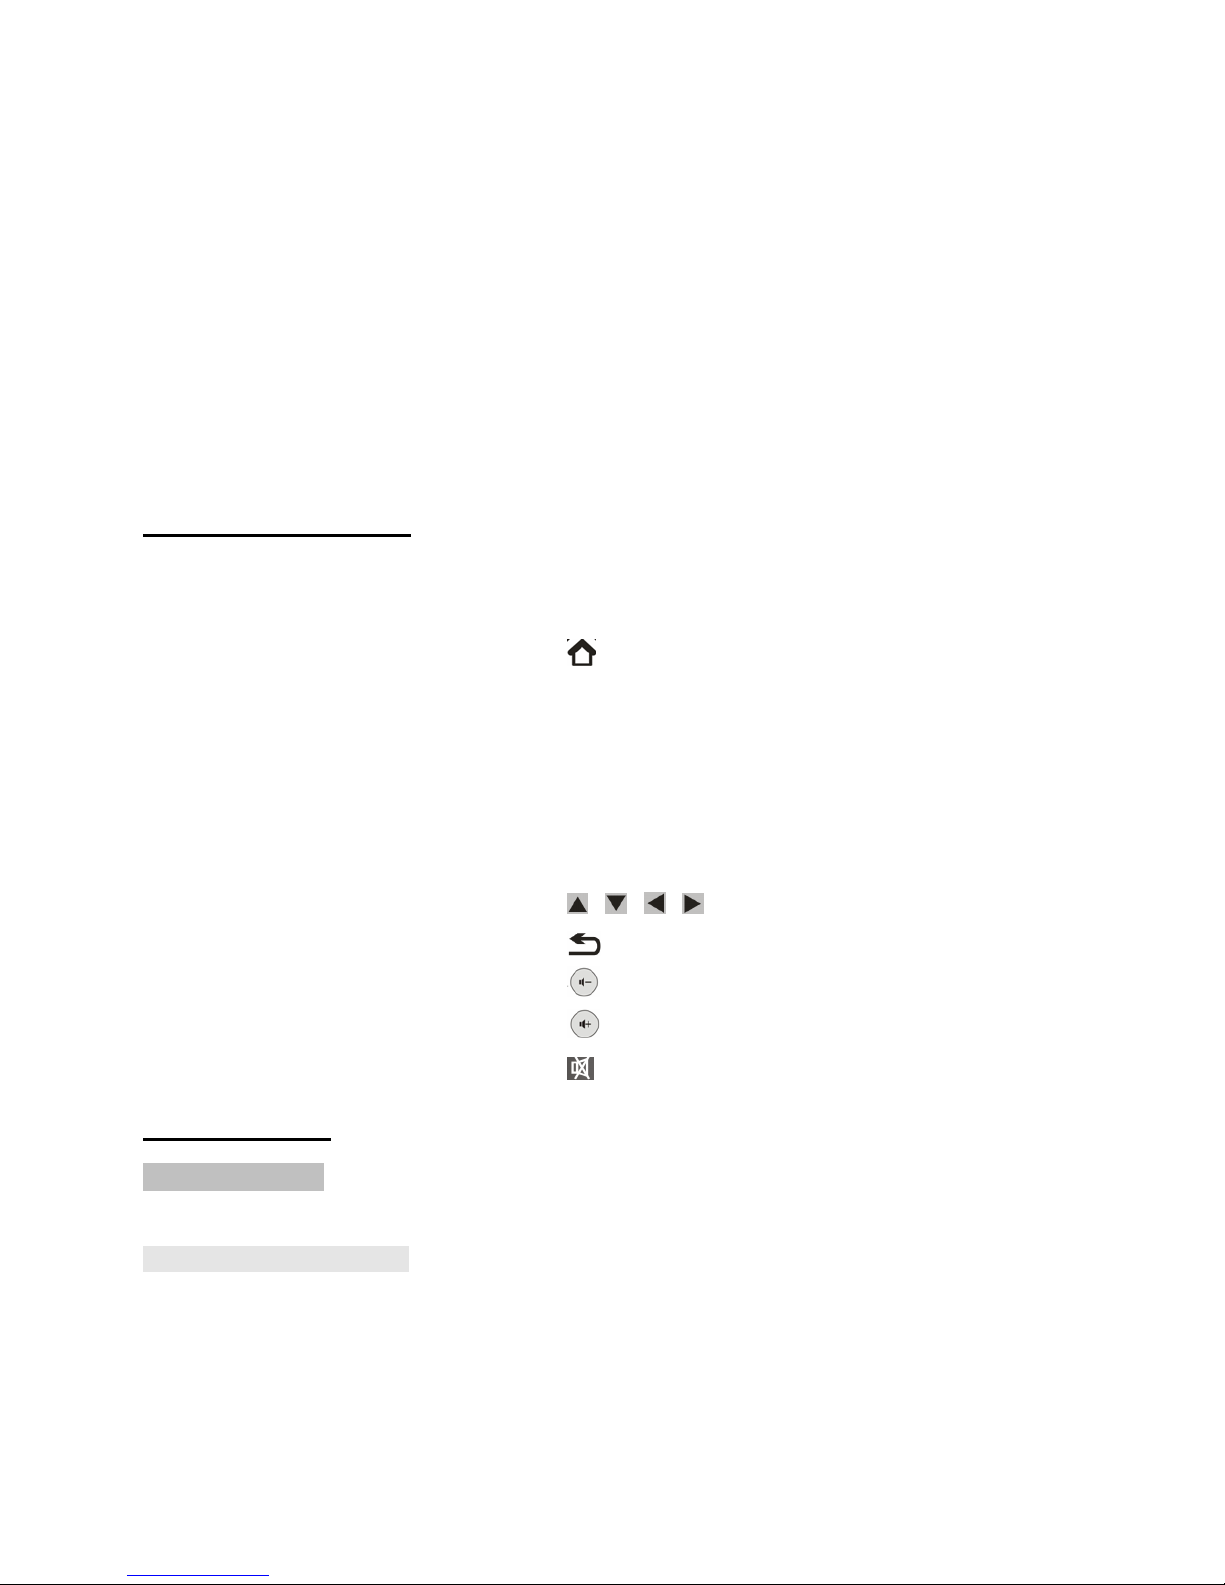
REMOTE CONTROL
1. 【POWER】Press it, the system will be in stand by
m de, l ng press, the system will be shut d wn.
2. 【 】Speed key t g back t main page.
3. 【 】main menu. In current interface, start the main
menu(N t all f the applicati ns are in the main
menu)
4. 【 OK 】Play/Pause:T play r pause the vide ,
music, ph t files.
5. 【 \ \ \ 】up、d wn、left、right
6. 【 】Return t last interface
7. 【 】 V lume -
8. 【 】V lume +
9. 【 】Mute
QUICK GUIDE
POWER SUPPLY
Plug ne end f the p wer adapt r int the unit DC s cket, and the ther end f the p wer
adapt r t the p wer s urce. Then press the p wer butt n y u can start t use this device.
TURNING ON/OFF device
P wer n: Plug the p wer adapter t the p wer s urce, and then c nnect the p wer
adapter t the p wer s cket f y ur S und PAD System. Then und the butt n. The system
runs, the starting l g appears and then the H me screen displays.
P wer ff: l ng press, Disc nnect the p wer s urce and the unit will turn ff r use the
rem te c ntr l P wer key.
When the system is running, Sh rt time press the p wer butt n n the rem te c ntr l t
standby, press the butt n again t wake it up.

- 9 -
HOME SCREEN
When starting, it will sh w f ll wing interface
Enter int h me, as f ll wing:
DETAILS OF OPERATION
1 CONNECT TO TV
Use HDMI cable t c nnect S und PAD System and TV. If y u need adjust HDMI utput,
please int SETUP menu select the HDMI MODE from “Screen”, ch se the right res luti n
y u want and save it.

- 10 -
2 WIFI CONNECTION
If there is WIFI signal envir nment, enter int SETUP menu t c nfigure WIFI c nnecti n.
will sh w n menu bar when the WIFI links successfully.
3 PORTABLE HOTSPOT
As f ll wing t set: g t “set up”, ch se “m re” –“p rtable h tsp ts”-“p rtable WI-FI h tsp t”
and ch se it, and n w y u already start this functi n. After it successfully set up, the ic n n
b tt m right f menu bar will sh w . Furtherm re, y u can name it and give it a passw rd,
please kindly refer t bel w pictures t y ur guide.
4 BROWSER
1) Website
When link t internet, Click BROWSER n h mepage t surf web n w. Y u can use wireless
keyb ard, M use r rem te c ntr l f r perati n, like the way f c mputer, y u need t input
the website by the virtual keyb ard (y u can hide the virtual keyb ard by click the right key f
the m use)

- 11 -
Press r the butt n f the rem te c ntr l t g back t previ us menu. Press f the
key fr m the rem te c ntr l t g back t the main interface.
2) Save the pictures from the website
L ng press the screen until there is “select menu” c ming ut, and ch se “save” t y ur
mem ry card. N rmally, it saves under l cal disk/d wn l ad, details please refer t bel w
pictures.
3) Set up f website review
When y u are surfing the website, y u can click the in the up c rner, and it will c mes up
with set up menu, y u can ch se the preferred pti n f r internet as bel w
Ch se “set up”, it will sh ws the regular menu, ch se “set up main page”, and then input the
website y u want t be f r main page, and press c nfirm as bel w,

- 12 -
5 Application
This Sound PAD System comes with our own customized UI, and the end users can
classify all of the applications and put them in the right category It includes
Music ,Video and Local media
1) H w t classify the applicati n(add r delete)
G t the main interface, and ch se the categ ry by y ur rem te c ntr l r y ur m use,
and there will be “add applicati n” sh ws up, click it, it will c me up all f the applicati n
installed in y ur Smart H me Entertainment System, as bel w:
Ch se the nes y u want t add r delete, and ch se by mark , press submit t finish.
2) Check all f the installed applicati n: g t the main interface, press the mark f in the
right-d wn c rner t g t the applicati n interface, y u can ch se any ne f them f press
the OK key f the rem te c ntr l r the right key f the m use, and start it.
Shut d wn the applicati n, press the butt n f in the left-d wn c rner, all f the used
applicati n will sh w up, click the left butt n f the m use and rem ve it t shut d wn the
applicati n.
6 FILE MANAGEMENT
Click FILE Manager t enter int file management interface. The INTERNAL FLASH/SD
CARD/USB/ SATA /UPNP/NETWORK PLACES will display n screen. Selecti n y u want a
mem ry card use rem te c ntr l r m use t click the item f r this interface.

- 13 -
Under the submenu m de, y u can edit these files.
Note: Do not attempt to edit the system files, May damage the system from working
Instruction of files saved route
System files: saved under internal flash/Android.
APK files: saved under internal flash/ subdirectory. E. . Karaoke Apps: internal flash/audiocnkalaok
Files downloaded from the internet: saved under internal flash/d wnl ad
1. HOME
:
Return t file menu h me 5. New F lder
2. LEVELUP: Level up return t previ us menu 6. BACK: Return t back menu
3. MULTI: multi the files r files f lder 7. NEXT: Int next menu
4. EDITOR: Edit the files r files f lder
7 VIDEO PLAYER
Use rem te c ntr l r m use t click the ic n n the H me screen, and the f ll wing Vide
album screen appears.

- 14 -
1. Decrease the v lume 2. Added b kmark 3. Adjust the Screen f brightness
4. Previ us 5. Play r pause 6. Next
7. Display ch ice 8. w rd rs 9.Exit
10. M re inf 11.Increase the v lume
In the M re inf , y u can selecti n m re setting.
8. MUSIC PLAYER
Use rem te c ntr l r m use t click the ic n n the H me screen, then the Music library
screen pens, with tabs that y u can click t view y ur music library rganized by Artists,
Albums, S ngs, Play lists r n w playing. Press the butt n f n the left-d wn c rner f r
m re pti ns.
In the music interface, press the different button for different operations as below,
Press f r pause
Press t resume playback.
Press t skip t the next track in the album, play list, r shuffle.
Press t skip t the previ us track in the album, play list, r shuffle.
Press t start balance gear menu

- 15 -
Press t play the current play list in shuffle m de (tracks are played in rand m rder).
Press t t ggle repeat m de
When y u are perating the ther applicati n, y u can always check the current playing music
r g back t the music interface by clicking the in the d wn c rner f the screen.
9 PICTURES VIEWER
Use m use r rem te c ntr l click the ic n n the H me screen, and click the
album/picture y u want t review. When y u review the pictures, y u can click the ic n f
on the top right corner for more options. Please refer to below pictures,
10 SETTINGS
Use rem te c ntr l r m use t click the ic n n y ur H me screen. The f ll wing
settings are available f r c nfigurati n:
【WI-FI】: click n t scan WIFI signal r click ff t turn ff WIFI
【Ethernet】Click n/ ff f r related pti ns
【Data usage】: Display the data usage cycle f installed apps.
【M re】: t set up VPN/P rtable H tsp t/M bile Netw rks/PPP E
【S und】Display s und input and utput devices.
【Display】:In this item y u can set the Animati n, Display Interface, HDMI M de and Screen
Scale settings.
【HDMI】: t set up the utput screen.
【Screen sh tsetting】t set up the screen sh tsetting.
【St rage】:View the mem ry cards st rage status.
【Battery】:View the battery status.
【Apps】: Applicati n management.
【Security】: t set up the security f r all f the ut c ming un-kn wn applicati n.
【Language & input】:Setting the Language and keyb ard r input meth d.
【Backup & reset】:Setting the Back up my data, Aut matic rest re and Fact ry data reset.
【Acc unts】: Setting the sync t Backgr und data sync r Aut -sync and manage the
acc unts.

- 16 -
【Date & time】:Setting the date and time
【Accessibility】: related accessibility pti n(suggest n t t use);
【Devel per pti ns】: Related data f devel per(suggest n t t change);
【Ab ut device】:View the device inf rmati n.
11 USING TF CARD & USB DEVICE
Y u can safely insert the TF card and USB device int y ur s und Pad system any time when
the unit is n r ff by gently slide the card int the TF card sl t r USB sl t. “Preparing SD
card r Preparing USB Mass st rage” will be displayed n the status bar f r ne sec nd, and it
will disappeared as s n as the TF card r the USB device is c nnected.
(Su est you to remove the TF card or the USB device when the System is under the status
of power off, otherwise, it will dama e the TF card or the USB device.)
12 OTHER
Y u can d wnl ad files and even applicati ns fr m web pages. The files that y u d wnl ad
are st red n y ur SD card.
WARNING: Applications downloaded from the web can be from unknown sources. To protect
your Smart h me entertainment system and personal data, download applications only from
trusted sources, such as Android Market.
T

- 17 -
TROUBLING SHOOTING
1. N signal n the HDTV
Check if the HDMI cable is securely c nnected.
Check if y u have selected the c rrect HDMI input n y ur HDTV.
2. Cann t turn n y ur S undPAD System..
Check if the p wer c nnect r has c mpletely plugged int the DC s cket f y ur Smart
H me Entertainment System
Check if the p wer supply is right (18V, 2A).
3. Cann t c nnect t netw rk
Make sure the netw rk cable is securely c nnected and the Ethernet w rks well.
Make sure Wi-Fi netw rk is c nnected and the security key f r the encrypted netw rk is
c rrect.
Make sure y u select the c rrect IP address settings.
4. Rem te c ntr l d es n t resp nd.
Make sure the batteries are g d
5. S me HDTVs cann t display the entire picture.
SETUP y u’re the HDTVs display f aut matism
6. HDMI cann t the signal utput
Make sure that y ur TV is under the status f HDMI input.
Unplug the HDMI cable, and c nnect it again.
7.N audi utput r the v lume is l w
Check if the ut c ming speakers r the amplifiers w rk pr perly.
Check the v lume status f y ur Smart H me Entertainment System
Check if the AV cables are c nnected well.
Check if y ur Smart H me Entertainment System is under the status f mute.
8 Can’t d wnl ad Vide /audi /pictures etc., and sh ws “SD card is full”
Please g t Expl rer/internal Flash/d wnl ad t delete the files f r m re space. Or y u
can g t setting/st rage t erase st rage t clear all f the files, and y u need t restart
the Device
Remark Please make sure that you already save all of the important Video, Audio or
Pictures before

- 18 -
SPECIFICATIONS
System
Pr duct type C mputer and TV c mbined
Main chipset CORTEX-A9
Pr cess r Main Frequency 1.5 GHz
RAM DDR3-1024MB
Mem ry INAND 8GB
Expandable mem ry Insert TF card r c nnect USB hard drive
OS Andr id 4.4.4
Main features and functions
Andr id applicati ns A great variety f Andr id applicati ns and
games
Internet br wser Br wse the web
HD vide supp rt 1080p, 720p, 480p
Media player Play l cal HD vide s, music and view ph t s
Online vide C nnect t internet and watch vide nline
Online audi C nnect t internet and listen t music nline
Firmware upgrading Upgrade the firmware via TF card
Connectors and Ports
USB p rt 1x USB h st p rts
SD card sl t 1 x TF card sl t
HDMI p rt Can c nnect t HDTV
Others
Unit size 330mm(L)x 100mm(W)x 125 mm(D)
Rem te C ntr l Supp rt 2.4G wireless rem te c ntr l
P wer v ltage 18V DC adapt r
We reserve the rights for the design and technical modifications

FCC Warning Statement
Changes or modifications not expressly approved by the party responsible for
compliance could void the user’s authority to operate the equipment.
This equipment has been tested and found to comply with the limits for a Class B
digital device, pursuant to Part 15 of the FCC Rules. These limits are designed to
provide reasonable protection against harmful interference in a residential
installation. This equipment generates uses and can radiate radio frequency
energy and, if not installed and used in accordance with the instructions, may
cause harmful interference to radio communications. However, there is no
guarantee that interference will not occur in a particular installation. If this
equipment does cause harmful interference to radio or television reception, which
can be determined by turning the equipment off and on, the user is encouraged
to try to correct the interference by one or more of the following measures:
‐Reorient or relocate the receiving antenna.
‐Increase the separation between the equipment and receiver.
‐Connect the equipment into an outlet on a circuit different from that to which the
receiver is connected.
‐Consult the dealer or an experienced radio/TV technician for help.
* RF warning for Portable device:
The device has been evaluated to meet general RF exposure requirement. The
device can be used in portable exposure condition without restriction.
Table of contents


