HESA PARTS NAVCOMM PRO User manual

HESAPARTS
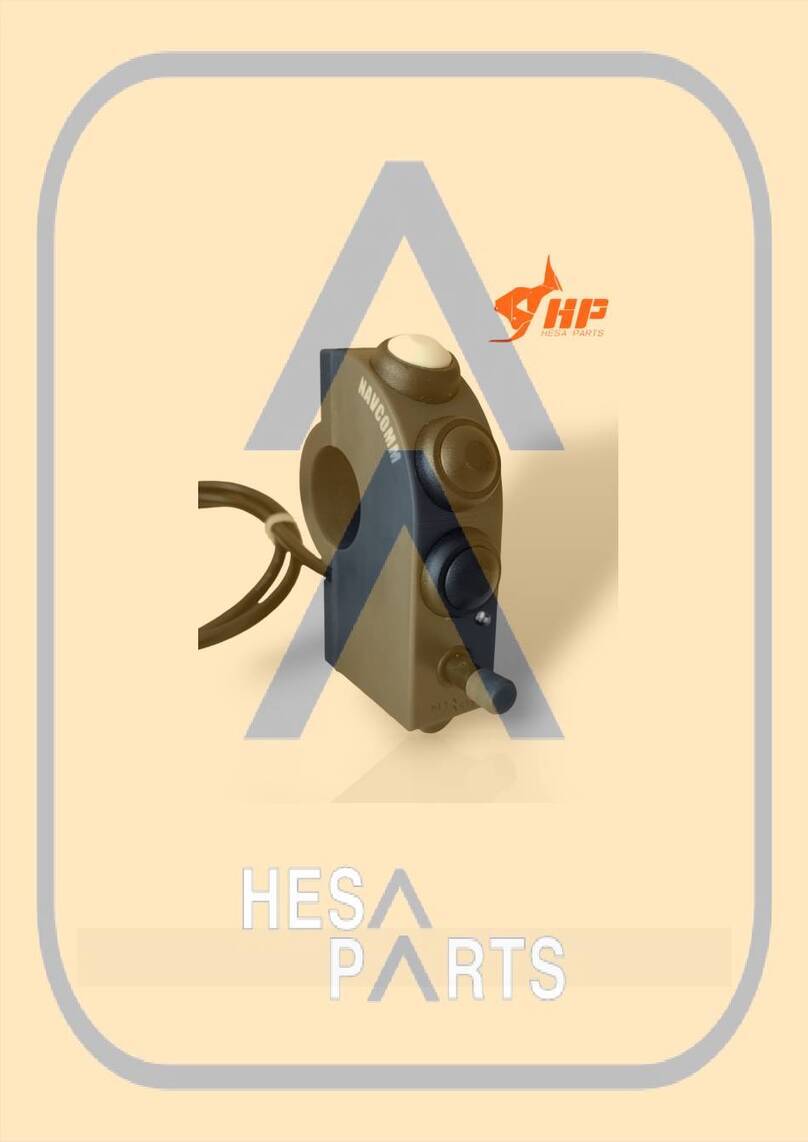
NAVCOMM PRO
User Manual
Rev 1,2 01/02/24
NAVCOMM PRO is a Plug & Play device, with Bluetooth connectivity. Power supply with
12V or USB connection, so it requires electrical installation in the vehicle.
NAVCOMM PRO is IP67, so it's able to withstand rain and dust.

1. DESCRIPTION
2.INSTALLATION
•NAVCOMM PRO is designed for installation on standard 22mm handlebars
•You must create adequate space (minimum 21mm) between the fist and the
pineapple of your motorcycle
•Depending on your riding style (standing or sitting) rotate the NAVCOMM PRO until
you find a comfortable position to access all the controls
•Use the provided flange and the two M4 screws for attaching NAVCOMM PRO to
the handlebars. Requires a 2.5mm allen wrench (not provided)
•Position the power cord correctly, running it along with the original pineapple wires.
Replace the handlebar clamping flanges.
•Make sure that the power connection is made to a socket with an ignition key.
Never install directly on battery. In the case of making the connection via USB,
make sure that the power supply from the USB socket is properly connected to a
power socket with an ignition key.

3.USE
NAVCOMM PRO is a completely standalone device. You don't need any additional
apps or configuration.As it is a Plug&Play device, after connection NAVCOMM
PRO is always ready for use.
3.1 First Connection
•Once the device has been installed, we will proceed to make the first connection. To
do this, we will supply NAVCOMM PRO through the ignition key. The LED will then
flash in turn blue and red.
•We perform a search in the Bluetooth menu on available devices, and HESANAV
will appear. Click on it for pairing. If you ask for confirmation, we will accept.
•Once the connection is made, the LED will flash Cyan (Mode 1)
•After the first connection, NAVCOMM PRO will automatically connect to any
previously paired device without the need to do anything, just have the device's
bluetooth connected and NAVCOMM PRO powered
(NOTE: Since NAVCOMM PRO does not run on batteries or battery, it will never go into a standby state)
3.2 Operation
•NAVCOMM PRO has 4 modes of use. The current mode is easily recognizable by
the color of the LED. The colors are as follows:
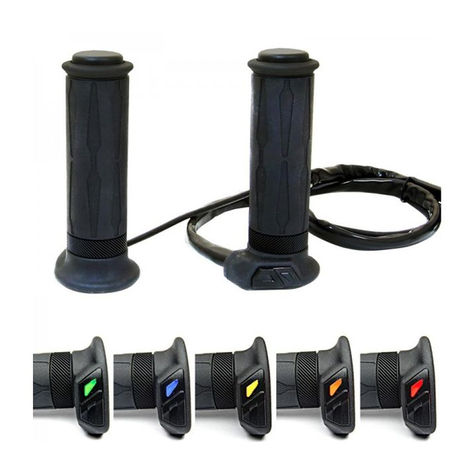
•CYAN _______________ Mode 1 ______________DMD2
•BLUE________________Mode 2_______________NAVIGATION
•RED_________________Modo 3 ______________ROADBOOK / MUSIC
•RED-BLUE-RED_____ __Mode 4 ______________TERRAPIRATA
•When you start NAVCOMM PRO it is always on last mode before power off
•To switch modes, simply press the forward lever and press (Button 1). The LED will
remain solid for 2 seconds, indicating the new mode with the color. If mode 4 is
selected, the LED will flash red-blue-red for 2 seconds
•When in mode 4, when changing modes, the cycle becomes mode 1.
•In normal operation, NAVCOMM PRO will always flash slowly indicating the current
mode.
3.3 Explanation of the 4 Operating Modes
All the functions described in the 4 modes below do not need complex access methods.
All one-click functions act once, and press and hold them act on repeat as long as the app
allows it. Some features will be activated with a double-click.
Mode 1 _________ DMD2 (LED cyan)

•With the directional joystick, we can move across the screen up, down, left, and
right.
•By pressing the directional joystick inwards, select the option that is currently active
•By pressing and holding the directional joystick inwards, we switch from the bottom
menu to the control screen and vice versa
•The (1) and (2) buttons are special functions that will only act on certain screens or
applications of the active system. For example, in Roadbook mode, with these
buttons we will add or subtract meters in the trip. In GPS mode, we'll zoom + and
zoom -
•The lever will act in roadbook mode to raise and lower vignettes
Mode 2 __________ GPS NAVIGATION +MUSIC CONTROL(LED Blue)
•NAVCOMM PRO is optimized to work with OSMAND. However, it is capable of
maintaining the main functions such as moving map and zooming in most of the
applications currently in use
•With the directional joystick, you can move the map in all 4 directions. By holding
down the lever, a steady, slow movement will be made.
•By pressing the joystick in, we will center the map in the current position
•Pressing the joystick in twice, we will change the orientation of the map
•With the buttons (1) and (2) we will zoom + and zoom –respectively
Mode 3 ___________ROADBOOK / MUSIC (LED red)
To simplify the operation of NAVCOMM PRO, the Roadbook and Music functions have
been unified in the same mode... This greatly simplifies the operation of the system and
avoids having to remember cumbersome menus and options
Music Apps
•Lever forward or backward, we move to the next or previous song
•Inward joystick, play/pause
•Button (1) and (2) volume up and down
Roadbook Applications
In most applications, the controls to control the roadbook will be as follows:
•Button (1) and (2) raise and lower the meters of the trip
However, for more complete and configurable applications, the following functions can be
added to the above controls:
•Pressing the joystick inwards, reset the trip

•Joystick up or down, add or subtract meters on trip 2 (only in configurable apps
such as PISTE ROADBOOK)
Mode 4 ___________TERRA PIRATA (LED red-blue-red)
NAVCOMM PRO is able to work natively with the TERRA PIRATA app, this mode supports
both Android and iOS systems. With this mode we give full support to all the features
available in the current and future updates in the app.
•Lever forward or backward, raise or lower the roadbook (pdf up or down)
•Button (1) and (2) raise and lower the meters of the trip
•Joystick inwards for 2 seconds, resets main trip
•Joystick inward short press, resets secondary trip
•Inward joystick double tap, locks/unlocks screen
4.Recommendations for Use
•Never exceed the parameters specified in section 5 of this user manual, otherwise
NAVCOMM PRO may be totally or partially damaged and exempt from any
warranty
•The device has a reverse polarity protection system, however, make sure that the
correct polarity of the power cables is made before connecting.
•If you are not sure that you can correctly perform the installation explained in
Chapter 2, leave it to professionals
•Never pull the power cord coming out of the NAVCOMM PRO
•Never bend or pinch the power cord.
•Never connect the NAVCOMM PRO if you detect any part of the NAVCOMM PRO
in poor condition
•It is advisable not to leave the NAVCOMM PRO exposed in warm places to direct
sunlight for hours, in case you do cover the NAVCOMM PRO with a piece of
clothing.
•Do not apply the pressurized water lance directly to NAVCOMM PRO, although
waterproof it is not intended to withstand high pressures.
5. Specifications
•Voltage: 5V to 30V
•Approximate consumption of 40mA
•No official waterproof set tests have been conducted, so an official overall IP grade
cannot be assured. However, NAVCOMM PRO is designed to withstand water and
dust, with IP67 components
•NAVCOMM PRO includes mechanical buttons and a precision joystick. Designed to
work in extreme conditions, but with limited pressure:
•The normal operating forces for the joystick and buttons is 0.25kg
•The maximum force it is capable of withstanding is 1.5kg before breakage

•connection powered by USB or with two 6.3mm faston connectors
6. Disclaimer
•NAVCOMM PRO was designed for use outside legal roads. The use of this device
under legal driving conditions is the responsibility of the user
•HESAPARTS is not responsible for damage caused to the electrical installation of
the vehicle in the event of incorrect installation. Likewise, there is no possible
warranty of the device.
•All manuals will be distributed electronically. They will never be delivered on paper
Table of contents
Other HESA PARTS Motorcycle Accessories manuals
