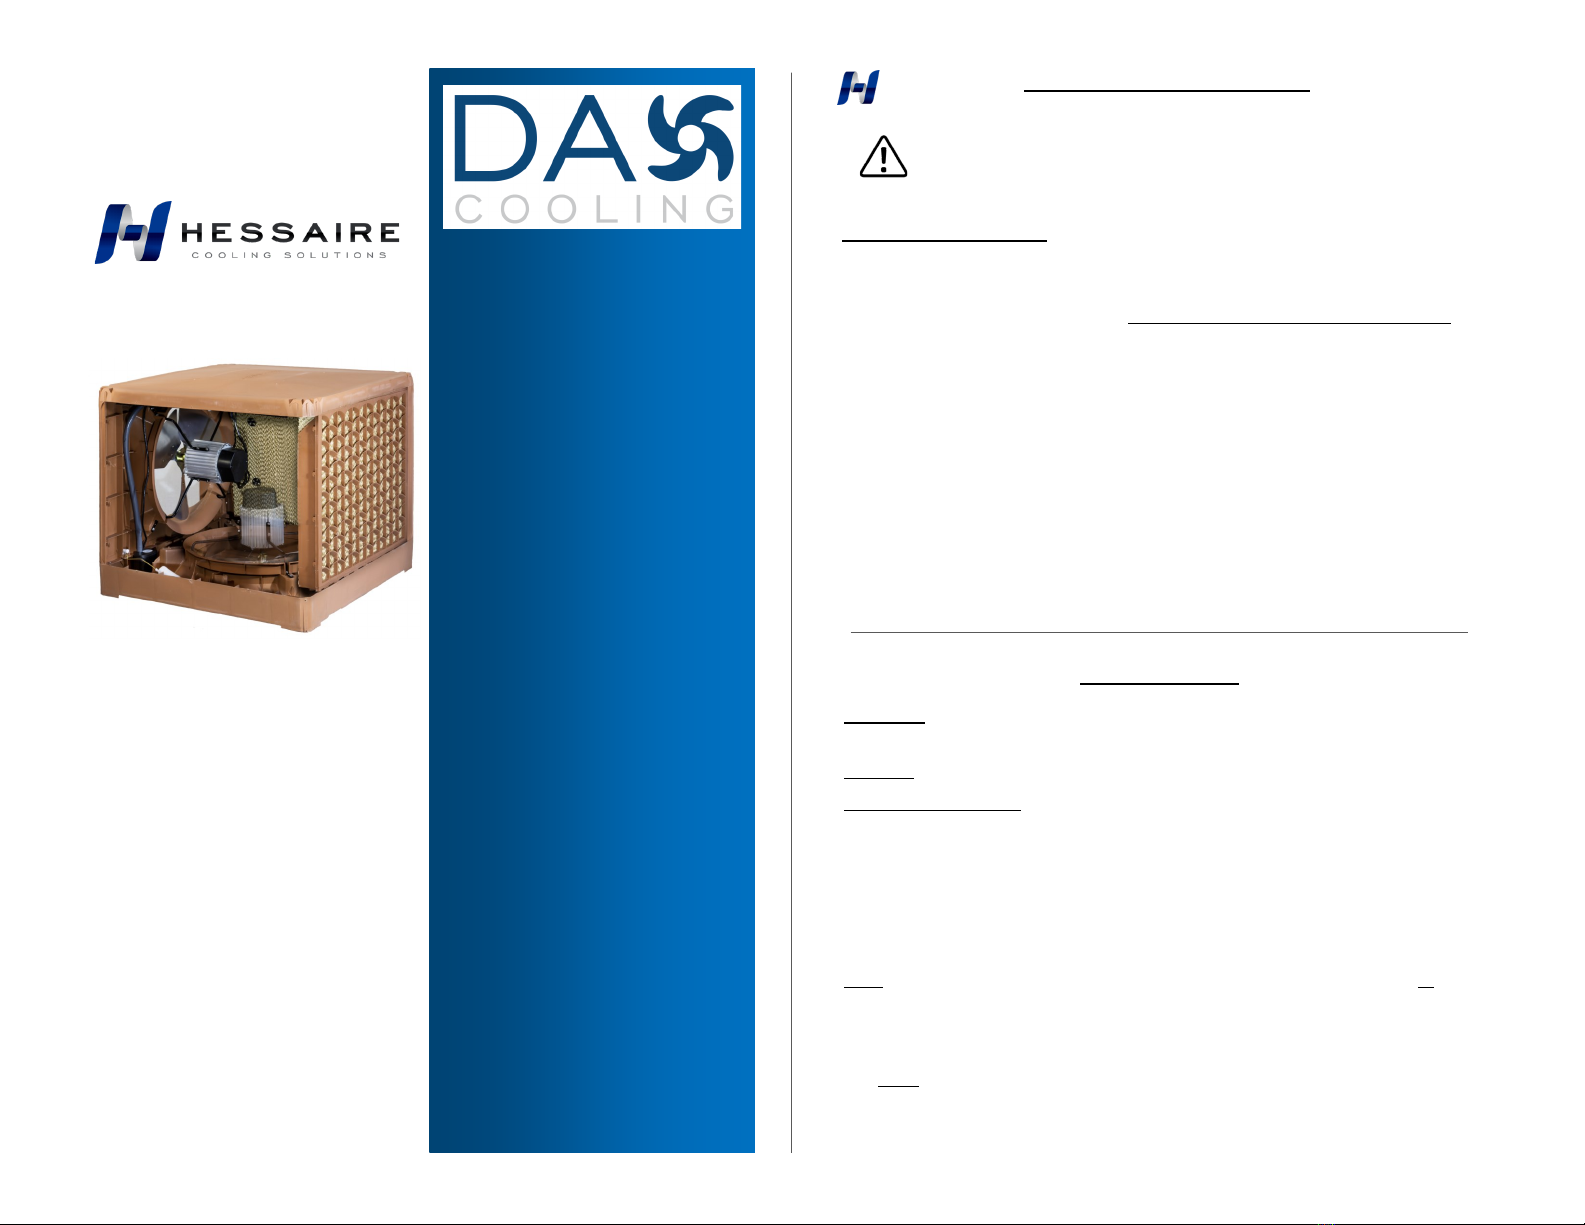
Hessaire DX4800 User manual
1
2
3
4
5
6
7
Dual Discharge Position
Rooftop Evaporative
Coolers
4800 CFM
6800 CFM
INDEX
Safety Rules/Getting Started....
Installation………...…………….
Operation/Controls/Specs……..
Dimensions/Maintenance….…..
Troubleshooting…………………
Parts Illustration…………………
Warranty………..……………….
Use & Care Guide
Models: DX4800 DX6800
General Safety Precautions
Always disconnect power and switch to “OFF” position when installing, servicing or
cleaning.
Use only with a 115v, 60Hz, Single Phase grounded electrical supply.
Installation, wiring and servicing of unit must be done by qualified person or persons,
and in accordance with all applicable codes and standards.
Use caution to avoid cutting into existing electrical or hidden utilities during installation.
Do not operate with media panels removed.
Do not operate with damaged wires, components or other visible damage.
Do not operate cooler if it is uneven(not level).
Ensure evaporative cooler is vented to the outside.
CAUTION: Motor is equipped with a thermal overload protector. If protector shuts the
motor off, motor will restart without warning once it cools down.
WARNING: To reduce the risk of fire or electrical shock, do not use with solid state
speed controls.
WARNING: Read and follow all instructions, cautions and warnings.
Failure to do so could result in personal injury, death or property
damage and could void the warranty. Save these instructions.
EN1
Getting Started
Unpacking: Carefully unpack and inspect the entire unit prior to installing. Ensure
there is no visible damage and all contents are included.
Contents: Evaporative Cooler Unit(1), Manual(1)
Choosing Best Location: Ensure the unit location meets the following
• Unit is a reasonable distance from sources of heat, smoke or fumes—and in
accordance with any codes or regulations. It is important that the air being drawn
into your living space is clean and fresh.
• Unit is positioned for optimal access for servicing requirements.
• Roof structure will adequately support the weight of the cooler.
Note: This cooler is designed to be mounted in either a side discharge position or down
discharge position. It is shipped from the factory in the down discharge position. If side
discharge is desired, it will be necessary to remove the motor/prop/brackets from the
down position and re-install in the non-media side.
See Fig. 1 on page 2 of this manual.
This step should be performed with the cooler still on the ground level.

IN-
Installation
DO NOT connect power until installation is complete.
Down Discharge Installation:
DX4800: Designed for use with a 18”X18” adjustable pitch roof jack (Hessaire PN: 12735)
and leg kit (Hessaire PN: 12728). Roof jack and leg kit sold separately.
DX6800: Designed for use with a 20”X20” adjustable pitch roof jack (Hessaire PN: 12736)
and leg kit (Hessaire PN: 12728). Roof jack and leg kit sold separately.
Cut square opening according to roof jack size: 18”X18” or 20”X20”
Ensure unit is securely mounted to roof and level. Roof jack tilt angle can be adjusted as
needed and leg height can be adjusted as needed. Ensure fasteners are secured and
tightened once cooler is level and in final position. See Fig. 2.
Side Discharge Installation:
DX4800: Use leg kit (Hessaire PN: 12728). Sold separately.
DX6800: Use leg kit (Hessaire PN: 12728). Sold separately.
Side ducting must accommodate side discharge opening. See Fig. 3 dimensions.
Ensure unit is securely mounted to roof and level. See Fig. 2. Ensure fasteners are
secured and tight once cooler is level and in final position.
Water Connection: 60psi Max Water Pressure
Connect water line to float fitting. Float fitting size: Standard 1/4”
Electrical: (Wiring Diagram—Fig. 4, page 4)
Power must be disconnected before performing any electrical work.
For use with Hessaire Thermostat (PN: HTH01). Sold separately. Fig. 5, page 4.
Fig. 1
Motor Mount Brackets
Non-media
Cover Panel
Down
Discharge
Converted
To Side
Discharge
EN2
Discharge Position Change Steps:
Unit is shipped in down discharge position.
See following steps if side discharge is
desired.
Disconnect motor wires and harnesses.
For side discharge, remove screws
holding all 4 motor mount brackets.
Remove venturi and motor/prop.
Fasten motor & venturi to new position.
Remove screws holding non-media cover
panel.
Re-attach cover panel to bottom of cooler.
Secure fasteners.
Reconnect motor wires. Harness motor
wires out of reach of propeller.
Venturi
Ring
Dimensions (shown on side discharge position)
Specifications
Model H W D A B E F G J K
DX4800 25 5/8” 32” 31” 16 1/2” 16 1/2” 7 3/4” 5 7/8” 16” 4 1/8” 4”
DX6800 32” 36” 35” 20” 20” 8” 7 1/2” 18” 4 3/4” 4 7/8”
Model
Air Delivery VS Static Pressure
Nom. Water Inch Column (High CFM)
CFM 0.0 SP 0.1 SP 0.2 SP 0.3 SP 0.4 SP 0.5 SP
DX4800 4800 3770 3620 3390 3080 2870 2610
DX6800 6800 5030 4810 4590 4360 4080 3900
Installation Cont.
Ensure Cooler Is
Level In All Directions
Adjustable Leg Kit
EN3
Discharge View Bottom ViewSide View
Fig. 3
Fig. 2: Shown In Down
Discharge Position
Model HP
Motor Elec. Max.
Water
Press.
Media Dims.
(3 pcs per)
L x W x H ea.
Operating
Weight
Ship
Weight
115V / 60HZ
High / Low
DX4800 1/2 5.2A / 3.3A 60 psi 19” x 25” x 3” 135 lbs67 lbs
DX6800 3/4 7.0A / 4.8A 60 psi 24” x 28” 1/2 x 3” 170 lbs84 lbs
(Sold Separately)
(Sold Separately)
Adjustable Roof Jack
Transition

Maintenance
Note: It is critical for optimum operation that adequate exhaust openings are
available. This is typically accomplished by opening doors or windows. Adjust
openings as needed to keep air from becoming “heavy”.
Hessaire Control (PN: HTH01) Functions
Disconnect from power source before attempting any
maintenance or routine service. NEVER remove any access panels while unit
is in operation or plugged in. Failure to do so could lead to SERIOUS INJURY.
Cleaning And Storage:
Drain water from unit and water lines. Recommended to clean out all water
lines/hoses and wipe tank dry.
Ensure pads are dry by running fan for at least 30 minutes without the pump.
Recommended to cover unit with winterizing cover when not in use for extend-
ed periods of time.
Timer
Decrease
Increase
Fan
Speed
Cooling /
Pump
Fig. 4
Fig. 5
ON/OFF
Mode
EN4
Optional Control (sold separately)
Wiring Diagram
(Maintenance continued on next page)
Motor Pump
Black (High)
Red (Low)
White (common)
Yel/Grn
Ground
Black
Green (Ground)
White
Black (High)
Red (Low)
White (common)
White (common)
Yel/Grn (Ground)
Purple
Motor Plug Motor
Receptacle
Pump Plug Pump Receptacle
115v AC 60Hz Single Phase
Troubleshooting
EN5
Problem Possible Cause Remedy
Will Not Turn On, No
Power To Unit
Circuit breaker may be Reset circuit breaker
Electrical failure in unit Contact installer to troubleshoot
Local power failure Contact local power company
Controller wired incorrectly Check wire diagrams
Fan Will Not Operate
Controller turned off Turn on controller
Fan blade obstructed Clear obstructions
Loose wire connections Contact installer to troubleshoot
Slow running Replace motor capacitor
Insufficient Cooling Dirty media pads Clean media pads
Controller not set to cool Adjust controller to cool
Media Pads Not
Wetting, Pump Not
Functioning
Pump function not turned on Turn on pump function
Pump failure Replace pump
Hoses / water distributor Clear obstructions
Hose disconnected Connect hose(s)
Loose pump wire connections Contact installer to troubleshoot
Inadequate exhaust air Open windows / doors
Inside Air Too "Heavy"
Not enough air flow Increase fan speed
Water Leaking
Cooler unlevel Level cooler
Crack in reservoir Repair/replace reservoir
Loose hose / water distributor Connect hose(s)
Water spreaders out of place Reposition spreader(s)
Float valve leaking Tighten/replace float valve
Water Drops In Airflow
Loose hose connection Connect hose(s)
Crack in hose / water Replace hose / water distributor
Beginning Of Season Start Up:
Check pads to make sure they are in good condition. Clean or replace if
needed.
Make sure clamps, wires, hoses are connected securely and nothing is near or
obstructing the operation of the fan blade.
Check all hose and water connections to make sure they are securely tightened.
Check fan and pump to ensure both are functioning properly.
(Maintenance Continued)

Parts Illustration
#Parts Description DX4800 DX6800
1 Pump 6060050 6091050
2 Motor B300-4V2 B550-4V2
3 Control Box 6001017 6001017
4 Media Pad Set (3 piece set) CP4800 CP6800
5 Float Valve 85023 85023
6 Overflow Tube 14216 14216
7 Prop (fan blade) 9001731 9001730
8 Water Distributor 6000707 6000710
9 Water Diverter 6000708 6000708
10 Silicone Drain Plug 6017081 6017081
11 Panel Cover DP4800 DP6800
12 Winterizing Cover (not shown) CVR4800 CVR6800
EN6
3
1
9
5
2
4
7
10
8
12 - Winterizing Cover
(not shown)
6
11
Side Venturi
Top Cap
Water Tank
Hessaire Warranty
EN7
(Hessaire.com / Warranty / Replacement Parts Request: fill in form, submit)
Lifetime warranty on evaporative cooler cabinet
Two year warranty on motor
One year warranty on pump
Warranty does not apply to media pads
All other components are covered for one year from date of purchase.
If a component is found to be defective within the periods described above, the
defective part will be provided free of charge. Replacement parts are available
through authorized dealers or online. Copy of proof of purchase and serial label
number will be needed for all warranty claims.
Items Not Covered / Conditions:
Hessaire will not be responsible or liable for damage to contents, flooring, car-
pet, walls, ceilings, structure/foundations or any other consequential loss or
damage—either direct or indirect resulting from installation, operation, neglect or
misuse of the evaporative cooler.
Not covered is damage due to outside elements/factors such as rain, wind, light-
ning, storms, floods, power surges, brownouts, etc—which are not considered to
be defects in materials or workmanship and in turn are not covered under the
Hessaire warranty.
Hessaire does not cover labor costs associated with troubleshooting or cooler
repairs—regardless if the product is under warranty or not.
Returns: Please Do Not return your cooler to Hessaire.
Return transportation costs are the responsibility of the purchaser.
Return authorization must be obtained from the seller/distributor where the unit
was purchased from.
All returns should be sent directly to the distributor/store where purchased.
Damaged Shipments:
Hessaire is not responsible for damaged shipments or shortages resulting from
carrier mishandling. Notify your carrier immediately to file a freight claim in the
event of damage. Keep damaged product for inspection until advised by the
carrier as to disposal.
Assistance:
Instructional videos and other helpful parts replacement information is available
on hessaire.com.
Visit hessaire.com for processing warranty claims:
This manual suits for next models
1
Other Hessaire Accessories manuals


