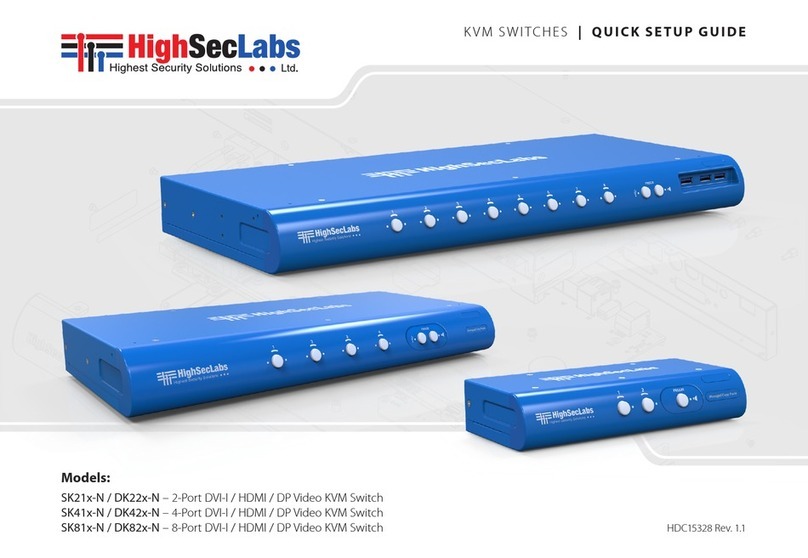
SK21D/P/H-N • SK41DU/PU/HU-N • SK81DU/PU/HU-N | QUICK INSTALLATION GUIDE
©2017 All rights reserved. HSL logo and product names are trademarks or service trademarks of HighSecLabs Ltd (HSL).
All other marks are the property of their respective owners. Images for demonstration purposes only.
HDC14845 Rev. 1.0
Objectives
• ThisguideincludesinstructionsforinstallingHSLSK21D/P/H-N, SK41DU/PU/HU-N, SK81DU/PU/HU-N KVMdevices.
• AKVMallowssharingkeyboard,video,mouse,audioandUSBperipheralsbetweenmultiplecomputers.
• ForfurtherassistancepleaserefertoHSLwebsite:http://www.highseclabs.com
General
• Verifythatallperipheralsandcomputersareturnedoffpriorto
connectingthemtotheproduct.
• TheKVM’sbackpanelisdividedintoConsolePortsand
ComputerPortssections.
–ConnectperipheralswhichareduetobesharedbytheKVM
totheConsoleports.
–Connecteachcomputerthatrequiresaccesstotheshared
peripheralstoaComputerportgroup.
–Makesurethateverycomputerisconnectedtoaseparate
Computerportgroup.
–Computerportgroupnumbersarerepresentedbypush
buttonsontheproduct’sfrontpanel.
–Switchperipheralsbetweencomputersbypressingthepush
buttonsontheproduct’sfrontpanel.
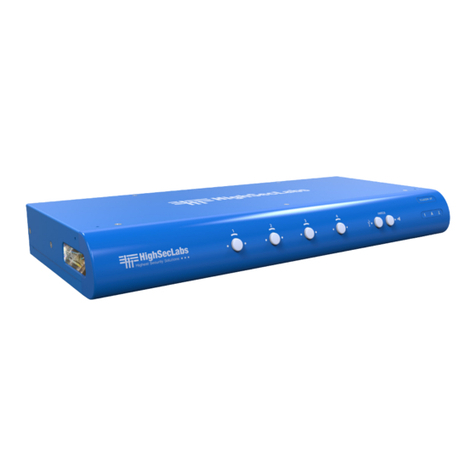
SK41DU-N Model is shown
Quick Installation Guide
2/4/8 Ports Single-Head KVM Switches
3.0
1
2
3
4
Connect peripherals to the
KVM Console ports:
• Keyboard:ConnectaUSBkeyboard
tothecorrespondingKVMconsole
keyboardport.
• Video:Connectthemonitorcable
totheKVMconsolevideoport.
• Mouse:ConnectaUSBmouseto
thecorrespondingKVMconsole
mouseport.
• Audio out peripherals: Connect
headphones/speakerstothe
KVMconsoleaudio-outports
(coloredgreen).
• USB peripherals:ConnectUSB
peripheralstotheKVMconsoleUSBports.
• Audio in peripherals: Connecta
microphonetotheKVMconsoleaudio-in
ports(coloredpink).
Note:InSK81DU/PU/HU-NmodelstheUSB
consoleportsaresituatedontheproduct's
frontfacingpanel.SK21D/P/H-Nmodelsdo
nothaveUSBconsoleports.
Connect computers to the KVM
Computer ports:
• Computer keyboard & mouse
connection: Connecteachcomputerto
theKVMkeyboard&mousecomputer
portusingaUSBAtoUSBBcable.
ConnecttheUSBAendtothecomputer
andtheUSBBendtoKVM.
• Computer video connection:Connect
eachcomputertotheKVMcomputer
videoportusingthecorresponding
videocable(VGA/HDMI/DVI/DP).
• Computer audio connection:
ConnecteachcomputertotheKVM
audio-inandaudio-outportsusingan
audiocable.
Connectoneendofthecabletothe
computer’saudioportusingthe1/8"
(3.5mm)stereoplug.Connecttheother
endoftheaudiocabletotheKVM
audio-in/audio-outcomputerport.
• Computer USB peripherals:Connect
eachcomputertotheKVMUSB
computerportusingaUSBAtoUSBB
cable.ConnecttheUSBAendtothe
computerandtheUSBBendtoKVM.
Power ON your system:
• Power ON the monitor:Makesure
thatthemonitoristurnedONpriorto
poweringONtheKVM.
• Power ON the system:Connectall
peripheralsandcomputerstotheKVM
priortopoweringitup.PowerONthe
KVMbypluggingittotheACwalloutlet.
Bydefault,afterproductpower-up,
theactivechannelwillbecomputer#1,
indicatedbytheapplicablefrontpanel
pushbuttonLEDlit.
Note:PowerONself-test:Astheproduct
powers-upitperformsaself-testprocedure.
Incaseofself-testfailureforanyreason,
includingjammedbuttons,theproductwillbe
Inoperable.Self-testfailurewillbeindicatedby
abnormalLEDbehavior–forfurtherinformation
pleaserefertotheKVMsetupguide.
Switching between computers:
• Switchbetweencomputersbypressing
thecorrespondingfrontpanelbutton
ontheKVM.Thefrontpanelbuttonof
theselectedcomputerwillilluminate.
