SC42PHU-N • SC42DU-N • SC42DU-N | QUICK INSTALLATION GUIDE
©2017 All rights reserved. HSL logo and product names are trademarks or service trademarks of HighSecLabs Ltd (HSL).
All other marks are the property of their respective owners. Images for demonstration purposes only.
HDC15279 Rev. 1.0
Objectives
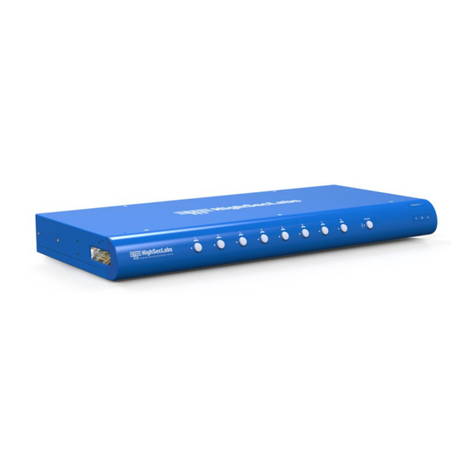
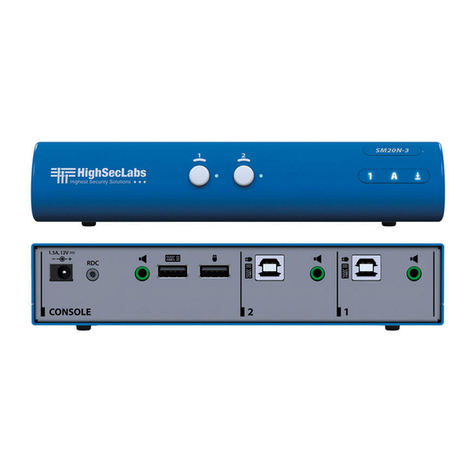
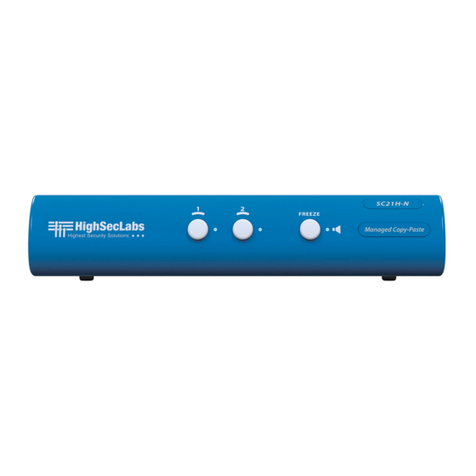
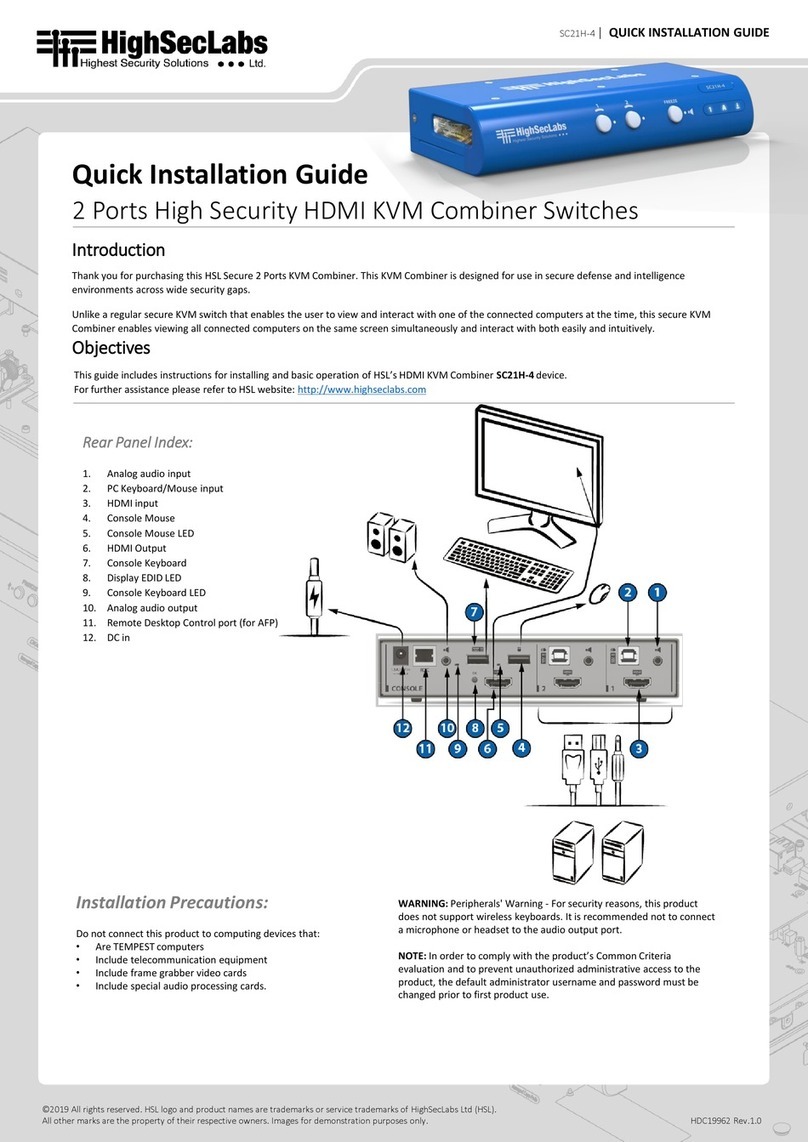
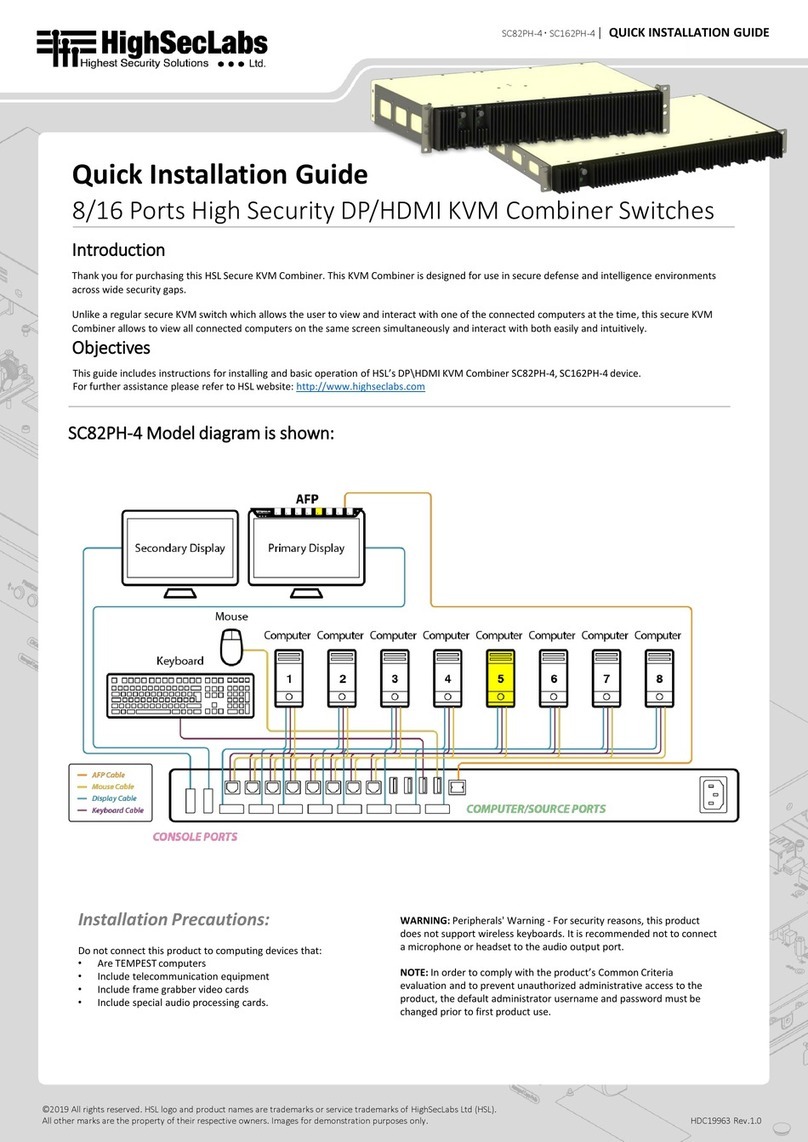
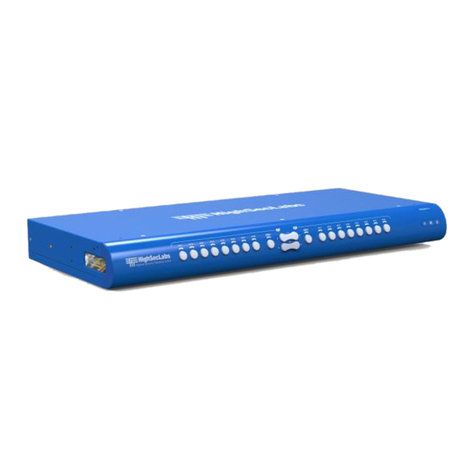
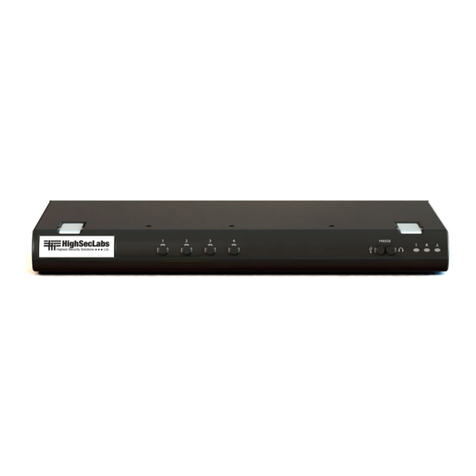
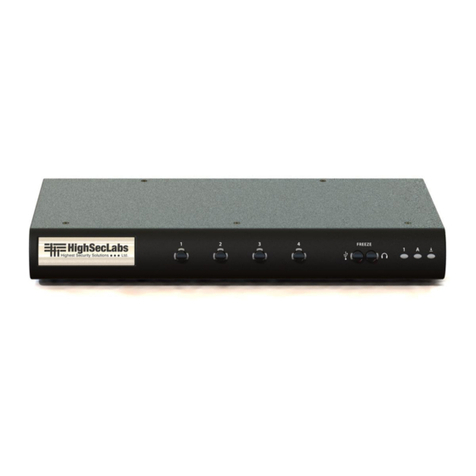
• ThisguideincludesinstructsforinstallingHSLCombinerSC42DU-N, SC42DHU-N, SC42PHU-N devices.
• ACombinerallowsviewingandinteractingwithmultiplecomputersatthesametimebysharingkeyboard,video,mouse,audioandUSB
peripheralsbetweencomputers.
• ForfurtherassistancepleaserefertoHSLwebsitehttp://www.highseclabs.com.
General
• Verifythatallperipheralsandcomputersareturnedoffpriorto
connectingthemtotheproduct.
• TheCombiner’sbackpanelisdividedintoConsolePortsand
ComputerPortssections.
–Connectperipheralswhichareduetobesharedbythe
CombinertotheConsoleports.
–Connecteachcomputerthatrequiresaccesstotheshared
peripheralstoaComputerportgroup.
–Makesurethateverycomputerisconnectedtoaseparate
Computerportgroup.
–Computerportgroupnumbersarerepresentedbypush
buttonsontheproduct’sfrontpanel.
–Switchperipheralsbetweencomputersbypressingthepush
buttonsontheproduct’sfrontpanel.
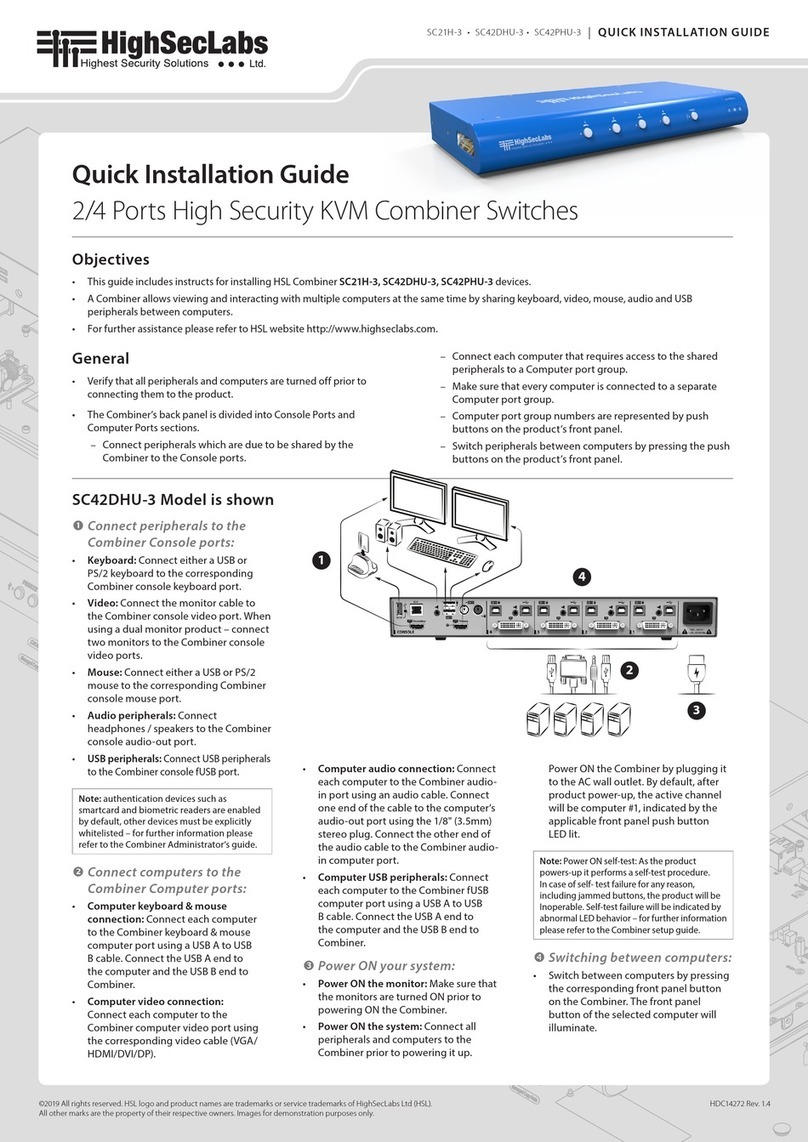
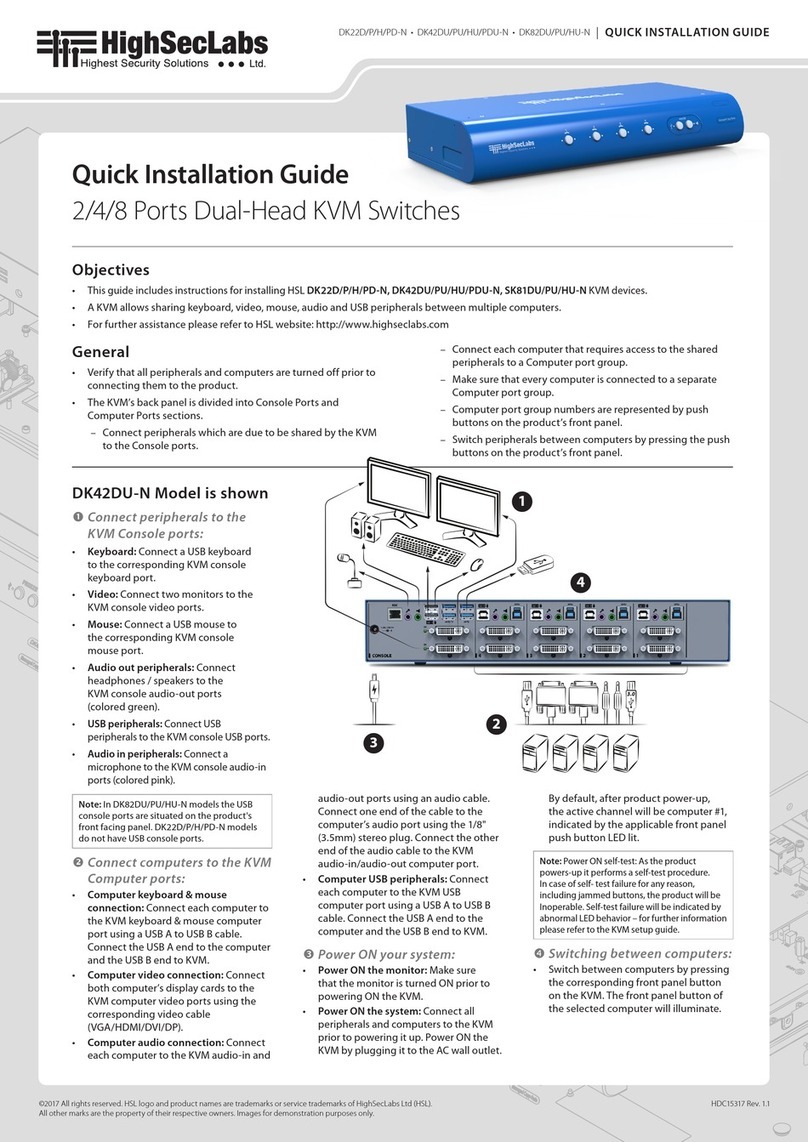
SC42DHU-N Model is shown
Quick Installation Guide
4-Ports KVM Combiner Switches
1
2
3
4
Connect peripherals to the
Combiner Console ports:
• Keyboard: ConnectaUSBkeyboardto
thecorrespondingCombinerconsole
keyboardport.
• Video:Connectthemonitorcable
totheCombinerconsolevideoport.
Whenusingadualmonitorproduct–
connecttwomonitorstotheCombiner
consolevideoports.
• Mouse:ConnectaUSBmousetothe
correspondingCombinerconsole
mouseport.
• Audio out peripherals: Connect
headphones/speakerstotheKVM
combinerconsoleaudio-outports
(coloredgreen).
• USB peripherals:ConnectUSBperipherals
totheCombinerconsoleUSBport.
• Audio in peripherals: Connecta
microphonetotheKVMconsoleaudio-in
ports(coloredpink).
• Primary & secondary display screen
size:
Itishighlyrecommendedtouse
identicalprimaryandsecondarydisplay
monitors.EDIDinformationistaken
fromtheprimarydisplay(consoleport
#1)andsenttoallconnectedcomputers.
Incaseofusingnon-identicaldisplays,
connectthesmallerdisplaytothe
primaryconsoledisplayport.
Connect computers to the
Combiner Computer ports:
• Computer keyboard & mouse
connection:Connecteachcomputer
totheCombinerkeyboard&mouse
computerportusingaUSBAtoUSBB
cable.ConnecttheUSBAendtothe
computerandtheUSBBendtoCombiner.
• Computer video connection:
Connecteachcomputertothe
Combinercomputervideoportusing
thecorrespondingvideocable(VGA/
HDMI/DVI/DP).
• Computer audio connection:
Connecteachcomputertothe
Combineraudio-inandaudio-outports
usinganaudiocable.
Connectoneendofthecabletothe
computer’saudioportusingthe1/8"
(3.5mm)stereoplug.Connecttheother
endoftheaudiocabletotheCombiner
audio-in/audio-outcomputerport.
• Computer USB peripherals:Connect
eachcomputertotheCombinerUSB
computerportusingaUSBAtoUSBB
cable.ConnecttheUSBAendtothe
computerandtheUSBBendtoCombiner.
Power ON your system:
• Power ON the monitor: Makesurethat
themonitorsareturnedONpriorto
poweringONtheCombiner.
• Power ON the system: Connectall
peripheralsandcomputerstothe
Combinerpriortopoweringitup.
PowerONtheCombinerbypluggingit
totheACwalloutlet.Bydefault,after
productpower-up,theactivechannel
willbecomputer#1,indicatedbythe
applicablefrontpanelpushbuttonLEDlit.
Note:PowerONself-test:Astheproduct
powers-upitperformsaself-testprocedure.
Incaseofself-testfailureforanyreason,
includingjammedbuttons,theproductwillbe
Inoperable.Self-testfailurewillbeindicatedby
abnormalLEDbehavior–forfurtherinformation
pleaserefertotheCombinersetupguide.
Switching between computers:
• Switchbetweencomputersbypressing
thecorrespondingfrontpanelbutton
ontheCombiner.Thefrontpanelbutton
oftheselectedcomputerwillilluminate.
