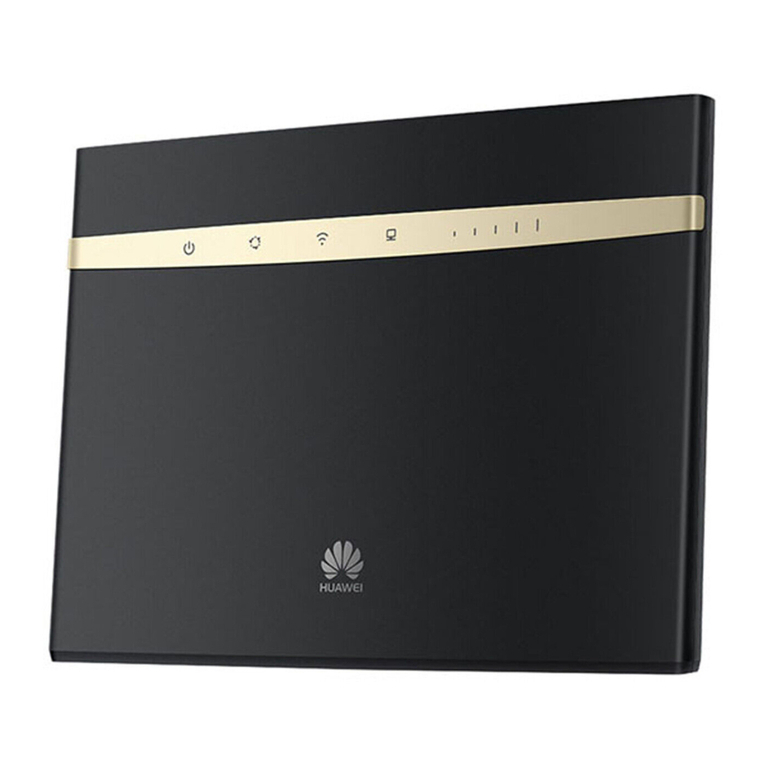
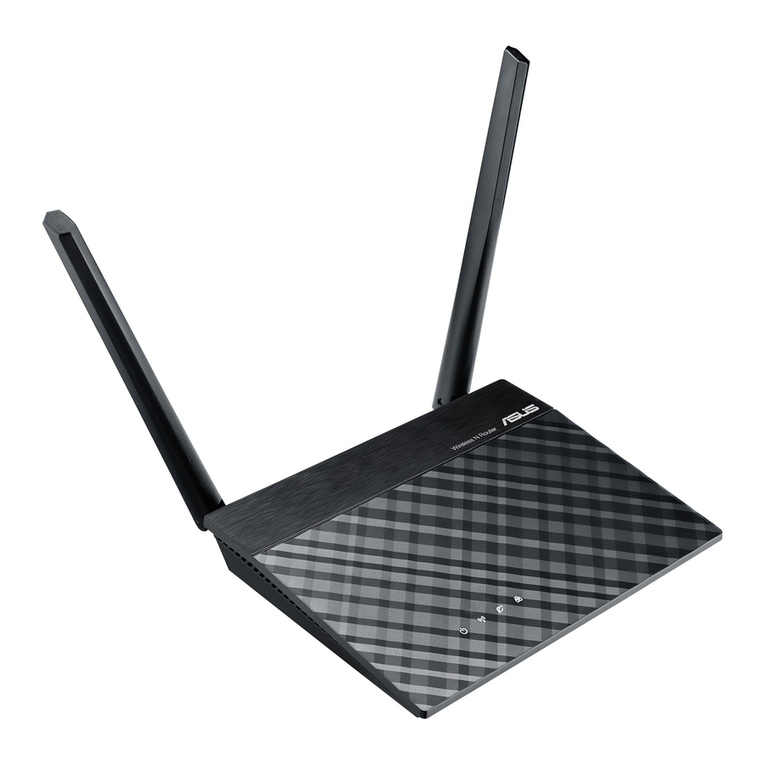
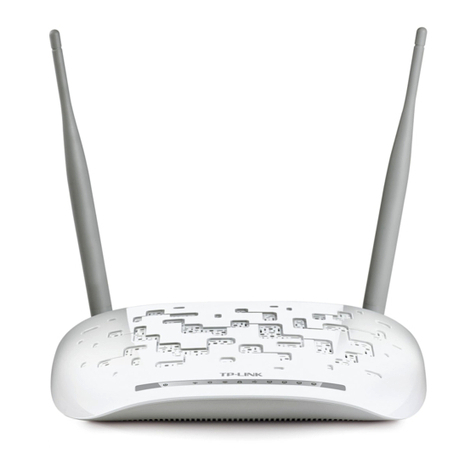
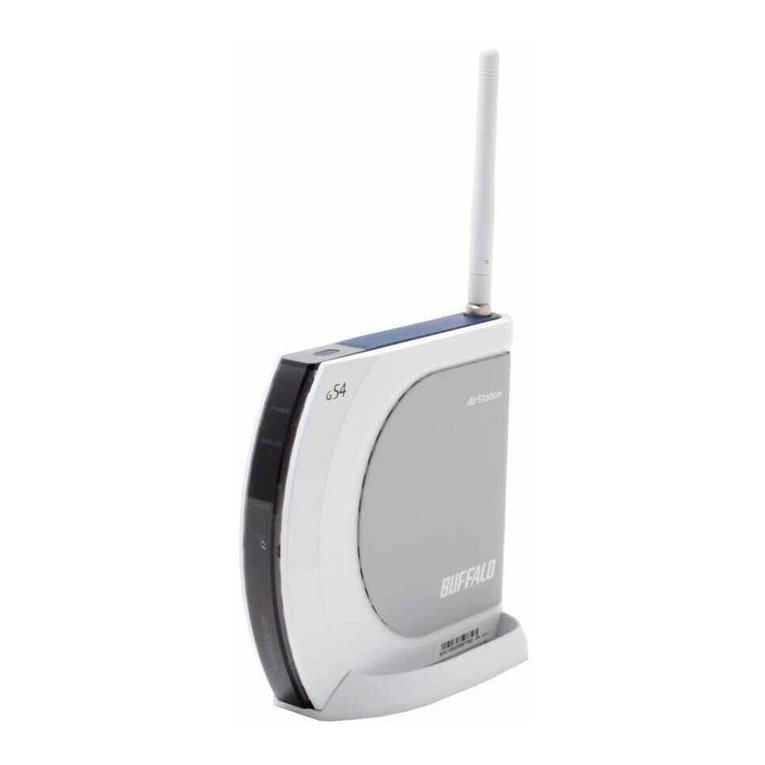
HiGuard SOHO User manual

HiGuard Wireless Router
For SOHO
Manual
www.higuard.com
Please feel free to contact us if you have any questions.
E-mail: [email protected]
Power By ShareTech

1
Index
Chapter 1: HiGuard
1-1、Features and Advantages ....................................................................................................................... 4
1-2、Protection ............................................................................................................................................... 5
1-3、Identify Components .............................................................................................................................. 6
1-3-1、Front Pana ...................................................................................................................................... 6
1-3-2、Back Pana ....................................................................................................................................... 7
1-3-3、Hardware Specification ................................................................................................................... 7
1-3-4、Environment ................................................................................................................................... 7
Chapter 2: Quick Installation
2-1、Before you begin .................................................................................................................................... 8
2-2、Hardware Insta aion .............................................................................................................................. 9
2-3、Set up your computer ............................................................................................................................ 11
2-3-1、Windows XP .................................................................................................................................... 11
2-3-2、Windows 7 ...................................................................................................................................... 14
Chapter 3: Connect to HiGuard
3-1、Config. wizard ......................................................................................................................................... 17
3-2、Log-in HiGuard GUI ................................................................................................................................. 21
3-3、Firmware Upgrade ................................................................................................................................. 23
3-4、Restart Device ........................................................................................................................................ 24
3-5、Signature Update ................................................................................................................................... 25
3-6、Admin Password ..................................................................................................................................... 26
3-7、Web Access ............................................................................................................................................ 27
3-8、Time Settings .......................................................................................................................................... 28
3-9、Config. Manager ..................................................................................................................................... 29
3-9-1、Export HiGuard Setting ................................................................................................................... 29
3-9-2、Restore HiGuard Setting ................................................................................................................. 30
3-9-3、Mu tip e Profi e Management ........................................................................................................ 31
3-9-4、Restore Factory Setting ................................................................................................................... 32
3-9-5、Restore Factory Setting from Hardware ......................................................................................... 33

2
Chapter 4: Protection
4-1、Anti-Virus ............................................................................................................................................. 34
4-1-1、Enab e Anti-Virus ......................................................................................................................... 34
4-1-2、Signature ..................................................................................................................................... 35
4-1-3、Anti-Virus Setting ........................................................................................................................ 36
4-2、App ication Guard ................................................................................................................................ 38
4-3、URL Keyword Fi ter .............................................................................................................................. 44
4-4、URL Category Fi ter .............................................................................................................................. 46
4-5、Internet Authentication ...................................................................................................................... 48
4-6、QoS ...................................................................................................................................................... 51
Chapter 5: Security
5-1、Port Forwarding ................................................................................................................................... 53
5-2、UPnP .................................................................................................................................................... 55
5-3、Access Contro ..................................................................................................................................... 56
5-4、Firewa Protection .............................................................................................................................. 57
5-4-1、Firewa Setup ................................................................................................................................ 58
Chapter 6: etwork
6-1、Wide Area Network (WAN) Setting .................................................................................................... 60
6-1-1、DHCP (Dynamic IP) ........................................................................................................................ 60
6-1-2、Static IP(Static IP) .......................................................................................................................... 61
6-1-3、PPPoE(ADSL Dia -up) ..................................................................................................................... 62
6-2、Loca Area Network (LAN) Setting ....................................................................................................... 63
6-2-1、HiGuard Management IP ............................................................................................................. 63
6-2-2、DHCP Server Setting ...................................................................................................................... 63
6-2-3、DNS Server Setting ....................................................................................................................... 64
6-3、Wire ess ............................................................................................................................................... 65
6-4、Dynamic DNS ...................................................................................................................................... 67
6-5、IPv6 ...................................................................................................................................................... 69
6-5-1、genera setup ................................................................................................................................ 70
6-6、VPN IPSec............................................................................................................................................. 72

3
Chapter 7: Log & Report
7-1、Setup ............................................................................................................................................... 75
7-2、Anti-Virus ........................................................................................................................................ 77
7-3、App ication Guard ........................................................................................................................... 78
7-4、URL Keyword Fi ter ......................................................................................................................... 79
7-5、URL Category Fi ter ......................................................................................................................... 80
7-6 、Access Contro List ......................................................................................................................... 81
7-7 、Firewa Protection ........................................................................................................................ 82
7-8 、VPN IPSec ....................................................................................................................................... 83

4
Chapter 1 HiGuard
The HiGuard, Network Security Adaptor, is a powerfu device that provides network ayer seven
(OSI Layer 7) security protections to the connected equipments after Internet accessed devices.
Without additiona host CPU resource or insta ation process, HiGuard provides transparent
security features ike anti-virus, instant message, peer-to-peer app ication contro , and
ma icious drive-by down oad attacks prevention. Those security features are usua y design-in
an Unified Threat Management (UTM) network security equipment. Any network equipments
or devices with standard 10/100 Mbps fast Ethernet ports can be connected to MiniGuard, or
to the switching device under HiGuard gateway coverage for protection.
1-1. Features and Advantages
The simp est and most cost effective security device HiGuard
No additiona host-CPU resources consumption / No Insta ation needed
High throughput that provides rapid network Down oad and Access
Anti-Virus, IM / P2P, Anti-Ma icious URL, URL Protoco fi terer
Friend y graphic user interface contro , inspection report and management
Support PPPoE, DHCP, NAT
Suitab e for Home, SOHO and SMB users

5
1-2. Protection
Anti-Virus
Packet-based Virus Scanning
Support HTTP / FTP / SMTP / POP3 / IMAP4/ TCP STREAM
Packet-Based Decoding for Base64 / UUencode / QP
Packet-Based Decompression for Zip / GZIP
Detect Viruses Across in Mu ti-Packets
Application Guard
Detection for We -Known Protoco s
HTTP / FTP / SMTP / POP3
AOL / Jabber / MSN / QQ
eDonkey / Fasttrack / Thunder
Web Guard
Website Hijacking Prevention
Concise URL Ma icious Website Database
Sma er Database Size
URL Path On y and URL Host+Path Support
URL Filter
High Speed Fi tering
Category-Based B ack ist Function
Low Rates of Overb ocking
Wor d’s Best Site Coverage

6
1-3. Identify Components
The fo owing sections describe the physica characteristics of the HiGuard.
1-3-1. Front Pane
The LEDs of the HiGuard indicate its operationa status.
LED Color Condition Status
POWER Green On Power on
Off Power off
Wi-Fi
Green
On WIFI enab ed
B inking Transmitting
Off WiFi not ready or fai ed
Orange On Firmware updating
B inking Resetting to defau t
WAN Green
On Physica ink ok
B inking Transmitting
Off Ethernet not ready or
fai ed
LAN Green
On Physica ink ok
B icking Transmitting
Off Ethernet not ready or
fai ed

7
1-3-2. Back Pane
Feature Description
POWER The receptac e where you p ug in the power adapter.
WAN Using this port to connect your modem to Higuard.
LAN Using those ports to connect your PC or NB to HiGuard.
RESET Press to reset HiGuard.
Press over five seconds to reset to defau t settings.
Wi-Fi Enab e/disab e WiFi function.
1-3-3. Hardware Specification
Feature Description
Network 10/100Mbps Fast Ethernet X 5 (LAN X 4, WAN X 1)
IEEE 802.11b/g/n draft
Power
Switching Power Adapter
Input: 100~240V ; Output: 12V / 1A
Power Connector: +5V DC-in Lack
1-3-4. Environment
Feature Description
Operating
Temperature
0°C ~ 45°C ambient temperature
Storage
Temperature
-30°C ~ 70°C ambient temperature
Operating
Humidity
90% maximum (non-condensing)
Storage Humidity
90% maximum (non-condensing)

8
Chapter 2 Quick Installation
In this chapter, the insta ation and configuring network of HiGuard wi be introduced.
2-1. Unboxing HiGuard
P ease ensure you have a these components:
1. HiGuard Wire ess Base Unit 2. RJ-45 Ethernet Cab e
3. One Power Adapter 4. One User Manua and one CD
5. Quick Insta Guide 6. Warranty Card
7. Two(2) detachab e WiFi Antennas
P ease immediate y contact your vendor if you find anything missing.

9
2-2. Hardware Installation
Depending on your home network set-up, you can connect HiGuard to the Internet by
refering to any of the fo owing scenarios:
A. ADSL/Cab e Modam
i. Connect the cab e to the ADSL Router/ Cab e Modem and p ug it into the BLUE
socket (WAN port).
ii. Use the RJ-45 Ethernet cab e provided with the HiGuard app iance to connect your
computer to any of the YELLOW sockes (LAN).
iii. Switch on your ADSL Modem/Cab e Modem and wait ti the Internet LED on the
ADSL modem turns green and remain steady.
iv. Switch on the HiGuard app iance. Wait ti the Power LED and WAN LED turns
green.
v. Switch on your computer now. HiGuard’s LAN LED wi turn green and remains
steady.
vi. Open your brower and start surfing the internet. You have insta ed HiGuard
successfu y!

10
B. USB Modem
i. P ug a USB modem in the s ot in the HiGuard app iance.
ii. Use the RJ-45 Ethernet cab e provided with the HiGuard app iance to connect your
computer to any of the YELLOW sockes (LAN), and switch the HiGuard app iance.
OR, switch on the HiGuard app iance. If you are connecting to the Internet over
WiFi, start your aptop or any modi e device.
iii. Open the browser and start surfing the Internet. You have insta ed HiGuard
successfu y!

11
2-3. Set up your computer
In order to configure network quick y, p ease read the proper sections about Windows XP, and
Windows 7.
2-3-1.Windows XP
i. C ick the “Contro Pane ” of the “Start Menu”.
ii. Doub e c ick the “Network Connection” in the contro pane .

12
iii. Right c ick the “Load Area Connection” and the choose the “Properties”.
iv. Choose the “Genera ” tab and se ect the “Internet Protoco ”. And then c ick the
“properties” button.

13
v. Choose “Obtain an IP address automatica y” and c ick OK.
For your reference. the default gateway is 192.168.1.1. As long as there is no conflict, you may enter
IP from 192.168.1.2 to 192.168.1.254.

14
2-3-2.Windows 7
i. Right c ick the network icon in the right bottom corner of Windows 7. Choose “Open
Network and Share Center”. It wi pop up a screen. In this screen, choose “Change Interface.”
ii. Right c ick on the “Loca Area Connection” icon and se ect “Status”.

15
Automatica y obtain IP address has not been set
iii. C ick “Properties” of the “Loca Area Connection”. Se ect “Internet Protoco v4
(TCP/IPv4) ” and then c ick “Properties”. P ease check section 2-3-1 and set up the
automatica y obtained IP.
Automatica y obtain IP address to comp ete the setup
iv. P ease c ick the "Detai " of "Loca Area Connection" to check the IP is set up to obtain IP
automatica y.

16
Chapter 3 Connect to HiGuard
HiGuard supports Internet Exp orer 6,7,8, Firefox 3.x or above. To operate correct y, p ease
use supported browser to ogin.
A. P ease open a browser and enter “http://192.168.1.1” in the address fie d to ogin into
the HiGuard.
(Figure 3-1)
Figure 3-1. Enter IP Address
B. If you can see the fo owing Admin Screen, it means HiGuard is successfu y connected.
P ease se ect anguage at the bottom. Eenter “admin” as defau t username and “admin”
as defau t password and c ick the Login button.
(Figure 3-2)
Default Username:admin
Default Password: admin
Figure 3-2. Enter username and password

17
3-1. Configuration Wizard
The network configuration wizard wi be enab ed in the first ogin of HiGuard. And then It wi
he p you step by step set up the network. If you ogin at the first time but cance the network
configuration wizar. You may restart it manua y by c icking the icon near to the “Logout” icon.
1. P ease c ick on “Network Config Wizard” at the upper right corner and begin five steps.
2. Network Mode Setting: the picture shows the network mode: Router Mode. Se ect
“Next” button.
(Figure 3-3)
Figure 3-3. Router mode

18
3. Wide Area Networking (WAN) Setting: Set up WAN type. There are different parameters
according to the WAN type.
i. Choose “DHCP” for IP address.
(Figure 3-4)
Figure 3-4. WAN Configuration DHCP
ii. Choose “Static” and key in IP address, Subnet Mask and Gateway.
(Figure 3-5)
Figure 3-5. WAN Configuration Static

19
iii. Or, choose “PPPoE.” P ease key in username, password and confirm password. If
necessary, users can enter stactic DNS server.
(Figure 3-6)
Figure 3-6. WAN Configuration PPPoe
4. Loca Area Networking (LAN) Setting: Set up the LAN. The LAN IP of HiGuard and its
DHCP server setting can be assigned here.
(Figure 3-7)
Figure 3-7. LAN Setting
Table of contents
