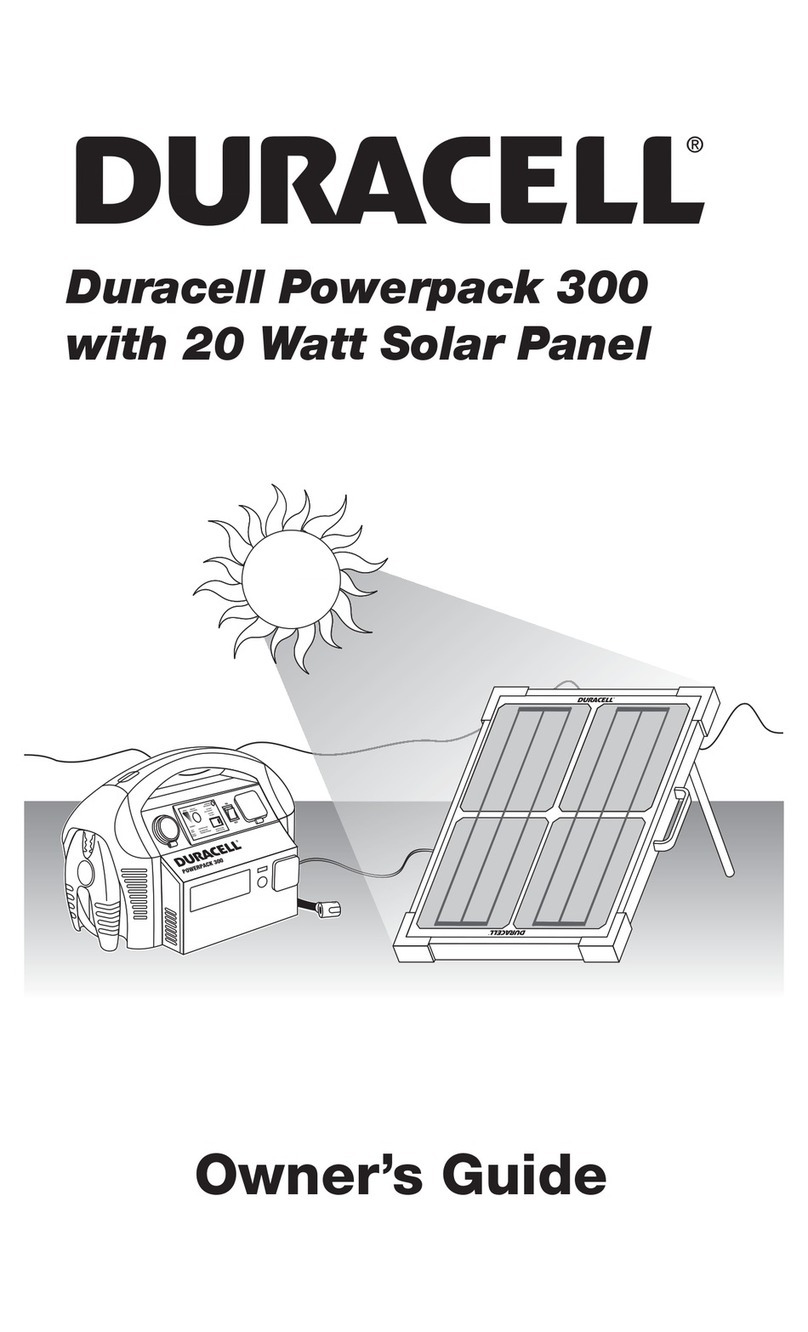
Hilka 83-6060-12 User manual

Engine Starter Power Pack
83-6060-12
If faults cannot be remedied, contact the Helpline on 020 83916767
1 ROEBUCK PLACE, ROEBUCK ROAD, CHESSINGTON, SURREY KT9 1EU
HILKA TOOLS
GUARANTEE
This product is guaranteed for domestic use for a period of 12 months against faulty manufacture or materials. This
guarantee does not affect the statutory rights of the consumer. If in the event of any problem occurring please
contact our Helpline at the number above for advice. This product is not guaranteed for HIRE purpos
83-6060-12 - Issue 1 - R.W. 28-09-07
-8-
MAINTENANCE
Maintenance
Always inspect the jumpstart before use to ensure the cables are in good condition and
the clamps are clean and free from corrosion. Have them replaced if any damage is
apparent. Keep clean by wiping with a dry cloth. Do not use solvents as a cleaning agent.
12Volts output socket
A built-in reset device will shut off the power when the jumpstart overloads.
This device will reset after a few minutes and the jumpstart will resume normal
service condition again.
Replaceable fuse
The fuse will be blown out in the case of overloading.
Unscrew the fuse cap (in position of item 4) and replace with a new 2A fuse,
the Jumpstart will then resume to work.
NOTE: DISCONNECT APPLIANCE BEFORE YOU CARRYING OUT ANY
MAINTENANCE
WARNING:
● Do not use the output socket and jumpstart at the same time.
● The output can be as high as 13 volts after the jumpstart has been fully charged,
consult your appliance handbook to ensure it is safe to operate.
● Do not allow the battery to be completely discharged as the charger can not
recover a deeply discharged battery.
Part No: 41156

PARTS LISTSAFETY INSTRUCTIONS
WARNING
-2- -3-
Follow basic safety principles to reduce risk of personal injury, electric shock and fire.
Please read the following instructions prior to operating this product and keep for future use.
● Do not let children handle the
jumpstart, all onlookers should be
away from your work area. Work in
an area that is not cluttered.
● Jumpstart may be used outdoors.
Do not leave it exposed to the
elements. Do not use jumpstart in
damp or wet areas.
● Protect the jumpstart from direct
sun light. Do not use jumpstart near
flammable gases or liquids check
cables before operation. Battery
may explode due to over-heating.
● Do not carry the jumpstart by the
cable or pull the cable to remove
the plug from the mains socket.
Protect the cable from sharp
objects, heat and oil. Have it
replaced if damaged.
● Always ensure the jumpstart is not
damaged. Do not operate if in the
case of any of the cables is
damaged. Consult a qualified
person for repair.
● Do not attempt to repair or open the
jumpstart (which contains no user
serviceable parts).
● Do not allow the battery, at any time,
to become completely discharged.
The product should be kept fully
charged when not in use. If it will be
kept in storage, then it must be
recharged every 3 months.
● The internal battery is a sealed
lead acid battery. It is classified as
non-spillable and has unique
sealing techniques to guarantee
that no electrolyte leakage will
occur. If it is necessary to replace
the battery, then it should be done by a
qualified technician only and must be
of the same specification as the
original.
● Jumpstart is designed for use with 12V
systems only. Do not use jumpstart for
any purpose other than that is
designed. For best performance do not
use more than one output at a time.
● When using the 12V DC output socket,
ensure that the plug of the item you are
to power has the positive lead to the
centre pin of the plug.
● Jumpstart is not designed to be used
as a replacement of a vehicle battery.
● Never allow the NEGATIVE and
POSITIVE leads on this unit to touch
or to touch the same metal object.
● Ensure the posts and clamps of the
vehicle battery are perfectly clean
before use.
● When connecting the jumpstart leads
to a battery, always connect the RED
(positive, +) clamp to the unearthed
battery terminal first, then connect the
BLACK (negative, -) clamp to the
chassis or suitable engine bolt, well
away from the battery and fuel line.
● To prevent battery overheating and
consequent damage, do not exceed
our recommendations for lump starting.
● When jumpstarting ensure the area is
well ventilated.
● Do not attempt to boost charge the
jumpstart's sealed battery.
Components
1. Indicating LED
a. Full charge indicator (Green)
b. Charging indicator (Red)
c. Top-up charge indicator(Yellow)
d. Switch-on indicator(Green)
2. DC 3V, 6V, 9V Output Jack
3. 12V Output Socket
4. Replaceable Fuse
5. Switch for Multiple Voltage Output
and AC or DC Charging
6. 12 Volt Cigarette Lighter Lead
a. Adaptor
b. Adaptor lead
7. Booster Cable and Crocodile Clamp
a.Negative(-)(Black)
b. Positive(+)(Red)
8. Charging Socket
9. Fluorescent Light On/Off Switch
10. Fluorescent Light
11. AC Charger
Use
To indicate the status of the internal battery
being recharged or the on/off status of the
multiple voltage output
To allow insertion of the plug of any DC3V, 6V,
9V appliance with corresponding rated current.
This has over current protection.
To allow insertion of the cigarette lighter plug of
any DC 12V appliance.
This has over load protection.
This is an overload protection for the multiple
voltage output (3V, 6V & 9V).
To switch on DC 3V, 6V, 9V and 12V output
or to charge the internal battery
To charge the internal battery from a 12V DC
supply or allows output connection from the
cigarette socket, item 3
To connect to negative'-' battery terminal
To connect to positive '+' battery terminal
For 12V cigarette lighter lead or AC charger to
charge the internal battery
To switch the fluorescent light ON or OFF
To provide light for road side repairs and
emergency situation
To charge the internal battery
via AC 230V mains source
1a
1b
1c
1d
2
3
4
5
7b
6
7a
8
9
10
11
Dia 1

CHARGING THE INTERNAL BATTERYSPECIFICATIONS & FEATURES
Specifications
Battery Type-----------------------------------------------Sealed Lead Acid Battery
Rechargeable
Maintenance Free
12V DC 17 AH
Voltage Output--------------------------------------------3, 6, 9, 12Volts DC
Fluorescent Tube-----------------------------------------4Watts
FEATURES
Jumpstart is a product equipped with a rechargeable DC 12V battery as a power
supply. The sealed maintenance free heavy duty battery is safe to use and
transport and allows the product to be stored in any position without risk of leakage.
It provides up to 50 hours of DC power depending upon application for input volts
of appliance. And it can be used in remote sites application or for emergency
application as listed below.
1. Emergency booster power
The power battery can provide up to 400Amp (Peak 900AMP) cranking power to
start your car if the car battery is dead.
2. DC 12V power source
The unit is equipped with a cigarette output socket, item 3, allows most auto
accessories / appliances such as car vacuum, car fan, electric, mini tire inflator
/deflator etc. drawing up to 8 amps to be powered. In the case of over loading a
built in reset device will shut off the power and reset after a few minutes. The
power lead, item 6, can be used as an output lead to supply 12V via the jack
plug on the lead.
Check the appliance handbook to ensure it is safe to use with a 12V battery.
Special adaptor may be required.
3. Multiple voltage output for auto electronic appliance
Jumpstart also provides 3 more voltage output jacks (3V, 6V & 9V), item 2,
for most common auto electrical or electronic products such as mini power
tools, radio, cassette, CD player etc. A replaceable fuse, item 4, is applied
to protect the output circuit and the connected device.
Check the appliance handbook to ensure it is safe to use with a 12V battery.
Special adaptor may be required.
4. Work light
It is a built-in fluorescent tube and is protected by a clear guide. It can be used as
a stand-alone light source by an individual ON/OFF switch. Fluorescent tube
can be replaced easily once there is malfunction.
WHEN TO CHARGE:
● A top up charge of 30 hours is recommended when you first purchase the
jumpstart.
● The jumpstart MUST be recharged once the Yellow LED, item 1c, comes on
when setting the main switch, item 5 at "ON" position.
● The battery should be charged after each use to maintain maximum power.
Dependent on the amount the unit was used a top up charge of 5 or 6 hours may
be enough, you do not have to wait for the green full charge LED to come on.
● For maximum power a top up charge of 5 to 6 hours is recommended before use.
● If the unit is in storage, have it fully recharged every 3 months.
HOW TO CHARGE
The internal battery should only be charged using the accessories supplied.
Two means of charging the internal battery are available:
A. Via 230v supply using the AC charger, item 11
Place jack plug of the AC charger into the charging socket, item 8,
on side of the jumpstart.
Plug AC charger into a suitable 230v 50Hz mains socket.
Press the switch, item 5 on position "CHA".
The Red charging LED, item 1b, will come on indicating that charging is taking
pace.
The Green LED, item 1a, will come on once the battery is fully charged.
The unit can be used before the full charge LED (Green) comes on, i.e., the
battery is not full for less operating time.
Disconnect the charger.
B. Via 12v supply using the cigarette lighter adaptor, item 6
NOTE: Ensure that the supply vehicle has a 12 volt negative earth system.
The engine of the supply vehicle needs running to ensure charging
process.
The recommended method of charging is via the AC charger.
Place jack plug of the cigarette lighter adaptor into the charging socket, item 8,
on side of the jumpstart.
Plug DC lead into the 12v cigarette socket on your car.
Start the car.
The Red charging LED, item 1b, will come on indicating that charging is taking
place.
This method of charging only achieves 75% of the maximum charge; i.e. the full
charge LED (Green) will not come on.
NOTE:
If the Red LED does not come on during the charging process, check the
replaceable fuse (item 4) and ensure the power connection is secure.
Have the blown-out fuse replaced with a new one in the same rating if necessary.
CHARGING TIME:
● This will vary considerably depending on several factors, the weather
conditions, how often the unit is used and the amount of discharge of the unit etc.
-4- -5-

OPERATING INSTRUCTIONSOPERATING INSTRUCTIONS
● From the DC15Volts 400mA adaptor, item 11, it takes around 30 hours for the
full charge LED (Green) to come on if the jumpstart has been deeply discharged.
● From a DC12 volts power supply it takes approximately 72 hours for the full
charge LED (Green) to come on.
Note: The unit can be used before the full charge LED (Green) comes on
if the jumpstart has already been charged for 5-6 hours or more.
HOW TO JUMPSTART A CAR
The JUMPSTART provides a current up to 400 Amp (Peak 900Amp) to assist with the
starting of a car when the car battery is flat.
Check to ensure the following before connecting the booster cable clamps to
the car battery:
● Ensure the ignition is off and the jumpstart is fully charged.
● Ensure the vehicle ignition and all ancillary equipment - lighting, radio etc. are switched
off.
● Ensure the vehicle battery is rated at 12V and is not damaged in any way.
● Ensure the battery terminals are perfectly clean, the clamps are firm and perfectly
secure.
● Remove vehicle battery filler plugs and check electrolyte level. If necessary, top up with
distilled water.
Follow the steps below to jumpstart your car:
1. Connect the red clamp, item 7b, to the "+" terminal of the car battery.
2. Connect the black clamp, item 7a, to the chassis or engine component well away from
the fuel lines or any moving parts, ensure the connections are secure.
3. Switch the vehicle ignition on and leave in this condition FOR APPROX TWO
MINUTES. (This will provide the vehicle battery with a short 'boost' charge to allow for
easier starting).
4. Switch the ignition to 'start' for no more than 6 seconds, if the engine does not start
within this time, switch off the ignition and wait for at least 3 minutes before trying again.
5. Once the engine starts running, disconnect the earthed clamp (black) first and return it
to its storage position, then disconnect the unearthed clamp (red) from the battery
terminal and restore it to its storage position.
CHANGING THE FLUORESCENT LIGHT
● Take off the translucent cover as shown in dia 2.
● Rotate the fluorescent tube and identify the terminal at both ends of tube do not block
by the U-shape terminal inside holder then retract it out, see dia 3.
● Replace with a new fluorescent tube that can be purchased from store.
● Make sure the new fluorescent tube is rotated at the right position and the terminal
at both ends has a good contact with the U-shape terminal inside the holder before
you fix the translucent cover.
-6- -7-
Dia 2 Dia 3
Table of contents
