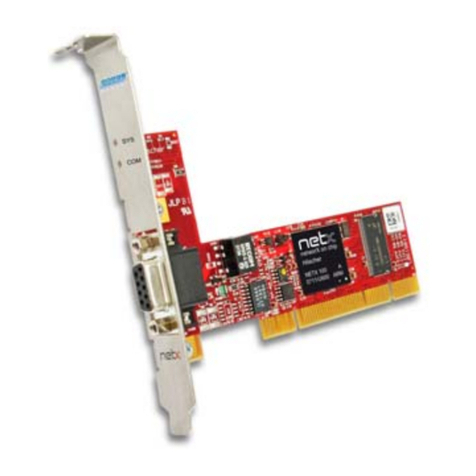
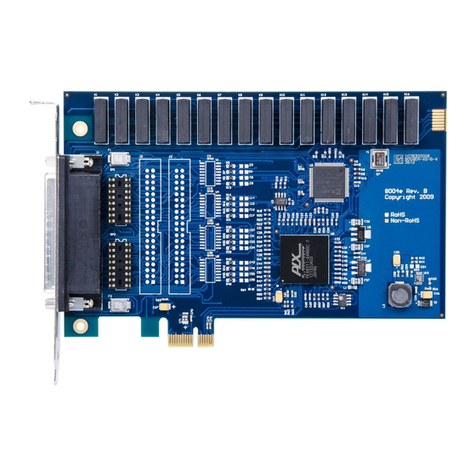
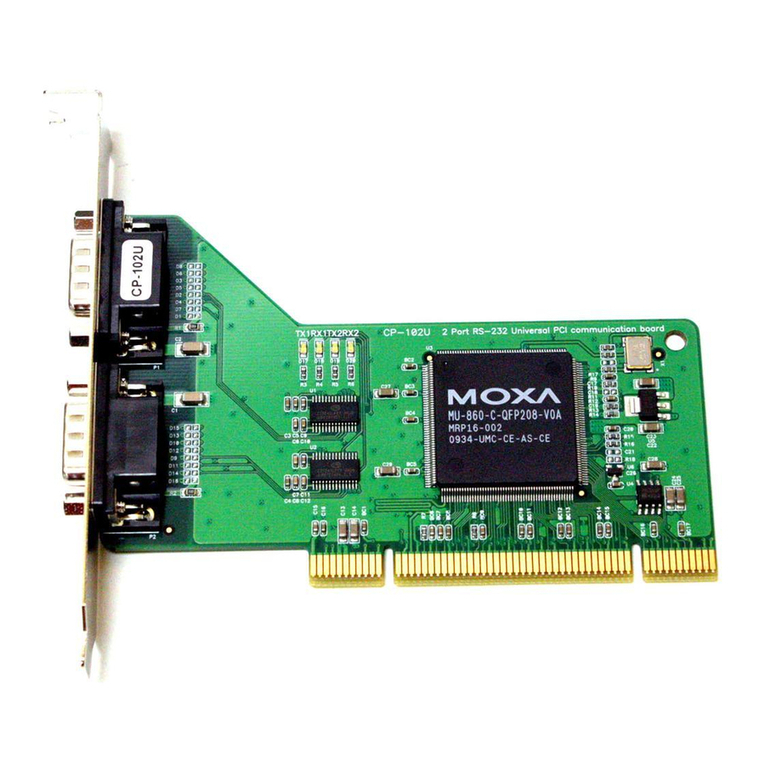
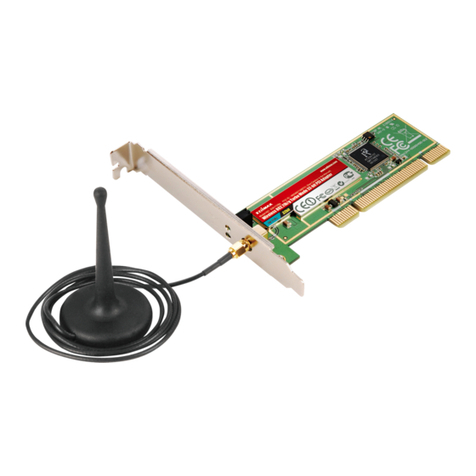
hilscher CIFX 50-RE Installation guide

Training Manual
EtherNet/IP Scanner
CIFX, COMX and netJACK - Configuration and Testing - Step by Step
Hilscher Gesellschaft für Systemautomation mbH
www.hilscher.com
DOC121002TM02EN | Revision 2 | English | 2012-11 | Released | Public

Introduction 2/61
EtherNet/IP Scanner | CIFX, COMX and netJACK - Configuration and Testing - Step by Step
DOC121002TM02EN | Revision 2 | English | 2012-11 | Released | Public © Hilscher, 2012
Table of Contents
1INTRODUCTION.........................................................................................................3
1.1 About this Training Manual.........................................................................................3
1.2 Required Hardware and Software ..............................................................................3
1.3 List of Revisions..........................................................................................................3
2GENERAL PROCEDURE ...........................................................................................4
3NETWORK SETUPS...................................................................................................5
3.1 Setup 1: CIFX 50-RE with NXIO 50-RE......................................................................5
3.2 Setup 2: CIFX 50-RE Added as Second Slave...........................................................5
4STEP-BY-STEP CONFIGURATION ...........................................................................6
4.1 Setup 1: CIFX 50-RE with NXIO 50-RE......................................................................6
4.1.1 Set Up Network ....................................................................................................6
4.1.2 Assign Hardware and Load Firmware..................................................................8
4.1.3 Configure Slave..................................................................................................12
4.1.4 Configure Hilscher Stand-Alone Slave...............................................................18
4.1.5 Configure Master................................................................................................18
4.1.6 Diagnosis and Testing........................................................................................25
4.2 Setup 2: CIFX 50-RE Added as Second Slave.........................................................31
4.2.1 Set Up Network ..................................................................................................31
4.2.2 Assign Hardware and Load Firmware................................................................31
4.2.3 Configure Slave..................................................................................................32
4.2.4 Configure Hilscher Stand-Alone Slave...............................................................36
4.2.5 Configure Master................................................................................................44
4.2.6 Diagnosis and Testing........................................................................................50
5TIPS AND TRICKS....................................................................................................56
5.1 Checking, Setting and Reordering a License ...........................................................56
5.2 Setting IP Addresses of EtherNet/IP Devices...........................................................57
6CONTACTS...............................................................................................................61

Introduction 3/61
EtherNet/IP Scanner | CIFX, COMX and netJACK - Configuration and Testing - Step by Step
DOC121002TM02EN | Revision 2 | English | 2012-11 | Released | Public © Hilscher, 2012
1 Introduction
1.1 About this Training Manual
This document provides step-by-step instructions on how to commission
and configure an EtherNet/IP Scanner (master) by using the SYCON.net
configuration software. How to read input data and how to write output data
by using the I/O monitor is described for the SYCON.net configuration
software and the cifX Test auxiliary tool.
The procedures are exemplified by using a cifX PC card. They can,
however, also be applied to the comX and netJACK communication
modules.
1.2 Required Hardware and Software
Prerequisite for the described commissioning and configuration example is
a proper installation of all necessary hardware and software components.
For the example given in this document, you need the following
components:
Hardware
•1 x PC with standard equipment: monitor, keyboard, mouse, DVD drive,
PCI slot
•1 x CIFX 50-RE acting as Real-Time Ethernet master (requires master
license)
•1 x NXIO 50-RE Real-Time Ethernet slave with power supply unit
•1 x CIFX 50-RE acting as Real-Time Ethernet slave
•2 x Ethernet cable (CAT5)
Software
•SYCON.net configuration software
•Driver for cifX PC card (cifX Device Driver)
•Auxiliary tools cifX Test and cifX Setup (included in the cifX Device
Driver installation)
•Ethernet Device Configuration (included in the SYCON.net installation)
For details about how to install the necessary hardware and software
components, please refer to the user manual of the respective product.
1.3 List of Revisions
Index Date Chapter Revision
2 2012-11-23 all created

General Procedure 4/61
EtherNet/IP Scanner | CIFX, COMX and netJACK - Configuration and Testing - Step by Step
DOC121002TM02EN | Revision 2 | English | 2012-11 | Released | Public © Hilscher, 2012
2 General Procedure
1.1 Create new project in SYCON.net.
1.2 Insert Hilscher master device in network
(e. g. CIFX 50-RE).
1.3 If a non-Hilscher device is used as slave: import device
description file first.
Add slave to network (e. g. NXIO 50-RE).
Set up network
1.4 If a full-scale Hilscher slave device is used (e. g. CIFX 50-RE),
add also a Stand-Alone Slave.
Note:
Hardware has not
been assigned yet.
Firmware has not been
loaded yet.
Network has not been
configured yet.
2.1 Open Configuration window for master device.
2.2 Select driver for access to the master device.
Internal device driver Æselect CIFX Device Driver.
External via Serial, USB or TCP/IP Æselect netX Driver.
2.3 Scan for connected hardware and assign device.
Assign hardware and
load Firmware
2.4 If PC cards are used: Select and load Firmware.
Note:
Hardware has been
assigned.
Firmware has been
loaded.
Network has not been
configured yet.
3.1 Open Configuration window for slave device.
3.2 Configure Address (e. g IP address). If a non-Hilscher slave is
used: set real IP address, e. g. by rotary switch.
Configure
slave
3.3 Configure I/O data, i.e. modules and lengths.
Note:
Slave has been
configured in network.
Real IP address has
been set for slave by
rotary switch.
4.1 Open Configuration window for Stand-Alone Slave.
4.2 Assign hardware and load firmware.
4.3 Configure address, I/O data.
These must match the network configuration.
Set real IP address of the Hilscher slave device. (e. g. by
SYCON.net or Ethernet Device Configuration, etc.)
Configure Hilscher
Stand-Alone Slave
4.4 Download configuration to Stand-Alone Slave.
Note:
Hardware has been
assigned to full-scale
slave, firmware has
been loaded and real
IP address has been
set.
5.1 Open Configuration window for master.
5.2 Configure Scanner address, e. g. enter IP address.
5.3 Configure IP addresses of the slaves. These must match the
real IP addresses of the slaves.
5.4 Configure I/O data.
These must match the settings of the slaves.
5.5 Configure Quick Connect.
5.6 Configure master and further settings.
Configure master
5.7 Download configuration to master.
Note:
Network has been
completely configured
and can be used.
6.1 Establish connection to master and open Diagnosis dialog.
6.2 Use General Diagnosis to check state of the network.
6.3 Use I/O Monitor to test the communication.
Diagnosis
6.4 Use cifX Test auxiliary tool to test the communication.
Note:
Payload data is
exchanged.

Network Setups 5/61
EtherNet/IP Scanner | CIFX, COMX and netJACK - Configuration and Testing - Step by Step
DOC121002TM02EN | Revision 2 | English | 2012-11 | Released | Public © Hilscher, 2012
3 Network Setups
3.1 Setup 1: CIFX 50-RE with NXIO 50-RE
Setup 1 is a network consisting of a master and one slave.
Master: CIFX 50-RE\ML by Hilscher
(flexible Real-Time Ethernet PCI card)
Slave 1: NXIO 50-RE by Hilscher
(simple Real-Time Ethernet test slave)
3.2 Setup 2: CIFX 50-RE Added as Second Slave
Setup 2 is a network consisting of a master and two slaves.
Master: CIFX 50-RE\ML by Hilscher
(flexible Real-Time Ethernet PCI card)
Slave 1: NXIO 50-RE by Hilscher
(simple Real-Time Ethernet test slave)
Slave 2: CIFX 50-RE by Hilscher
(flexible Real-Time Ethernet PCI card)

Step-By-Step Configuration 6/61
EtherNet/IP Scanner | CIFX, COMX and netJACK - Configuration and Testing - Step by Step
DOC121002TM02EN | Revision 2 | English | 2012-11 | Released | Public © Hilscher, 2012
4 Step-By-Step Configuration
4.1 Setup 1: CIFX 50-RE with NXIO 50-RE
4.1.1 Set Up Network
1. Create a new project in SYCON.net.
¾In SYCON.net, choose File > New.
2. Insert Hilscher EtherNet/IP Scanner device in network.
¾Select a CIFX RE/EIM from the Device Catalog (Master) and drag and
drop it onto the upper line.
3. Add EtherNet/IP Adapter device to network.
¾Select a NXIO 50-RE from the Device Catalog (Slave) and drag and
drop it onto the EtherNet/IP network line.
¾If EtherNet/IP Adapter devices of other manufacturers are used, a
device description file has to be imported first, so that this slave device
will be displayed in the Device Catalog.
¾To import the device description file, choose Network > Import Device
Descriptions… in SYCON.net.

Step-By-Step Configuration 7/61
EtherNet/IP Scanner | CIFX, COMX and netJACK - Configuration and Testing - Step by Step
DOC121002TM02EN | Revision 2 | English | 2012-11 | Released | Public © Hilscher, 2012
Note: Skip the following step, because it does not need to be performed
for Setup 1.
4. If a full-scale Hilscher EtherNet/IP Adapter device is used, place also
the corresponding Stand-Alone Slave in the network.
¾Select a CIFX RE/EIS from the Device Catalog (Gateway/Stand-
Alone-Slave) and drag and drop it onto the EtherNet/IP network line.

Step-By-Step Configuration 8/61
EtherNet/IP Scanner | CIFX, COMX and netJACK - Configuration and Testing - Step by Step
DOC121002TM02EN | Revision 2 | English | 2012-11 | Released | Public © Hilscher, 2012
4.1.2 Assign Hardware and Load Firmware
1. Open Configuration window for CIFX RE/EIM master.
¾Right-click on the master device to open the context menu, then choose
Configuration…

Step-By-Step Configuration 9/61
EtherNet/IP Scanner | CIFX, COMX and netJACK - Configuration and Testing - Step by Step
DOC121002TM02EN | Revision 2 | English | 2012-11 | Released | Public © Hilscher, 2012
2. Select driver for accessing the master device.
¾In the Navigation Area, choose Settings > Driver and select the
appropriate driver.
In case of access via RS-232, USB or TCP/IP – i. e. via netX Driver –
additional configurations are possible under Settings > Driver >netX
Driver.
3. Scan for connected hardware and assign device.
¾In the Navigation Area, choose Settings > Device Assignment and
scan for available Hilscher devices. Click Scan button.
¾Choose the CIFX 50-RE device by activating the check box ;.

Step-By-Step Configuration 10/61
EtherNet/IP Scanner | CIFX, COMX and netJACK - Configuration and Testing - Step by Step
DOC121002TM02EN | Revision 2 | English | 2012-11 | Released | Public © Hilscher, 2012
4. In case of PC cards: Select and load firmware.
¾In the Navigation Area, choose Settings > Firmware Download, then
select the appropriate firmware: cifxeim.nxf.
¾Click Open button to load firmware into the PC card.

Step-By-Step Configuration 11/61
EtherNet/IP Scanner | CIFX, COMX and netJACK - Configuration and Testing - Step by Step
DOC121002TM02EN | Revision 2 | English | 2012-11 | Released | Public © Hilscher, 2012
¾Click Yes button to start the download.
Note: Click OK to finally confirm the assignment of the PC card and the
download of the firmware.

Step-By-Step Configuration 12/61
EtherNet/IP Scanner | CIFX, COMX and netJACK - Configuration and Testing - Step by Step
DOC121002TM02EN | Revision 2 | English | 2012-11 | Released | Public © Hilscher, 2012
4.1.3 Configure Slave
1. Open Configuration window for NXIO 50-RE slave.
¾Right-click on the slave device to open the context menu and choose
Configuration.
2. Configure address.
¾Set the real IP address of the NXIO 50-RE either via DHCP serve
r
(rotary switch at NXIO) or by using the Ethernet Device
Configuration tool (e. g. 192.169.19.2). You will find details about this
on the following pages.
Note: The IP address of the NXIO 50-RE in the network which is
displayed under Configuration >General can be adjusted via the master.
Note: In EtherNet/IP, unequivocal addressing takes place via the IP
address. The IP address can either be set permanently by the user, or it
can be received from a DHCP server.
Note: The real IP addresses of Hilscher slaves are set via Stand-Alone
Slave or by using the Ethernet Device Configuration tool.

Step-By-Step Configuration 13/61
EtherNet/IP Scanner | CIFX, COMX and netJACK - Configuration and Testing - Step by Step
DOC121002TM02EN | Revision 2 | English | 2012-11 | Released | Public © Hilscher, 2012
Configure Keying.
¾In the Navigation Area, choose Configuration > Electronic Keying,
then select Keying Method or disable Keying.

Step-By-Step Configuration 14/61
EtherNet/IP Scanner | CIFX, COMX and netJACK - Configuration and Testing - Step by Step
DOC121002TM02EN | Revision 2 | English | 2012-11 | Released | Public © Hilscher, 2012
3. Configure I/O Data.
The connections and I/O Data which are displayed unde
r
Configuration > Connection are preconfigured for the NXIO 50-RE.
Only the quantity of the I/O data can be changed between 1 and 4
bytes. Keep the length at 4 bytes.

Step-By-Step Configuration 15/61
EtherNet/IP Scanner | CIFX, COMX and netJACK - Configuration and Testing - Step by Step
DOC121002TM02EN | Revision 2 | English | 2012-11 | Released | Public © Hilscher, 2012
4. Configure real IP address of slave.
¾In Windows, choose Start > All Programs > SYCON.net System
Configurator >Ethernet Device Setup.
¾Click Search Devices button to scan for connected Ethernet devices,
then set IP addressing.

Step-By-Step Configuration 16/61
EtherNet/IP Scanner | CIFX, COMX and netJACK - Configuration and Testing - Step by Step
DOC121002TM02EN | Revision 2 | English | 2012-11 | Released | Public © Hilscher, 2012
¾Select the relevant Ethernet device, then right-click on the device to
open the context menu. In the context menu, choose Set IP Address…

Step-By-Step Configuration 17/61
EtherNet/IP Scanner | CIFX, COMX and netJACK - Configuration and Testing - Step by Step
DOC121002TM02EN | Revision 2 | English | 2012-11 | Released | Public © Hilscher, 2012

Step-By-Step Configuration 18/61
EtherNet/IP Scanner | CIFX, COMX and netJACK - Configuration and Testing - Step by Step
DOC121002TM02EN | Revision 2 | English | 2012-11 | Released | Public © Hilscher, 2012
4.1.4 Configure Hilscher Stand-Alone Slave
Note: It is not necessary to configure a Hilscher Stand-Alone Slave for this
example.
4.1.5 Configure Master
1. Open Configuration window for CIFX RE/EIM master.
¾Right-click on the master device to open the context menu, then choose
Configuration.
2. Configure Scanner address.
¾In the Navigation Area, choose Configuration >Network Settings,
then set the IP addressing, e. g. by setting a fixed address.

Step-By-Step Configuration 19/61
EtherNet/IP Scanner | CIFX, COMX and netJACK - Configuration and Testing - Step by Step
DOC121002TM02EN | Revision 2 | English | 2012-11 | Released | Public © Hilscher, 2012
3. Configure IP address of slave.
¾In the Navigation Area, choose Configuration >Scanlist, then set the
IP address of the slave.
¾In the Scanlist window, activate the slaves with which the master shall
communicate.
Note: The IP address of the slave must be identical with the set real IP
address. The NXIO 50-RE can receive its address either from a DHCP
server (rotary switch at NXIO) or it can be set by using the Ethernet
Device Configuration tool.

Step-By-Step Configuration 20/61
EtherNet/IP Scanner | CIFX, COMX and netJACK - Configuration and Testing - Step by Step
DOC121002TM02EN | Revision 2 | English | 2012-11 | Released | Public © Hilscher, 2012
4. Configure I/O data.
¾In the Navigation Area, choose Configuration >Process Data to
display the mapping of the input and output data.
Other manuals for CIFX 50-RE
1
This manual suits for next models
1
Table of contents
Other hilscher PCI Card manuals
