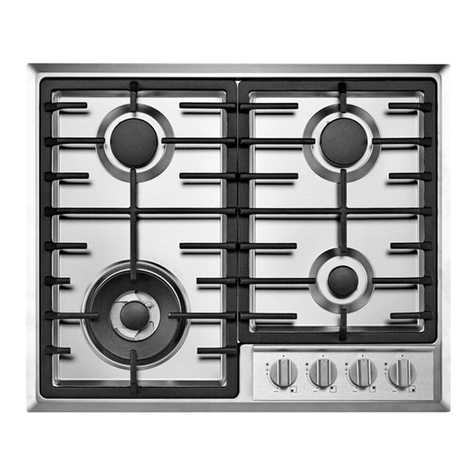
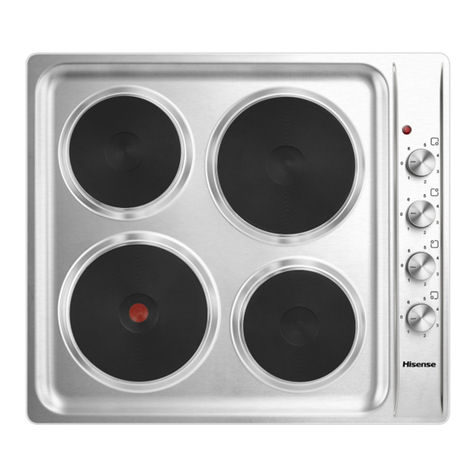
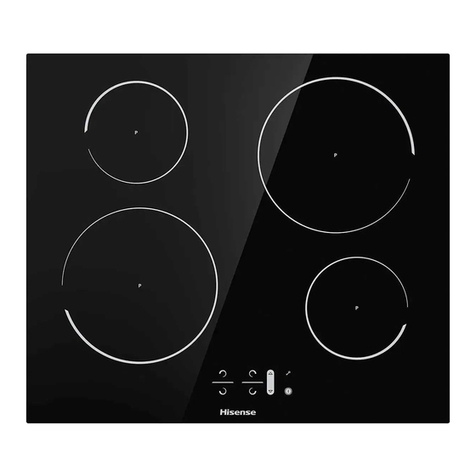
Hisense GG722B Operating manual

说明书尺寸:210x145mm
材质:80g双胶纸
颜色:黑色印刷
装订方式:打钉

Built-In Gas Hob
User and Installation Manual
Model:
Before installing or using the appliance, please read the manual
carefully, and keep it for future reference.
GG722B

Tips
Thank you for choosing “Hisense” gas hob. Please read the instructions carefully before installation
and use. If you have any technical or difficult questions, please contact our company and we will
serve you sincerely.
Table of Contents
Precautions.........................................................................................................
Product Introduction...........................................................................................
Product Installation.............................................................................................
Operation and Use.............................................................................................
Care and Maintenance.......................................................................................
Common Faults and Solutions............................................................................
1
3
5
6
7
8

1
Precautions
In order to avoid harms to users and other personnel or any property damage, the following
distinctions and signs are specially formulated.
The following matters are all safety relevant, please strictly abide by them, and use the
product correctly based on a full understanding of them.
Content distinctions based on the degree of harm and damage
When it is ignored and misoperations are carried out, it may cause
death or serious personnel injury or fire.
When it is ignored and misoperations are carried out, it may cause
personal injury or damage to objects.
It should be learned in order to ensure safe and convenient use of the
product.
Signs of cautions and prohibited matters
Caution! Hot!
Perform strictly
Prohibited No open
flames No touching Disassembly
Prohibited
When gas leak is detected
1. Stop using immediately
2. Close the gas valve
3. Open doors and windows
4. Contact the local gas company
immediately
In case of gas leak
1. Do not use open fire
2. Do not switch on/off electrical appliances
3. Do not plug or unplug the power plug
4. Do not use the phone around
When you feel abnormal combustion or smell,
or under earthquake, fire and other
emergency situations, please operate by
following the steps below:
1. Switch the knob of the stove to the “off”
position;
2. Close the master gas valve;
3. Immediately contact the maintenance
department or service network of our
company.
It aims to prevent fires, faults, etc.
Please use the correct gas according to
the type indicated on the nameplate.
Using gas other than those specified will
cause abnormal combustion, damage to the
stove and even a fire disaster.
Open flames and
sparks can cause fire
and lead to a fire
disaster.
Danger
Caution
Danger
Suggestion
The gas
valve must
be closed!

2
The installation, maintenance, movement and
ancillary work of the product must be entrusted
to the service department of our company or a
service provider with installation and formal
maintenance qualifications. Otherwise, our
company will not bear any responsibility for all
consequences arising therefrom.
Repair, disassembly and modification are not
allowed for non-repair technicians.
Otherwise it may cause a fire or fault.
It is a must to use special gas metal hoses
or gas hoses.
Do not place or use aerosol cans around
the stove.
The pressure of the aerosol cans may rise when
heated, which may cause an explosion or fire.
Do not place flammable and explosive
materials (clothes, newspapers, kerosene,
etc.) around the stove.
Otherwise it may cause a
fire.
Do not use flammable and explosive
materials such as kerosene, gasoline and
volatile oil around the stove.
Otherwise it may cause a fire.
The stove will heat up during use. Please do
not touch the heating unit, and do not place
metal objects such as knives, forks or spoons
on the stove.
There must be a free space more than 400mm
high at the bottom of the stove, which should
be open to the lower cabinet. It must not be
sealed, and gaps must be reserved (the lower
part of the cabinet door should be provided with
ventilation holes or shutters with a ventilation
area of not less than 0.02m2
).
Gas cylinders should not be placed directly
under the stove, and the gas hose should
not exceed 2m in length.
Before use, check whether the burner cap
is put in place and the pot holder is
balanced.
During use or just after the stove is turned off,
do not touch them with hands since the stove,
pot holder and tray will still be very hot.
When unattended, please keep children away
from using or getting close to the burning gas
stove, so as to avoid scalds.
There must be a certain distance between
the stove and surrounding objects (the
distance should be greater than 150mm, and
the upper space should be greater than 1m. If
a range hood is installed, the upper height
should be determined according to the range
hood requirements).
The distance between the stove and the gas
cylinder should be kept at least 1m, and the hose
should not contact with other parts of the stove.
When using the stove, keep a good ventilation
condition in the kitchen, but prevent strong
wind from blowing the stove directly.
After using, please turn the knob to the “off”
position, and turn off the master gas supply
switch. Be sure to turn off the master gas
supply switch before going out or going to
bed.
Suggestion
Caution
For hob that use gas hoses for connection, frequently check the hoses for aging and cracking. It is
to replace the gas inlet hoses every two years.

3
Product Introduction
Product structure (subject to the actual product)
Ignition
needle
Packing list (subject to the actual product)
1 gas hob 2 clamps
1 battery
1 instructions 2 pan support
1 milk pot support
2 center burner
caps
2 burner cap
assemblies
Tempered
glass panel
Knob
Distributor
Outer ring
burner cap
Pan support
Thermocouple
Center burner
cap
Stove foot
Battery box
Inner ring gas flap
Outer ring gas flap
Hose connector Outer ring gas flap
Inner ring gas flap

Product model
Gas type
Gas supply pressure(Pa)
Norminal heat input (kW)
Rated voltage
Product size(mm)
GG722B
LPG G30
2900
5.5
DC1.5V
780×460×150
4
Product parameter
Note: The specific performance parameters of the stove are shown on the product nameplate.

5
Product Installation
Hearth opening and hob installation
400mm
700mm
≥50mm
4-R20
1. Draw lines on the surface of the hearth and cut an opening according to the following drawing or the
drawing and size indicated on the opening template on the packing case.
2. Insert the stove with the battery installed in the opening, and confirm that the stove is installed flatly. For
glass panel stoves, paste panel sealing rubber strip around the bottom of the panel.
Vent
Installation of intake pipe
A.Hob connected with rubber hose B. Hob connected with metal hose
1. Put the sealing gasket into the inlet connection first;
2. Then screw the inlet connection onto the universal
joint of the stove;
3. Put the inlet hose (must be special gas hose) on the
inlet connection (red painted mark) and clamp it
tightly.
1. Install the sealing gasket in the metal hose nut;
2. Then tighten the nut on the universal joint of the
stove.
Red painted
mark
Gas rubber
hose
Clamp
Universal
joint
Metal hose
Universal joint
Sealing
gasket
Nut
Gas tightness test
Turn on the gas supply switch and use soapy water to check whether there are bubbles at the hose
connection. If any gas leak, it must be reinstalled.

6
Operation and Use
1.Correctly install D size batteries according to the polarity indicated on the battery box;
2.Turn on the gas supply switch;
3.Press the knob of the stove and rotate it counterclockwise by 90° to the big fire position. At this
time, you will hear continuous discharge and ignition sound of “crackling”. When the flame is
ignited, keep pressing the knob for a few seconds (5-8s) before releasing it. The stove will burn
normally;
4.Rotate the knob in different directions to regulate the fire from the maximum fire to the
minimum fire;
5.Rotate the knob clockwise to the “ ” position until you hear a “click” sound. At this time, the
gas supply is cut off and the flame goes out.
Ignition, switch off, fire regulation
Ignition
Switch off
Regulation
Turn on the gas supply, press the knob of the stove and rotate it counterclockwise.
Rotate the knob clockwise back to the “ ” position to cut off the gas supply.
Refer to the figure above for fire regulation.
Note: The product is equipped with flameout protection device. In the case of unexpected
flameout due to wind blowing or soup overflow during use, the flameout protection device
can automatically cut off the gas supply and ensure the safety.
Off
Medium and small fire
Maximum fire
Medium and big fire
Medium fire Small fire
Minimum fire

7
Tips
1.For newly installed hob or hob are left unused for a long time, the pipes are filled with
gas. Therefore, if the stove cannot be ignited for the first time, repeat the ignition process and it
can be fired after the gas in the pipe is exhausted;
2.In the case of yellow flame floating flame or backfire appear during burning, rotate to adjust the
air regulating plate at the bottom of the stove until the burning flame become normal (see the
figure below).
Air regulating
plate
Maintenance
In order to ensure the normal and safety use of the stove, daily maintenance of the stove must
be carried out:
1.The cleaning, maintenance and repair of cooking appliances should be carried out after the
master gas switch is turned off and the heated parts of the stove have cooled down.
2.The fire hole on the burner cap and the gas circuit of the burner should be kept unobstructed;
and the ignition needle and thermocouple should be kept clean.
3.In the case of dirt on the burner cap, burner, ignition needle, thermocouple and pot holder,
clean them with a cloth dipped in neutral detergent, and then put them back in place after
drying; when there is dirt in the fire hole of the burner cap, it can be cleaned with a wire brush;
when there is dirt on the panel, it can be cleaned with a sponge dipped in a neutral detergent.
Do not wipe or scratch the surface of the panel with hard and sharp objects.
4.Check the hose frequently for leaks, and replace the hose on time (about once every two
years).

8
Common Faults and Solutions
Fault Cause Solutions
The hob cannot
be ignited
The flame is not
persistent, or flameout
Gas leak (or smell)
The master gas switch is not
turned on Turn on the master gas switch
The hose is twisted, squashed
or blocked
Out of gas
Gas mixed in the hose
The position of the ignition
needle is improper
The spark is weak when igniting
No battery, reverse battery,
dead or undercharged battery
The pulse igniter is broken
The thermocouple is inclined,
dirty or damaged
The solenoid valve is broken
The valve body is broken
Floating flame at thermocouple
The hose is aging, broken or
falling off
The main flame of the burner is
not ignited
The valve body is not tightly
sealed
Aging of valve body sealing ring
Abnormal flame
Irregular flame
The flame is short
and weak
The flame is easy
to be blown off
The flame is long
and yellow (or
with black smoke)
Uneven flame
The burner cap is not placed in
position
The gas pressure is insufficient
The gas inlet of the damper is
too large
The gas inlet of the damper is
too small
The fire hole of the burner cap is
blocked
Correct or replace the intake hose
Replace the gas cylinder or query
Repeat the ignition process to
exhaust the air
Adjust the discharge distance to
3-4mm
Clean the ignition needle
Correctly install the batteries or
replace with new batteries
Replace the pulse igniter
Adjust the position and clean or
replace the thermocouple
Replace the solenoid valve
Replace the valve body
Adjust the damper
Replace or reconnect the hose
Re-ignite after the gas is exhausted
Replace the valve body
Replace the sealing rubber ring
Put the burner cap in position
Check the gas circuit of the cylinder
or the pressure reducing valve
Adjust the damper to make the gas
inlet smaller
Adjust the damper to make the gas
inlet larger
Clean the fire hole of the burner cap
Note: The faults marked with “ ” can be solved by the users themselves. The faults marked
with “ ” must be repaired by professionals. If the fault cannot be eliminated according to
the above solutions, please immediately contact the maintenance department or service
network of our company.

11286185-A
Table of contents
Other Hisense Hob manuals

Hisense
Hisense I8433C User manual

Hisense
Hisense HGH641SS Mounting instructions

Hisense
Hisense HHU60CEEC Operating manual

Hisense
Hisense HHU60GASS Mounting instructions

Hisense
Hisense E6322C User manual

Hisense
Hisense H60STES Operating manual

Hisense
Hisense E6431C User manual

Hisense
Hisense I6433CB7 Operating and maintenance manual

Hisense
Hisense I6421CB User manual

Hisense
Hisense I6433C7 User manual
Popular Hob manuals by other brands

Fiori
Fiori P44W Instructions and advice for the use, installation and maintenance

Electrolux
Electrolux Y62IS443 user manual

Electrolux
Electrolux EHF6140FOK user manual

Exquisit
Exquisit EKC801-5Z Instructions for use and installation

ROBLIN
ROBLIN MAESTRO 830 N user manual

Platinum
Platinum AUPL-GF61SS user manual