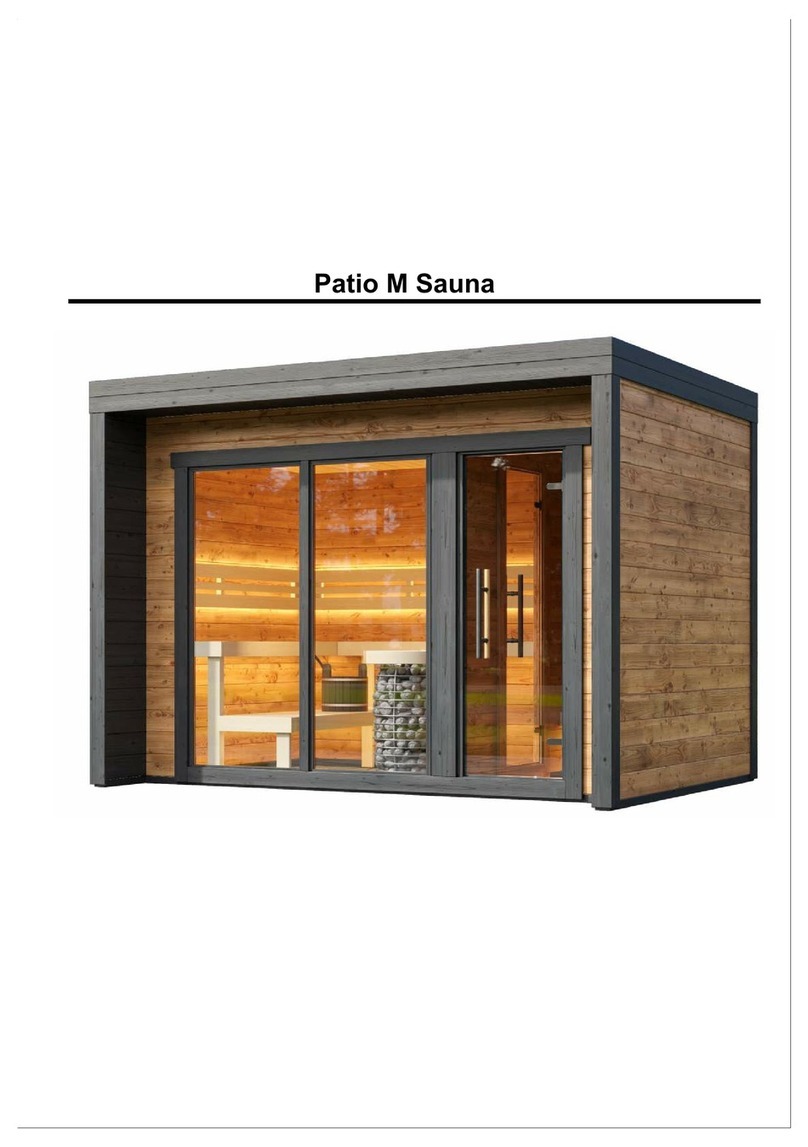
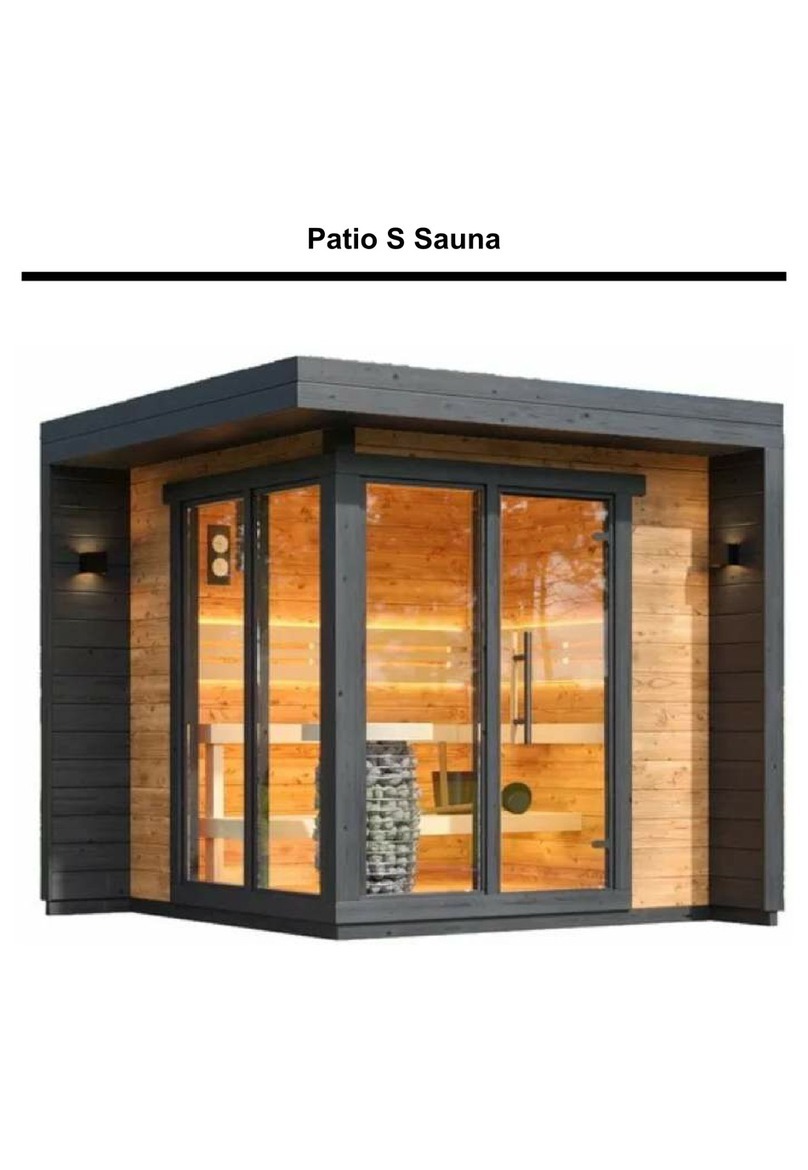
holzhandlung raters PATIO XXS User manual

PATIO XXS THERMO SAUNA
INSTALLATION MANUAL

1
Instructions
Tape measure
Required tools
It is recommended to install the sauna above ground level to prevent the base frame of the sauna from coming into
direct contact with the ground. Install a water-resistant material, such as bitumen strips, between the base frame and
the base surface.
1.
Make sure that the surface on which you install the sauna is level and stable before and after installing the sauna.
Otherwise, the doors of the sauna may not open and close properly later on.
2.
During the first heating of the sauna, it must be constantly supervised, and the doors should be kept open, as the
stove emits a specific odor when first heated. Read more from the user manual for the sauna stove.
3.
The maximum permitted temperature in the steam room is +90 °C. If heated to a higher temperature, the sauna may
become overheated.
4.
In order to avoid damage caused by the weight of snow in winter, any snow should be removed from the roof of the
sauna. Keep in mind that the roof covering should not be damaged during snow removal.
5.
If your sauna has lighting, install a 3G 2,5 mm outdoor power cable and connect it in accordance with the
schematics on the plug socket coupler provided with the sauna. The power cable of the sauna must be connected to
a residual-current circuit breaker! Consult an electrician if necessary.
6.
Cutting knife Respirator
Pencil Battery drill Scissors
Level Nail gun Tin shears
Rubber mallet Circular saw Pliers
Hammer Gloves Hole saw Ø 100 mm
Hand saw Safety goggles Jigsaw
PATIO XXS THERMO SAUNA

400
857
2407
1920
690x1860 690x1860
1830
2000
2080
600
1500250
1890
260
260
400
Floor plan
Cross section
WALL 2 (front)
WALL B (right)
2
WALL A (left)
WALL 1 (back)
WALL 2 (front)
WALL 1 (back)
PATIO XXS THERMO SAUNA

VR-1
45 mm gap for
VR-1 drainage detail
5x90 screws
fasten at
an angle
fasten at
an angle
fasten at
an angle
fasten at
an angle
AR-2
AR-1
AR-1
AR-1
AR-1
AR-1
AR-1
AR-1
AR-1
AR-3A
290293292290
WALL B (right)
WALL 1 (back)
WALL A (left)
WALL 2 (front)
X
Y
255
1570
1945
1825
1900
1990
763
22
45 762
AR-3A
STEP 1 - Base frame
Scheme 1.1
Marking Detail Image Note Pcs.Length
AR-1 45x95 Base Frame 81900
AR-2 11825
AR-3A 45x95 Base Frame 11570
VR-1 Drainage detail 12000
45x95 Base Frame
Cutout!
Check diagonals: X=Y
X= 2535 mm
Y= 2535 mm
Marking Detail Image Note Pcs.Length
for base frame 40Screw 5x90
3
Connect the base frame details according to Scheme 1.1.
Make sure that the frame is level and that the diagonals are equal (X = Y). Leave a 45 mm gap between two
AR-1 base frame details so that the water drainage detail VR-1 can be fitted between them.
Use a level, a battery drill, and 5x90 screws to join the base frame together.
1.1
Place the VR-1 drainage detail on top of the base frame. The bottom of the detail must be inclined outward.
No fixings are needed.
Caution! The detail has sharp edges; use gloves.
1.2
PATIO XXS THERMO SAUNA

9634102
260 1400
75
260
01D
55
250 1580
8
02C
102
STEP 2 - Walls
Marking Detail Image Note Pcs.Length
01 40x138 Wall Log Thermo 191920
EXTRA 11920
01B 40x96 Wall Log Thermo 11920
40x138 Wall Log Thermo
Height: 96 mm
01C 40x34 Wall Log Thermo Height: 34 mm 11920
01D Cutout! 1192040x138 Wall Log Thermo
02 40x138 Wall Log Thermo 171830
02B
Height: 102 mm 1183040x102 Wall Log Thermo
03 17158040x138 Wall Log Thermo
4
Marking Detail Image Note Pcs.Length
for every wall log 200Screw 6x180
Hitting Block 2
for corner posts 270Screw 4.5x70
for temporary supports 16Screw 4.5x70
P-1 45x45 Corner Post 22190
P-2 22120
AT-1 8~1800
45x45 Corner Post
45x45 Temporary Support
02C 40x138 Wall Log Thermo 11830 Height: 102 mm, Cutout!
04 2826040x138 Wall Log Thermo
EXTRA 426040x138 Wall Log Thermo
PATIO XXS THERMO SAUNA

4.5x70 screws
6x180 screws
02
01
03
04
04
P-1
P-2
P-1
P-2
AT-1
AT-1
AT-1
AT-1
AT-1
AT-1
AT-1
AT-1
1410
1830
4.5x70 screws
6x180 screws
45 mm
6x180 screws
01
02
03
01D
WALL A (left)
WALL 2 (front)
WALL 1 (back)
WALL B (right)
1500
1920
Scheme 2.2
Scheme 2.1
5 mm
OUTSIDEINSIDE
STEP 2 - Walls
5
Place the first row of wall logs on the base frame according to Scheme 2.1. Make sure that the wall logs protrude
5 mm outward from the base frame on all sides. Use 6x180 screws to fix the wall logs to the base frame.
Suggestion: Pre-drill the holes for the screws to prevent wall logs from splitting.
2.1
Place the second row of wall logs on top of the first row. Use a hitting block and a rubber mallet to set the logs
in place. Attach the second row to the first using 6x180 screws and a battery drill.
Suggestion: Pre-drill the holes for the screws to prevent wall logs from splitting.
2.2
Install corner posts in the inner corners. Leave a 45 mm gap at the bottom, between the corner posts and
the base frame. Use 4.5x70 screws and a drill to fix the corner posts to every wall log (Scheme 2.2).
Suggestion: Pre-drill holes for the screws to prevent the posts from splitting.
2.3
Vertically level the corner posts and temporarily attach AT-1 details to them
for support and to keep the posts in a level position.
Use a level, 4.5x70 screws, and a battery drill.
2.4
PATIO XXS THERMO SAUNA

04
04
04
04
04
04
04
04
04
04
04
04
04
04
04
04
02
02
02
02
02
02
02
02
01
01
01
01
01
01
01
01
03
03
03
03
03
03
03
03
04
02
04
03
1410
1830
01
04
04
04
02
02
02
0
2
fix every log with
6x180 screws
65
Continue to install the wall logs on top of each other according to the "Wall Layout" scheme on page 7.
Use 6x180 screws to connect all wall logs to each other and 4.5x70 screws to fix all logs to corner posts,
like shown in Scheme 2.3.
2.5
Remove the AT-1 temporary support details after all wall logs have been installed.2.6
STEP 2 - Walls
For installation of walls, please see the placement of the wall logs on the
"Wall Layout" scheme on page 7.
Scheme 2.3
PATIO XXS THERMO SAUNA

1
2
3
4
5
6
7
8
9
10
11
12
13
14
15
16
17
18
1
2
3
4
5
6
7
8
9
10
11
12
13
14
15
16
17
18
1
2
3
4
5
6
7
8
9
10
11
12
13
14
15
16
17
1
2
3
4
5
6
7
8
9
10
11
12
13
14
15
16
17
18
01
02
01
01
01
01
01
01
01
01
01
01
01
01
01
01
01
03
02
03
02
03
02
03
02
03
02
03
02
03
02
03
02
03
02
03
02
03
02
03
02
03
02
03
02
03
02
03
02
03
02B
02C
01C
01D
01
01
04
04
04
04
04
04
04
04
04
04
04
04
04
04
Window
690x1860
1920
2244
2312
1830
2176
1920 1580
1830
2312
Door
690x1860
Wall 2 (front)
View from the outside
Wall A (left)
View from the outside
Wall 1 (back)
View from the outside
Wall B (right)
View from the outside
01
1875
260260 1400
04
04
04
04
04
04
04
04
04
04
04
04
04
04
WALL LAYOUT
* Connect all wall logs together using 6x180 screws.
* Connect all wall logs to corner posts using 4.5x70 screws
7
PATIO XXS THERMO SAUNA

gap ~2 mm
gap ~2 mm
gap ~2 mm
gap ~2 mm
T-2
T-2
Top side of the ceiling beam
must be flush with the wall
Corner posts can remain lower
than the upper edge of the wall
4.5x70 screws
T-2
8
STEP 3 - Roof boards and ceiling
Marking Detail Image Note Pcs.Length
KL-1 24x120 Roof Board 18+21850
01F 11920
T-1 45x95 Ceiling Beam 11918
40x30 Roof Block
Marking Detail Image Note Pcs.Length
for fixing T-1 beam 2Joist Hanger
45x97
T-2 45x95 Ceiling Beam 21825
DI-2 15x55 Ceiling Distance Board 11915
SPU Insulation Panel
30x600x1200
5
DI-3 15x55 Ceiling Distance Board 21825
STP-1 15x90 Ceiling Board 24+21495Thermo spruce
Screw 5x40 20 for joist hangers
Screw 4.5x70 25 for T-2 beams & distance boards
Screw 3.5x50 5 for 01F roof block
Nail 70 mm 150 for KL-1 roof boards
Lost-head nail 40 mm 100 for STP-1 ceiling boards
for SPU insulation panels 2Foil Tape 10 m
Scheme 3.1
Attach the T-2 beams to the front and back walls. Leave ~2 mm gap at both ends. Make sure that the top side of
the beam is flush with the upper edge of the front and back walls. Use 4.5x70 screws and a drill to fix the beams
to the walls (Scheme 3.1).
3.1
PATIO XXS THERMO SAUNA

683 mm 683 mm
T-2
T-2
Temporarily placed KL-1 roof board
or another straight detail to mark the
installation height of the T-1 beam
Marking for installation
height of T-1 beam
Markings for T-1
beam location
T-1
683 mm 683 mm
5x40 screws
flush with the
beam's end
marked line
T-1
STEP 3 - Roof boards and ceiling
Temporarily lay one KL-1 roof board or some other straight detail on top of the front and back walls. Mark the
diagonal that forms under the detail on the side walls with a pencil. These markings will determine the installation
height of the T-1 ceiling beam. Measure out the distance from the T-2 beams and mark the locations on both side
walls, like shown in Scheme 3.2. These markings will indicate the spacing between the ceiling beams.
3.2
Scheme 3.2
Scheme 3.3
Attach the joist hangers to the T-1 ceiling beam, flush with the beam ends. Use 5x40 screws.
Fasten the T-1 ceiling beam to the side walls through the joist hangers in the previously
marked location, like shown in Scheme 3.3. Use 5x40 screws to fix the joist hangers to the
beam and the walls.
9
3.3
3.4
PATIO XXS THERMO SAUNA

3.5x50 screws
Install roof bords and
01F roof block flush
with the side walls
Cut the last roof board to width
70 mm nails
01F
start from the right wall
KL-1 Roof Boards
corner
cutout
corner
cutout
4.5x70 screws
SPU
insulation
panel
Apply foil tape to
all edges and joints
SPU
insulation
panel
SPU
insulation
panel
SPU
insulation
panel
SPU
insulation
panel
STEP 3 - Roof boards and ceiling
Install the roof boards flush with the side walls, starting from the right. Fix the roof boards with 70 mm nails to
the beams (6 nails per every roof board) with a hammer or a nailgun. Cut the last roof board to width using a
circular saw.
3.5
Scheme 3.4
3.6
3.7 Cut the SPU insulation panels to the right size using a cutting knife. Make cutouts in the corners for corner
posts. Attach the panels to the ceiling beams using a few 4.5x70 screws. Tape all edges and joints with
foil tape to prevent heat loss, like shown in Scheme 3.5.
When all the roof boards are installed, fasten the 01F roof block on top of the roof boards, flush with the front
edge, like shown in Scheme 3.4. Use 3.5x50 screws for fixing.
10
Scheme 3.5
PATIO XXS THERMO SAUNA

4.5x70 screws
40 mm nails
corner
cutout
corner
cutout
DI-2
DI-3
DI-3
Leave ~3 mm gap
STP-1 Ceiling Boards
6 mm
slope detail
3 mm
slope detail
3 mm
slope detail
6 mm
slope detail
40 mm lost- head nails
Scheme 3.6
Place the DI-2 and DI-3 ceiling distance boards on top of the insulation panels and fasten them to the ceiling
beams using 4.5x70 screws.
Install the ceiling lining boards. Leave ~3 mm gap between the ceiling boards and walls on all sides. Use 40 mm
lost-head nails (3 per every ceiling board) and a hammer or nail gun for fixing. Make corner cutouts in the first and
last ceiling boards for corner posts with a hand saw, and cut the last ceiling board to width using a circular saw
(Scheme 3.6).
3.8
3.9
STEP 3 - Roof boards and ceiling
~3 mm gap
T-4 ceiling beam
SPU insulation
DI-3
STP-1
Wall log
11
STEP 4 - Floor
Marking Detail Image Note Pcs.Length
3 mm Floor slope veneer 21900
21900
PL-1 24x120 Floor Board 36+2730
6 mm Floor slope veneer
Marking Detail Image Note Pcs.Length
for floor boards 110Screw 3.5x50
Scheme 4.1
Place the slope veneers on the base frame to give the floor a slope for water drainage.
Fixing the details to the base frame with screws is optional (Scheme 4.1).
4.1
PATIO XXS THERMO SAUNA

3.5x50 screws
Leave ~3 mm gap
Floor slope
PL-1 Floor Boards
Floor slope
PL-1 Floor Boards
4.5x70 screws
UR-2
UR-1
UR-2
UR-1
4.5x70 screws
metal handle
on the outside
3.5x50 screws
Scheme 4.2
Install the floor boards starting from the right. Leave ~3 mm gap between the floor boards and walls
at all sides. Cut the last floor board to width using a circular saw. Use 3.5x50 screws to fix the floor
boards in place (Scheme 4.2).
STEP 4 - Floor
4.2
12
~3 mm gap
6 mm
slope detail
Wall log
Base frame
Marking Detail Image Note Pcs.Length
1
Window 88x690x1860 1
UR-1 45x45 Door/ Window Frame 21950
Glass Door 88x690x1860
Screw 4.5x70
UR-2 45x45 Door/ Window Frame 21380
Marking Detail Image Note Pcs.Length
for door and window frames 40
STEP 5 - Doors and windows
Metal + Wooden door handle
Connect the door and window together by attaching the UR-1 and UR-2 frame details around them using
4.5x70 screws (Scheme 5.1). Attention! When installing the window, make sure that the inclined frame is located indoors,
at the bottom of the window. The bottom side is marked with a sticker.
5.1
Lift and tilt the door and window diagonally into the opening (Scheme 5.2). Place them to their positions from inside the
sauna. For easier installation, remove the glass from the door hinges to reduce the weight of the door.
5.2
Fix the door and window frames to Wall 2 (front) from the outside using 4.5x70 screws (Scheme 5.3). Attach the glass
back to the door hinges and fix the door handles to the glass door so that the metal handle is located on the outside
and the wooden handle on the inside. The difference in material can be detected by sound (tap on the handles).
5.3
Scheme 5.1 Scheme 5.2 Scheme 5.3
UR-1
INCLINED WINDOW FRAME
AT THE BOTTOM
ON THE INSIDE
INSIDE OUTSIDE
STIKKER AT THE BOTTOM
PATIO XXS THERMO SAUNA

1
2
3
4
5
6
7
8
9
10
11
12
13
14
15
16
17
18
1
2
3
4
5
6
7
8
9
10
11
12
13
14
15
16
17
Ventilation hole
Ventilation hole
Wall A (left)
View from the outside
2150
2312
Wall 1 (back)
View from the outside
2300
2176
Ventilation hole
1650
300
2000 300
3. ROW
2000
15. ROW
BASE FRAMEBASE FRAME
2. ROW
500
195
325
1885
STEP 6 - Ventilation
U-2 Ventilation Valve Ø100 1 wood
U-3 Ventilation Grid Ø100 5 metal
Screw 3x40 Black 20
Marking Detail Image Note Pcs.Length
Cover the openings with ventilation grids or valves, as shown in Scheme 6.2. Use 3.5x40 black screws for fixing.6.2
13
Scheme 6.2
I - EXHAUST OPENING
Install the metal ventilation grid on the outside and the
wooden valve on the inside.
The exhaust opening with the valve inside is located under
the ceiling, and its purpose is to dry the steam room after
using the sauna. The ventilation valve should be closed
while using the sauna. Open the valve after using the
sauna to expel excess moisture through the opening.
For faster drying, leave the steam room door ajar after a
sauna session.
The ventilation valve can also be opened between steam
sessions if there are many people in the steam room at the
same time and excessive humidity or a lack of air occurs.
II - INLET
Install a metal ventilation grid inside and outside.
III - OUTLET
Install a metal ventilation grid inside and outside.
I
III
II
Cut the ventilation holes in the walls with a diameter of 100 mm using a hole saw or a jigsaw.
For recommended locations of ventilation openings see Scheme 6.1
6.1
PATIO XXS THERMO SAUNA

Moisture
safety tape
Moisture
safety tape
Moisture
safety tape
Moisture
safety tape
Cut the top
lining board to width
3x40 screws
40 mm
lost-head nails
DI-1
DI-1
STP-2
STP-2
14
STEP 7 - Outer lining and moldings
Marking Detail Image Note Pcs.Length
STP-2 14x121 Outer Lining Board 21+1250
L-2 18x95 Roof/ Corner Molding 82300
Marking Detail Image Note Pcs.Length
L-1 18x95 Corner Molding 32400Cut to length!
DI-1 2225015x55 Distance Board for Outer Lining
Cut to length!
UL-1 18x95 Door Molding 21925
UL-2 18x95 Door Molding 11600
UL-3 18x95 Door Molding 11360
UL-4 15x55 Door Molding 11830
for outer lining boards 45Lost- head nail 40 mm
for all corners 1Moisture safety tape 10 m
for distance boards and moldings 175Screw 3.5x40 Black
EXTRA 18x95 Corner Molding 12400
1Teknos Aqua Primer - Black
Tape all corners of the sauna with moisture safety tape before installing exterior moldings to prevent moisture and
rainwater from entering the sauna (Scheme 7.1).
7.1
Scheme 7.1
Measure the height of the protruding part of the side wall and cut the DI-1 distance boards to the correct length if
necessary. Attach the distance boards to the walls using 3x40 screws.
Install the STP-2 outer lining boards on top of the DI-1 distance boards, starting from the bottom. Cut the last
lining board to the correct width. Use 40 mm lost-head nails to fasten the lining boards (2 nails per board).
See Scheme 7.2.
7.2
7.3
Scheme 7.2
PATIO XXS THERMO SAUNA

Corner
cutout
L-2
Cut to
length
Cut to
length
Cut to
length
Cut to
length
L-2
UL-2
L-2
UL-1
UL-3
L-2
WALL 2 (front)
L-2
L-1
UL-1
UL-4
L-2
Corner
cutout
Corner
cutout
Cut to
length
Cut to
length
Cut to
length
Cut to
length
L-2
L-1
WALL 1 (back)
L-2
L-2
L-1
1925
1830
28
20
10
10
10
1600
1360
10
10
20
10
28
STEP 7 - Outer lining and moldings
First, fix the L-3 roof moldings to the side walls. The moldings must be installed flush with the upper edges of the
side walls. Cut the moldings to length and fasten using 3x40 black screws.
Make corner cutouts in L-1 corner moldings, as marked in Scheme 7.3. Cut to length and use 3x40 black screws to
fasten all the corner moldings.
7.4
7.6
Next, measure and cut to length the L-3 roof molding at the front and fasten it to the roof block and side walls. 7.5
15
Install the moldings around the door and window using 3x40 black screws.
For the correct overlay, see Scheme 7.4.
7.7
Paint over all cut ends of the moldings with black Teknos Aqua Primer.
Scan the QR code for more detailed product information.
7.8
Scheme 7.4
Scheme 7.3
PATIO XXS THERMO SAUNA

4.5x70 screws
370
mm
515 mm
560 mm
515 mm
370 mm
635 mm 635 mm
4x70 screws
4x70 screws
4x70 screws
Leave 8 mm gap between
the lower bench and the skirt
Bench skirts side frame
Bench skirt middle frame
8 mm
370
45 515
412
43445
829
372
STEP 8 - Sauna benches
16
Marking Detail Image Note Pcs.Length
Bench Module 600 mm 11913Top bench
Marking Detail Image Note Pcs.Length
Bench Module 400 mm 11913Bottom bench
Bench Horizontal Support Set 45x45 1
for all supports 30Screw 4.5x70
8.1
Scheme 8.1
Measure the distance and fix the upper and lower bench supports to the walls according to Scheme 8.1.
Use 4.5x70 screws for fixing.
It is recommended to additionally use glue (not included) for fixing the sauna bench supports to the wall.
View from the front: View from the side:
Bench Skirt 11913
8.2
Set the bench skirt in place. Leave a 8 mm gap between the skirt and the lower bench. Fix the skirt side frames to the side walls
and the middle frame to the bottom bench, using 4x70 screws. See Scheme 8.2
8.3
Lift and place the bottom benches on top of the supports. If LED lighting under the sauna benches has been ordered
additionally (not included in the standard set), install the LED strips under the benches before placing them on top of the
supports. More detailed instructions are included with the lighting details.
Scheme 8.2
PATIO XXS THERMO SAUNA

fix all benches to the supports
through the bottom frame
gap
~4 mm
gap
~4 mm
gap
~4 mm
gap
~4 mm
Bench module 400
Bench module 600
Bench Skirt
Lift and place the top benches on top of the supports. Leave ~4 mm gap on the sides. See Scheme 8.3. 8.4
Fix all the benches to the horizontal supports through the bottom frame using 4.5x70 screws.
Do not fully tighten the screws.
8.5
STEP 8 - Sauna benches
17
Scheme 8.3
leave a
4 mm gap
Benches
bottom frame
Wall
log Sauna bench
Horizontal
support
4.5x70 screw
do not
tighten fully
PATIO XXS THERMO SAUNA

measure and cut
to length
DI-0
measure and cut
to length
SAUNA BENCH
fix with 40 mm
lost-head nails
DI-0
DI-0
DI-0
DI-0
DI-0
DI-0
fix with 40 mm
lost-head nails
fix with 40 mm
lost-head nails DI-00
DI-00
DI-00
DI-00
DI-00
DI-00
DI-00
DI-00
DI-00
18
STEP 9 - Interior moldings
Marking Detail Image Note Pcs.Length
DI-0 Cut to length! 4+12100
DI-00 Cut to length! 8 ~210021x21 Ceiling and Floor Molding
50X50 Corner Post Molding
for all interior moldings 12040 mm lost-head nail
Measure and cut to length all DI-0 corner post moldings with a handsaw.
Install DI-0 corner molding on top of the corner posts, under and above the sauna bench, like
shown in Scheme 9.1. Fasten the moldings with 40 mm lost-head nails, using a nail gun or a hammer.
9.1
Marking Detail Image Note Pcs.Length
Measure and cut to length all DI-00 ceiling and floor moldings and fasten them with 40 mm
lost-head nails. Use a nailgun or a hammer (Scheme 9.2).
9.2
Scheme 9.1
Scheme 9.2
PATIO XXS THERMO SAUNA

STEP 10 - Roof covering and moldings
19
Marking Detail Image Note Pcs.Length
1
Marking Detail Image Note Pcs.Length
EPDM Rubber Roof Cover
2x3.05 m
for back wall metal roofing sheet 10Black Wronic Screw 4.2x25
2.5 l 1 EPDM Glue
125 ml 1 EPDM Quickprime
1Paint roller + Handle
for back wall
Cut to length!
12000 mm Metal roofing sheet
for front and side walls.
Cut to length!
3 2100 mm Metal roofing sheet
for side walls metal roofing sheets 35Black Roofing Screw 4.2x25
for back wall metal roofing sheet 1Splice Tape 1,93 m
Image 3
EPDM rubber
roof cover
EPDM Quickprime +
EPDM Glue
Splice tape
Back wall metal
roofing sheet
Roof board
Wall log
Image 4
Image 1 Image 2
Back wall metal roofing sheet:
Scheme 10.1
10.1
10.2
10.3
10.4
10.5
10.6
10.7
10.8
for finishing the outer surface of
wall logs
1 Remmers HK Stain - Pine
Clean the roof surface from dirt, dust, ice, snow, water, etc.
Cut the back wall metal profile to length with sheet metal scissors. Leave a 1 mm gap on both sides. Attach the
back profile to the roof boards on the back wall using 4.2x25 black Wronic screws.
Check the EPDM roof cover for defects before installing. Put the rubber roof cover in position and check for the
correct overhang (Image 1).
Fold and roll the rubber roof cover, and start applying the glue to the roof boards and the rubber surface one
half at a time. (Image 2). Apply glue in a well-ventilated area. Use gloves, safety goggles, and a respirator.
Important! Wait until the glue is "touch dry" (approximately 15 minutes or longer) before folding the rubber in
place. Waiting for the glue to dry is necessary to prevent the rubber from bubbling after it is set in place.
Apply Quickprime + glue on top of the back metal profile and rubber. Then apply the double-sided splice tape on top
of the metal profile (Scheme 10.1).
Remove the top side of the splice tape and apply the glued rubber on top of the tape. Fold the rubber roof cover in place.
Avoid air bubbles and wrinkles on the surface (Image 3).
Smooth the roof cover with a broom or a brush and cut off the excess rubber (Image 4).
Black Wronic Screw
4.2x25
PATIO XXS THERMO SAUNA
Table of contents
Other holzhandlung raters Plumbing Product manuals
Popular Plumbing Product manuals by other brands

Axor
Axor ShowerSelect Round 36722 1 Series Installation/User Instructions/Warranty

American Standard
American Standard Washbrook FloWise 0.125 High Efficiency Urinal... Specification sheet

Bradley
Bradley Terreon MF2922 Parts and service manual

Kohler
Kohler Mira 1836.457 instructions

ALT
ALT Via Dante/Misto 30882 Installation & Care Guide

Mora
Mora MMIX W1 Installation instruction