Home Accents Holiday 1006 129 413 User manual
Other Home Accents Holiday Home Lighting Accessories manuals
Home Accents Holiday
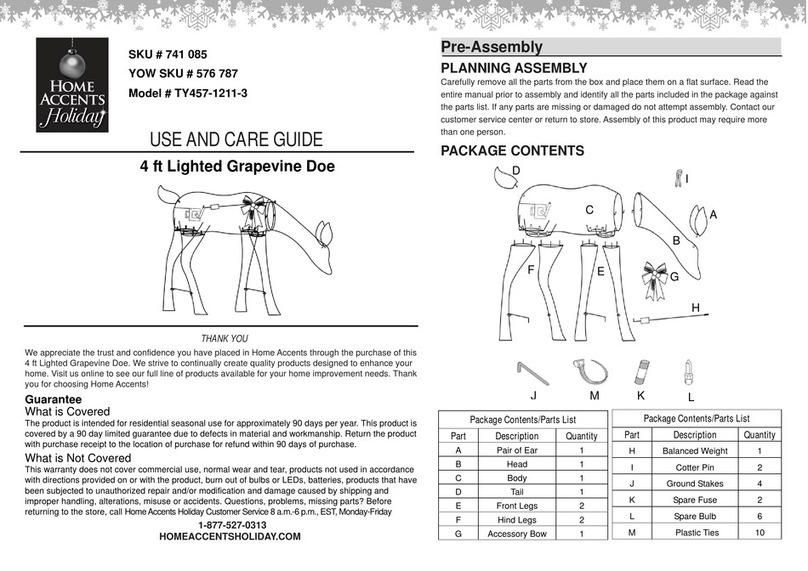
Home Accents Holiday TY457-1211-3 User manual

Home Accents Holiday
Home Accents Holiday 22RTY11622251 User manual

Home Accents Holiday
Home Accents Holiday TY699-1614-2 User manual

Home Accents Holiday
Home Accents Holiday TY619-2014 User manual

Home Accents Holiday
Home Accents Holiday TY426-1911 User manual

Home Accents Holiday
Home Accents Holiday TY761-1614-0 User manual

Home Accents Holiday
Home Accents Holiday TY373-1411 User manual

Home Accents Holiday
Home Accents Holiday TY406-1911 User manual

Home Accents Holiday
Home Accents Holiday TY401-1811-2 User manual
Home Accents Holiday
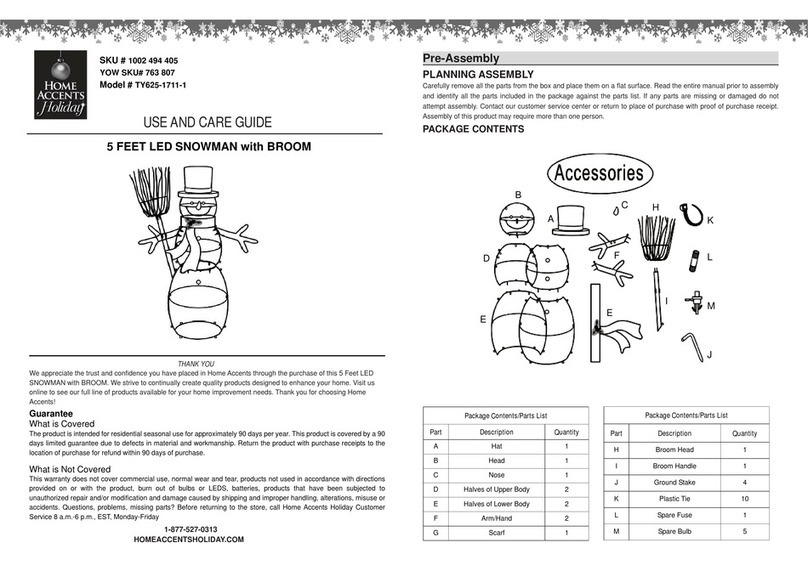
Home Accents Holiday TY625-1711-1 User manual

Home Accents Holiday
Home Accents Holiday SPARKLE Iridescent Angel 22GM80770 User manual

Home Accents Holiday
Home Accents Holiday 1009 025 383 User manual
Home Accents Holiday
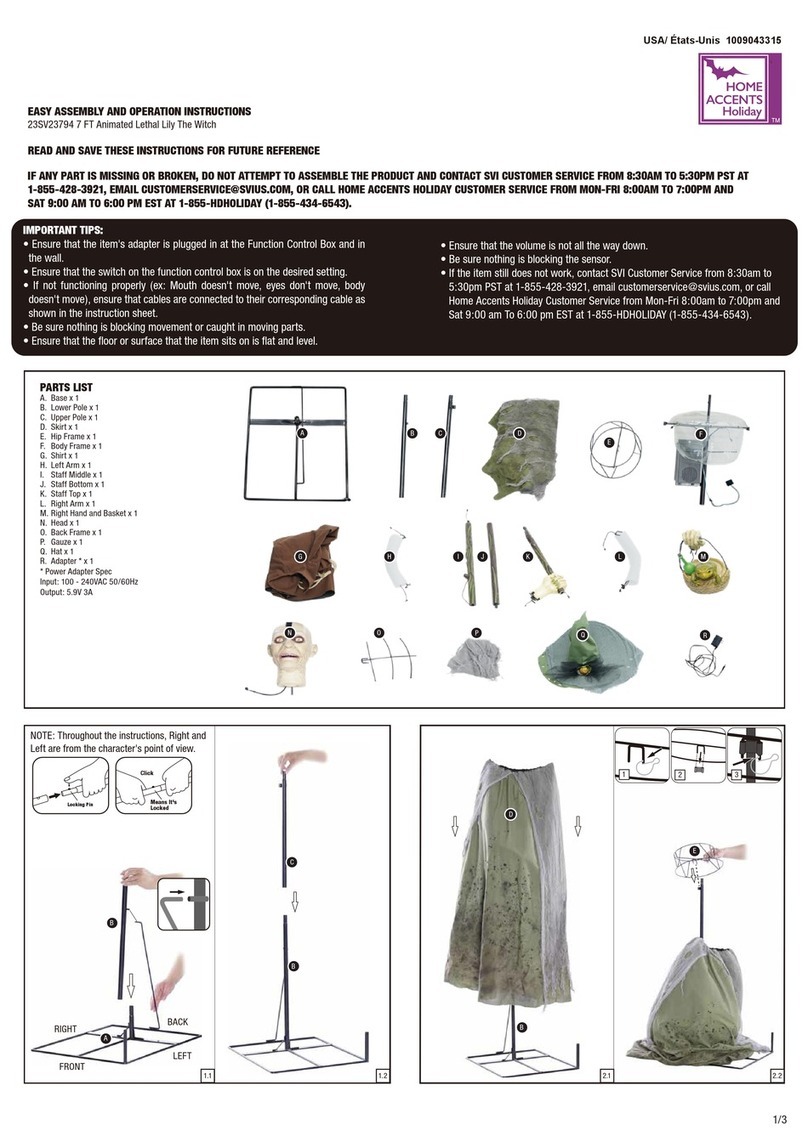
Home Accents Holiday 23SV23794 Parts list manual

Home Accents Holiday
Home Accents Holiday 22RT1932214 User manual

Home Accents Holiday
Home Accents Holiday 21RT2482114 User manual
Home Accents Holiday
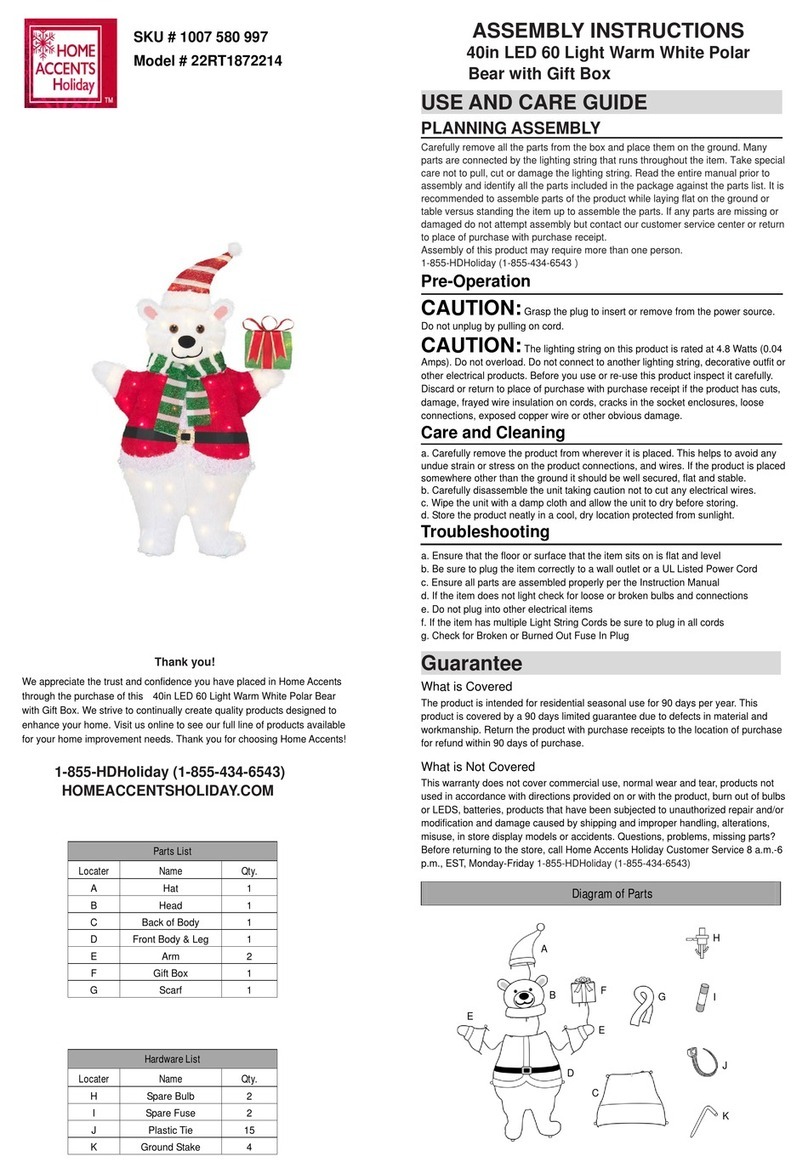
Home Accents Holiday 22RT1872214 User manual

Home Accents Holiday
Home Accents Holiday GIP0IB047D00 User manual
Home Accents Holiday
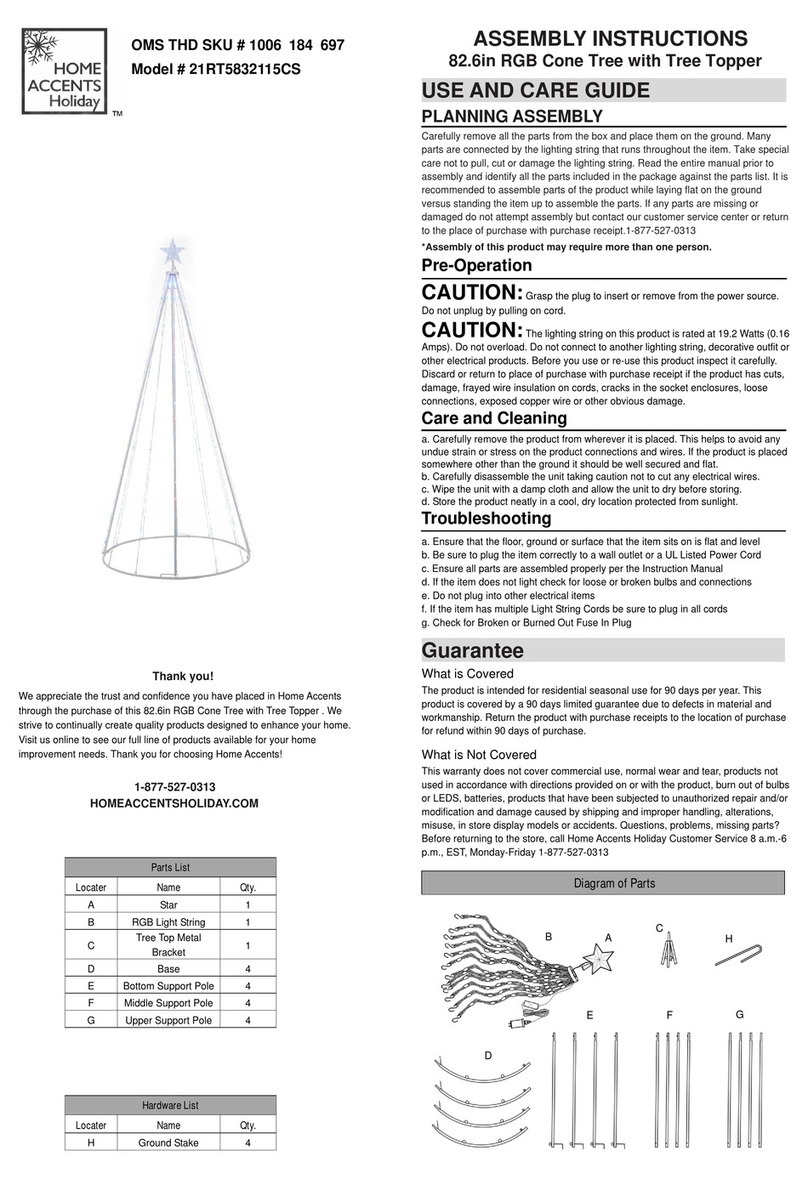
Home Accents Holiday 21RT5832115CS User manual
Home Accents Holiday
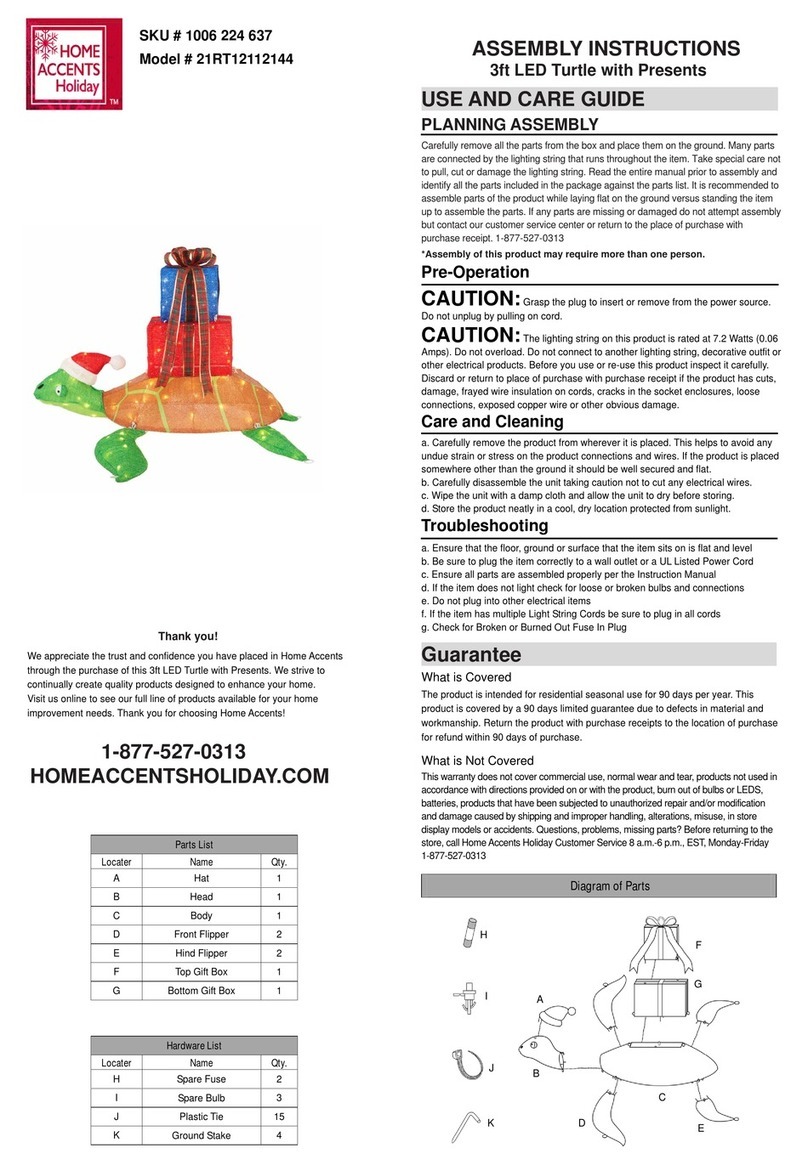
Home Accents Holiday 21RT12112144 User manual

Home Accents Holiday
Home Accents Holiday 22RT1492211 User manual

Home Accents Holiday
Home Accents Holiday 8 FT GIANT-SIZED LED GIFT BOXES Manual

Home Accents Holiday
Home Accents Holiday Howling Werewolf with LifeEyes Parts list manual

Home Accents Holiday
Home Accents Holiday Reaper of Souls 22SV23274 Parts list manual

Home Accents Holiday
Home Accents Holiday 23RT05523242 User manual
