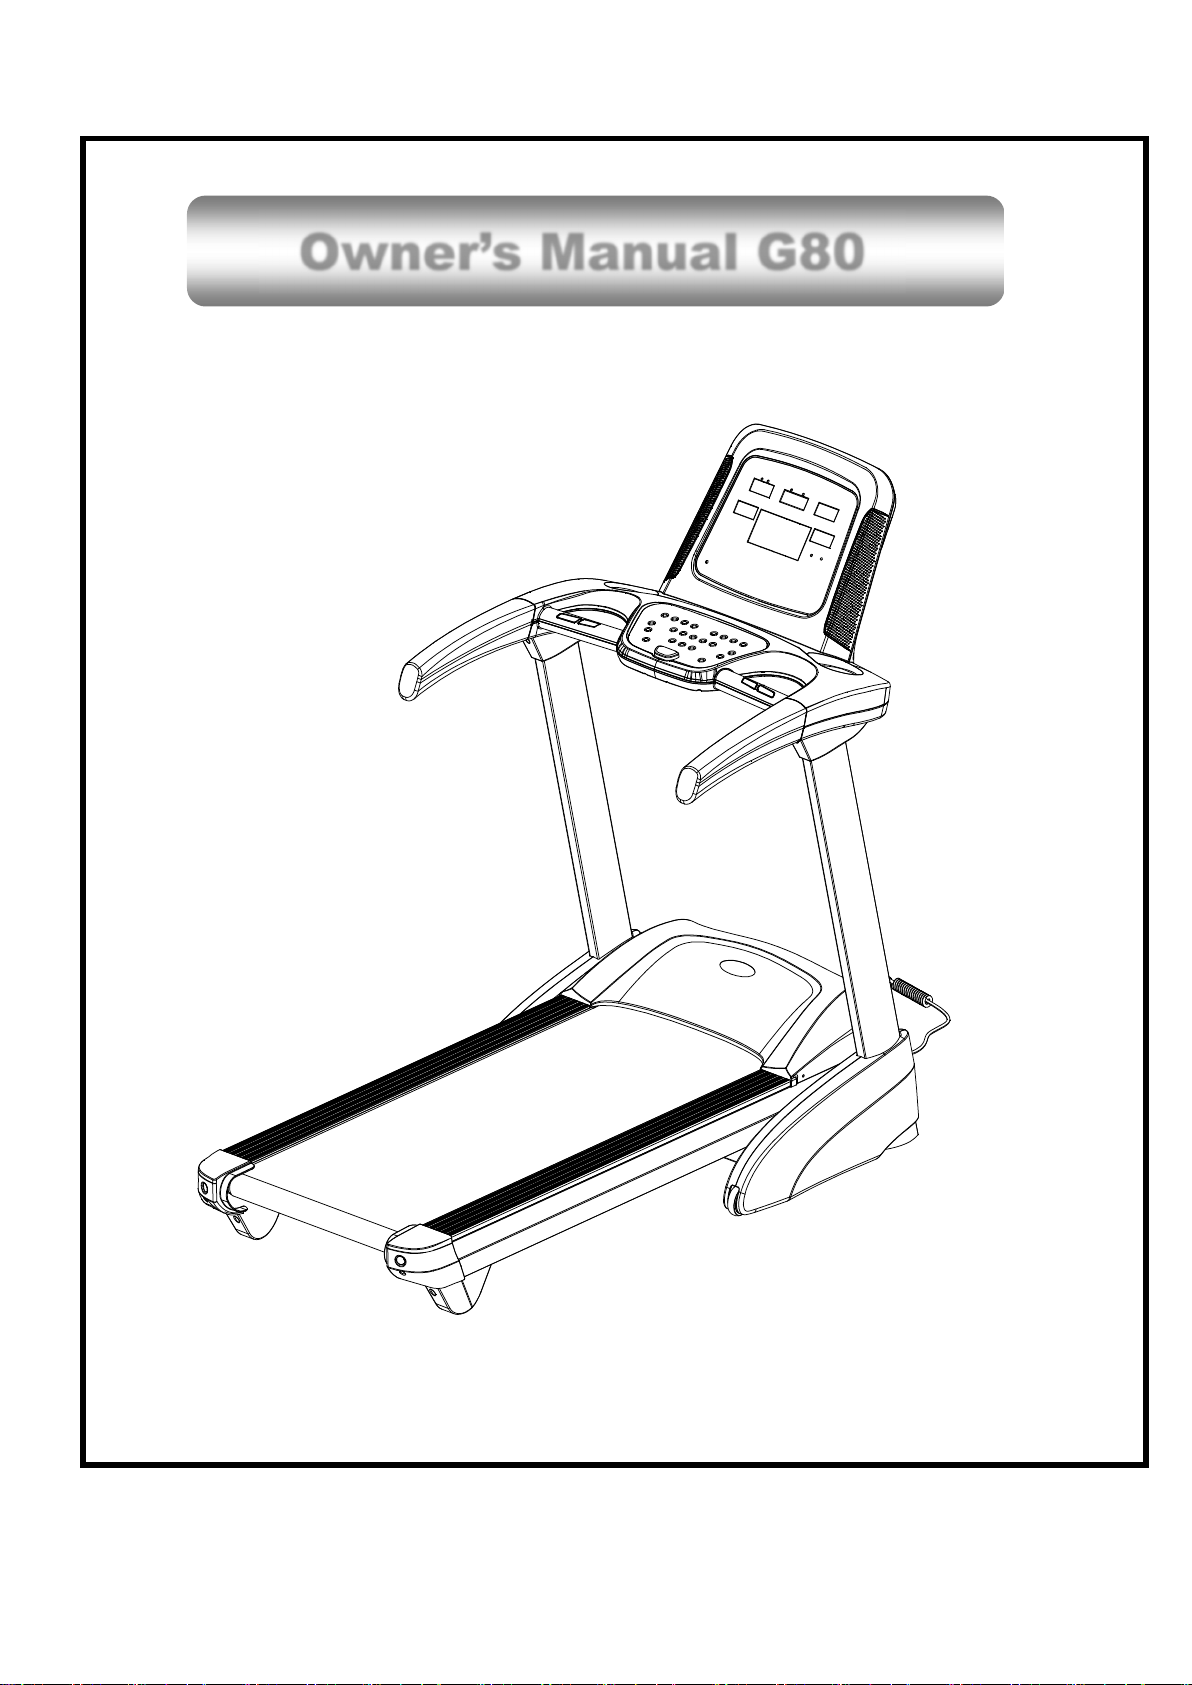
Home Fitness G80 User manual

1
Owner’s Manual G80

2
Catalogue
Assembly Instruction ................................................................................................. 3
Technical Data ......................................................................................................... 10
Fold and Unfold, Transportation ............................................................................... 11
Safety instructions ................................................................................................... 13
Warming Up guide ................................................................................................... 15
Operation Guide ...................................................................................................... 16
Trouble Shooting: ................................................................................................. 19
Exercise Safety Measures ....................................................................................... 19
Maintenance Guide ................................................................................................. 19
Maintenance Instruction .......................................................................................... 21
FAQ and Trouble Shooting ...................................................................................... 23

3
Assembly Instruction
Below is the Parts List of this treadmill.
No.
Name
Spec.
Qty
No.
Name
Spec.
Qty
1
Main Frame
1
11
R Outer Cover
1
2
L Post
1
12
Button Allen Bolt
M8*50
8
3 R Post 1
13 Button Allen Bolt M8*15 8
4 Lower Console 1
14 PH Truss Screw St4.2*15 10
5
Upper Console
1
15
Round Allen Bolt
M8*30
4
6
L Post Cover
1
16
Inner Teeth Washer
16
7
R Post Cover
1
17
Safety Key
Red
1
8
L Inner
Cover
1
18
Power Cord
1
9 L Outer Cover 1
10 R Inner Cover 1
1. Main Frame 2.L Post 3.R Post 4.Lower Console 5.Upper Console
Assembly Tools
PH Screw Driver, 6mm Allen Wrench, L Shape Screw Driver (tool kit)
Assembly Steps: Open the carton and take out above parts. Put the Main Frame on flat floor.
Kind Reminder: It needs two people to carry the Main Frame out from the carton and do assembly
to avoid potential danger.
6.
L Post Cover
7
. R Post Cover
8. L Inner Cover
9. L Outer Cover
10. R Inner Cover
11.R Outer Cover
18.Power Cord
17.Safety Key

4
Assembly Steps
Step 1.
Connect Cable A from #1 with Cable A from #3 firmly. Lock #2 & #3 onto #1 with #12, #13 and #16
slightly (not to firm), using Allen Wrench.
Important: When connect the cables, be careful of the socket and plug. Do not pull the cable when
connected.
1
2
3
16
12
1616
16
13
A
A
13
16
16 12
16
Step 2.
Put #6-L onto #2,#7-R onto #3. Mind the direction of these covers.
No. Name Spec. Qty
#12 Button Allen
Bolt
M8*50 8
#13 Button Allen
Bolt M8*15 2
#16 Washer 10

5
Step 3.
Connect Cable B from #4 with Cable B from #3 firmly. Put the wires into #3 neatly. Assemble #4
onto #2  with #13 and #16,using Allen Wrench.
Important:
When connect the cables, be careful of the socket and plug.
Do not pull the cable when connected.
Do pre-lock all the screws first, then lock every screw tightly.
No. Name Spec. Qty
#13 Button Allen
Bolt
M8*15 6
#16 Washer 6
2
3
6-L
7-R

6
4
13 16
13
13
13
16
16
16
B
B
3
2
Step 4.
Connect Cable C from #4 with Cable C from #5 firmly. Pre-lock #5 onto #4 with #15. Lock #6-L and
#7-R onto #4 with #14.
Important:
When connect the cables, be careful of the socket and plug.
Do not pull the cable when connected.
Do pre-lock #5 first and adjust it at middle position, then lock every screw tightly.
No. Name Spec. Qty
#14 PH Truss
Screw
St4.2*15
4
#15 Round Allen
Bolt
M8*30 4

7
5
4
C
C
15
14 14
14
6-R
6-L
Step 5.
Lock #12 & #13 tight. Fold the treadmill deck, Insert #8 & #10 onto the Posts, lock them with #14.
Important: Hold the deck when doing the lock to avoid injury.
No. Name Spec. Qty
#14 PH Truss
Screw
St4.2*15
2

8
14
14
8
10
12
12
13
13
Step 6.
Insert #9 & #11 onto the Posts, lock them tight with #8 & #10 using #14.
Important: Hold the deck when doing the lock to avoid injury.
No. Name Spec. Qty
#14 PH Truss Screw St4.2*15 4

9
14 14
14
14
9
11
Step 7.
Put the treadmill on the flat floor. Put #17 onto the yellow-marked location on #4 Lower Console,
and put #18 onto the treadmill.
17 18

10
IMPORTANT!
Please make sure all above steps are finished before put on power.
Using of this equipment please check the following instructions.
Technical Data
Item Size(mm) 1925*905*1450 Power AC 220∽240v
Folding Size(mm) 1100*905*1625 Output 1500W
Running
Deck(mm) 520*1450 Current 8.5A
N.W. 97Kg Speed 1.5—18Km/H
G.W. 118Kg Temperature 0—40℃
Incline 0~12% Class HB
Maximum User’s
Weight ≤126Kg
Display Speed, Incline, Time, Distance, Calories, Pulse
Safety Protection
A. Red Safety Key on Console
B. The over-current, over-voltage push type
protection device in
motor chamber.
C. Over-current fuse on controller.
The right to modify the data of this equipment is reserved to SHU HUA CO., LTD. If any update
of modification, you might not be informed.

11
Fold and Unfold, Transportation
Fold the Treadmill
1. In order for space-saving, when the treadmill is not in use, it could be folded up by a hydraulic
folding system.
2. Lift the treadmill up as shown in the picture until you hear the Gas Spring telescoping pole gives a
snap sound, the treadmill is folded.

12
Note: Before you folding the treadmill,make sure the treadmill has stopped running and the incline is
down to zero level, OR you might damage the treadmill and cause injury.
Unfold the Treadmill
1. Stand facing the folded Deck in the middle, hold the ends of the running deck with both your hands.
Step the connecting point of Gas Spring (located as in the fig.) to release the Gas Spring.
2. Gently pull back the running platform to unfold the Deck. Be careful step away out of the Deck falling
area and let the Deck falls unfolded slowly by itself.
Note: When unfold the platform, make sure the area for the Deck is cleared with no objects, kids or pets.

13
Transportation
1. Fold the treadmill first.
2. Make sure the Deck is locked up. Put one foot at the transportation wheel to hold it, then pull the
treadmill to you for make the whole treadmill stand on the Wheels in balance(as above figure).
3. Move the treadmill to desired location, then lay it down properly.
Note: Make sure you have un-plugged the treadmill before move it. Or you might damage the plug. We
don’t suggest moving the treadmill on fragile wood floors to avoid transportation marks.
Safety instructions
Thank you for purchasing our product. It is important to read this entire manual before assembling
and using the equipment. Safe and efficient use can only be achieved if the equipment is assembled,
maintained and used properly. It is your responsibility to ensure that all users of the equipment are
informed of all warnings and precautions. Please keep this manual in a safe place for reference.
The power can be connected after the correct assembly according to the Assembly Instruction.
Please make sure the socket is not covered by the treadmill itself when locating. So you can find
the socket for power easily.

14
To avoid electrostatic interference, make sure to insert the plug into the socket with ground wire.
Socket not well grounded might result into unstable operation of the computer, even damage to
it. The power line from original package is of exclusive usage to the treadmill. If damaged, please
purchase from our dealer or contact us directly.
To avoid circuit interference, do not use other electrical appliances at the same power line. Or it
might cause unstable use or damage to both appliances.
The treadmill is a kind of indoor fitness equipment, please don’t use it outdoors. The place putting
the treadmill should be neat and waterproof. Please note that don’t put the treadmill on the thick
carpet or that kind of material, so that the air under the treadmill can flow. The treadmill is a kind
of exclusive fitness equipment; please don’t use it for other purpose.
When you exercise, please don’t wear long or loose clothes, to avoid twine clothes to the
treadmill and cause injury. Suggest wearing sneaker or sport shoes.
Please don’t take away the protection cover at will, if the opening is only for the maintenance,
please pull out the plug firstly.
During running exercise, keep the children away from the treadmill to avoid any accident.
If kids using the treadmill, they should be closely watched and protected by adults or professional
trainers.
If it is the first time for you to use the treadmill, please keep in mind to grasp the handle with two
hands, until you feel that you adapt to the situation, then you can let go of the handles.
Please press the safety key (red) on the appropriate position of the clothing, to prevent accidents
during the exercise, we can pull off the safety key timely to stop the treadmill in order to ensure
safety.
Power off the power supply and take out the plug and save it well after using.
Do not touch any parts which are on the exercise.
Heart rate sensor does not belong to medical equipment, there are many reasons can cause
inaccurate testing, so the test results are just for reference.
If you feel any danger during exercising, should hold handrails on both sides, jump off the ground
or the pedal platform on the sides.
During exercise, there should have 2000mm*1000mm safety areas so that can jump off when
there have any accidents.
Safe operation required free space to 2000mm (L)*1000mm (W)*2250mm (H) when exercise.

15
The treadmill is a kind of indoor fitness equipment, please don’t use it outdoor. Apply to aerobic
cardio exercise, increase heart and lung function mainly, training muscle supplement.
It’s not allowed to convert the equipment beyond its original design and purpose.
Warming Up guide
Stretch Down
The knees slightly bend, the body bend forward slowly. Relax
the back and shoulders, the two hands try to touch the tiptoe.
Hold for 10-15 minutes, and then relax. Exercise like this for
three times. As figure 1 show.
Foot sinew stretch
Sitting on the clean ground, extend one leg straightly, then
bend the other, lastly make it close to the inner side of the
straight leg tightly. Try to touch the tiptoe with the hands. Hold
for 10-15 minutes, and then relax. Each leg repeats this
exercise for three times. As figure 2 show.
Shank and heel sinew stretch
Standing with two hands touch the wall, one foot is behind
and the other is front. Keep the rear leg straight and the heel
touch the ground, and then incline to the wall. Hold for 10-15
minutes, and then relax. Each leg repeats the exercise for
three times. As value figure show.
Quadriceps Stretch
With the left hand touching the wall or desk to control the
body balance, and right hand extend toward the back and
grasp the right ankle, then pull it toward the buttocks slowly,
until you feel that the front muscle of thigh is very strength.
Hold for 10-15 minutes, and then relax. Each leg repeats this
exercise for three times. As value figure shows.
Sartorial Stretch
Make the feed soles opposite, and sit down with the knees
toward outside. Grasp the feed with two hands and bring
them toward the groin. Hold for 10-15 minutes, and then
relax. Repeat this exercise for three times. As figure 5 shows.

16
Operation Guide
Make sure the Safety Key is in position before start.
Display
1、 “TIME” Window shows time of exercise. From beginning it is 00:00-99.59;If the timer
counting down, it is from set time to 0. When the time count to 0, the treadmill will slowly
stop and the display will show “End”,then enter the standby mode.
2、 “CALORIES” Window count from 0 to 999. When reaches 999 and exceeded, it starts back

17
from 0;Calories countdown,start from the set value down to 0,after reaching 0 the treadmill
will stop and the display show “End”, then enter the standby mode.
3、 “DISTANCE” Window shows distance of exercise. From beginning it is 00:00-99.59;If
counting down, it is from set distance to 0. When the distance count to 0, the treadmill will
slowly stop and the display will show “End”,then enter the standby mode.
4、 “PULSE” Window:Shows the pulse of exerciser. When user grasps the Pulse Detector, it
shows the heart rate. The range is 50~200 beats/min, use only as reference, not medical
data.
5、 “INCLINE” Window:Shows the present incline value, range from 0~12.
6、 “SPEED” Window: Show the current speed. Range from 1.5-18KM/h.
Buttons
7、 “Lose Weight”Button: When standby or exercising, choose Lose Weight Mode.
8、 “Program” button: When standby, press this button to scan “0:00”(Manual Mode)、“15:
00”(Time Countdown)、“1.00”(Distance Countdown)、“50.0”(Calories Countdown)、“P01-
P02-…-P08”.
9、 “Marathon” Button:When standby, press this button to start Marathon running, distance is
42.19KM.
10、 “WarmUp” Button:Press this button to start 3 minutes Warm-up(Time Window Flashes),
speed is 0.5Km/h, and speed up to 6Km/h within 3 minutes. After 3 minutes, it starts with
chosen mode. When speed is lower than 6Km/h, press this button and enters into Warm-up.
11、 “CoolDown” Button:Press this button during exercise. If present speed ≥8KM/H, it takes
3 minutes to slow down until stops. If <8KM/H and ≥2.5KM/H, 2 minutes, if <2.5KM/H, 18
seconds. After press “CoolDown”, Time Window flashes and the machine can only speed
down, not up.
12、 “START/PAUSE”Button:When the machine is power on and safety key in position, press
this button and it will start or pause the exercise. When pause, the Window will show “PAU”.
13、 “STOP”Button: When exercise, press this button to stop the machine.
14、 “SPEED+”、“SPEED-” in standby mode it is to adjust the settings. When in exercise, it
changes the speed (0.1km/h/ press). When press the button for more than 0.5 seconds, it
increase or decrease the speed automatically.
15、 “INCLINE+”、“INCLINE-” in standby mode it is to adjust the settings. When in exercise,
it changes the incline (1level / press). When press the button for more than 0.5 seconds, it
increase or decrease the speed automatically.
16、 “Speed:3、6、9、12”Quick Speed Setting: You can set the speed quickly.
17、 “Incline:3、6、9、12” Quick Speed Setting: You can set the incline quickly.
18、 “Speaker, Volume+, Volume-”Controls the speaker’s volume.
19、 When Standby, press “Speed+”and then “Program”button for 3 seconds, the system
enters Total distance. Press “Stop”it will exit total distance.
Modes & Programs:
20、 Countdown mode:In standby, press the Mode button to enter the Time, Calories,
Distance countdown mode. You can use the + and – key to set speed and incline values.
After setting, press Start button to start treadmill from the set value to countdown. The
treadmill will stop automatically when the value count back to 0.

18
21、 Programs(P01~P8):press PROG button to choose any program from P01~P8. Set the
time with SPEED+/- and INCLINE+/- (optional time range 5~99:00,default 10:00),press
the Start button to start the program. The treadmill will change speed and incline for 16 times
according to the program. Every combined value will change at the frequency of set
speed/10*60 seconds.
22、 Programs
Every program has 16 section of total time, with below speed and incline.
Time
Program
Total Time/16=Time for every section
1
2
3
4
5 6 7 8 9 10
11
12
13
14
15
16
P01-Walk Speed
2
4
5
5
6 6 7 7 7 7
6
6
5
4
3
2
Incline
1
1
2
2
2 2 3 3 3 3
2
2
2
2
1
1
P02-Jog Speed
2
5
6
8
9 9 9 9 9 9
9
8
7
6
5
3
Incline
1
2
3
3
2 2 3 3 2 2
3
3
3
3
2
1
P03-Hill Speed
2
4
6
6
9 10
10
9 6 6
9
9
9
7
5
3
Incline
1
2
3
4
5 5 4 4 5 5
3
3
6
6
3
2
P04-Random Speed
2
6
7
7
11
11
11
9 9 9
9
6
6
6
4
2
Incline
4
5
6
6
3 3 7 8 6 4
5
6
7
7
4
2
P05- Weight Loss
Speed
4
5
7
8
9 10
10
8 8 9
9
9
9
6
4
3
Incline
1
3
3
2
2 2 3 4 4 3
2
2
4
4
3
1
P06-Cardio Speed
3
6
6
6
8 8 8 8 10
10
10
11
11
8
5
3
Incline
0
2
2
4
4 4 2 2 2 3
3
4
4
3
2
1
P07-Race Speed
3
6
7
7
8 9 9 10
10
10
9
9
8
6
4
3
Incline
1
1
2
2
3 3 3 2 2 2
3
3
2
2
1
1
P08-Sprint Speed
2
6
6
9
9 11
11
11
11
11
6
6
6
5
4
2
Incline
4
5
6
7
8 9 10
10
9 9
5
6
7
8
5
2
Lose Weight
Time 0-2min 2-15min 15-20min 20-35min 35-40min
Speed 1.5-6.0KMH 6.0-12.0KMH
12.0-6.KMH 6.0-12.0KMH
12.0-1.5KMH
Total time is 40 minutes. Speed is set but incline can be adjusted by user.
Value Range:
Value Setting Start Start Setting Range Display Range
Time(Mins:Sec) 0:00 15:00 5:00-99:00
0:00-99:59
Incline(Sec.) 0 0 0-12 0-12
Speed(KM/H) 0.0 1.5 1.5-16.0 0.0-16.0
Distance(KM) 0.00 1.00 0.50-99.9 0.00-99.9
HR(per min) P N/A N/A 50-200
Cal(K Cal) 0.0 50.0 10.0-999 0.0-999
Safety Key:

19
Pull off safety key could stop the treadmill immediately at any emergency situation. The window
shows “Safety Key Off” with a beeping. The treadmill cannot work or start at this time.
Saving Electricity:
If standby and with no instruction key in, the system will turn off the display. Press any key to
wake the system up. If during exercising, if no steps in 5 minutes, the treadmill tops running and
enter into standby.
MP3 Function:
When power on and connected with MP3 etc., the console could play music. Please keep
the volume in acceptable range to protect inner circuit.
Turn Off:
Turn off the main power switch to shut the treadmill at any situation.
Trouble Shooting
E1 Inverter over-heated
E2 Over-current
E3 Over-voltage
E4
Over Loaded
E5
MCU Failure on Inverter
E6
Communication Failure
E7 Incline Failure
EE Eeprom error
Exercise Safety Measures
In the exercise, please consult a professional. He (she) can help you recommend exercise
frequency, exercise intensity and exercise time consistent with your age and physical condition.
In the exercise, if you feel chest tightness or pain, irregular heartbeat, shortness of breath,
dizziness or other discomfort, please stop! Continue to exercise before to professional
consultation.
Maintenance Guide
Warning!
Please make sure that the power has been cut off before the maintenances of this unit.
Thorough clean can extend the lifetime of this unit. Clean the dust regularly, especially the dust
accumulating beside the treadmill belt to avoid the accumulation below the belt.
Make sure the neat of the shoes to avoid the foreign objects carried by shoes abrading
treadmill board and bolt.

20
The surface of treadmill bolt must be cleaned by wet cloth spread with soap. Please note that
avoid water splashing on the electric parts and the bolt.
Warning!
Please make sure to take off the plug before remove treadmill safety guard.
Open the Motor Hood and vacuum the inside parts at least once per year.
Treadmill bolts and lubricates silicon oil.
The board and bolt of the treadmill have been smeared with lubricates silicon oil in advance.
It needs to be lubricated to reduce the resistance between the Deck and Belt.
Good lubrication has profound influence on the treadmill lifespan. We suggest that it should be
lubricated once per/week.
Method to add the Silicon oil
1. As above Figure, tilt the treadmill at an angle of about 45 degrees.
2. Lift up the Running Belt with one hand, put some lubrication oil onto the running deck, let the
lubricating oil flow towards the other side of running deck. When the oil flows across the middle line,
put the equipment to horizontal direction.
3. Turn on the treadmill. Walk on the treadmill slowly for a few minutes to make the running belt being
attached of lubricating oil completely. Increase the speed and lubrication is finished.
Note :
Do not put too much lubricating oil once.
Table of contents
Other Home Fitness Treadmill manuals