manuals.online logo
Brands
  1. Home
  2. •
  3. Brands
  4. •
  5. Homeright
  6. •
  7. Paint Sprayer
  8. •
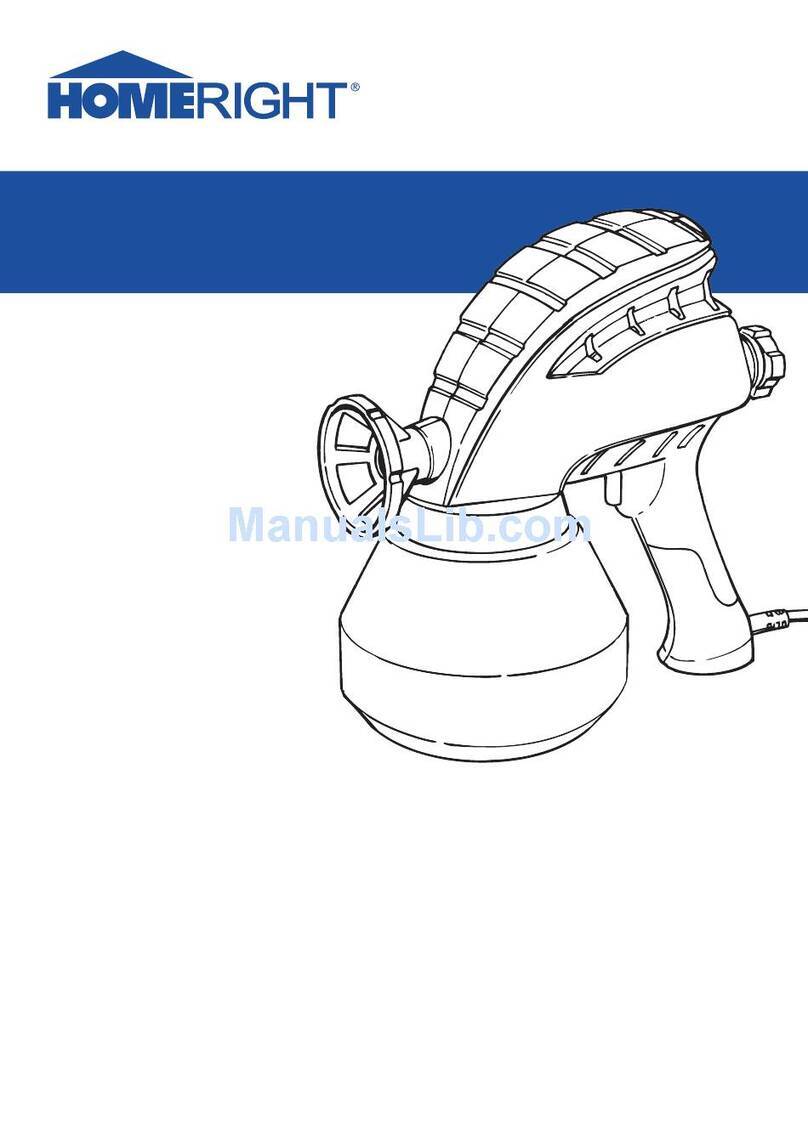
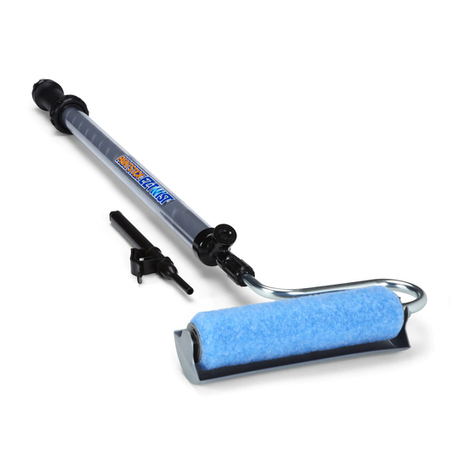
  9. Homeright PaintStick User manual

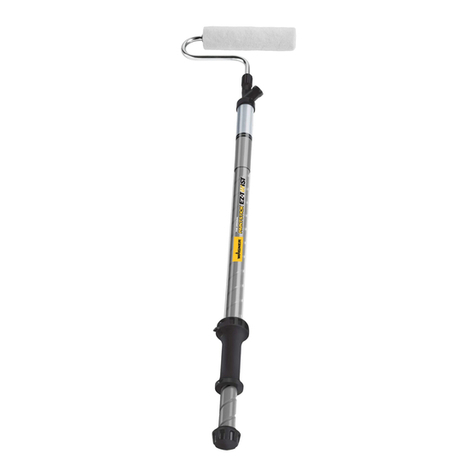
Homeright PaintStick User manual

1. Grasp clear tube firmly and turn handle counterclockwise to unscrew.
Remove piston from clear outer tube. NOTE: If paint is on the piston
remove paint with a damp rag.
1. Sujete el tubo transparente con firmeza y gire la manija en sentido
contrario a las agujas del reloj para destornillarla. Saque el pistón del
tubo externo transparente. NOTA: Si el pistón tiene pintura, límpielo
con un trapo humedecido.
1. Saisissez fermement le tube transparent et tournez la poignée dans le
sens anti-horaire pour dévisser. Retirez le piston du tube externe
transparent. REMARQUE : Si de la peinture se trouve sur le piston,
retirez-la avec un chiffon humide.
2. Take off and discard old quad-rings. Install new quad-rings and
lubricate with petroleum jelly.
2. Saque y deseche los sellos anulares usados. Instale nuevos sellos
anulares y lubríquelos con vaselina.
2. Retirez et jetez les joints toriques usagés. Installez les joints toriques
neufs et lubrifiez avec de la vaseline.
3. Insert inner handle into outer handle and push together. Be careful not
to pinch o-rings. To reassemble, hold the tube securely and turn the
handle clockwise until secure.
3. Inserte el mango interior en el mango exterior y empújelos para
unirlos. Tenga cuidado de no pellizcar los sellos anulares. Para volver a
armar, sostenga el tubo con firmeza y gire la manija en sentido de las
agujas del reloj hasta que esté firme.
3. Insérez la poignée interne dans la poignée externe et serrez-les
ensemble. Faites bien attention afin de ne pas pincer les joints
toriques. Pour assembler, tenez fermement le tube et tournez la
poignée dans le sens horaire jusqu’à ce qu’elle soit fixée en place.
PaintStick EZ-Twist Piston ·Pistón ·Piston
1. Separate inner and outer handles by quickly pulling apart. If you
cannot separate, set PaintStick on floor, put your foot on collar and
roll to loosen.
1. Separe los mangos interior y exterior tirando de ellos rápidamente.
Si no los puede separar, deje sobre el suelo el PaintStick, ponga el
pie sobre el collarín y ruédelo para soltarlo.
1. Séparez la poignée interne de la poignée externe en tirant d’un seul
coup. Si la séparation est difficile, posez le PaintStick sur le sol,
mettez le pied sur le collet et faites-le rouler afin de le desserrer.
2. Take off and discard old o-rings. Install new o-rings and lubricate with
petroleum jelly.
2. Saque y deseche los sellos anulares usados. Instale nuevos sellos
anulares y lubríquelos con vaselina.
2. Retirez et jetez les joints toriques usagés. Installez les joints toriques
neufs et lubrifiez avec de la vaseline.
3. Insert inner handle into outer handle and push together. Be careful not
to pinch o-rings.
3. Inserte el mango interior en el mango exterior y empújelos para
unirlos. Tenga cuidado de no pellizcar los sellos anulares.
3. Insérez la poignée interne dans la poignée externe et serrez-les
ensemble. Faites bien attention afin de ne pas pincer les joints
toriques.
PaintStick Piston ·Pistón ·Piston
1. Pop out retainer with a screwdriver. Remove foam wiper and pry out
valve.
1. Retire el retén con un destornillador. Retire el limpiador de espuma y
saque la válvula haciendo palanca.
1. Retirez l'anneau de retenue à l'aide d’un tournevis. Retirez le racleur
de mousse et ôtez la valve en la soulevant.
2. Discard old parts. Clean area. Install new valve and wiper. Press in
retainer.
2. Deseche las piezas usadas. Limpie el área. Instale una nueva válvula y
limpiador. Presione hacia dentro el retén.
2. Jetez les pièces usagés. Nettoyez et installez une valve et un racleur
neufs. Remettez l'anneau de retenue en place en appuyant dessus.
3. Put a small amount of petroleum jelly into the fill port to lubricate the
foam wiper.
3. Ponga una pequeña cantidad de grasa de petróleo en el orificio de
llenado para lubricar el limpiador de espuma.
3. Mettez une petite quantité de vaseline dans l'orifice de remplissage
pour lubrifier l'essuyeur en mousse.
PaintStick & PaintStick EZ-Twist Valve Body ·Cuerpo de la válvula ·Corps de la valve
PaintStick®& PaintStick®EZ-Twist®
Tune-up Kit Instruction Sheet · Hoja de instrucciones del paquete de ajuste · Fiche d’instruction pour le kit de remise à neuf
PLEASE READ AND SAVE THIS INSTRUCTION SHEET · LEA Y CONSERVE ESTA HOJA DE INSTRUCCIONES · VEUILLEZ LIRE ET CONSERVER CETTE FICHE D’INSTRUCTION
DO NOT REMOVE END CAPS WITH A
SCREWDRIVER!
NO RETIRE LAS TAPAS DE LOS EXTREMOS CON
UN DESTORNILLADOR.
NE RETIREZ PAS LES CAPUCHONS D’EXTRÉMITÉ
À L’AIDE D’UN TOURNEVIS !
For Snap Cap End Caps ·Pour les capuchons d’extrémité Snap Cap ·Para tapas con tapilla a presión
For Standard End Caps ·Pour les capuchons d’extrémité standard ·Para tapas estándares
3. Remove inner end cap by inserting the frame at an angle into the inner end cap about 1".
Pull gently towards you to remove. Remove spacer.
3. Retire la tapa del extremo interior insertando la estructura en ángulo aproximadamente 2.5 cm.
Tire suavemente hacia usted para retirarla. Quite el espaciador.
3. Retirez le capuchon interne en y insérant l'armature en biais à une profondeur d'environ 2,5 cm.
Tirez doucement vers vous pour le retirer. Enlevez la rondelle.
1. Remove roller from frame. Pull frame out from inner end cap until a snap is heard, or lightly tap outside rim
of end cap with hammer. Use extreme caution - do not hit black ring on frame.
1. Retire el rodillo de la estructura. Separe la estructura de la tapa del extremo interior hasta que se oiga un
chasquido, o golpee ligeramente por fuera el borde de la tapa del extremo con un martillo. Sea
sumamente precavido—no golpee el aro negro Fde la estructura.
1. Retirez le manchon de l'armature. Séparez l'armature du capuchon interne en la tirant jusqu'à entendre un
clic. Vous pouvez également taper doucement sur le bord externe du capuchon à l'aide d'un marteau.
Faites très attention afin de ne pas taper sur l'anneau noir de l'armature.
2. Remove roller cover from frame. Remove spacer
from frame.
2. Retire el rodillo de la estructura. Quite el
espaciador.
2. Retirez le manchon de l'armature. Une fois
encliquetée, le capuchon externe peut être retiré.
Enlevez la rondelle.
Snap Cap end caps are available by calling
800-264-5442.
Les capuchons d’extrémité Snap Cap sont
disponibles en appelant 800-264-5442.
Las tapas con tapilla a presión se consiguen
llamando al 800-264-5442.
First Determine if your PAINTSTICK or
PAINTSTICK EZ-TWIST came with or without
a snap cap frame:
A. WITHOUT snap cap frame – Standard
B. WITH snap cap frame
Primero determine si su PAINTSTICK o
PAINTSTICK EZ-TWIST tiene o no tiene bastidor
para la tapa a presión:
A. SIN bastidor para la tapa a presión
B. CON bastidor para la tapa a presión
Déterminez d’abord si votre rouleau PAINTSTICK
ou PAINTSTICK EZ-TWIST s’accompagne ou non
d’un cadre pour capuchon à pression :
A. SANS cadre pour capuchon à pression
B. AVEC cadre pour capuchon à pression
4. Remove outer end cap by inserting the frame inside the roller cover at a slight angle. Gently push to snap
off the outer end cap from the frame.
4. Retire la tapa del extremo exterior insertando la estructura dentro del forro del rodillo en un ángulo ligero.
Empuje un poco para soltar la tapa del extremo exterior con la estructura.
4. Retirez le capuchon externe en insérant l'armature légèrement en biais dans le manchon. Poussez
doucement pour faire sauter le capuchon de l'extrémité externe à l'aide de l'armature.
5. Discard old end caps. Using petroleum jelly,
lubricate outer and inner end caps. Assemble
roller cover.
5. Deseche las tapas de los extremos usadas.
Usando vaselina, lubrique las tapas de los
extremos exterior e interior. Ensamble el forro
del rodillo.
5. Jetez les capuchons usagés. Lubrifiez les
capuchons des deux extrémités avec de la
vaseline. Assemblez le manchon.
6. If the fit is loose apply tape to the circumference
of the end caps to prevent paint from leaking
during operation. See picture for the correct
placement of the tape. Masking tape or plumbers
tape work well.
6. Si l’ajustement est lâche, appliquer du ruban
adhésif sur la circonférence des capuchons
d’extrémité pour empêcher les fuites de peinture
pendant l’utilisation. Voir la photo pour le
positionnement correct du ruban. Le ruban de
masquage ou de plomberie fonctionne bien.
6. Si el ajuste está flojo, aplique una cinta adhesiva
alrededor del borde de las tapas para evitar que
la pintura se escurra durante el funcionamiento.
Consulte la imagen para saber dónde colocar
correctamente la cinta. Se recomienda el uso de
cintas adhesivas para pintura (tirro) o cintas
adhesivas de plomería.
7. Put roller cover back onto frame until a snap
is heard.
7. Coloque el forro nuevamente en la estructura
hasta escuchar un clic.
7. Remettez le manchon sur l'armature jusqu'à
entendre un clic.
Consult PaintStick or PaintStick EZ-Twist
instruction manual for further information.
Consulte el manual del PaintStick o del
PaintStick EZ-Twist para mayor información.
Veuillez consulter le manuel du PaintStick ou
du PaintStick EZ-Twist pour obtenir des
renseignements supplémentaires.
HOME RIGHT®
1661 94th Lane N.E.
Minneapolis, Minnesota 55449-4324
Phone 763-780-5115
Customer Service Line: 1-800-264-5442
8:00 a.m. to 5:00 p.m.CST
www.homeright.com
HOME RIGHT
1661 94th Lane N.E.
Minneapolis, Minnesota 55449-4324
Servicio al cliente: 1-800-264-5442
8:00 a.m. a 5:00 p.m. (hora del Centro de
EE.UU.)
HOME RIGHT
1661 94th Lane N.E.
Minneapolis, Minnesota 55449-4324
Service à la clientèle : 1-800-264-5442
8 h à 17 h, heure normale du Centre
A
B
Made in China ·Fabriqué à Chine ·Hecho en China P/N C820451 Rev. B 4/17
Other manuals for PaintStick

3

This manual suits for next models

1

Other Homeright Paint Sprayer manuals

Homeright PaintStick EZ-Twist User manual

Homeright

Homeright PaintStick EZ-Twist User manual

Homeright finish max User manual

Homeright

Homeright finish max User manual

Homeright PaintStick User manual

Homeright

Homeright PaintStick User manual

Homeright Deck Pro 1 User manual

Homeright

Homeright Deck Pro 1 User manual

Homeright PRO 8.0 User manual

Homeright

Homeright PRO 8.0 User manual

Homeright CommandMax C800766 User manual

Homeright

Homeright CommandMax C800766 User manual

Homeright FINISH MAX C900076 User manual

Homeright

Homeright FINISH MAX C900076 User manual

Homeright finish max User manual

Homeright

Homeright finish max User manual

Homeright PRO 5.5 User manual

Homeright

Homeright PRO 5.5 User manual

Homeright Power-Flo Pro 2800 User manual

Homeright

Homeright Power-Flo Pro 2800 User manual

Homeright Deck Pro 1 User manual

Homeright

Homeright Deck Pro 1 User manual

Homeright 100 User manual

Homeright

Homeright 100 User manual

Homeright PRO 5.5 User manual

Homeright

Homeright PRO 5.5 User manual

Homeright Power-Flo User manual

Homeright

Homeright Power-Flo User manual

Homeright FINISH MAX PRO User manual

Homeright

Homeright FINISH MAX PRO User manual

Homeright Super Finish Max C800971 User manual

Homeright

Homeright Super Finish Max C800971 User manual

Homeright CommandMax HVLP User manual

Homeright

Homeright CommandMax HVLP User manual

Homeright FINISH MAX C800766 User manual

Homeright

Homeright FINISH MAX C800766 User manual

Homeright C900076 User manual

Homeright

Homeright C900076 User manual

Homeright StainStick User manual

Homeright

Homeright StainStick User manual

Popular Paint Sprayer manuals by other brands

WALTHER PILOT PILOT WA 81 operating instructions

WALTHER PILOT

WALTHER PILOT PILOT WA 81 operating instructions

Kingjet WS 12 instruction manual

Kingjet

Kingjet WS 12 instruction manual

Dino-Power DP-X Series Operating	 instruction

Dino-Power

Dino-Power DP-X Series Operating instruction

DeVilbiss GFG-670 PLUS Service bulletin

DeVilbiss

DeVilbiss GFG-670 PLUS Service bulletin

Hardi RANGER EAGLE Mounting instruction

Hardi

Hardi RANGER EAGLE Mounting instruction

DeVilbiss AGF-508 Operation manual

DeVilbiss

DeVilbiss AGF-508 Operation manual

SATA filter 200 operating instructions

SATA

SATA filter 200 operating instructions

Parkside 352096 2007 Operation and safety notes

Parkside

Parkside 352096 2007 Operation and safety notes

Harbor Freight Tools 56167 Owner's manual & safety instructions

Harbor Freight Tools

Harbor Freight Tools 56167 Owner's manual & safety instructions

Graco TexSpray HTX 2030 Operation, parts

Graco

Graco TexSpray HTX 2030 Operation, parts

Titan PowrLiner 2850 operating manual

Titan

Titan PowrLiner 2850 operating manual

Mesto 3131 Technical data

Mesto

Mesto 3131 Technical data

Fimco LG-40-SS Assembly / operation instructions / parts

Fimco

Fimco LG-40-SS Assembly / operation instructions / parts

Fast Mover FMT9500 Product instruction manual

Fast Mover

Fast Mover FMT9500 Product instruction manual

WALTHER PILOT Pilot IV operating instructions

WALTHER PILOT

WALTHER PILOT Pilot IV operating instructions

PMC 202745 Service manual

PMC

PMC 202745 Service manual

Villager VAT 801 Original instruction manual

Villager

Villager VAT 801 Original instruction manual

Grizzly G0533 owner's manual

Grizzly

Grizzly G0533 owner's manual

manuals.online logo
manuals.online logoBrands
  • About & Mission
  • Contact us
  • Privacy Policy
  • Terms and Conditions

Copyright 2025 Manuals.Online. All Rights Reserved.