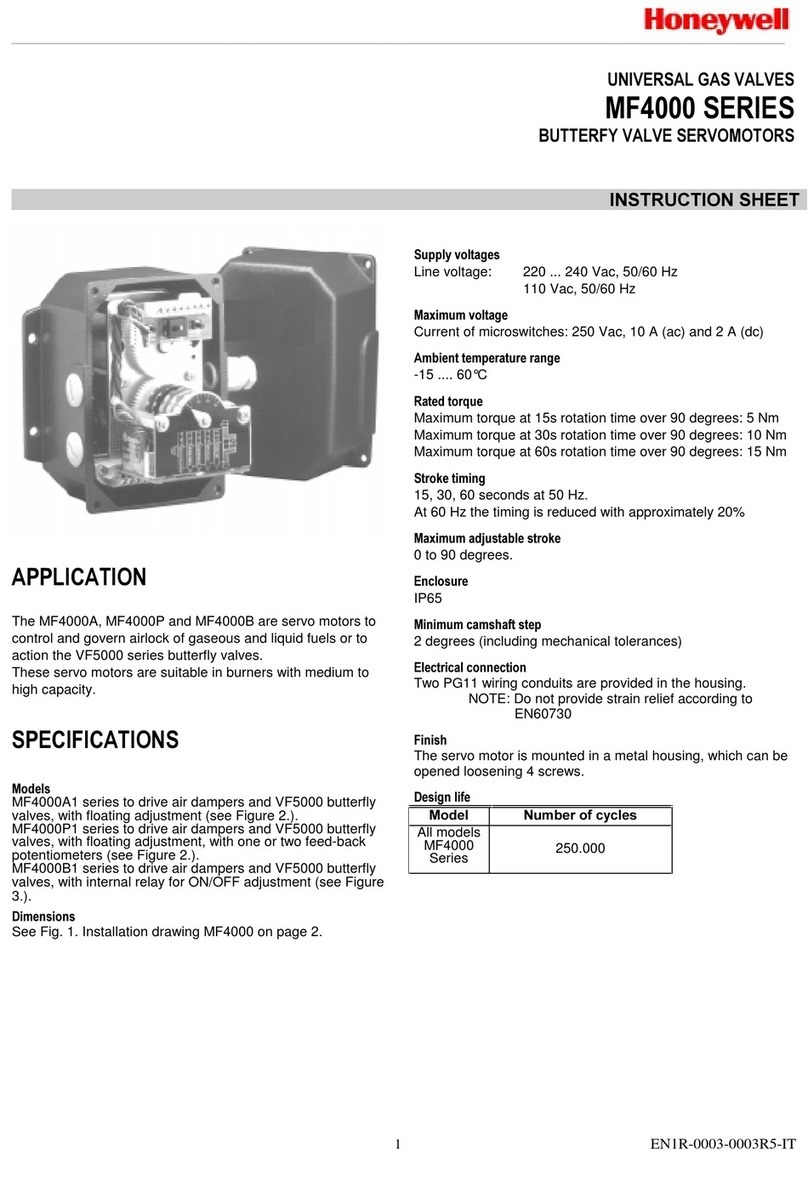
Honeywell MT4000 Series User manual

SERVO MOTORS FOR AIR DAMPERS AND BUTTERFLY VALVES
MT4000 Series
INSTRUCTION SHEET
EN2C-0035SZ20 R0604
APPLICATION
The MT4000, MT4001, MT4002 and MT4003 are servo
motors to control and govern air lock of gaseous and liquid
fuels.
The servo motors are suitable in burners with small to
medium capacity.
SPECIFICATIONS
Models
MT4000A series for combustion air dampers and VF5000
butterfly valves. External signals for modulation required.
MT4000B series for combustion air dampers and VF5000
butterfly valves. Including relay for one external modulation
input.
MT4001A series for air dampers in gas burners. To be used
with full featured ignition controllers and 3 wire thermostats.
MT4001B series for air dampers in gas burners. To be used
with full featured ignition controllers and 2 wire thermostats.
MT4001C series can be used with satronic TMG740. The
ignition controller is providing the burner sequence, including
the drive to high fire during pre--purge.
MT4002B series for air dampers in oil burners. Including relay
for 2 wire thermostat connection.
MT4003C series can be used with standard low featured
ON/OFF ignition controllers,where the pre--purge is provided
by the servomotor. Including relays for 2 wire thermostat
connection, low fire adjustment switch and fail safe pre--purge
timer.
Dimensions
See Fig. 1. Installation drawing MT4000 Series
Supply voltage
Line voltage: 220 ... 240 Vac, 50/60 Hz
110 Vac, 50/60 Hz
Maximum voltage
Current of micro--switches: 250 Vac, 10A (ac) and 2A(dc)
Ambient temperature range
--15 ... 60 °C
Relative humidity:0 -- 90% at 40 oC (non--condensing)
Rated torque value
Maximum torque at 6s rotation time over 90 degrees: 1.5 Nm
Maximum torque at 12s rotation time over 90 degrees: 1.5 Nm
Maximum torque at 24s rotation time over 90 degrees: 3.0 Nm
Maximum diagonal force
300N, when mounted with 4 screws
Stroke timing over 90 degrees
6, 12, 24 and 30 s at 50 Hz
At 60 Hz, the timing is reduced with approximately 20%
Maximum adjustable stroke
0 to 160 degrees
Enclosure
IP40
Minimum camshaft step
2 degrees (including mechanical tolerances)
Electrical connection
Two PG9 wiring conduits are provided in the housing.
NOTE: Do not provide strain--relief according to
EN60730
Finish
The servo motor is mounted in a black housing and
transparent plastic cover, which can be removed by loosening
2screws.
Pre--purge timer (MT4003C only)
20 seconds, tolerance --0 s, +10 s.
Design life
Model Number of Cycles
All models
MT4000
Series 250.000
Standards and approvals
The MT4000 Series conform with the folowing EC directives:
•Low Voltage Directive (73/23/EEC)
PIN: 0063AR1582
•Electro Magnetic Compatibility Directive (89/336/EEC)
•EN298 for MT4003C with pre--purge timer
EN2C-0035SZ20 R0604 2
INSTALLATION
IMPORTANT
1. Installer must be a trained experienced service
man.
2. Disconnect power supply to prevent electrical
shock and/or equipment damage.
3. When the MT4000 is used in stand alone
applications, use a proper strain--relief
4. The appliance manufacturer’s instructions should
be followed when provided.
5. Carry out a thorough checkout when installation is
completed.
Low fire adjustment switch
(optional)
0
Fig. 1. Installation drawing MT4000 Series
Mounting and orientation
There are no restrictions in the mounting angle of the motor.
The motor can be assembled by 4 screws. For mounting hole
dimensions, see installation drawing.
ADJUSTMENT AND CHECKOUT
WARNING
•Adjustment should be made by qualified personnel only.
•If the appliance manufacturer supplies checkout and/or
service and maintenance instructions, carefully follow
them.
•All adjustments on the cams should be done
after
disconnecting the power supply.
Functions of cams:
MT4000 A/B series MT4001 A/B/C, MT4002B
& MT4003C series
cam cam
Ihigh fire position of
air damper motor Ihigh fire position of
air damper motor
II closed position of
the air damper motor II closed position of air
damper motor
III auxiliary switches III low fire position of air
damper motor
IV auxiliary switches IV low fire position of air
damper motor
Vswitches the second
stage operation of
the gas valves
Adjustment for cams
Disconnect power supply and remove the cover. Use
adjustment tool inside the cover to adjust the cams. Place the
tool in one of the cam grooves to turn the cam in steps of
approximately 2 degrees.
Factory set “zero position”
All motors are factory set with zero position corresponding
with 45 degrees angle of flat surface on actuator shaft (see
figure 1.).
When field re--adjustment of zero position is necessary, rotate
cam II (clock or counter--clockwise) to zero position and
re--adjust arrow on scale manually.
Low fire adjustment switch (optional)
A push button switch, to activate electrically movement of the
cam assembly, independent from the flame relay signals, is
optional on MT4001B, MT4001C, MT4002B and MT4003C
type of servo motors.
Usethepushbuttonswitchtomovethecamassembly
forward during (re)adjustment of the low fire position of the
damper. When this push button is pressed down, the motor
will drive to high fire position. When the push button is
released, the motor will drive to low fire position.
Depending on type, it is positioned either on left or right side
of the front plate.

EN2C-0035SZ20 R0604
3
Cam adjustment for servo motors with right hand rotation Cam adjustment for servo motors with lefthand rotation
MT4000A/B series MT4000A/B series
cam cam
I/III
&
IV
Rotate the cam clockwise to increase the opening
position of the air damper
Rotate the cam counter--clockwise to decrease
the opening position of the air damper
I/ III
&
IV
Rotate the cam counter--clockwise to increase
the opening position of the air damper
Rotate the cam clockwise to decrease the
opening position of the air damper
II Factory set at 0 degrees, to start air damper in
closed position II Factory set at 0 degrees, to start air damper in
closed position
MT4001A/B/C, MT4002B & MT4003C series MT4001A/B/C, MT4002B & MT4003C series
cam cam
IRotate the cam clockwise to increase the high fire
psition of the air damper
Rotate the cam counter--clockwise to decrease
the low fire position of the air damper
IRotate the cam counter--clockwise to increase te
high fire position of the air damper
Rotate the cam clockwise to decrease the low fire
position of the air damper
II Factory set at 0 degrees, to start the air damper
in closed position II Factory set at 0 degrees, to start the air damper
in closed position
III/IV Rotate cam clockwise to increase the low fire
position of air damper
Rotate cam counter--clockwise to decrease the
low fire position of the air damper
III/IV Rotate cam counter--clockwise to increase the
low fire position of air damper
Rotate cam clockwise to decrease the low fire
position of the air damper
VRotate the cam clockwise, to delay the switching
of the second stage gas valve
Rotate the cam counter--clockwise, to advance
the switching of the second stage of the gas valve
VRotate the cam counter--clockwise, to delay the
switching of the second stage gas valve
Rotate the cam clockwise, to advance the
switching of the second stage of the gas valve
ELECTRICAL CONNECTIONS
IMPORTANT
Protective earth wires of external connected devices
etc. should be connected to the MT4000 earth
terminal according the manufacturer’s instructions
(max. 2 devices)
neutral
23456789
N.O. N.C. N.O. N.C.C. C.
drive to
low fire
auxiliary switch auxiliary switch
drive to
high fire
1
Fig. 2. Wiring Diagram MT4000A
neutral
23456789
N.O. C. N.C. N.O. N.C.C.
line
auxiliary switch auxiliary switch
drive
signal
1
Fig. 3. Wiring Diagram MT4000B

input
main
valve
drive to
low
fire
drive
to off
readback
signal
output
main
valve
drive to
high fire neutral
2345
6789
1
Fig. 4. Wiring Diagram MT4001A
neutral
drive
to high
fire
drive
to off
drive
to low
fire
input
main
valve
power
signal
during
run
readback
signal
23 4 5 6789
output
main
valve
Tmod.
1
Fig. 5. Wiring Diagram MT4001B
main
valve
output
main
valve
2345
6789
fan
input neutral
high fire
readback
signal
low fire
readback
signal
high/low
drive
signal
power
signal
during
run
1
Fig. 7. Wiring diagram MT4001C
input
main
valve neutral
fan
input
line
output
main
valve
2345
6789
fan
output
Tmod.
1
Fig. 8. Wiring Diagram MT4002B
input
main
valve
fan
input
neutral
line
output
main
valve
2345
6789
Tmod.
power
signal
during
run
1
Fig. 9. Wiring diagram MT4003C
Control Product
Satronic AG
Honeywell-Platz 1
CH-8157 Dielsdorf
Switzerland
Phone: +41 1 855 22 11
Fax: +41 1 855 22 22
A
uto
m
at
i
o
n
&
Co
n
t
r
o
l
So
l
ut
i
o
n
s
EN2C-0035SZ20 R0604 4
Control Product
Satronic AG
Honeywell-Platz 1
CH-8157 Dielsdorf
Switzerland
Phone: +41 1 855 22 11
Fax: +41 1 855 22 22
Automation & Control Solutions
EN2C-0035SZ20 R0604 4
This manual suits for next models
10
Other Honeywell Servo Drive manuals