Hopkins 526014 User manual

User Manual
Hopkins®IMPACT Digital Wrist BP
Thank you for selecting the Hopkins®IMPACT Digital Wrist BP #526014.
To use this BP monitor correctly and safely, please read this entire
manual thoroughly and keep it for your reference.
Item #526014
5 Greenwood Place • Baltimore, MD 21208
1-800-835-1995 • FAX: 410-484-4036
www.hmponline.com
RELATED ITEMS
Hopkins®IMPACT Digital Wrist BP
• Hopkins®Flex Temp Thermometer #579420
• Hopkins®Wavetm Pulse Oximeter #594029

1
INTRODUCTIONINDEX
INTRODUCTION ................................................................................................. 1
• Safety information
• LCD display
• Monitor components
BEFORE YOU START ..................................................................................... 4
• Installing and replacing batteries
• Setting date and time
MEASUREMENT................................................................................................. 7
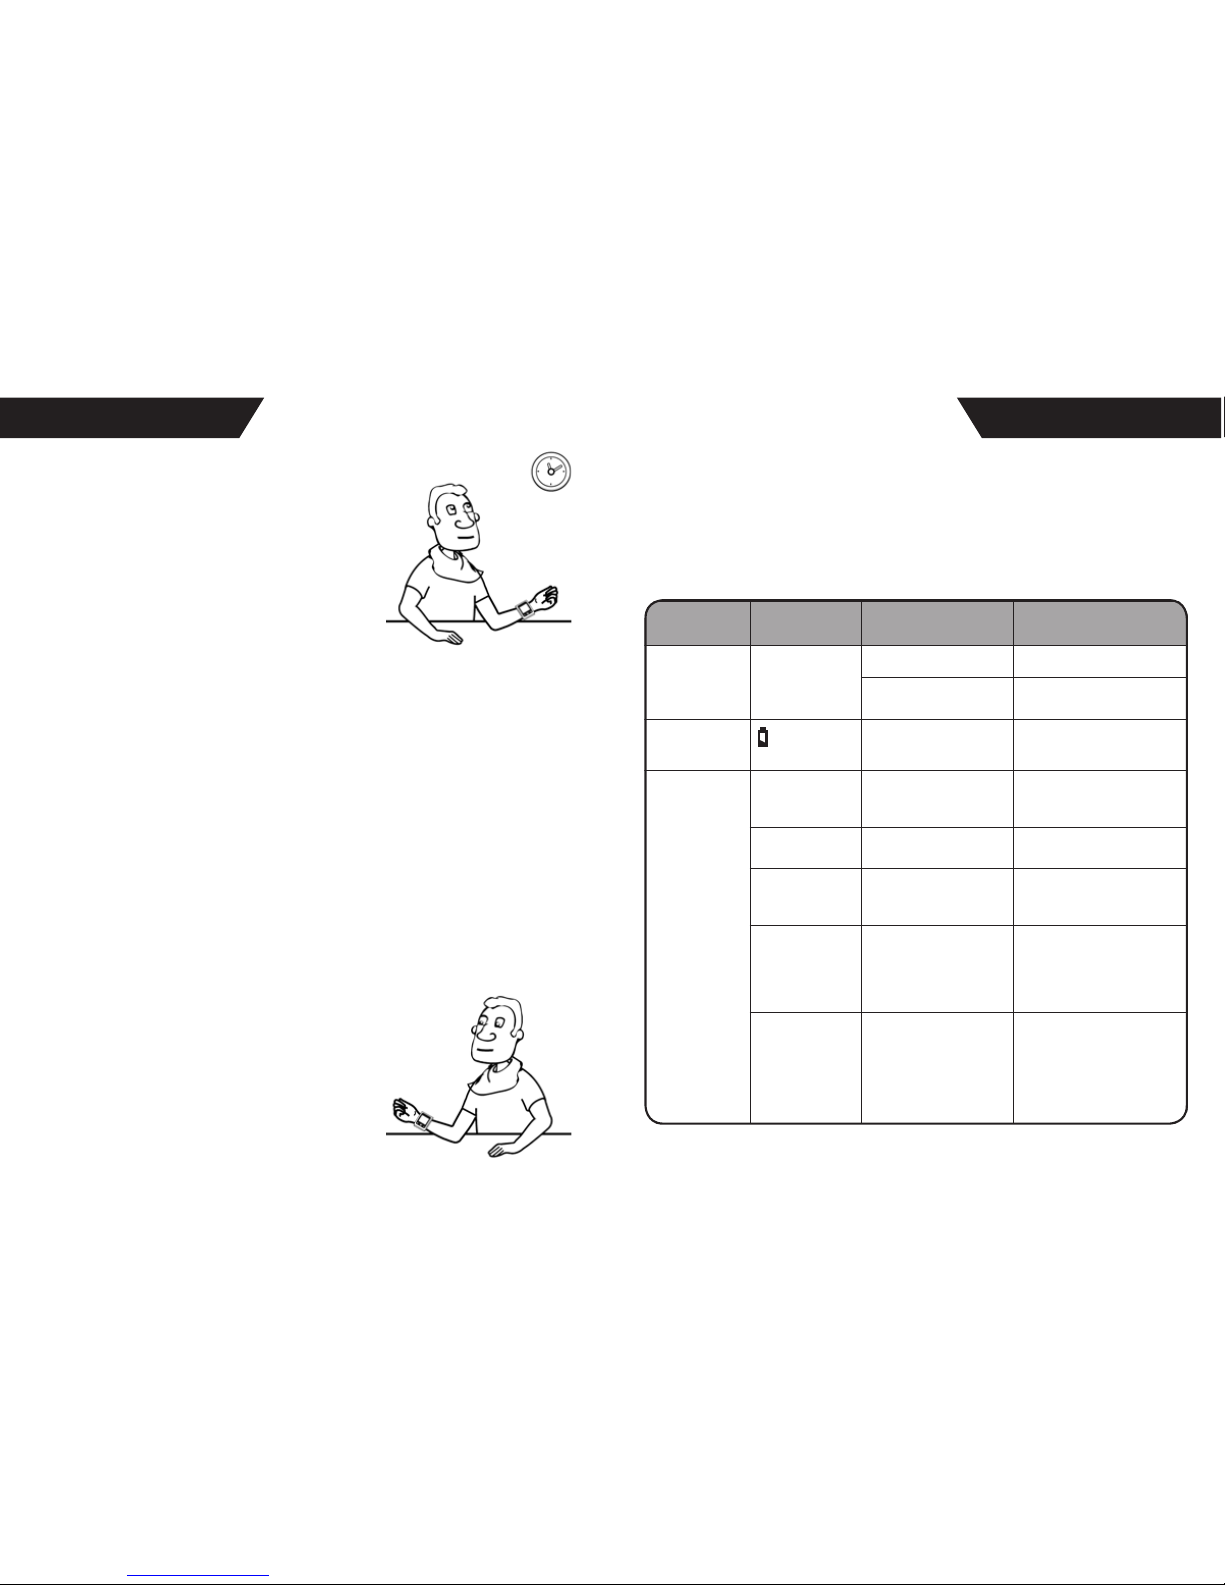
• Positioning the cuff
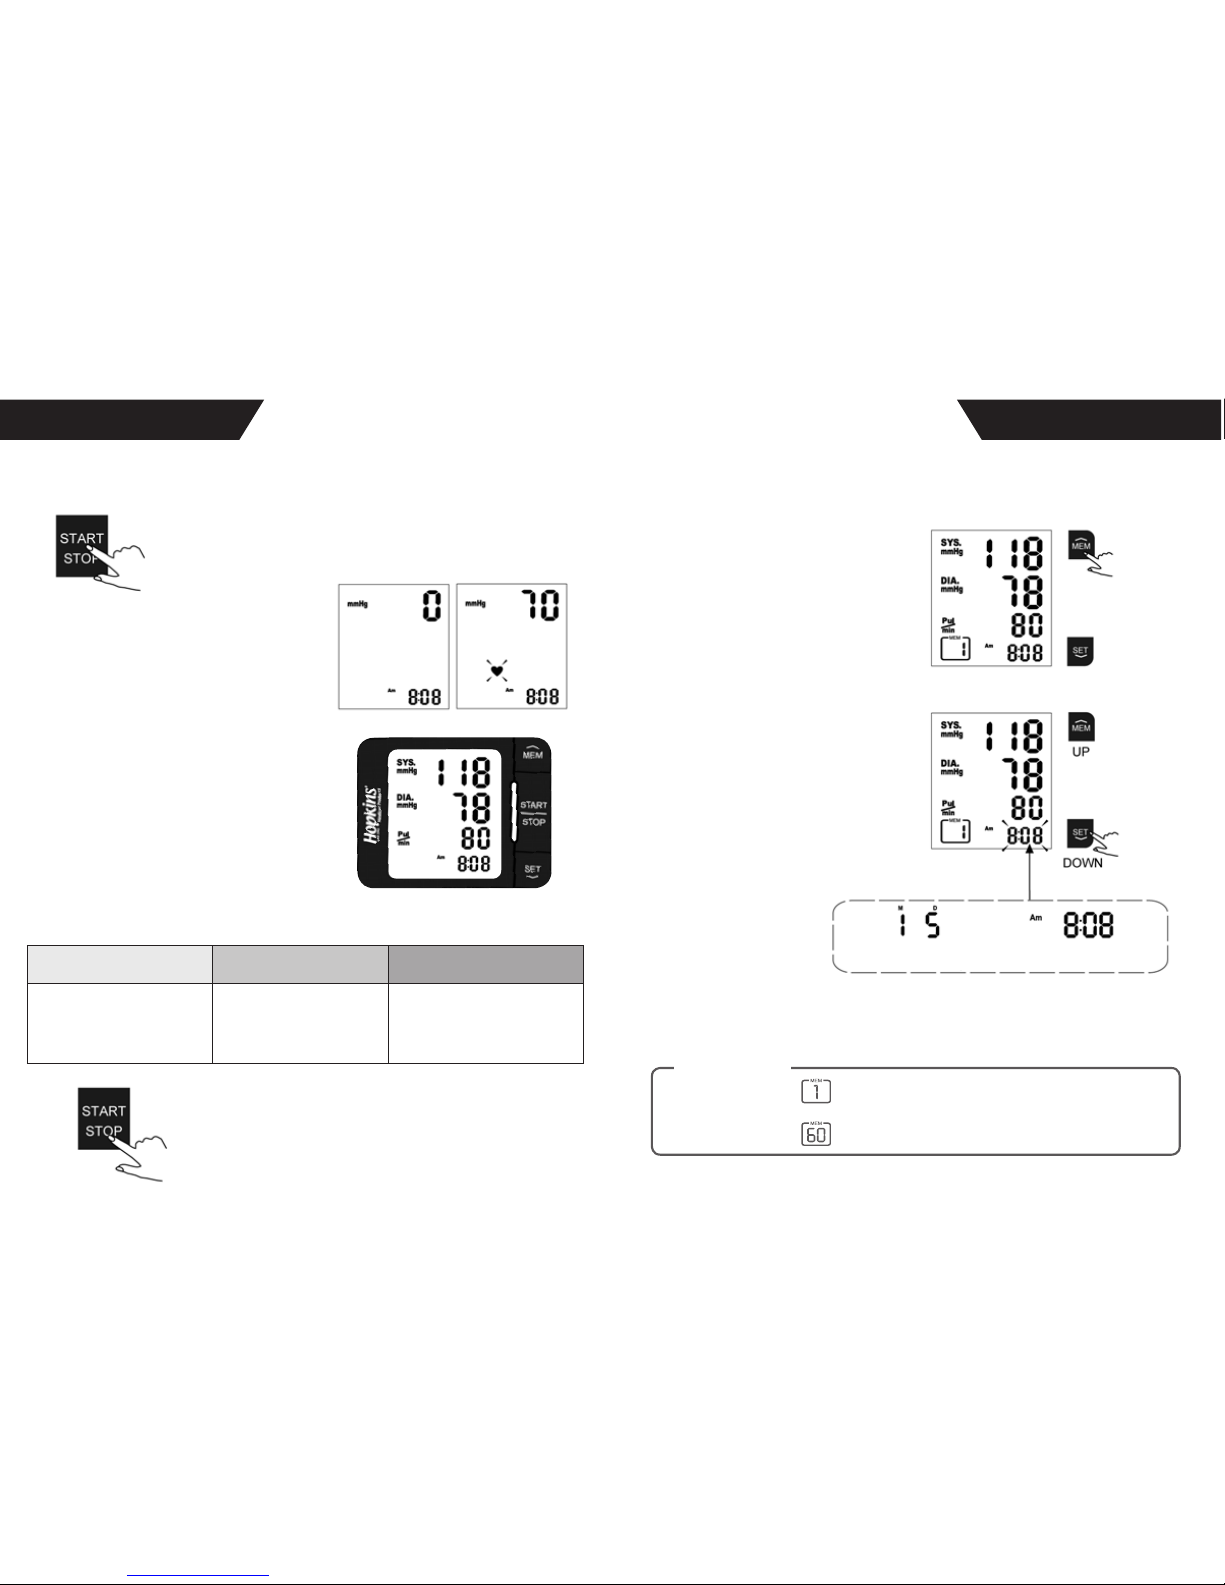
• Taking a measurement
RECORDED MEASUREMENTS ........................................................................ 9
• Recalling records
• Deleting records
USER INFORMATION ...................................................................................... 11
• Tips for operation
• Maintenance
ABOUT BLOOD PRESSURE ........................................................................... 13
• What are systolic and diastolic pressure?
• What is normal blood pressure?
• Why does my blood pressure uctuate throughout the day?
• Why is the reading I get from a healthcare provider different from the ones I take at home?
• Which arm should I use to take my blood pressure?
TROUBLESHOOTING ...................................................................................... 15
SPECIFICATIONS ............................................................................................. 16
WARRANTY INFORMATION ......................................................................... 17
Thank you for selecting the Hopkins® IMPACT Digital Wrist BP (Item #526014). This monitor fea-
tures blood pressure measurement, pulse rate measurement, and an auto-save function.
Readings taken by the #526014 are equivalent to those obtained by a trained observer using the
cuff and stethoscope auscultation method.
This manual contains important safety and care information, and provides step by step instructions
for using this product. Read this manual thoroughly before using this product
• Measures Systolic Blood Pressure
• Measures Diastolic Blood Pressure
• Measures Pulse Rate
• Retains historic records of up to 60 previous measurements
The following symbols may be used in the user manual, product labeling,
or on other components. They are the requirement of standard and use.
CAUTION
!
Caution: consult accompanying
documents
CE Mark: conforms to essential
requirements of the Medical
Device Directive 93/42/EEC
Manufacturer
Species serial number
Type B applied part
DISPOSAL: Do not dispose this
product as unsorted municipal waste.
Collection of such waste separately
for special treatment is necessary.
Direct current
Authorized Representative in the
European Community
♥ Features
♥ Safety Information
This device is for adult use only.
This device is intended for non-invasive measuring and monitoring of arterial blood pressure. It is
not intended for use on extremities other than the arm or for functions other than obtaining a blood
pressure measurement and pulse rate.
Do not confuse self-monitoring with self-diagnosis. This unit allows you to monitor your blood pres-
sure. Do not begin or end medical treatment based solely on self-monitoring, consult a physician for
treatment advice.
If you are taking medication, consult your physician to determine the most appropriate time to mea-
sure your blood pressure. Never change a prescribed medication without consulting your physician.
This unit is not suitable for continuous monitoring during medical emergencies or operations.
If the cuff pressure exceeds (300 mmHg), the unit will automatically deate. Should the cuff not
deate when pressures exceeds (300 mmHg), detach the cuff from the arm and press the START/
STOP button to stop ination.
To avoid measurement errors, carefully read this manual before using this device.
This device is not AP/APG equipment and not suitable for use in the presence of a ammable
anesthetic mixture with air, or with oxygen, or nitrous oxide.
Please avoid strong electromagnetic elds as they may interfere with or damage this device.
Always check this device to make sure that it is in proper working condition before use.

3
2
INTRODUCTIONINTRODUCTION
♥ LCD Display ♥ Monitor Components
SYMBOL DESCRIPTION EXPLANATION
SYS Systolic BP High pressure result
DIA Diastolic BP Low pressure result
Pul/min Pulse Pulse per Minute (Beats per Minute)
+Lo Low Battery Batteries are low and need to be replaced
mmHg Millimeters Mercury Measurement unit of blood pressure
INTRODUCTION INTRODUCTION
2 3
Monitor components
LCD display signal
SYMBOL DESCRIPTION
Systolic blood pressure High pressure result
Diastolic blood pressure Low pressure result
EXPLANATION
Pulse Pulse/minute
Deflating CUFF air is exhausting of deflating
Time (hour:minute) Currently time
Memory If “M” shows, the displayed measurement
values is from the memory.
For instructions,refer to Page 9
mmHg Measurement Unit of the blood pressure
(1mmHg=0.133kPa)
kPa Measurement Unit of the blood pressure
(1kPa=7.5mmHg)
Low battery Batteries are low and need to be replaced
Shocking remainding Shocking will result in inaccurate
Average The average of blood pressure
Recalling The erecords will be showed
Irregular heartbeat
Arrhythmia
Grade The grade of the blood pressure.
For instructions,refer to Page 13
CUFF
AIR HOSE
AIR CONNECTOR PLUG
LCD DISPLAY
DC POWER SOCKET
MEM/DOWN BUTTON
START/OFF BUTTON
SET/UP BUTTON
BATTERY COMPARTMENT
List
1.Blood Pressure Monitor
(TMB-1018-A)
4.User manual3. 4*AAA alkaline batteries
2.Cuff (Type B applied part) (AC2232-01)
Component list of
pressure measuring system
1 Cuff
2 Micro Control Unit
3 Amplifier
4 Air pipe
5 Pump
6 Valve
Irregular Heartbeat Irregular heartbeat (arrhythmia) detected
Memory If “MEM” shows, the displayed measurement value
is from the memory of recorded measurements
(See page 9 for instructions)
INTRODUCTION INTRODUCTION
2 3
Monitor components
LCD display signal
SYMBOL DESCRIPTION
Systolic blood pressure High pressure result
Diastolic blood pressure Low pressure result
EXPLANATION
Pulse Pulse/minute
Deflating CUFF air is exhausting of deflating
Time (hour:minute) Currently time
Memory If “M” shows, the displayed measurement
values is from the memory.
For instructions,refer to Page 9
mmHg Measurement Unit of the blood pressure
(1mmHg=0.133kPa)
kPa Measurement Unit of the blood pressure
(1kPa=7.5mmHg)
Low battery Batteries are low and need to be replaced
Shocking remainding Shocking will result in inaccurate
Average The average of blood pressure
Recalling The erecords will be showed
Irregular heartbeat
Arrhythmia
Grade The grade of the blood pressure.
For instructions,refer to Page 13
CUFF
AIR HOSE
AIR CONNECTOR PLUG
LCD DISPLAY
DC POWER SOCKET
MEM/DOWN BUTTON
START/OFF BUTTON
SET/UP BUTTON
BATTERY COMPARTMENT
List
1.Blood Pressure Monitor
(TMB-1018-A)
4.User manual3. 4*AAA alkaline batteries
2.Cuff (Type B applied part) (AC2232-01)
Component list of
pressure measuring system
1 Cuff
2 Micro Control Unit
3 Amplifier
4 Air pipe
5 Pump
6 Valve
Average The average of the blood pressure measurements
Inating The unit is inating with air to obtain the needed
level of pressure
Deating The unit is deating and the air is being exhausted
from the cuff
Time (hour:minute) The current time (set by user)
BP LEVEL
INDICATOR LIGHT
INTRODUCTION INTRODUCTION
2 3
Monitor components
LCD display signal
SYMBOL DESCRIPTION
Systolic blood pressure High pressure result
Diastolic blood pressure Low pressure result
EXPLANATION
Pulse Pulse/minute
Deflating CUFF air is exhausting of deflating
Time (hour:minute) Currently time
Memory If “M” shows, the displayed measurement
values is from the memory.
For instructions,refer to Page 9
mmHg Measurement Unit of the blood pressure
(1mmHg=0.133kPa)
kPa Measurement Unit of the blood pressure
(1kPa=7.5mmHg)
Low battery Batteries are low and need to be replaced
Shocking remainding Shocking will result in inaccurate
Average The average of blood pressure
Recalling The erecords will be showed
Irregular heartbeat
Arrhythmia
Grade The grade of the blood pressure.
For instructions,refer to Page 13
CUFF
AIR HOSE
AIR CONNECTOR PLUG
LCD DISPLAY
DC POWER SOCKET
MEM/DOWN BUTTON
START/OFF BUTTON
SET/UP BUTTON
BATTERY COMPARTMENT
List
1.Blood Pressure Monitor
(TMB-1018-A)
4.User manual3. 4*AAA alkaline batteries
2.Cuff (Type B applied part) (AC2232-01)
Component list of
pressure measuring system
1 Cuff
2 Micro Control Unit
3 Amplifier
4 Air pipe
5 Pump
6 Valve

54
Replace the batteries when any of the following happens
•The +Lo shows
•The display dims
•The display does not light up
BEFORE YOU STARTBEFORE YOU START
♥ Installing and Replacing the Batteries
1. Slide off the battery cover on the back of the unit.
2. Install the batteries by matching the correct polarity, as shown below.
Always use the correct battery type (2 alkaline AAAsize)
3. Replace the battery cover.
It is important to set the clock before using your blood pressure monitor
so that a time stamp can be assigned to each record stored in the memory.
(The year can be set to anywhere between 2000 and 2050.)
♥ Setting the Year, Date, Hour Format, Time,
and Measurement Units
1. When the unit is off, press the “SET” button
once then press “SET” again and hold for 3
seconds to enter the mode settings.
2. The [YEAR] will begin to ash. Press
“MEM” to advance to the current year.
3. Press “SET” when you have reached
the correct year to save your choice
and advance to the next step.
4. Repeat steps 2 and 3 to set the
[MONTH] and [DAY].
•If this device will be stored for an extended period of time, please remove the batteries
in order to avoid corrosion.
•Used batteries are harmful to the environment, so please dispose of appropriately.
Remove the old batteries from the device and follow your local recycling guidelines
•Battery corrosion is not covered under your three year limited warranty.
CAUTION
!

76
MEASUREMENTBEFORE YOU START
8. Your selected settings will advance for
review and the monitor will then turn off
automatically.
♥ Positioning the Wrist Cuff
1. Remove all accessories (watch, bracelets, etc.) from your left wrist. If your
physician has diagnosed you with poor circulation in your left arm, use your
right wrist instead.
2. Roll or push up your sleeve to expose the skin.
3. Apply the cuff to your left wrist with your palm facing up.
4. Keep the monitor level with your heart.
5. Position the edge of the cuff about 1 inch from your wrist.
6. Fasten the wrist cuff around your wrist, leaving no extra room between the
cuff and your skin. If the cuff is too loose, the measurement will not be accurate.
• You should always rest for at least 5 minutes before measuring your blood
pressure.
• Wait at least 3 minutes between measurements. This allows your blood
circulation to recover.
• For a meaningful comparison, try to take blood pressure measurements under
similar conditions. For example, take daily measurements at approximately the
same time, on the same arm, or as directed by a physician.
6. Repeat steps 2 and 3 to set the
[HOUR] and [MINUTE].
♥ Tips for Accuracy
Table of contents
Other Hopkins Blood Pressure Monitor manuals