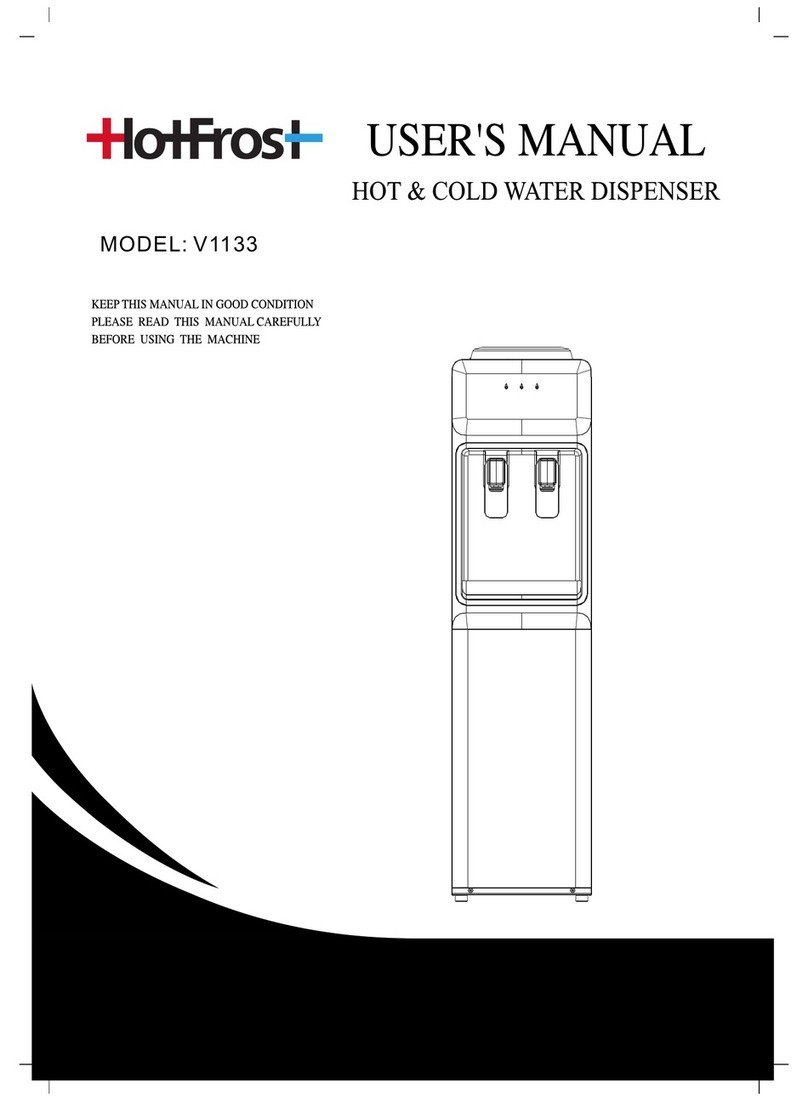
HotFrost V205 BS User manual

WATER DISPENSERS
Model:
V205 BS
V208 / V208 S
V208 B / V208 BS
V760 CS
V760 C wood

1
II. IMPORTANT
1. Don’ inser he plug in o socke before he wa er comes ou of he red
(ho ) ap.
2. Make sure he adop ion of he ear hing wi h hree pin-hole socke and
he elec ric leakage pro ec or is available o avoid any elec ric shock.
3. Pull ou he plug and drain ou he wa er from drain s opple and 2 aps
when he machine is disengaged for a long ime.
4. Don’ open he door o avoid ozone leakage during he ozone
genera or working and keep he door closing igh ly for 1 hour af er
ozone genera or s op working. (For he model which have disinfec ion
cabine only.)
III. FEATURES
1. I supplies ho and cold empera ure wa er o mee he demands of
people for drinking coffee or ea and having ins an food or milk, cold
drink, e c. I ’s sui able for households, ho els, offices and schools, e c.
2. Two, hree or five gallon bo led pure wa er or RO-purified wa er can
be used as he wa er source.
3. Powerful compressor refrigera ion ech. and exac empera ure con rol
ech. are adop ed. I is fas cooling and high efficien .
4. The cooling ank and he hea ing ank are made of food grade
s ainless s eel. They are long-use, safe and sani ary.
5. The high efficien ozone genera or is adop in he
disinfec ion cabine (some models) he bac eria can be
killed and he food can be kep fresh availably.
IV. PLACEMENT
1. The uni should be placed fla ly.
2. I ’s necessary o place he dispenser in cool shade, keep i
away from direc sunligh and main ain i s dis ance more
han 15cm from he wall. There will be a dis ance of 15cm in
he lef and righ side.

2
3. I is recommended o pu his machine away from he furni ures and
o her appliance o avoid unexpec ed damage by wa er.
4. Af er he above men ioned s eps hen pu he swi ch a off side.
5. To avoid a hazard due o ins abili y of he appliance, i mus be fixed in
accordance wi h he ins ruc ions.
6. In he back of wa er dispenser here is a fixing shee , consumers
should connec he fixing, shee wi h he wall or unmoved objec by
hemselves, in order o avoid i fall down.
7. WARNING- Keep ven ila ion openings, in he appliance enclosure or in
he buil -in s ruc ure clear of obs ruc ion.
8. WARNING - Do no damage he refrigeran circui .
9. WARNING – Do no use flammable appliances inside food s orage
compar men s of he appliance, unless hey are of he ype recommended
by he manufac urer.
V. OPERATION
1. Clean off he label on he cap of he bo le.
2. Inser he bo le ver ically in o he wa er guard and urn on he Red (ho )
ap un il he wa er flows ou from i .
3. Inser he plug in o he socke , hen urn on he swi ches (DON’T TURN
ON THE SWITCHES AT THE SAME TIME) o s ar he machine, he
hea ing lamp and he cooling lamp ligh up. I needn’ your work when he
wa er empera ure reaches differen se ing values.
VI. HOW TO USE THE DISNFECTION CABINET
1. The wa er on he goods should be cleaned before pu hese goods in o
cabine .
2. Please close he door TIGHTLY hen urn he imer (0-30 minu es
op ional) o s ar he ozone genera or. Don’ open he door and keep
close for 1 hour o avoid ozone leakage. I will no work if he door is
no closed igh ly.
3. I ’s necessary o clean he cabine rimly.
VII. HOW TO USE THE REFRIGERATOR
1. Be sure ha he refrigera or cabine and drop ray inside are clean and
dry before using.
2. Turn on he cooling swi ch (green) o s ar .
3. When using for he firs ime please do no pu any goods in o he
cabine . Two hours la er, pu he goods in o he refrigera or. (Please
leave space for air circula ion if you pu he food in i .)
4. Avoiding wa er from flowing ou , i is necessary o dry and clean he
refrigera or cabine and drop ray inside periodically.
VIII. ATTENTION
1. Danger: Do no pull he power wire cons rainedly. Do nor pull or pu
he plug o s ar or s op he machine. Do no change he power cord.
2. Cau ion: Make sure adop he group wire wi h hree pin-hole socke

3
and elec ric leakage pro ec ion o avoid any elec ric shock.
3. Do no clean he machine wi h wa er o avoid unexpec ed elec ric
shock. You should clean i by sof clo h.
4. Adop he proper wire and socke o avoid wire overhea ing.
Meanwhile, adop he ear hing and he elec ric leakage pro ec or o
avoid any elec ric shock.
5. Children are forbidden o push or pull he ho (red) wa er ap.
6. Give his machine a dry, clean and shade place.
7. Do no move i roughly. Do no incline i over 45°。
8. If he supply cord is damaged, i mus be replaced by he manufac ory,
i s service agen or similarly qualified persons in order o avoid a
hazard.
9. The produc is for household use only.
10. This appliance is no in ended for use by person (including children)
wi h reduced physical, sensory or men al capabili ies, or lack of
experience and knowledge, unless hey have been given supervision
or ins ruc ion concerning use of he appliance by a person responsible
for heir safe y.
11. Children should be supervised o ensure ha hey do no play wi h he
appliance.
IX. HOW TO CLEAN YOUR MACHINE
1. When you firs use, af er 30 minu es running he bo le,
drain ou he wa er from drain s opples and ho &cold 2aps
(BE CAREFUL OF THE HOT WATER). Then pu back he bo le and o
pen he ho ap un il wa er comes ou .
2. If you use mineral wa er,i is necessary o clean he hea ing coil and a
nk wi h 2% cooking ci ric acid and clean wa er once amon h o assure
good performance and good wa er quali y.
The clean me hod is same o he above men ioned in clause 1.
(Please no e:
you should clean again or more by pure wa er af er drain ou he ci ric wa
er.)
3. The manufac ory provides warran y in accordance wi h he legisla ion
of he cus omer's own coun ry of residence,
wi h aminimum of 1year (Germany: 2 years),
s ar ing from he da e on which he appliance is sold o he end user.
4. The warran y only covers defec s in ma erial or workmanship.
5. The repairs under warran y may only be carried ou by an au horized s
ervice cen re. When making claim under he warran y,
he original bill of purchase (wi h purchase da e) mus be submi ed.
6. The warran y will no apply in cases of:
-Normal wear and ear

4
-Incorrec use .e.g. overloading of he appliance, use of non-
approved accessories.
-Use of force, damage caused by ex ernal influences.
-Damage caused by non-
observance of he user manual,e.g. connec ion o an unsui able mains sup
ply or non-compliance wi h he ins alla ion ins ruc ions.
-Par ially or comple ely disman led appliances
X. TROUBLLLESHOOTING
CAUTION: In order o avoid a hazard due o inadver en rese ing of he
hermal cu ou , his appliance mus no be supplied hrough an ex ernal
swi ching device, such as a imer, or connec ed o a circui ha is regularly
swi ched on and off by he u ili y.
● CORRECT DISPOSAL OF THIS PRODUCT
This marking indica es ha his produc should no be
disposed wi h o her household was es hroughou he EU.
To preven possible harm o he environmen or human
heal h from uncon rolled was e disposal, recycle i
responsibly o promo e he sus ainable reuse of ma erial
resources. To re urn your used device, please use he
re urn and collec ion sys ems or con ac he re ailer where
he produc was purchased. They can ake his produc
for environmen al safe recycling.
Impor an s a emen s we checked up on above informa ion carefully, any
prin ing error or con en misunders anding, he manufac urer reserve he
righ of final in erpre a ion. Please be no ed ha any echnological
improvemen s are subjec o change wi hou prior no ice.
Trouble Causes Remedy
No water from
the faucets Air entrance has been
blocked Take down the bottle and reassemble
it
Do not provide
hot or cold
water
1.Too much water has been
used in a short time
2.Electric connection is loose
1.Wait for a while and try again
2.Made sure the switch is ON and the
plug is in the socket
Electrical
leakage The connection is not good Make sure the earthing and the
leakage protector are available
Loud noise Incorrect placement Replace it away from other objects
Water leakage The bottle is broken Change a good one
The sterilizer
or the
refrigerator
does not work
Electric connector is loose
Make sure the switch is on. Make sure
the electric circuit is not interrupted.
Make sure the plug cord is plugged in.
The door has not been closed
This manual suits for next models
6
Table of contents
Other HotFrost Water Dispenser manuals