manuals.online logo
Brands
  1. Home
  2. •
  3. Brands
  4. •
  5. HP
  6. •
  7. Digital Camera
  8. •
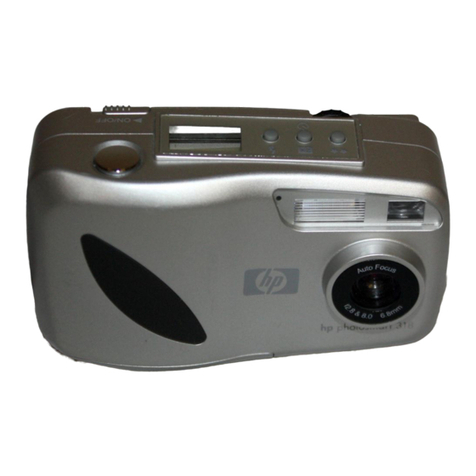
  9. HP PhotoSmart 315 User manual

HP PhotoSmart 315 User manual

Other manuals for PhotoSmart 315

1

This manual suits for next models

2

Other HP Digital Camera manuals

HP Photosmart 215 User manual

HP

HP Photosmart 215 User manual

HP SB360 - 12 MP, 3IN LCD User manual

HP

HP SB360 - 12 MP, 3IN LCD User manual

HP R837 - Photosmart 7MP Digital Camera User manual

HP

HP R837 - Photosmart 7MP Digital Camera User manual

HP Photosmart R707 User manual

HP

HP Photosmart R707 User manual

HP R837 - Photosmart 7MP Digital Camera User manual

HP

HP R837 - Photosmart 7MP Digital Camera User manual

HP R837 - Photosmart 7MP Digital Camera User manual

HP

HP R837 - Photosmart 7MP Digital Camera User manual

HP Photosmart M437 Operating and installation instructions

HP

HP Photosmart M437 Operating and installation instructions

HP CC450 User manual

HP

HP CC450 User manual

HP 930 User manual

HP

HP 930 User manual

HP Photosmart M440 Series User manual

HP

HP Photosmart M440 Series User manual

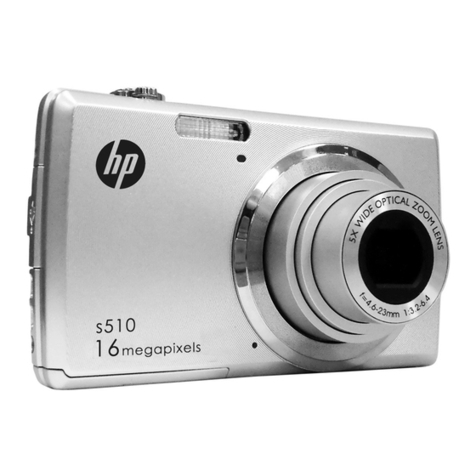
HP s510 User manual

HP

HP s510 User manual

HP Photosmart R930 series User manual

HP

HP Photosmart R930 series User manual

HP s520 User manual

HP

HP s520 User manual

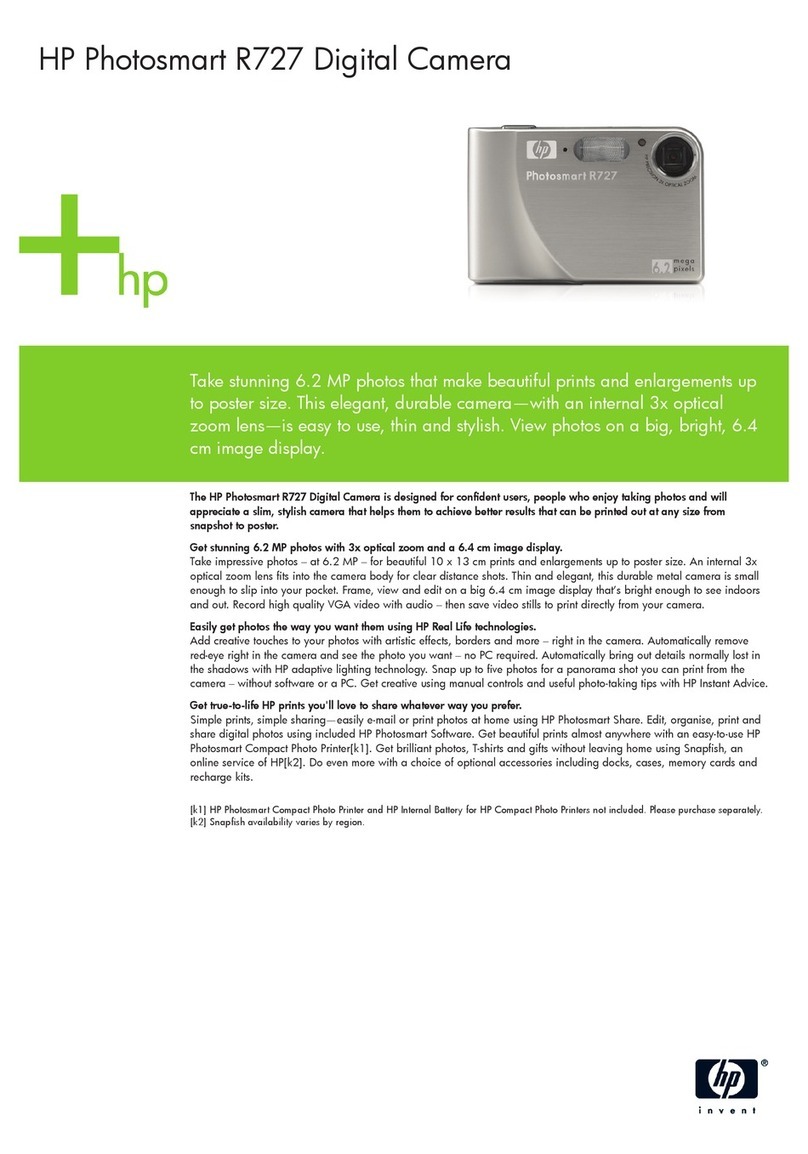
HP PhotoSmart R727 User manual

HP

HP PhotoSmart R727 User manual

HP lc200w User manual

HP

HP lc200w User manual

HP photosmart 630 series User manual

HP

HP photosmart 630 series User manual

HP Photosmart M730 Series User manual

HP

HP Photosmart M730 Series User manual

HP photosmart 850 User manual

HP

HP photosmart 850 User manual

HP SW350A User manual

HP

HP SW350A User manual

HP s510 User manual

HP

HP s510 User manual

HP Photosmart M527 User manual

HP

HP Photosmart M527 User manual

HP Photosmart M537 Owner's manual

HP

HP Photosmart M537 Owner's manual

HP PhotoSmart C500 User manual

HP

HP PhotoSmart C500 User manual

HP R725 User manual

HP

HP R725 User manual

Popular Digital Camera manuals by other brands

Canon WP-DC35 user guide

Canon

Canon WP-DC35 user guide

Xiaomi 70mai Dash Cam Lite user manual

Xiaomi

Xiaomi 70mai Dash Cam Lite user manual

Samsung PL70 Quick start manual

Samsung

Samsung PL70 Quick start manual

GE E1680W user manual

GE

GE E1680W user manual

Canon EOS 1200D instruction manual

Canon

Canon EOS 1200D instruction manual

Tevion MD 86497 user guide

Tevion

Tevion MD 86497 user guide

Exakta VX Features

Exakta

Exakta VX Features

Kodak Digital Science DC120 user guide

Kodak

Kodak Digital Science DC120 user guide

Nikon FM3A Specifications

Nikon

Nikon FM3A Specifications

Vectra Fitness H1 Quick reference guide

Vectra Fitness

Vectra Fitness H1 Quick reference guide

Nikon COOLPIX 775 quick start guide

Nikon

Nikon COOLPIX 775 quick start guide

Olympus IR 500 - 4MP Digital Solutions Camera Manuel de Référence

Olympus

Olympus IR 500 - 4MP Digital Solutions Camera Manuel de Référence

Samsung EC-L100ZBBA brochure

Samsung

Samsung EC-L100ZBBA brochure

FujiFilm FINEPIX BL01124-201 owner's manual

FujiFilm

FujiFilm FINEPIX BL01124-201 owner's manual

Panasonic DMC-L10KPP Service manual

Panasonic

Panasonic DMC-L10KPP Service manual

Hyundai Electric HYU-CC-CHBF12001 Quick installation guide

Hyundai Electric

Hyundai Electric HYU-CC-CHBF12001 Quick installation guide

Sony DSC-WX80 specification

Sony

Sony DSC-WX80 specification

Nikon Nuvis S - Point & Shoot instruction manual

Nikon

Nikon Nuvis S - Point & Shoot instruction manual

manuals.online logo
manuals.online logoBrands
  • About & Mission
  • Contact us
  • Privacy Policy
  • Terms and Conditions

Copyright 2025 Manuals.Online. All Rights Reserved.

1. Slide the lens cover open to turn the camera on.
2. Look through the viewfinder and frame your
subject.
.
C315
5-way
controller
Quick Success
1. Use the up or down side of the 5 way controller
to select the date and time format you want to
use, then press OK.
2. Use the right or left side of the 5 way controller to
select the day (date) of the month, then press the
down side of the 5 way controller to move to the
next item in the list.
3. Select the month, year, hour, minutes, and AM or
PM in the same manner, then press OK.
4. To confirm the date and time, press OK.
Lens cover
1. Make sure the lens cover is closed.
2. Insert the batteries.
1. Slide the lens cover open to turn the
camera on.
2. Press the down side of the 5 way
controller until the language you want
to use is highlighted on the image LCD.
3. Press OK (push the center of the 5 way
controller straight in).
Image LCD
See these pages of the Users Guide for more information
1Set up your camera
For HP Customer Care information, see
your HP PhotoSmart 315 Users Guide.
Install the batteries Choose the language Set the date and time
Viewfinder
1. Slide the lens cover closed to turn the
camera off.
2. Press the image LCD on/off button to turn
the image LCD on.
3. Use the 5 way controller to sequence through
your photos.
After you have taken some photos, you can
review them on the image LCD.
C8452-90101
Printed on recycled paper
©2000 Hewlett-Packard Company
hp photosmart 315
Shutter
button
3. Press and hold the shutter button 1/2 way down.
4. When the green light appears next to the
viewfinder, press the shutter button all the way down.
5. Wait for the beeps, then release the shutter button.
www.hp.com/photosmart
5-way controller
Image LCD on/off button
Image LCD
Note: To preserve battery life while you
review photos, you can use an
HP approved AC adapter
(purchased separately) to power
the camera.
Take some photos
2
Review your photos
319-21
11-12
3-6
Quick Success
.Picture of
computer
C315
With a computer and your cameras software, you can print copies of your favorite photos, design
creative album pages, send photos via email, and even post photos on the Internet! Follow the
instructions below to learn how to transfer photos to your computer, then refer to the online help in
the software that came with your camera for more information.
1. Connect the camera to your computer using the USB cable
provided.
2. Slide the lens cover open to turn the camera on. If you are
using a Windows PC, the HP Photo Imaging Software
window automatically appears on your computer screen after
a few seconds. If you are using a Macintosh, an Untitled
drive icon automatically appears on your desktop after a few
seconds.
1. Click Unload Camera in the HP Photo Imaging Software window.
2. The photos will be saved in the folder shown in the Save my
images to box. If you want to save them in a different folder, click
the browse (...) button to select the folder where you want to store
the photos.
Make other selections in the dialog box as desired.
3. Click Start.
4. Click es.
Unload
Camera
1. Double click the Untitled drive icon on your desktop.
2. Double click the DCIM folder.
3. Double click the HP315 folder.
4. Double click the hard drive window and the folder you want to
store the photo(s) in.
5. In the HP315 folder window, select the photo(s) you want to
transfer.
6. Drag the selected photo(s) to the folder you opened in step 4.
When you are finished transferring photos, you can use the ArcSoft
PhotoImpression software that came with your camera to work with
your photos. For more information on the ArcSoft PhotoImpression
software, visit www.arcsoft.com.
Untitled drive
icon
* Macintosh ** Windows PC *
For HP Customer Care information, see
your HP PhotoSmart 315 Users Guide.
To com uter To camera
Note: To preserve battery life while you
transfer photos, you can use an HP
approved AC adapter (purchased
separately) to power the camera.
www.hp.com/photosmart
Install the software
4
Connect the camera
5
Transfer photos
6
hp photosmart 315
Windows is a registered trademark o Microso t Corporation
Macintosh is a registered trademark o Apple Computer, Inc.
C8452-90101
Printed on recycled paper
©2000 Hewlett-Packard Company
* Windows PC *
Insert the HP PhotoSmart 315 CD into your computers CD ROM drive, then click
Next in the installation window that appears on your computer screen. Follow the
instructions on the screen to install the software.
Note: If you are using a Macintosh, you do not need to install software to download
photos. Proceed to step 5 below.
53,57
52,56
51