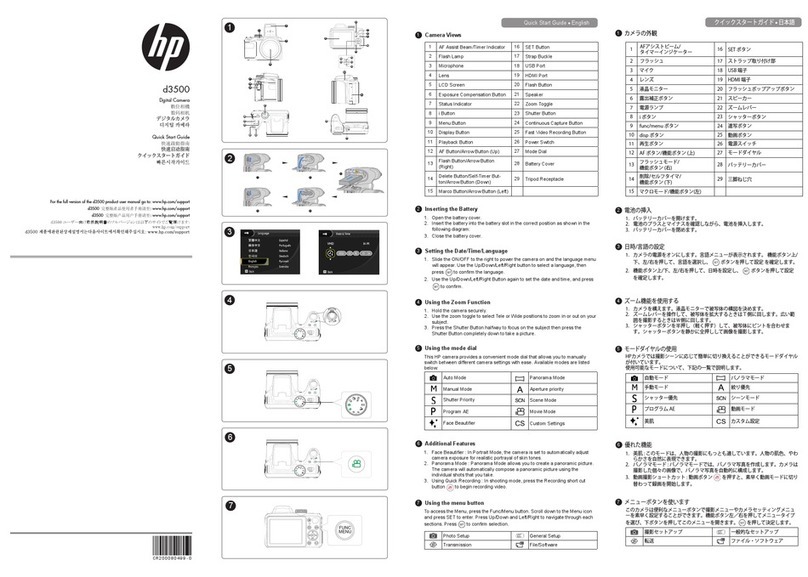
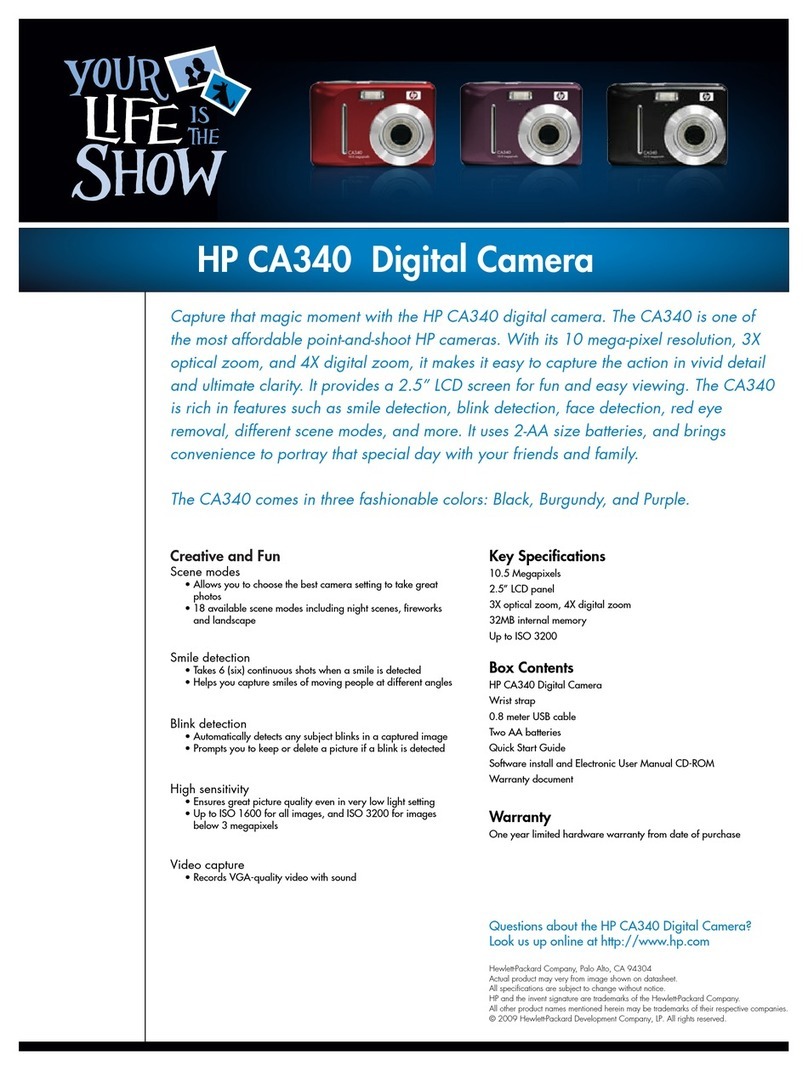
HP d3000 User manual

d3000
Digital Camera
Appareil photonumérique
Digitalkamera
macchina fotografica digitale
Cámara digital
Ψηφιακή Κάμερα
Câmera Digital
Quick Start Guide
Guide de démarrage rapide
Schnelleinstieg
Guida veloce
Guía rápida
Γρήγορος Οδηγός Εκκίνησης
Guia de Início Rápido
For the full version of the d3000 product user manual go to : www.hp.com/support
Per la versione completa del manuale d’uso del modello d3000 consultare il sito : www.hp.com/support
Pour obtenir une notice d'utlisation complete du d3000 allez sur le lien suivant : www.hp.com/support
Das vollständige Handbuch der d3000 Kameraist unter : www.hp.com/support zu finden
Para descargarse la versión completa del manual de instrucciones del modelo d3000,
puede acceder al siguiente enlace: www.hp.com/support
Για την πλήρη έκδοση του εγχειριδίου χρήσης του προϊόντος d3000 πηγαίνετε στο : www.hp.com/support
Para a versão completa do manual do usuário do produto d3000 ir para: www.hp.com/support

CONTENT
PORTUGUÊS
Ελληνικά

d3000 Quick Start Guide
ENGLISH
Camera Views
Front View Back View
1. Self-timer LED/
AF Assist Lamp
2. Microphones
3. Lens
4. LCD display
5. LED indicator
6. Video Record button
7. Playback button
8. OK button/4-way
navigation control
9. Function/Delete
button
10. Menu button
Top View
11. Flash enclosure
12. Zoom toggle
13. Shutter button
14. ON/OFF
(Power button)
15. Mode dial

Bottom View
16. Battery/Memory
card compartment
17. Tripod screw hole
Right View
18. Strap ring
Left View
19. Strap ring
20. Speaker
21. USB AV/Out

Step 1. Inserting the Battery
1. Unlock and open the battery/memory card compartment (feature no. 16 on page 2) on the bottom
of the camera as shown below. To unlock the door slide the release slider (step 1) towards the back
of the camera. At the same time slide the door (step 2) to the right.
2. Insert four AA batteries into the cavities with
the alternating battery orientation exactly as
shown in the figure to the right. Note:
inside each battery cavity there is a small
decal that depicts proper battery orientation.
3. Close the battery/memory card compartment
door and slide it back to its closed position.
The slider will click into its locked position.
Step 2. Inserting an SD/SDHC/SDXC Memory Card
1. Unlock and open the Battery/memory card
compartment at the bottom of the camera as
described in the previous section.
2. Insert an SD, SDHC, or SDXC card into the
memory card slot with the contact pins facing
the back side of the camera as shown.
3. Push the memory card into the memory slot
until it clicks into place.
4. Close and lock the Battery/memory card
compartment door as described in the
previous section.
NOTE: To remove the memory card: Gently push the card until it pops out. Pull the card out and lock the battery cover.

Step 3. Setting the Language, Date, and Time
1. Turn on the power by pressing Power button. (feature no. 14 on page 1)
2. Use 4-way navigation controller (feature no. 8 on page 1) to move and change the settings.
3. Press OK button to finish. (also feature no. 8 on page 1)
Step 4. Taking Pictures
1. Power on the camera by pressing the Power button.
2. Compose your image in the LCD display monitor.
3. Use the Zoom toggle (feature no. 12 on page 1) to
zoom in, or out, to frame your subject.
4. Press the Shutter button (feature no. 13 on page 1)
halfway down to start adjustment to the auto focus and
the exposure. Once the framing bracket turns green,
press the Shutter button down fully to take the Photo.
When using the flash strobe, note that the flash door does not pop-up automatically.
Please open the Flash manually. Lift using the tabs on the Flash cover. (feature no. 11
on page 1)
Step 5. Recording Video
1. Power on the Camera.
2. Press the Video Record button to start recording
(feature no. 6 on page 1). The green LED (feature no. 5 on
page 1) will blink as an indication that you are recording.
3. Use the Zoom toggle (feature no. 12 on page 1) to zoom in
and zoom out as desired.
4. To pause recording momentarily, press the located
on the top of the navigation controller (feature no. 8 on page
1).
5. To resume recording, press again.
6. To stop recording altogether, press the again.
Step 6. Viewing photos, videos and audio
clips
1. Press the Playback button on the camera. (feature
no. 7 on page 1)
2. The LCD screen displays an image. Press the left and right
quadrants of the navigation controller (feature no. 8 on page
1; the macro and flash symbols) to view the previous or next
image, or video.
3. Press the OK button (also feature no. 8 on page 1) to play a
video clip.
Step 7. Using the Setup Menu
1. Power on the Camera.
2. Press the Menu button (feature no. 10 on page 1)
to open the Record/Playback Menu.
3. Press the left and right quadrants of the navigation
controller (feature no. 8 on page 1; the macro and flash
symbols) to change the menu tab to Setup menu.
4. Press upper and lower quadrants of the navigation controller
to move up and down through the menu selections. Use
the right quadrant (flash symbol) to expand menus that
have sub features.
5. Press the OK button (also feature no. 8 on page 1) to save
and apply settings.

Guide de démarrage
FRANÇAIS
Vues de l’appareil photo
Vue de face Vue de dos
1. Diode du déclencheur
à retardement/
lumière de soutien AF
2. Microphone
3. Objectif
4. Écran LCD
5. Témoin diode
6. Bouton Vidéo
7. Bouton Lecture
8. Bouton OK/contrôle
de navigation à
quadruple
commande
9. Bouton
Fonction/Supprimer
10. Bouton Menu
Vue supérieure
11. Flash
12. Levier de zoom
13. Déclencheur
14. ON/OFF (Bouton
d’alimentation)
15. Molette de mode

Vue inférieure
16. Compartiment de la
batterie/carte
mémoire
17. Trou de vis du
trépied
Vue droite
18. Anneau de la
courroie
Vue gauche
19. Anneau de la
courroie
20. Haut-parleur
21. USB Sortie/AV

Étape 1. Insérer la batterie
1. Déverrouillez et ouvrez le compartiment de la batterie/carte mémoire dessous l’appareil photo.
2. Insérez la batterie dans le compartiment avec
la borne dirigée vers l’intérieur de l’appareil
photo.
3. Fermez et verrouillez le compartiment de la
batterie/carte mémoire.
Étape 2. Insérer une carte mémoire SD/SDHC/SDXC
1. Déverrouillez et ouvrez le compartiment de la
batterie/carte mémoire dessous l’appareil
photo.
2. Insérez la carte SD/SDHC/SDXC dans
l’emplacement de la carte mémoire avec la
partie métallique dirigée vers l’arrière de
l’appareil photo.
3. Poussez la carte SD/SDHC/SDXC dans
l’emplacement de la carte mémoire jusqu’à ce
qu’elle s’enclenche en place.
4. Fermez et verrouillez le compartiment de la
batterie/carte mémoire.
REMARQUE : Pour retirer la carte SD/SDHC/SDXC : Poussez doucement la carte jusqu’à ce qu’elle s’éjecte. Retirez la carte et verrouillez le
couvercle de la batterie.

Étape 3. Régler la langue, la date et l’heure
1. Allumez l’appareil photo en appuyant le bouton d’alimentation.
2. Utilisez le contrôle de navigation à quadruple commande pour vous déplacer et changer les
paramètres.
3. Appuyez le bouton OK.
Étape 4. Prendre des photos
1. Allumez l’appareil photo en appuyant le bouton
d’alimentation.
2. Cadrez votre image sur l’écran LCD.
3. Faites tourner le levier de zoom pour ajuster l’angle de vue.
4. Appuyer le déclencheur à mi-course met au point
automatiquement et règle l’exposition, et appuyer le
déclencheur complètement capture les images.
Lors de l’activation de la lampe de poche, le flash ne sortira pas automatiquement.
Veuillez ouvrir le flash manuellement en soulevant la partie saillante sur le couvercle
du flash.
Étape 5. Enregistrer les vidéos
1. Appuyez le bouton Vidéo pour commencer
l’enregistrement.
2. Mettez votre appareil au point sur le sujet que vous voulez
prendre.
3. Utilisez le levier de zoom pour le zoom avant et arrière
dans une image.
4. Pour une pause de l’enregistrement, appuyez la touche .
5. Pour continuer l’enregistrement, appuyez la touche à
nouveau.
6. Pour arrêter d’enregistrer, appuyez le bouton Vidéo.

Étape 6. Afficher les photos, vidéos et clips
audio
1. Appuyez le Bouton Lecture sur l’appareil photo.
2. L’écran LCD affiche une image. Utilisez les touches ou
pour afficher l’image ou vidéo précédente/suivante.
3. Appuyez sur le bouton OK pour lire un clip vidéo/audio.
Étape 7. Utiliser le menu Configuration
1. Appuyez le bouton Menu pour accéder au menu
Enregistrer/Lecture.
2. Utilisez les touches ou pour changer l’onglet du
menu sur le menu Configuration.
3. Utilisez les touches ou pour vous déplacer dans les
sélections du menu.
4. Appuyez le bouton OK pour enregistrer et appliquer les
réglages.

Kurzanleitung
DEUTSCH
Kameraansichten
Ansicht von vorne Ansicht von hinten
1. Selbstauslöser-LED/
AF-Hilfslampe
2. Mikrofon
3. Objektiv
4. LCD-Monitor
5. LED-Anzeiger
6. Videotaste
7. Wiedergabetaste
8. OK-Taste/
4-Wege-Steuerung
9. Funktions-/
Löschen-Taste
10. Menü-Taste
Draufsicht
11. Blitzlicht
12. Zoom-Rad
13. Auslöser
14. ON/OFF
(Ein/Aus-Taste)
15. Modus-Rad

Untenansicht
16. Batterien/
Speicherkartenfach
17. Stativbuchse
Rechte Ansicht
18. Öse für Trageband
Linksansicht
19. Öse für Trageband
20. Lautsprecher
21. USB AV/OUT

Schritt 1. Einlegen der Batterien
1. Entriegeln und öffnen Sie das Batterien/Speicherkartenfach an der Unterseite der Kamera.
2. Legen Sie die Batterien in das Fach ein.
Achten Sie dabei auf die angezeigte im
Batteriefachdeckel angezeigte Polarität.
3. Schließen und verriegeln Sie das Batterien/
Speicherkartenfach.
Schritt 2. Einlegen einer SD/SDHC/SDXC-Speicherkarte
1. Entriegeln und öffnen Sie das Batterien/
Speicherkartenfach an der Unterseite der
Kamera.
2. Legen Sie die SD/SDHC/SDXC-Karte mit der
metallischen Seite zur Rückseite der Kamera
zeigend in den Speicherkarteneinschub ein.
3. Schieben Sie die SD/SDHC/SDXC-Karte in
den Speicherkarteneinschub, bis Sie hörbar
einrastet.
4. Schließen und verriegeln Sie das Batterien/
Speicherkartenfach.
HINWEIS: Um die SD/SDHC/SDXC-Karte zu entfernen: Drücken Sie leicht auf die Karte, bis sie herausspringt. Ziehen Sie die Karte heraus
und verriegeln Sie das Batterien/Speicherkartenfach.

Schritt 3. Einstellen von Sprache/Datum/Zeit
1. Schalten Sie Kamera ein, indem Sie auf die Ein/Aus-Taste drücken.
2. Verwenden Sie die 4-Wege-Steuerung, um die Einstellungen zu verschieben und zu ändern.
3. Drücken Sie zum Abschluss auf die OK-Taste.
Schritt 4. Aufnehmen von Bildern
1. Schalten Sie die Kamera ein, indem Sie auf die
Ein/Aus-Taste drücken.
2. Arrangieren Sie die Aufnahme auf dem LCD-Display.
3. Drehen Sie das Zoom-Rad, um den Bildausschnitt
einzustellen.
4. Wenn Sie den Auslöser halb hinunterdrücken, wird das Bild
automatisch fokussiert und die Belichtung wird eingestellt.
Wenn Sie den Auslöser ganz hinunterdrücken, wird das Bild
aufgenommen.
Beim Aktivieren des Blitzlichts wird das Blitzlicht nicht automatisch ausfahren. Bitte
öffnen Sie das Blitzlicht manuell, indem Sie den vorstehenden Griff an der
Blitzlichtabdeckung hochziehen.
Schritt 5. Aufnehmen von Videos
1. Drücken Sie auf die Videotaste, um mit der Aufnahme zu
beginnen.
2. Richten Sie Ihre Kamera auf das Motiv, das Sie aufnehmen
möchten.
3. Verwenden Sie das Zoom-Rad, um in ein Bild hinein- und
herauszuzoomen.
4. Drücken Sie zum Anhalten der Aufnahme auf die Taste.
5. Drücken Sie zum Fortsetzen der Aufnahme erneut auf die
Taste.
6. Wenn Sie die Aufnahme stoppen möchten, drücken Sie
erneut auf die Videotaste.

Schritt 6. Ansehen von Bildern, Videos und
Audioclips
1. Drücken Sie auf die Wiedergabetaste der Kamera.
2. Der LCD-Bildschirm wird ein Bild anzeigen. Verwenden Sie
oder , um das vorherige/nächste Bild oder Video
anzuzeigen.
3. Um die Wiedergabe eines Video/Audioclips zu starten,
drücken Sie kurz auf die OK-Taste.
Schritt 7. Verwenden des Setup-Menüs
1. Drücken Sie auf die Menü-Taste , um das
Aufnahme-/Wiedergabemenü aufzurufen.
2. Verwenden Sie oder , um das Setup-Menü
aufzurufen.
3. Verwenden Sie oder , um sich durch die
Menüoptionen zu bewegen.
4. Drücken Sie auf die OK-Taste, um die Einstellungen zu
speichern und zu übernehmen.

Guida rapida
ITALIANO
Viste della fotocamera
Vista anteriore Vista posteriore
1. LED autoscatto/
Luce assistenza AF
2. Microfono
3. Obiettivo
4. Schermo LCD
5. Indicatore LED
6. Pulsante Filmato
7. Pulsante
Riproduzione
8. Pulsante OK/
controllo
navigazione a 4
direzioni
9. Pulsante
Funzione/Elimina
10. Pulsante Menu
Vista dall’alto
11. Flash
12. Leva dello zoom
13. Pulsante
otturatore
14. ON/OFF
(Pulsante di
accensione)
15. Ghiera delle
modalità

Vista dal basso
16. Alloggiamento
batteria/scheda di
memoria
17. Attacco vite
treppiede
Vista lato destro
18. Anello cinturino
Vista lato sinistro
19. Anello cinturino
20. Altoparlante
21. USCITA USB/AV

Fase 1. Inserimento della batteria
1. Sbloccare e aprire l’alloggiamento della batteria/scheda di memoria nella parte inferiore della
fotocamera.
2. Inserire la batteria nell’alloggiamento con il
terminale rivolto verso la fotocamera.
3. Chiudere e bloccare l’alloggiamento della
batteria/scheda di memoria
Fase 2. Inserimento di una scheda di memoria SD/SDHC/SDXC
1. Sbloccare e aprire l’alloggiamento della
batteria/scheda di memoria nella parte
inferiore della fotocamera.
2. Inserire la scheda SD/SDHC nello slot per la
scheda di memoria con la parte metallica
rivolta verso il lato posteriore della
fotocamera.
3. Premere la scheda SD/SDHC/SDXC
all’interno dello slot per la memoria fino a
bloccarla in posizione.
4. Chiudere e bloccare l’alloggiamento della
batteria/scheda di memoria.
NOTA: Per rimuovere la scheda SD/SDHC/SDXC: Premere delicatamente la scheda fino a farla uscire. Rimuovere la scheda e bloccare lo
sportellino della batteria.
Other manuals for d3000
3
Table of contents
Languages:
Other HP Digital Camera manuals