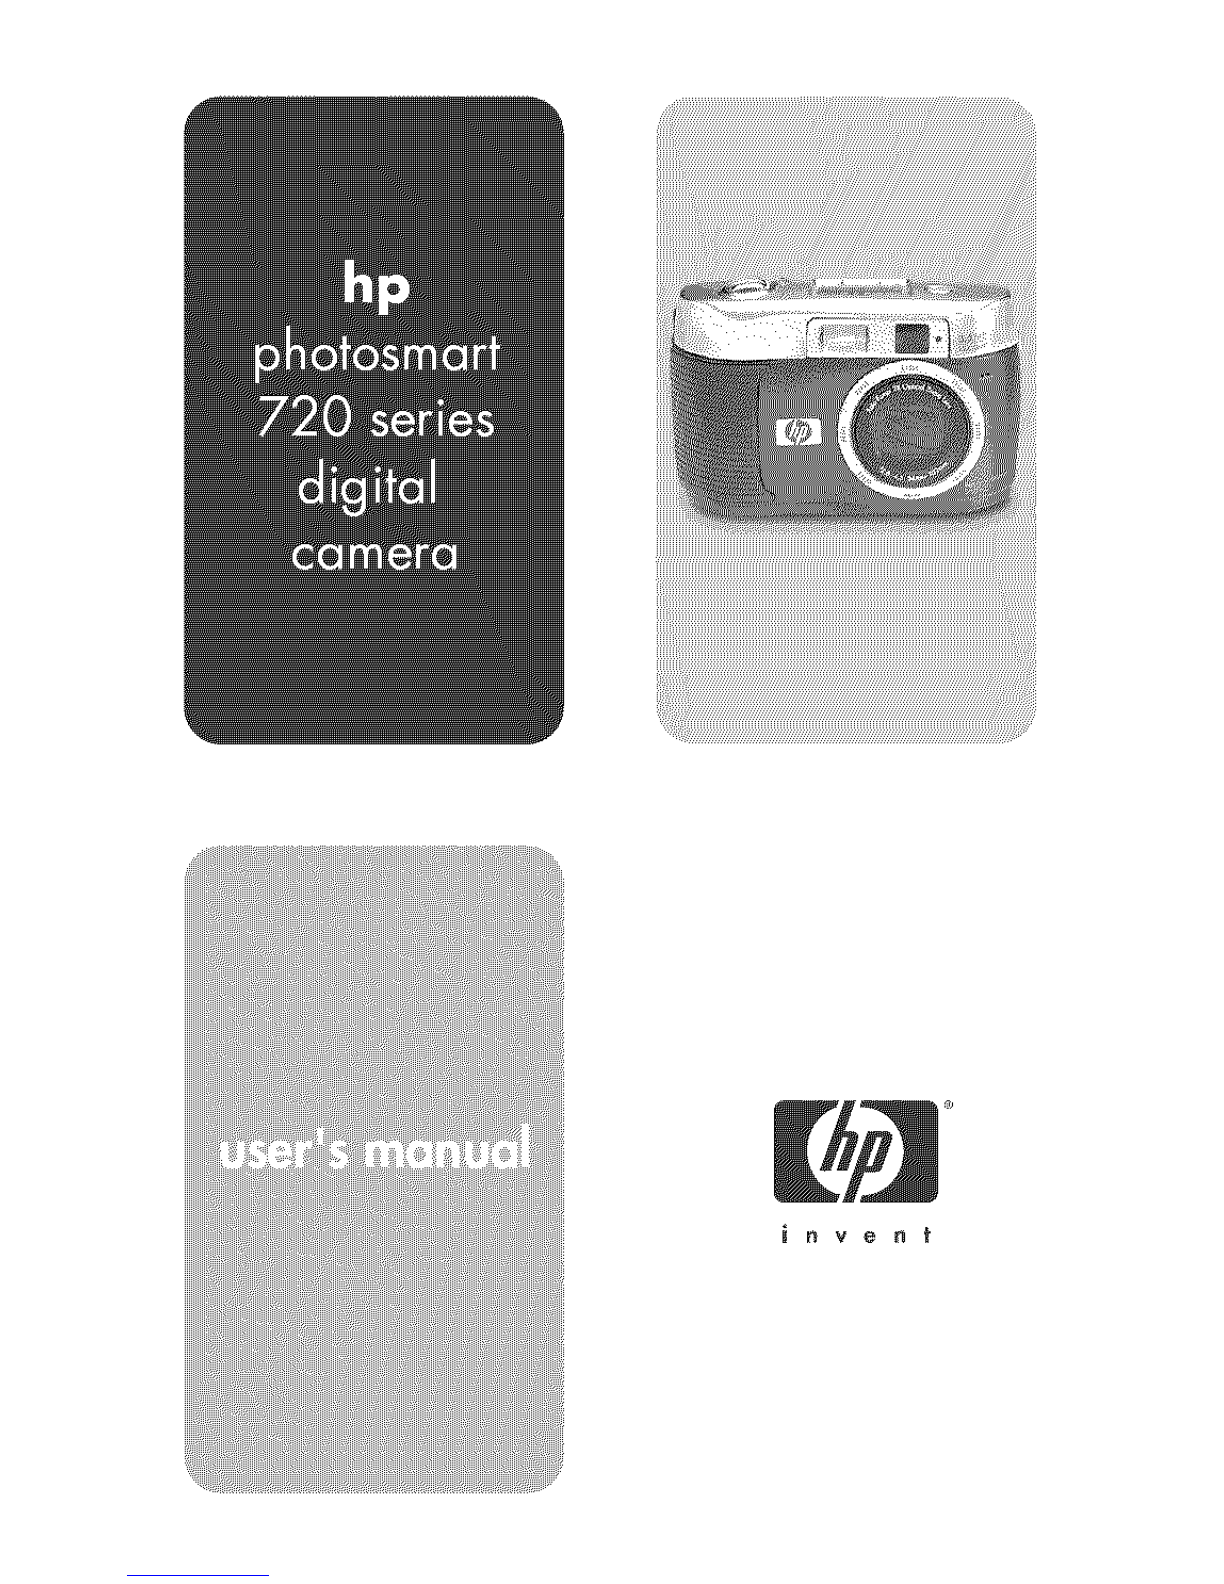
HP Photosmart 720 Series User manual

invent


T_le_ark _nl ¢opyri%ll inlo_llon
_'c)Copyright 2002 Hewlett-Packard Company
All rights are reserved. No part of this document may be photocopied,
reproduced, or translated to another language without the prior written
consent of Hewlett-Packard Company.
The information contained in this document is subject to change
without notice. Hewlett-Packard shall not be liable for errors contained
herein or for consequential damages in connection with the furnishing,
performance, or use of this material.
Microsof_R)and Windows_) are U.S. registered trademarks of
Microsoft Corporation.
Apple, Macintosh, and Mac are registered trademarks of Apple
Computer, Inc.
,_'_1_ SD Logo is a trademark.
M_eri_Is llslos_l
This HP product contains the following materials that might require
special handling at end-of-life:
® Mercury in the fluorescent lamp in the image LCD.
® Alkaline manganese dioxide-zinc or fthium-iron disulfide AA
batteries.
® Lead in the solder and some component leads.
Disposal of this material can be regulated because of environmental
considerations. For disposal or recycling information, please contact
your local authorities or the Electronic Industries Alliance (EIA)
(www.eiae.org).


Tabme of Contents
1-Getting started .......................... 9
Camera Parts ............................. 10
Setup ................................... 15
Attaching the wrist strap .................. 15
Installingthe batteries ................... 15
Insertingthe memory card (optional) ......... 16
Turning on power ...................... 16
Choosing the language .................. 17
Setting the date and time ................. 17
Installingthe software ................... 18
Windows ......................... 18
Macintosh ........................ 19
2-Taking pictures ......................... 21
Taking still pictures ......................... 21
Using focus lock ....................... 21
Using instant review ..................... 22
Recording video clips ....................... 22
Recording audio ........................... 23
Using preview mode ........................ 23
Using the serf-timer and burst features ........... 24
Using the self-timer ..................... 24
Using burst ........................... 24
Using zoom .............................. 25
Optical zoom ......................... 25
Digital zoom .......................... 25
Using the flash ............................ 26
Changing the image quality .................. 27

3-Using playback and the main menu ....... 29
Using playback to view images ................ 29
Using the main menu ........................ 31
Rotating images ........................ 32
Deleting images ........................ 32
Recording audio clips .................... 33
Viewing thumbnail images ................ 34
Magnifying images ...................... 34
Using the setup menu .................... 35
Exposure settings .................... 36
Date & time ........................ 38
Welcome screen .................... 38
USBconfiguration setting .............. 39
Move images to card ................. 40
Language ......................... 40
4-Using hp instant share .................. 41
Using hp instant share to print pictures ........... 43
Using the hp instant share e-mail service .......... 44
Adding, modifying, and removing e-mail addresses
44
Selecting images to be e-mailed ............ 45
Windows ......................... 46
Macintosh ......................... 46
5-Unloading, printing, & displaying images .. 47
Unloading to a computer ..................... 47
Printing images ............................ 48
Displaying images on a TV ................... 49
Displaying a slideshow ................... 49
6hp photosmart 720 user's manual

6-Troubleshooting and support ............. 51
Problems and solutions ...................... 51
Error messages ............................ 56
Error messageson the camera ............. 56
Error messageson the computer ............ 59
Getting assistance ......................... 60
Finding help on the web .................. 60
HP product support .................. 60
HP photosmart website ............... 60
HP accessibility website ............... 60
Contacting hp customer support ............ 60
How hp can help ................... 60
Before you call ..................... 61
Obtaining support in the United States ....... 61
Freetelephone support for one year ...... 61
After the first year ................... 61
Upgraded warranty options ........... 62
Obtaining support worldwide .............. 62
Hewiett-Packard limited warranty statement ....... 66
Regulatory information ...................... 67
Appendix A: Batteries and accessories ...... 69
Managing batteries ........................ 69
Extending battery life .................... 70
Rechargeabb batteries ................... 70
Power conservation ..................... 71
Purchasing accessories ...................... 71
Appendix B: Camera dock ................. 73
Unloading imagesto a computer using the dock .... 75
Printing images using the dock ................ 76
Displaying images on a TV using the dock ........ 76
Appendix C: Specifications ................ 77

8 hp photosmart 720 user's manual

@eHing started
The HP Photosmart 720 digital camera is a 3.3 mega-pixd
camera with 3x optical zoom and 4x digital zoom. This
camera has an exciting new feature called HP _nstan_Share
technology.
With HP Insfar_tShare, you can selectimages to print or e-mail
automatically the next time you connect the camera to your
computer. You can also bypass the computer altogether and
print the selected pictures directly to any HP Deskjetor
Photosmart printers that are USB-enabled.
You can enhance your experience by purchasing an
HP Photosmart 8881 Camera Dock. The Camera Dock allows
you to easily download images to a computer, send images to
a printer or television, recharge the camera batteries, and
provide a convenient home for your camera.
NOTE A Dock Insert is included in
your camera box. This Dock _ ............
Insertenables your camera (and
others of the same model) to use ................ /
the HPCamera Dock. Pleasedo ................. _/'
not use it without the Camera
Dock and DO NOT discard it. Instructions for its useare
included with the Camera Dock aswell as in Appendix B
of this manual.
1-Getting started 9

11
10
4
5
# IName
1 Memory card door
2IMemory card slot
3 USBconnector
4 ITV connector
5 Poweradapter
I connector
6IE31Display button
7 _ _ Arrow buttons
Description
Allows accessto insert or remove the
memory card. Also allows access to
the connectors for USB,TV,and
oower adapter.
Allows memory card to be inserted
Provides connection to either a
computer or printer
Provides audio/video output to a TV
Provides connection for an optional
HP AC adapter
Turnson Preview mode or turns off
the Image Display
Moves to menu options and
navigates through images
10 hp photosmart 720 user's manual

#
8
9
10
11
12
13
14
Name Description
OK button Pressonce to turn on Playback
mode, again to turn on Main menu.
Also selectsmenu options
Share button Turnsthe Sha_ menu on and off
Image Display Provides menu information to
operate the camera. You can also
preview the picture before taking it
and review it afterward
Speaker Playscamera sounds and audio
clips
Optical viewfinder Allows you to frame the subject of
the picture
Viewfinder light Solid 9teen - camera is recording
video or ready to take a still picture
Blinking green - camera unable to
focus or long exposure (hold steady)
Blinking yellow - camera is charging
the flash or saving images to
memory
Blinkir_gred - camera is either:
starting up, charging the battery,
sending/receiving USB,counting
down self-timer, or there is an error
(turn on Image Display to see
message)
Allows you to zoom in and out
Born
Outi'_n button
1-Getting started 11

2 3
# IName
1 IMicrophone
2 Flash
3 Video/Self-timer
light
4 Wrist/Neck
strap mount
5 Tripod mount
6 Camera Dock
connector
7 Battery door
Description
Records audio clips
Provides additional light to improve
:icture-taking
Solid red - camera is recording video
_linki_g r_ - self-timer is activated
Wrist strap attachment (there is a
mount on both sides of the camera in
case you want to attach a neck strap)
Allows camera to be mounted to a
tripod
Provides connection to the optional HP
Camera Dock
Allows access to the batteries
12 hp photosmart 720 user's manual

...._ii!_¸am_i_iiiiilill¸iiiiili¸ii!i!iiii!iiiii!iiiii!iii!_eici!_!!o_iiiiii!ii!iii!i!i¸ii!ii!ii¸II!II!II¸ii!ii!i¸I!II!II!I!I
1 Shu_er button Takes a picture
2 'i_Vid_ button Recordsa video ciipi piess once to
..............................................................................................s!a s!op...............................
3 _ Flashbutton Selects the Flashsetting
....................................................................................... L
4 "_ Quali_ button iChanges image quality from G_d
to Be_er to Bes_
5 @ q_Sglfof_imeriBurst Sets the Self-timer when pressed
Button ionce, and setsthe Burstfeature
when pressed twice
.............................................................................................i ....................................................................................................................................
6 StatusLCD iDisplays camera settingsand
operating status(seethe following
illustration)
]-Getting started ] 3

10
1 _ Redeye R_udion isactive
or or
@ Flash_ is active
3 AUTO Auto F_ashis active
........s_8_ .................................................................
, i ......
8 _E3a Video is being recorded
14 h '
p photosmart 720 users manual

A#aching the wrist s_rap
Attach the wrist or
neck strap as
shown in the
illustration.
NOTE It is easiest to install the strap by inserting it from the
Bottom of the strap mount first.
mns_aHing _h÷ batteries
] With the front of the camera
facing you, slide the latch on
the battery door to the right.
2 Holding on to the latch, pull the
Battery door toward you.
3 Insert the Batteriesas indicated
inside the door.
NOTE For more information
about batteries, refer to
Managing b_fferies on
page 69.
1-Getting started 15

mnser_ing _he _e_ory card (optional)
Your digital camera contains 16 megabytes (MB) of internal
memory so that you can store images and video clips in your
camera. However, you can use an optional memory card
(purchased separately) to expand the camera's memory to
store more images and video clips
NOTE Your camera supports up to a 128 MB memory card.
After unloading images to your computer, you can reuse the
ca rd.
] With the camera off, open the
memory card door.
2 Insert the memory card as shown.
3Closeand fasten the memory card
door.
To remove the card, pull it out of the camera.
Turning on power
Pressthe Power _ button to turn on
the camera. When the camera is
ready, the viewfinder light stops
blinking.
16 hp photosmart 720 user's manual

Choosing th÷ languag÷
Thefirst time you turn the camera on, the following screen
appears and prompts you to choose a language.
Scrollto the language that you want
by using the Arrow _ _ buttons. English
2 PressOK to selectthe highlighted
language.
S÷tting th÷ date and tim÷
Thecamera has a clock that records the date and time at which
you take each picture.
Pressthe OK button repeatedly until
your preferred date format D Y
appears, and then pressthe right
Arrow _ button to highlight the
date.
2 PressOK to selectthe first value,
and then usethe 4 _ buttons to
change it. PressOK to confirm. Set the remaining values in
the same way. (M = Month, D = Day, Y= Year)
3 Pressthe P. button to highlight the time format, and then
pressOK if you want to change it.
4 Pressthe _ button to highlight the time. Setthe time values
in the same way you set the date values in step 2.
5 When finished setting the date and time, pressthe
button to highlight Exit, and then pressOK.
1-Getting started 17

Installing _h÷ sol,war÷
The camera software allows you to unload images from the
camera, view them, print them, and e-mail them. Italso allows
you to configure the Share menu on the camera.
NOTE ForWindows computers, the HP Photo & Imaging
software needs at least Internet Explorer 5.0 (Service Pack
2) in order to function properly.
Windows
] Insert the HP Photo & Imaging CD into the CD drive of your
computer. The installation window automatically appears.
NOTE Ifthe installation window does not appear, click S_or_,
and then click Run.Type X:\Se_up_exe,where X isthe
letter of your CD drive.
2 ClickNext, and thenfollow theon-screeninstructionsto
installthesoftware.
Toinstallany bonus_ffv_re:
] Click S_arf,click Run,and in the O_n box, type
X:\Bonus\sef_up.exe (whereX is the drive letter of your CD
drive).
2 Click OK, and then follow the on-screen instructions to
install the bonus software.
18 hp photosmart 720 user's manual

M_¢intosh
Insert the HP Photo & Imaging CD into the CD drive of your
computer.
2 Doubb-dick the CD icon on the desktop.
3 Doubb-dick the installer icon, then follow the instructions on
the screen to install the software.
Toinstallar_y_r_us _w_r_:
Double-clicktheBonusfolder icon.
2 Double-dicktheinstallericonfor thebonussoftware.
3Followtheon-screeninstructionsto installthesoftware.
1-Getting started 19

20 hpphotosmart720user'smanual
Table of contents
Other HP Digital Camera manuals

HP
HP SB360 - 12 MP, 3IN LCD User manual

HP
HP c150w User manual

HP
HP Photosmart c20 Quick start guide

HP
HP Photosmart R830 series User manual

HP
HP Photosmart R740 Series Parts list manual

HP
HP c150w User manual

HP
HP R725 User manual

HP
HP PhotoSmart C500 Reference manual

HP
HP p550 User manual

HP
HP CW450 User manual

HP
HP Photosmart E427 User manual

HP
HP Media Center m500 - Desktop PC User manual

HP
HP Photosmart R707 User manual

HP
HP s520 User manual

HP
HP PhotoSmart C5340-90001 User manual

HP
HP Photosmart R927 User manual

HP
HP Photosmart M730 Series Parts list manual

HP
HP Photosmart 730 Series User manual

HP
HP Photosmart Mz60 Series User manual

HP
HP CA350 User manual