manuals.online logo
Brands
  1. Home
  2. •
  3. Brands
  4. •
  5. HP
  6. •
  7. Digital Camera
  8. •
  9. HP Photosmart c20 User manual

HP Photosmart c20 User manual

Other manuals for Photosmart c20

3

This manual suits for next models

3

Other HP Digital Camera manuals

HP Photosmart E317 User manual

HP

HP Photosmart E317 User manual

HP CC450 User manual

HP

HP CC450 User manual

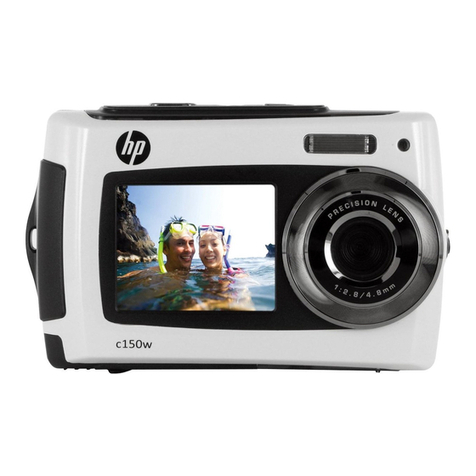
HP c150w User manual

HP

HP c150w User manual

HP s300 User manual

HP

HP s300 User manual

HP lc200w User manual

HP

HP lc200w User manual

HP c150w User manual

HP

HP c150w User manual

HP Photosmart M440 Series User manual

HP

HP Photosmart M440 Series User manual

HP SW450 User manual

HP

HP SW450 User manual

HP PhotoSmart M22 User manual

HP

HP PhotoSmart M22 User manual

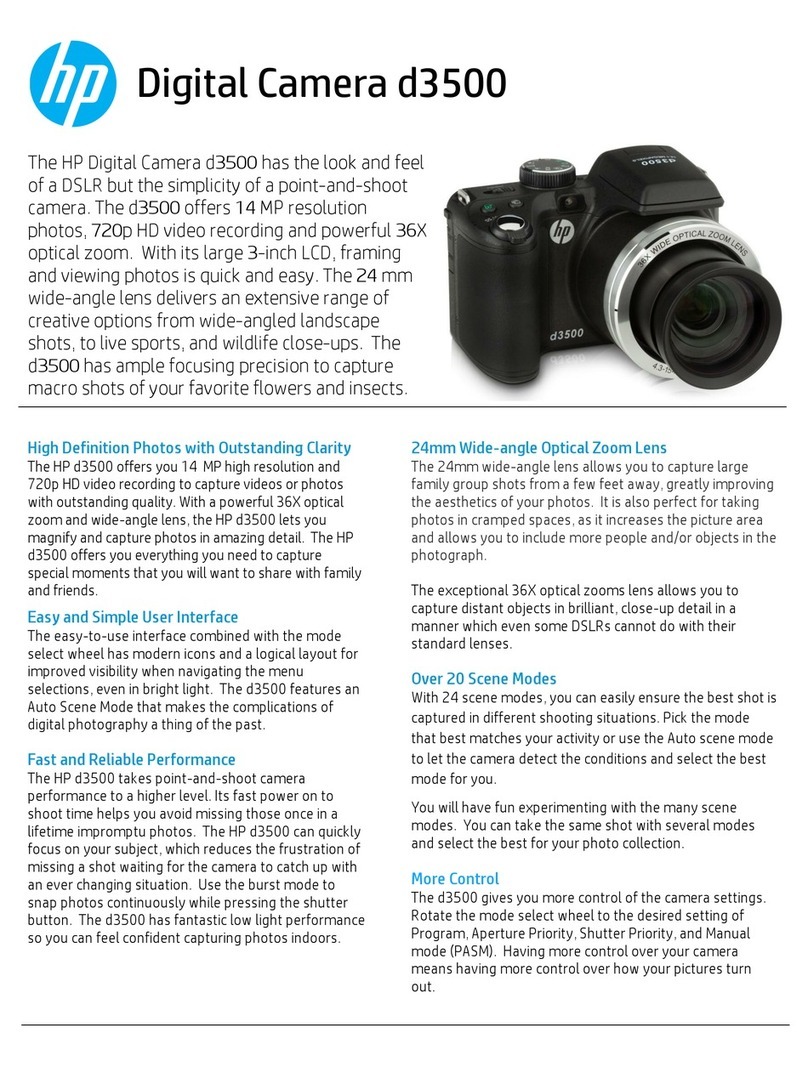
HP d3500 User manual

HP

HP d3500 User manual

HP Photosmart 730 Series User manual

HP

HP Photosmart 730 Series User manual

HP Photosmart 215 User manual

HP

HP Photosmart 215 User manual

HP P650 User manual

HP

HP P650 User manual

HP Photosmart M730 Series Parts list manual

HP

HP Photosmart M730 Series Parts list manual

HP PW460t User manual

HP

HP PW460t User manual

HP CC330 User manual

HP

HP CC330 User manual

HP CW450t User manual

HP

HP CW450t User manual

HP PhotoSmart C500 Reference manual

HP

HP PhotoSmart C500 Reference manual

HP PhotoSmart C5340-90001 User manual

HP

HP PhotoSmart C5340-90001 User manual

HP s500 User manual

HP

HP s500 User manual

HP photosmart 630 series User manual

HP

HP photosmart 630 series User manual

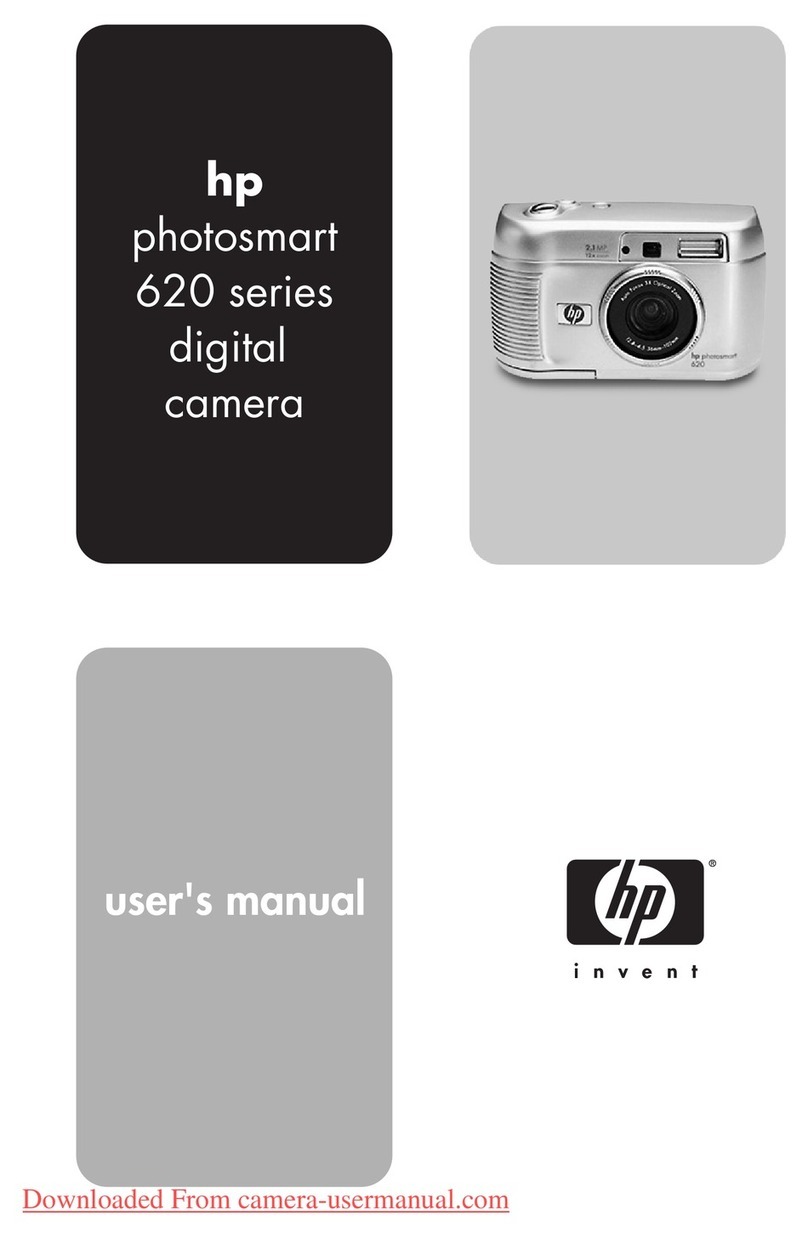
HP Photosmart 620 series User manual

HP

HP Photosmart 620 series User manual

HP R725 User manual

HP

HP R725 User manual

HP P650 User manual

HP

HP P650 User manual

Popular Digital Camera manuals by other brands

Canon WP-DC35 user guide

Canon

Canon WP-DC35 user guide

Xiaomi 70mai Dash Cam Lite user manual

Xiaomi

Xiaomi 70mai Dash Cam Lite user manual

Samsung PL70 Quick start manual

Samsung

Samsung PL70 Quick start manual

GE E1680W user manual

GE

GE E1680W user manual

Canon EOS 1200D instruction manual

Canon

Canon EOS 1200D instruction manual

Tevion MD 86497 user guide

Tevion

Tevion MD 86497 user guide

Exakta VX Features

Exakta

Exakta VX Features

Kodak Digital Science DC120 user guide

Kodak

Kodak Digital Science DC120 user guide

Nikon FM3A Specifications

Nikon

Nikon FM3A Specifications

Vectra Fitness H1 Quick reference guide

Vectra Fitness

Vectra Fitness H1 Quick reference guide

Nikon COOLPIX 775 quick start guide

Nikon

Nikon COOLPIX 775 quick start guide

Olympus IR 500 - 4MP Digital Solutions Camera Manuel de Référence

Olympus

Olympus IR 500 - 4MP Digital Solutions Camera Manuel de Référence

Samsung EC-L100ZBBA brochure

Samsung

Samsung EC-L100ZBBA brochure

FujiFilm FINEPIX BL01124-201 owner's manual

FujiFilm

FujiFilm FINEPIX BL01124-201 owner's manual

Panasonic DMC-L10KPP Service manual

Panasonic

Panasonic DMC-L10KPP Service manual

Hyundai Electric HYU-CC-CHBF12001 Quick installation guide

Hyundai Electric

Hyundai Electric HYU-CC-CHBF12001 Quick installation guide

Sony DSC-WX80 specification

Sony

Sony DSC-WX80 specification

Nikon Nuvis S - Point & Shoot instruction manual

Nikon

Nikon Nuvis S - Point & Shoot instruction manual

manuals.online logo
manuals.online logoBrands
  • About & Mission
  • Contact us
  • Privacy Policy
  • Terms and Conditions

Copyright 2025 Manuals.Online. All Rights Reserved.

1 Get ready
 Load the batteries.
 Set the date and time on
your camera:
1. Make sure the lens cover is closed (the camera
is off).
2. Press the photo LCD on/off button to turn the
photo LCD on. The Set Date & Time menu
option appears on the photo LCD.
3. Use the arrow buttons to select the day (date)
of the month, then press OK. Select the month,
year, hour, minutes, and AM or PM.
4. Use the arrow buttons to select Yes to confirm
the date and time, then press OK.
3 Review your photos
Use the photo LCD to review your photos before you
download them to your PC.
1. Close the lens cover to turn the camera off.
2. Press the photo LCD on/off button to turn the
photo LCD on. Use the arrow buttons to sequence
through your photos.
Note: You can also use your television to review
photos. See the Basics guide for details.
3. When youre done reviewing your photos,
remember to turn the photo LCD off.
Taking your first picture with the
HP PhotoSmart C30 Digital Camera
2 Take some photos
1. Open the lens cover to turn the camera on. The lens
cover is the on/off switch for the camera.
2. Look through the viewfinder and frame your
subject.
3. Press the shutter release button 1/2 way. When you
see the green light in the viewfinder, press the
button all the way down. The camera will beep to
let you know the picture has been taken.
Now youre ready to download your photos into your
computer. See reverse for more information.
4 Install the photo finishing software
1. Place the HP PhotoSmart Photo Finishing Software
CD into your computers CD-ROM drive.
2. Follow the instructions on the screen to complete
the software installation.
5 Connect the camera to the computer
1. Close the lens cover to turn the camera off.
2. Plug the large end of the PC connection cable
into the PC serial port.
3. Plug the small end of the cable into the camera.
4. Open the lens cover to turn the camera on.
When you connect the camera to the computer, the
HP PhotoSmart photo finishing software starts and
begins displaying your photos in the Select view. Note
that the photos are not yet saved on your computers
hard driveyou save them in the Save view.
photo
LCD
photo LCD
on/off button
arrow
buttons
shutter
release
button
This information will get you started with your new digital camera. If you need more detailed instructions, see the Basics guide.
Click any of these
four buttons to
change views. (If all
the buttons dont
show on your screen
click Select to see a
menu.)
Red diamond means the photo has
not yet loaded into the display.
This section contains
additional options
that change for each
view.
This number is the
amount of disk
space available on
your computers
hard drive.
Look here to
see how many
of the images
are selected.
Look here to see the
status of the
software, such as if
photos are loading
from the camera.
These buttons are the
same for each view.
Move your mouse
pointer over a button
to see what it does.
See the HP PhotoSmart photo finishing software Users Guide for a detailed
explanation of each view in the photo finishing software.
Youve taken your photos. Now what?
See reverse for instructions on taking your first photos with the HP PhotoSmart C30 digital camera. After you have taken your
photos, use the HP PhotoSmart photo finishing software to work with the photos on your computer. Heres how...
Select View
When your photos load into memory, they display in
the Select view. This is where you choose which images
you want to work with. Selected images are indicated by
a white highlight (shadow).
Note: When you remove an image from the display,
the original image is still stored on the
cameras CompactFlash memory card.
Adjust View
Use the Adjust view to make changes to your images
before you print or save them.
Save View
Use the Save view to save your images, or
use them in a project.
Print View
Use the Print view to print the selected images.
Tip: If you just want to print one photo, select only that photo (deselect
all others), and turn OFF Index Print.
Captions print below each image, if
you entered them in the Adjust view.
Paper Saver fits as many images as
possible on a page. Some of the images
may be rotated (turned) to fit.
Click here to save the image files
to your hard drive. The name
below each image becomes the
file name. (You can type over this
name to change it.)
Click here to export your images to
an image editing application (such
as Microsoft Picture It!). The
application you are exporting to
must be open on your computer.
Software overview
Click an option to
select or deselect it.
An X indicates an
option is selected.
Click the camera to
download images
from the camera.
De-select all the images.
Remove only the de-selected
images from the display
(selected images remain).
Click the down arrow
to select another source
(such as a folder
on the hard drive).
Show all the images.
Mark all the images
as selected.
Clear the display
(remove all images).
Show only the images
that are selected.
Click here to
begin printing.
Click here to view the
printer properties.
An Index Print is a page that contains
thumbnail (small) images. You can
include all of your images on the Index
Print, or just the selected images.
Printed in Singapore 8/98
Printed on recycled paper