HygroMatik VN User manual

Atomising Vacuum
Nozzle System
Manual

Page 2
Preliminary Note:
A Word about Water and Atomising Systems
All atomising humidifiers operate based on the principle that water in the form of very fine aerosol
droplets may be atomised and subsequently evaporated.
Because tap water contains various components in addition to pure water (H2O), solids remain
behind after evaporation, such as calcium or other minerals. These form a fine dust in the area of
evaporation. The build up of dust can be prevented by using fully demineralised water. Reverse
osmosis systems, for example, are well-suited for this type of water treatment.
When drinking water is used, mineral deposits may form on the tip of the nozzle. These deposits
must be removed during regular maintenance. Maintenance work can be reduced by using fully
demineralised water.
Consult your HygroMatik specialists. We will answer any questions you may have concerning
water and advise you on the installation and initial operation of your HygroMatik atomising sys-
tem.
Copyright HygroMatik GmbH
VN e October 2011
Information in this manual is subject to change or alteration without prior notice.
WARNING! All work to be performed by trained personnel only. All electrical installa-
tion and servicing of the electrical components of this unit to be performed by quali-
fied electricians only. Disconnect power supply before installation and servicing!

Page 3
1. Introduction................................................................................................................5
1.1 Directions for Use.......................................................................................................5
1.2 Typographic Distinctions............................................................................................7
1.3 Documentation...........................................................................................................7
2. Safety Notes ...............................................................................................................8
2.1 Overview....................................................................................................................8
2.2 Guidelines for Safe Operation....................................................................................9
2.3 Disposal after Dismantling .........................................................................................10
3. Transport ....................................................................................................................11
3.1 General information....................................................................................................11
3.2 Packaging ..................................................................................................................11
3.3 Temporary storage.....................................................................................................11
4. Operation and Installation.........................................................................................12
4.1 Basic Requirements..................................................................................................12
4.2 Sequence of Operation..............................................................................................12
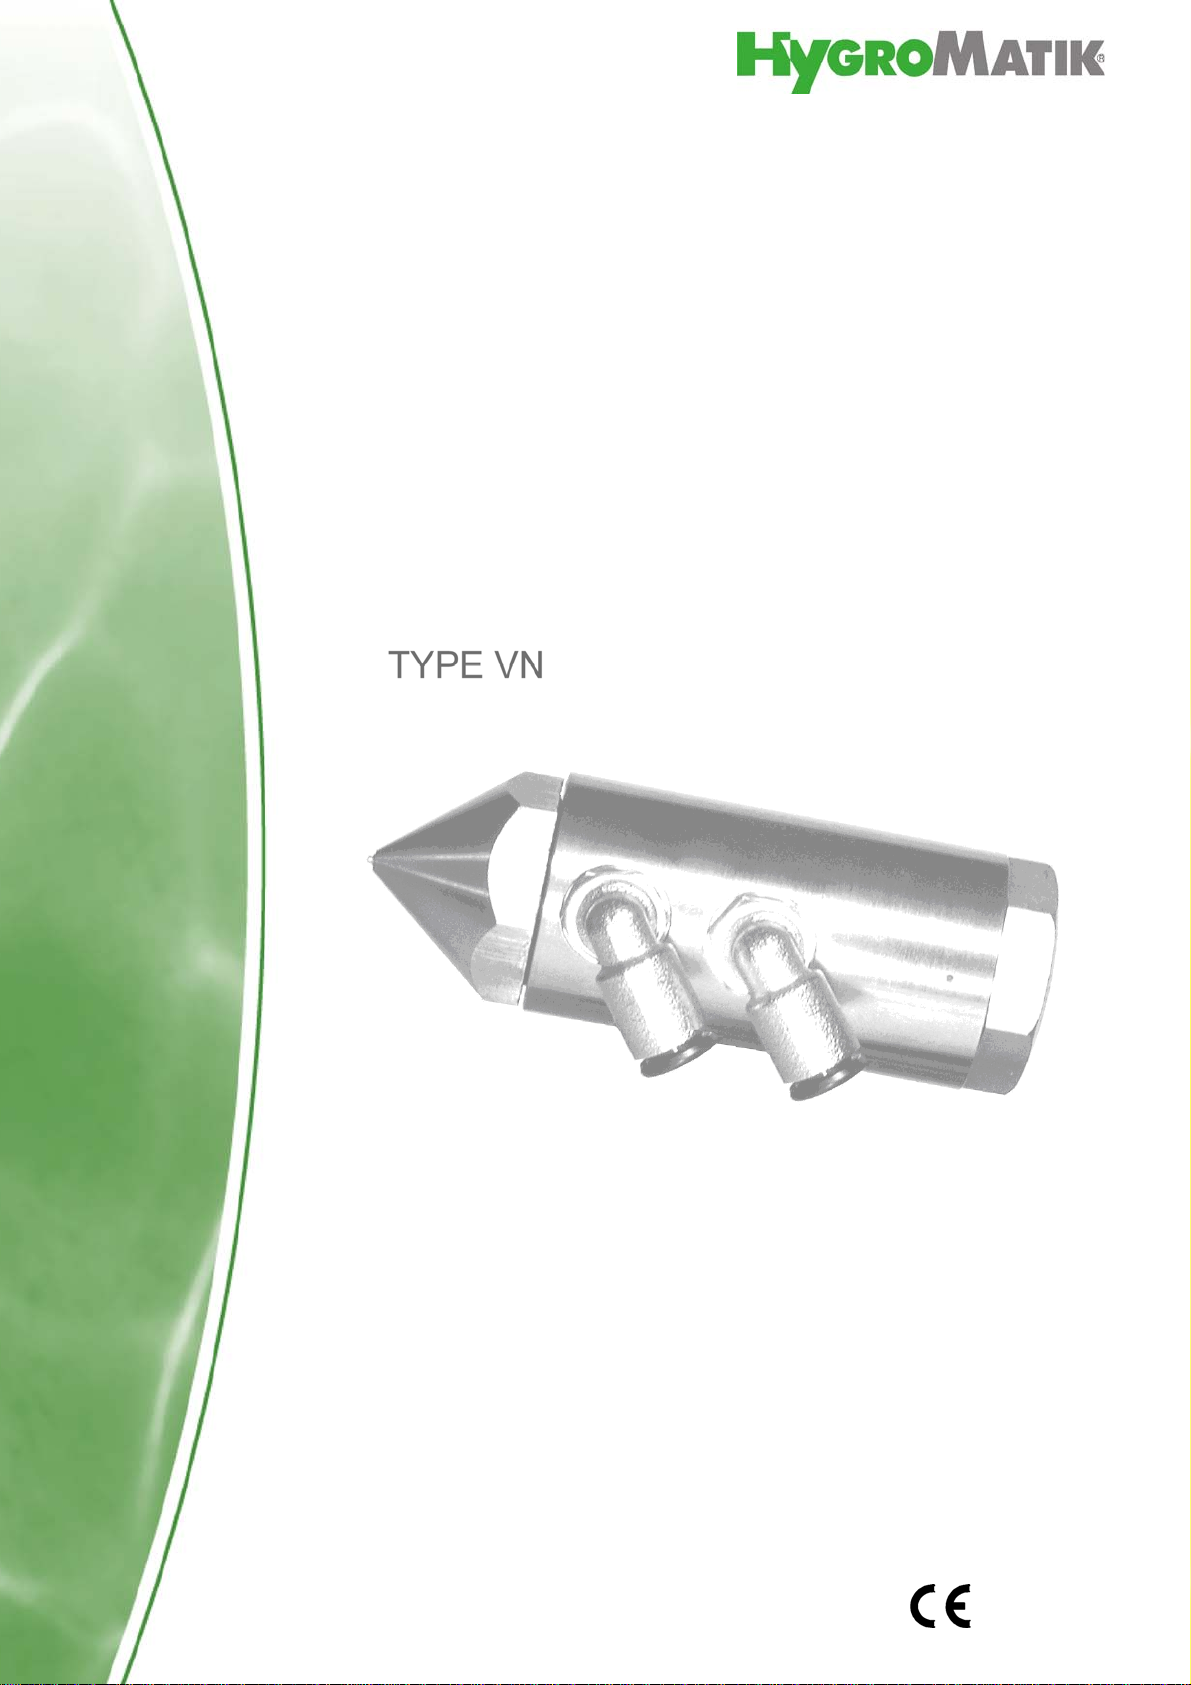
4.3 Vacuum Nozzle Type VN...........................................................................................13
4.3.1 Vacuum Nozzle.......................................................................................................13
4.3.2 Vacuum Nozzle Technical Specifications ...............................................................14
4.4 Control Unit Type CU-1..............................................................................................15
4.4.1 Operation with hygrostat.........................................................................................16
4.4.2 VN Nozzle Self-Cleaning.........................................................................................16
4.4.3 Operation and Display.............................................................................................17
4.4.4 Setting the Cleaning Interval...................................................................................18
4.4.5 Control Unit Technical Specifications......................................................................19
4.5 Pilot Valve Type PV ...................................................................................................20
4.5.1 Pilot Valve Mode of Operation ................................................................................20
4.5.2 Pilot Valve Technical Specifications........................................................................21
4.6 Vacuum Valve Type VV8...........................................................................................21
4.6.1 Vacuum Valve Mode of Operation..........................................................................23
4.6.2 Vacuum Valve Technical Specifications .................................................................24
4.7 Adiabatic Humidification.............................................................................................24
4.8 Atomisation Output.....................................................................................................25
4.8.1 Output Table ...........................................................................................................25
4.8.2 Droplet Size.............................................................................................................26
5. Installation..................................................................................................................27
5.1 General Installation Instructions.................................................................................27
5.2 Installation of System Components............................................................................30
5.2.1 Installation of the Control Unit.................................................................................30
5.2.2 Hygrostat................................................................................................................31
5.2.3 Vacuum Nozzle.......................................................................................................32
5.2.4 Vacuum Valve Type VV8........................................................................................32
5.2.5 Pilot Valve Type PV ................................................................................................34
5.2.6 Plastic Hosing .........................................................................................................34
5.3 Checklists...................................................................................................................35
5.4 Example of Installation...............................................................................................37
6. Water Installation.......................................................................................................39
6.1 Installing the Water Installation..................................................................................39
7. Compressed Air Connection.....................................................................................40

Page 4
7.1 Installing the Compressed Air Connection................................................................. 40
8. Electrical Installation................................................................................................. 41
8.1 Electrical Installation.................................................................................................. 41
8.2 Checklist Prior to Initial Operation ............................................................................. 41
8.3 Wiring Diagram.......................................................................................................... 42
9. Maintenance............................................................................................................... 43
9.1 Maintenance and Maintenance Checks..................................................................... 43
9.2 Maintenance Checks and Adjustments ..................................................................... 43
9.3 Cleaning and Maintenance........................................................................................ 44
9.4 Cleaning the Vacuum Nozzle .................................................................................... 44
9.5 Cleaning the Air Filter................................................................................................ 45
9.6 Cleaning the Water Filter........................................................................................... 46
9.7 Cleaning the Vacuum Valve ...................................................................................... 47
9.8 Dismantling................................................................................................................47
10. EC Declaration of Conformity................................................................................. 48
11. Spare Parts............................................................................................................... 49
12. Fax Form - Order for spare parts ........................................................................... 51
13. Exploded view and sectional drawing................................................................... 52
13.1 Exploded view of vacuum nozzle............................................................................. 52
13.2 Sectional Drawing Vacuum Valve Type VV8........................................................... 52
14. Index ......................................................................................................................... 53
15. Technical data.......................................................................................................... 55

Page 5
1. Introduction
Dear Customer,
HygroMatik vacuum nozzle systems represent the latest in
humidification technology.
They will impress you with their safety, ease of use and econo-
mical operation.
In order to operate your HygroMatik nozzle system safely, pro-
perly and efficiently, please read these operation instructions.
Employ your nozzle system only in sound condition and as
directed. Consider potential hazards and safety issues and fol-
low all the recommendations in these instructions.
If you have additional questions, please contact us:
Tel.: +49-(0)4193/895-0 (switchboard)
Tel.: +49-(0)4193/895-293 (technical hotline)
Fax: +49-(0)4193/895-33
e-mail: [email protected]
1.1 Directions for Use
The HygroMatik nozzle system with vacuum nozzles atomises
water with compressed air using injector technology and is inten-
ded for direct room humidification.
Warning: Use compressed air of breathable air quality only!
This meets Class 1 standards as specified in DIN ISO 85
Class 1 compressed air as specified by DIN ISO 8573-1
residual oil content 0,01 mg/m³
maximum dirt particle size 0,1 µm

Page 6
Note: The air filter for the nozzle system has a pore size of 5
µm; it acts as protection for the nozzle system against impurities
in the plumbing. To achieve breathable air quality, an extra filter
is required.
HygroMatik vacuum nozzles operate with drinking water. Fully
demineralised water must be used to prevent calcium and mine-
ral dust. Usage of fully demineralised water also lengthens main-
tenance intervals.
For the nozzle system, the following connections are needed at
the customer installation site:
Connections:
compressed air: 5-10 bar, 10/8 mm hosing
water: 2-4 bar, 10/8 mm hosing
electricity: 230V/1Ph/50 Hz
Proper usage also entails following HygroMatik's instructions for
installation, dismantling, reassembly, initial operation and opera-
tion and maintenance, as well as disposal procedures.
Only qualified, authorized personnel may operate or service the
unit.
Workers who transport or service the unit must have read and
understood the relevant sections of the operating instructions,
especially the section "Safety Notes." In addition, staff must
receive safety training about potential hazards from the operator.
Place a copy of the operating instructions at the location where
the unit is operated.
.

Page 7
1.2 Typographic Distinctions
•preceded by a bullet: general specifications
» preceded by an arrow: Procedures for servicing or
maintenance that should or must be performed in
the indicated order.
Installation step which must be checked off.
1.3 Documentation
Retention
Please retain these operating instructions in a secure, always
accessible location. If the product is resold, turn the documenta-
tion over to the new operator. If the documentation is lost, please
contact HygroMatik.
Versions in Other Languages
These operating instructions are available in several languages.
If interested, please contact HygroMatik or your HygroMatik dea-
ler.

Page 8
2. Safety Notes
2.1 Overview
These safety notes are required by law. They promote work-
place safety and accident prevention.
Warnings and Safety Symbols
The safety symbols below identify sections containing warnings
about hazards or potential dangers. Please familiarize yourself
with these symbols.
Warning: Failure to observe this warning may result in serious
injury or death and/or damage to the unit.
Danger, Hazardous Voltage: Hazardous electrical current! Fai-
lure to observe this warning may result in injury or even serious
injury or death
Warning: Failure to follow these instructions may result in
damage to the unit due to electrostatic discharge. The electronic
components of the humidifier control are very sensitive to elec-
trostatic discharges. In order to safeguard these components
during installation and servicing, steps must be taken to protect
against ESD.
Note: Materials and consumables must be handled and/or dis-
posed of as required by law.
Note: Appears before explanations or cross-references which
refer to other sections of the operating instructions.

Page 9
2.2 Guidelines for Safe Operation
Overview
Observe all safety information and warnings which appear on
the nozzle system.
In case of a malfunction, switch off the nozzle system immedia-
tely and prevent a restart. Repair malfunctions promptly.
After any repair work, have qualified personnel check the safe
operation of the nozzle system.
Use original spare parts only.
Additional national safety regulations also fully apply to the ope-
ration of this nozzle system.
Accident Prevention Regulations
Warning: Comply with the accident prevention regulation
Accident Prevention Regulation Electrical Systems and Equip-
ment (VBG 4/BGVA2) to prevent injury to yourself and others.
Operating the Nozzle System
Do not perform any work which compromises the safety of the
nozzle system.
Regularly check that all safety and monitoring devices are func-
tioning normally.
Do not remove or disable safety devices.
Installation, Dismantling, Maintenance and Repair of the
Nozzle System
When performing maintenance or repair work on nozzle system
components, switch off power, shut off pressure and close off
water supply.
Attaching or installing additional components is permitted only
with the written consent of the manufacturer.

Page 10
Electrical
Warning: Work on the electrical system must be performed by
qualified personnel.
If the electrical power supply malfunctions, switch off the control
unit immediately.
Use only original fuses with the appropriate amperage rating.
Regularly check the control unit's electrical equipment. Promptly
repair any faults, such as loose connections or damaged wiring.
After proper electrical installation or repair, test all safety mecha-
nisms (such as grounding resistance).
The control of theHygroMatik Nozzle System is IP55-protected.
Installing a humidifier in a room without water discharge requires
safety devices to protect against water leakages.
2.3 Disposal after Dismantling
Note: The operator is responsible for the disposal of nozzle sys-
tem components as required by law.

Page 11
3. Transport
3.1 General information
Note: Take care when transporting the HygroMatik vacuum
nozzle system to prevent the device and packaging from being
damaged by impact or accidental loading or unloading.
3.2 Packaging
Note: Notice the symbols affixed to the packing box.
3.3 Temporary storage
Store the material in a clean dry place. The storage temperature
should be 0-40°C.
Note: Only clean components may be installed in a ventilation
duct.
Inspecting for correctness and completeness
When you receive the goods, ensure that:
•the equipment is complete and all parts are in perfect
condition.
Note: Any transport damages and/or missing parts must be
reported immediately to the shipper or supplier.
The periods in which notification of the transport company must
occur for the purposes of identifying the damage are as follows*:
* Periods are subject to change without notice.
Transport company Time after receipt of
goods
Post no later than 24 hours
Rail 7 days at the latest
Rail and road transport
companies 4 days at the latest
Parcel services immediately

Page 12
4. Operation and Installation
4.1 Basic Requirements
For basic operational requirements of the HygroMatik nozzle
system, please read Section “Directions for Use”.
4.2 Sequence of Operation
When the hygrostat calls for an increase in humidity, the control
unit opens the pilot and vacuum valves by means of control air.
The nozzles are supplied with air and atomisation water.
At regular intervals, the control unit briefly switches off humidifi-
cation for self-cleaning. Inside the vacuum nozzle, elastic force
causes a stainless steel needle to spring forward; this action
detaches any calcium deposits that may be present in the atomi-
ser tip. When humidification resumes, the cleaning needle
retracts from the nozzle tip.
The HygroMatik vacuum nozzle atomising system consists of
the following components:
• vacuum nozzle Type VN
• control unit Type CU-1
• pilot valve Type PV
• vacuum valve Type VV8
• air and water filter
• hygrostat
• fittings, T-pieces and plastic hoses

Page 13
4.3 Vacuum Nozzle Type VN
All water-bearing parts of the vacuum nozzle Type VN are made
of stainless steel.
The pilot valve supplies the nozzles with atomisation air. The
vacuum valve feeds the nozzles with water. The control unit con-
trols both valves via a control air line.
4.3.1 Vacuum Nozzle
The atomisation air (13) flows through the nozzle through a duct
(5) and exits into the outlet (1) between the nozzle cap (2) and
the atomiser tip (3). Following the injector principle, a low pres-
sure differential is created in the nozzle tip (3); suction then
draws water from the water installation (12) through the vacuum
valve. This design ensures that the mixture of atomisation air
and water first occurs outside of the outlet (1). When the flow of
atomisation air is interrupted (pause in operation/cleaning cycle),
the spring (9) drives forward the piston (8) holding the cleaning
needle (11). This operation propels the cleaning needle (11)
through the water outlet (1) and detaches any deposits that may
be present.
After atomisation air returns, the piston (8) is driven backwards
by atomisation air pressure. The cleaning needle (11) retracts
from the nozzle tip (3).
Loc. Designation
1outlets
2 nozzle cap, front
3 nozzle tip
4 o-ring, front and back
5 atomisation air duct
6 seal ring
7 piston lining
8piston
9spring
10 nozzle cap, back
11 cleaning needle
12 water installation
13 atomisation air connection
14 vent hole

Page 14
4.3.2 Vacuum Nozzle Technical Specifications
*: at 8 bar atomisation pressure and 0.1 bar at the vacuum valve
**: at 5 bar atomisation pressure
sectional drawing vacuum nozzle Type VN
Vacuum Nozzle VV
Connections:
outer / inner diameter water [mm] 6/4
atomisa-
tion air [mm] 6/4
dimensions HxWxD [mm] 35x50x86
weight incl. mounting [kg] 0,7
material stainless
steel
1.4305
atomisation output, max.* [kg/h] 8,0
compressed air usage,
max.* [l/min] 50,0
sound level at a distance
of 1m** [dB(A)] 69,5

Page 15
4.4 Control Unit Type CU-1
The CU-1 control unit switches the vacuum nozzles on and off
according to humidification requirements. It also ensures that
that VN nozzle cleaning cycles are performed at regular inter-
vals.
The following control unit is available with the vacuum nozzles:
Control Unit Type
ON/OFF control for max.16 nozzles CU-1

Page 16
4.4.1 Operation with hygrostat
If the actual humidity level lies below the hygrostat's set point,
an electrical signal (2) is sent to the control unit. When humidifi-
cation is needed, the control unit applies pressure through the
control air line (3), opening the pilot valve and the water supply
to the vacuum valve. Atomisation air from the pilot valve flows
through the nozzles. Following the injector principle, a low pres-
sure differential is created in the tip of the nozzle. This differen-
tial opens the water outlet inside the vacuum valve. Suction
draws the water into the nozzles where it is atomised.
Once the set point is reached, the hygrostat sends an electrical
signal to the control unit (2). The unit switches off the pressure
in the control air line (3), causing the pilot and vacuum valves to
interrupt the supply of atomisation air and water. The cleaning
needles simultaneously close off the tips of the nozzles. The
system remains in this position until the hygrostat signals the
control unit for more humidification.
4.4.2 VN Nozzle Self-Cleaning
Self-cleaning takes place in regular cycles. The control unit
briefly switches off the pressure to the control air line (3). The
pilot and vacuum valves shut off the air and water supply to the
nozzles.The springs in the nozzles relax and push back the pis-
tons holding the cleaning needles. Shortly afterward, the control
unit again pressurizes the air control line, causing the pilot and
vacuum valves to reopen the air and water supply. The atomisa-
tion air presses the pistons holding the cleaning needles forward
against the springs. The nozzle tips are cleaned and atomisation
is resumed.
Loc. Designation
1 power supply connection
2 hygrostat connection
3 control air connection
4 compressed air supply connection
5 venting
6 LED for power, stand by and humidify
7 ON/OFF switch
8 manometer for system pressure
9 pressure controller to adjust system pressure

Page 17
The factory settings for the cleaning interval and the duration of
the cleaning cycle are:
4.4.3 Operation and Display
Control Unit Type CU-1
» Turn on the control unit using switch (7). The green "power"
LED lights up and the nozzle system is ready for operation.
» If there is no demand for humiditiy the display shows the fol-
lowing message:
» "On the hygrostat HG-Mini, set the desired relative humidity.
» "For example, for a set point of 50% RH, turn the knob until
the number 50 is positioned directly at the black mark.
Room hygrostat HG-Mini
Cleaning
cleaning interval 20 min
duration of cleaning 5 sec.

Page 18
When humidification is needed the display shows the following
message:
The system air pressure is adjusted on the valve (9) and is indi-
cated by the manometer (8).
Note: Set the atomisation output level as specified in Section
“Output Table”
4.4.4 Setting the Cleaning Interval
The cleaning interval and the duration of cleaning are set ex
works to:
By pressing the button “arrow right” (>) the sub menue “cleaning
interval” appears on the display”.
Bu using the buttons up ( ) and down ( ) the value for the
cleaning interval can be changed. It is not required to save any
changes - after 10 seconds the control will jump back to the start
menue with saving all changes.
Cleaning
cleaning interval 20 min
duration of cleaning 5 sek. (not changeable)

Page 19
4.4.5 Control Unit Technical Specifications
Control Unit Type CU-1
Connections:
outer / inner diameter
compressed air
supply max. 10
bar
[mm] 6/4
control air for
Pilotvalve and
Vacuumvalve
[mm] 6/4
installation area [%RH
]30 - 90
dimensions HxWxD [mm] 250x296x107
weight [kg] 4
power supply connection 230V/1Ph/50Hz
power usage [W] 25
cleaning interval ex works [min] 20
duration of cleaning [sec] 5
external circuit protection [A] 6
protection rating IP55
size of external conduit mm² 0.5... 4mm
type of external conduit [%RH
]for permanent installa-
tion only (e.g. NYM)
Rating as specified in
DIN EN 60730-1 (Ger-
man Association for
Electrical, Electronic &
Information Technolo-
gies (VDE) Standard
0631).
Type 1

Page 20
4.5 Pilot Valve Type PV
As soon as the control unit activates the pilot valve using the
control air line (2), the pilot valve brings the atomisation air pres-
sure for the nozzles to the control air pressure set by the control
unit.
The pilot valve is closed when control air pressure is absent (2).
4.5.1 Pilot Valve Mode of Operation
Pressure from the control air (2) pushes on the diaphragm and
valve plate (4), depressing the valve cone (5) in the pilot valve.
Compressed air (1) flows through the valve into the vacuum
nozzles (3). In the absence of control air pressure, the valve
cone (5) is closed by the spring (6), blocking the supply of atomi-
sation air (3) to the nozzles.
Pilot Valve PV
Location Designation
1 compressed air supply
2 control air from the control unit
3 atomisation air to the nozzles
4 diaphragm and valve plate
5 valve cone
6spring
This manual suits for next models
3
Table of contents
Popular Control Unit manuals by other brands

M-system
M-system R8-DCM16ALH instruction manual

Watts
Watts AMES 960GD-15-17 Installation, operation and maintenance

Trina Solar
Trina Solar PD06H user manual

Novatel
Novatel RELAY7 Installation and Operation User Manual

Interlogix
Interlogix TX-E121 installation instructions

Honeywell
Honeywell 7800 SERIES operating instructions