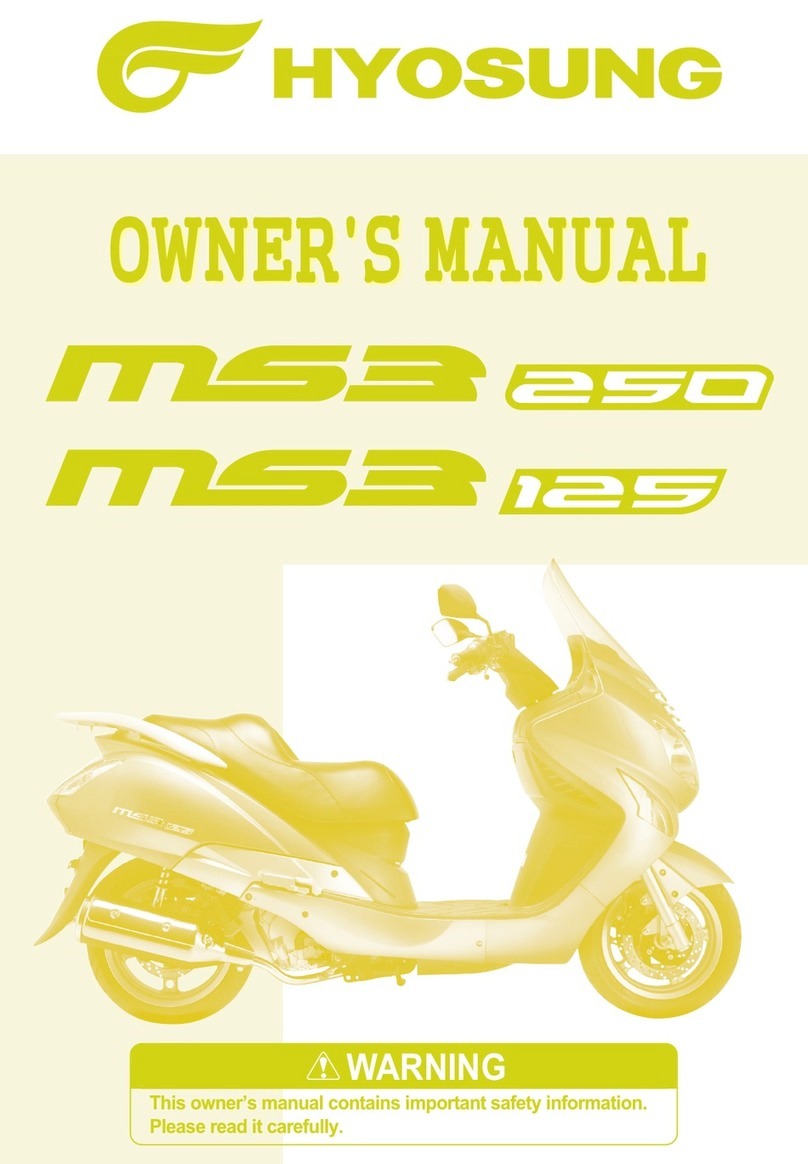
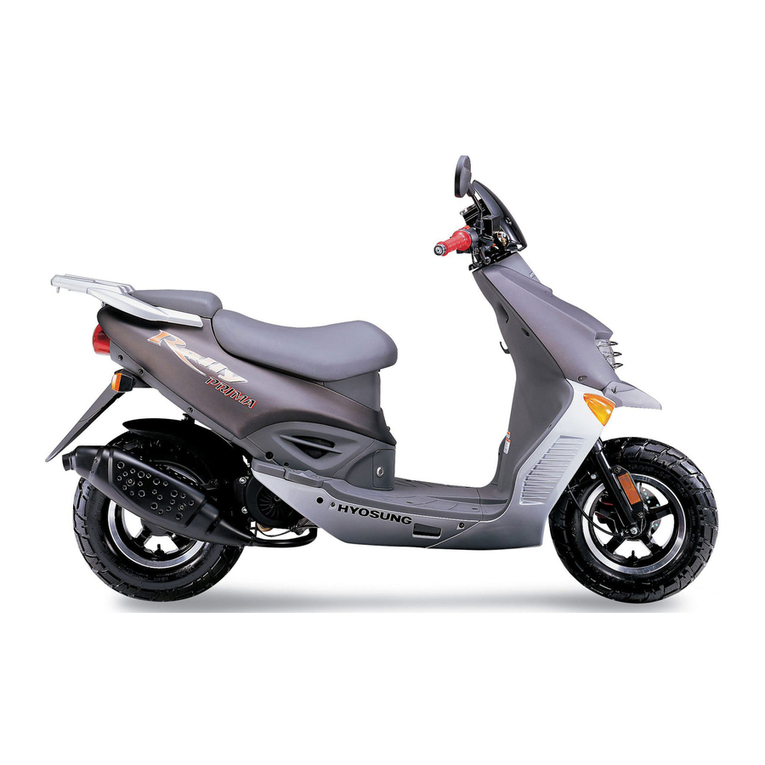
HYOSUNG Exceed 150 2002 User manual

1
The personal safety of the rider may be
involved. Disregarding this information
could result in injury to the rider.
WARNING
These instructions point out special
service procedures or precautions
that must be followed to avoid damag-
ing the machine.
CAUTION
NOTE: This provides special information
to make maintenance easier or impor-
tant instructions clearer.
IMPORTANT
BREAK-IN INFORMATION FOR
YOUR MOTORCYCLE
The first 1,000km(600miles) are the most impor-
tant in the life of your motorcycle .
Proper break-in operation during this time will
help ensure maximum life and performance from
your new motorcycle.
Hyosung parts are manufactured of high quality
materials, and manufactured parts are finished to
close tolerances. Proper break-in operation
allows the machined surfaces to polish each
other and mate smoothly.
Motorcycle reliability and performance depend
on special care and restraint exercise during
the break-in period. It is especially important that
you avoid operating the engine in a manner
which could expose the engine parts to exces-
sive heat.
Please refer to the BREAK-IN section for specific
break-in recommendations.
WARNING/CAUTION/NOTE
Please read this manual and follow its instruc-
tions carefully. To emphasize special informa-
tion the words
WARNING,
CAUTIONand
NOTEcarry special meanings and should
be carefully reviewed.
ProCarManuals.com

2
All information, illustrations photographs and
specifications contained in this manual are
based on the latest product information avail-
able at the time of publication. Due to improve-
ments or other changes, there may be some
discrepancies in this manual. Hyosung reserves
the right to make changes at any time.
Please note that this manual applies to all speci-
fications for all respective destinations and
explains all equipments. Therefore, your model
may have different standard features than shown
in this manual.
HYOSUNG MOTORS & MACHINERY INC.
Overseas Technical Department
COPYRIGHT HYOSUNG MOTORS & MACHINERY INC.
FOREWORD
THANK YOU for choosing Hyosung. We at
Hyosung have designed, tested and produced
this motorcycle using the most modern tech-
nology available to provide you with many
happy, enjoyable, safe riding. Motorcycling is
one of the most exhilarating sports and insure
your riding enjoyment, you should become
thoroughly familiar with the information pre-
sented in this Owner’s Manual before riding the
motorcycle.
The proper care and maintenance that your
motorcycle requires are outlined in this manual.
By following these instructions explicitly you will
insure a long trouble-free operating life for your
motorcycle. Your Hyosung dealer has experi-
enced technicians that are trained to provide
your machine with the best possible service with
the right tools and equipment.
ProCarManuals.com

3
TABLE OF CONTENTS
1. CONSUMER INFORMATION 4
ACCESSORY INSTALLATION AND
PRECAUTION SAFETY TIPS
SAFE RIDING RECOMMENDATION
FOR MOTORCYCLE RIDERS
SERIAL NUMBER LOCATION
2. NAMES OF EACH PART 6
3. CONTROLS 9
INSTRUMENT PANEL
IGNITION SWITCH
LEFT HANDLE SWITCH
RIGHT HANDLE SWITCH
PARKING BRAKE LEVER
4. HOW TO USE 11
HOW TO USE THE BAG HOLDER
HOW TO OPEN THE SEAT
HOW TO THE PERSONAL TRUNK
5. GASOLINE 12
HOW TO PROVIDE THE GASOLINE
6. THE PROPER OPERATIONS 13
HOW TO START THE ENGINE
HOW TO START OFF
ADJUSTING THE SPEEDS
HOW TO OPERATE THE BRAKE
HOW TO STOP AND PARK
7. BRAKE-IN 17
8. INSPECTION BEFORE RIDING 18
INSPECTION BEFORE RIDING ITEM
BRAKES
TIRES
GASOLINE
LAMPS
REAR-VIEW MIRROR
REFLECTOR AND NUMBER PLATE
9. PERIODIC MAINTENANCE 20
FRONT FORK
BRAKES
TIRES
AIR CLEANER
BATTERY
TRANSMISSION OIL
GASOLINE
10. MAINTENANCE TIPS 26
FUSES
BATTERY TERMINAL
AIR CLEANER
RUBBER CAP OF CABLES
SPARK PLUG
PARKING BRAKE
11. SPECIFICATIONS 30
ProCarManuals.com

4
There are a great variety of accessories available to
Hyosung owners. Hyosung can not have direct
control over the quality or suitability of accessories
you may wish to purchase except genuine parts.
The addition of unsuitable accessories can lead to
unsafe operating conditions. It is not possible for
Hyosung to test each accessory on the market or
combinations of all the available accessories, how-
ever, your dealer can assist you in selecting quality
accessories and installing them correctly.
Use extreme caution when selecting and installing the
accessories for your Hyosung. We have developed
some general guidelines which will aid you when
deciding whether, and how to equip your motorcycle.
1. In case that additional weight or aerody-
namic affecting accessories are installed, they
should be mounted as low as possible, as
close to the motorcycle and as near the center
of gravity as is feasible. The mounting brack-
ets and other attachment hardware should
be carefully checked to ensure that it pro-
vides for a rigid, nonmovable mount. Weak
mounts can allow the shifting of the weight
and create a dangerous, unstable condition.
2. Inspect for proper ground clearance and bank
angle. An improperly mounted load could criti-
cally reduce these two safety factors. Also
determine that the
loaddoes not interfere
with the operation of the suspension steering
or other control operations.
3. Accessories fitted to the handlebars or the
front fork area can create serious stability
problems. This extra weight will cause the
motorcycle to be less responsive to your
steering control. The weight may also cause
oscillations in the front end and lead to
instability problems. Accessories added to
the machine should be as light as possible
and kept to a minimum.
4. The motorcycle may be affected by a lifting con-
dition or by an instability in cross winds or when
being passed or passing large vehicles.
Improperly mounted or poorly designed acces-
sories can result in an unsafe riding condition,
therefore caution should be used when selecting
and installing all accessories.
5. Certain accessories displace the rider from his or
her normal riding position. This limits the free-
dom of movement of the rider and may limit his
or her control ability.
6. Additional electrical accessories may over
load the existing electrical system. Severe
overloads may damage the wiring harness or
create a dangerous situation due to the loss
of electrical power during the operation of
the motorcycle.
When carrying a load on the motorcycle, mount it as
low as possible and as close as possible to the
machine. An improperly mounted load can create a
high center of gravity which is very dangerous and
makes the motorcycle difficult to handle. The size of
the
loadcan also affect the aerodynamics and
handling of the motorcycle.
Balance the load between the left and right side of
the motorcycle and fasten it securely.
MODIFICATION
Modification of the motorcycle, or removal of
original equipment may render the vehicle
unsafe or illegal.
ACCESSORY INSTALLATION AND
PRECAUTION SAFETY TIPS
SAFE RIDING RECOMMENDATION
FOR MOTORCYCLE RIDERS
Motorcycle riding is great fun and an exciting
sport. Motorcycle riding also requires that some
extra precautions be taken to ensure the safety of
the rider and passenger. These precautions are:
CONSUMER INFORMATION
ProCarManuals.com

5
Frame number :
Engine number :
The frame number is stamped on the right side
of the frame below the passenger footrest.
The engine serial number is stamped on the
rear side of the crankcase assembly.
Please write down the numbers in the box
provided below for your future reference.
SERIAL NUMBER LOCATION
WEAR A HELMET
Motorcycle safety equipment starts with a quality
safety helmet. One of the most serious injuries
that can happen is a head injury. ALWAYS wear
a properly approved helmet. You should also
wear a suitable eye protection.
RIDING APPAREL
Loose fancy clothing can be uncomfortable and
unsafe in terms of riding your motorcycle.
Choose good quality motorcycle riding apparel
in terms of riding your motorcycle.
INSPECTION BEFORE RIDING
Review thoroughly the instructions in the
INSPECTION BEFORE RIDINGsection of this
manual. Do not forget to perform an entire safety
inspection to ensure the safety of the rider and
its passenger.
FAMILIARIZE YOURSELF WITH THE
MOTORCYCLE
Your riding skill and mechanical knowledge
form the foundation for safe riding practices.
We suggest that you practice riding your
motorcycle in a non-traffic situation until you
are thoroughly familiar with your machine and
its controls. Remember practice makes perfect.
KNOW YOUR LIMITS
Ride within the boundaries of your own skill at all
times. Knowing these limits and staying within
them will help you to avoid accidents.
BE EXTRA SAFETY CONSCIOUS ON BAD
WEATHER DAYS
Riding on bad weather days, especially wet
ones, requires extra caution. Braking distances
double on a rainy day. Stay off of the painted
surface marks, manhole covers and greasy
appearing areas as they can be especially slip-
pery.
Use extreme caution at railway crossings and on
metal gratings and bridges. Whenever you have
a doubt about road condition, slow down!
The frame and/or engine serial numbers are
used to register the motorcycle. They are
also to assist your dealer in terms of ordering
parts or referring to special service infor-
mation.
ProCarManuals.com

9
The fuel gauge indicates the remaining
amount whenever the ignition switch is
(ON) or (OFF). For checking the rema--
CAUTION
IGNITION SWITCH
CONTROLS
INSTRUMENT PANEL
ining amount of fuel, put the motorcycle on
the center-stand and set the ignition switch
(ON).
P
U
S
H
I
G
N
I
T
I
O
N
ON
OFF
P
U
S
H
I
G
N
I
T
I
O
N
SPEEDOMETER
The speedometer indicates the road speed in
kilometers per hour.
PARKING BRAKE INDICATOR LAMP
The parking brake indicator lamp will come
on when the parking brake is operated.
TURN SIGNAL INDICATOR LAMP
When the turn signals are being operated either
to the right or to the left, the indicator will flash at
the same time.
HIGH BEAM INDICATOR LAMP
The high beam indicator lamp will come on
when the headlamp high beam is turned on.
FUEL GAUGE
It indicates the remaining fuel amount in the fuel
tank.Fmark indicates the fuel tank is full.Emark indicates the fuel tank is empty or nearly so.
(the remaining fuel is 1.3atEthe capacity is
7.0) Fill the fuel tank beforeE.
The ignition switch has three positions :
(ON)POSITION
The ignition circuit is completed and the engine can
now be started. The key cannot be removed from
the ignition switch in this position.
(OFF) POSITION
All electrical circuits are cut off. The engine will not
start. The key can be removed.
(LOCK) POSITION
To lock the steering, turn the handlebar all the way
to the left. Push down and turn key to the (LOCK)
position and remove the key. All electrical circuits
are disconnected.
ODOMETER
The odometer registers the total distance that the
motorcycle has been ridden.
ProCarManuals.com

10
Check if the steering is locked.
When it is not locked. Turn the handle right
a little.
CAUTION
For preventing steal, Lock the steering.
Turn right the handle.
Turn the key from (OFF)to (Lock).
Pull out the key while from (Lock) to (OFF).
.
LEFT HANDLE SWITCH
Set the dimmer switch
when other
vehicle is running in front or against.
WARNING
REAR BRAKE LEVER
The rear brake is applied by squeezing the
brake lever gently toward the handle grip.
Rear brake be anxious about motorcycle falling
down when braking suddenly as disk brake sys-
tem. The brake lamp will come on when the
lever is squeezed toward the handle grip.
DIMMER SWITCH
In case that ignition switch (ON) position and
light switch (ON) position, operate the dim-
mer switch.
Change direction of headlamp light.
: The headlamp high beam and tail-
lamp come on.
The high beam indicator lamp also
comes on.
: The headlamp low beam and tail-
lamp come on.
Always use the turn signals when you
intend to change lanes or make a turn.
Always be sure to turn the turn signal
switch to the
OFFposition after com-
pleting the turn or lane change.
CAUTION
HORN SWITCH
Press the switch to operate the horn.
TURN SIGNAL SWITCH
Using when left, right turn or change direction.
Position : Flash the left turn signal
lamp.
Position : Flash the right turn signal
lamp.
EMERGENCY LAMP SWITCH
In case that ignition switch to the (ON) posi-
tion, push the emergency switch to operate the
turn signal lamp and turn signal indicator lamp at
the same time under in a state of emergency.
RIGHT HANDLE SWITCH
ProCarManuals.com

Use this lever to prevent the motorcycle from
moving when it is parked with side stand.
To lock the parking brake, pull the praking brake
lever for the lower part.
To release the parking brake, depress the park-
ing brake lever button until the lever release.
When hang a helmet or bag, use the bag holder
following the illustration below.
11
PARKING BRAKE LEVER
Confirm the safety certainly when it is
parked, as sliding or roll over on slippery
or loose surfaces.
WARNING
LIGHT SWITCH
position
The head lamp, position lamp, meter lamp and
tail lamp come on. If not start engine, do not
come on.
position
The position lamp, meter lamp and tail lamp
come on.
position
The head lamp, meter lamp and tail lamp go off.
FRONT BRAKE LEVER
The front brake is applied by squeezing the
brake lever gently toward the throttle grip.
Front brake be anxious about motorcycle falling
down when braking suddenly as disk brake sys-
tem. The brake lamp will come on when the
lever is squeezed toward the throttle grip.
THROTTLE GRIP
Engine speed is controlled by position of the
throttle grip. Turn it toward you to increase
engine speed. Turn it away from you to
decrease the engine speed.
STARTER SWITCH
Use this switch to operate the starter motor.
NOTE: If the front or rear brake lever is not
squeezed, the starter motor will not rotate.
When the starter motor doesn t rotate
within 5 seconds after pushing the switch,
try again after 10 seconds for preventing
the damage on battery.
CAUTION
HOW TO USE
HOW TO USE THE BAG HOLDER
Maximum load capacity of bag holder : 1.5 kg (3.3 lbs)
ProCarManuals.com

12
1) To unlock the seat, insert the ignition key into the
lock and turn it clockwise.
2) To lock the seat, push down firmly until the seat
latch snaps into the locked position.
You can use the Trunk after opening the seat.
HOW TO OPEN THE SEAT
Keep the maintenance manual in the personal
trunk.
Put the helmet as shown in the picture.
Maximum load capacity of personal trank
: 10 kg (22 lbs)
Maximum load capacity of rear carrier
: 5 kg (11 lbs)
HOW TO USE THE PERSONAL TRUNK
1. Insert the ignition key into the lock located a right
of the footboard and turn it clockwise.
2. Open the fuel tank cover as it take down lightly.
3. Turn the fuel tank cap left.
4. Fill the fuel tank and turn the cap right tightly.
HOW TO PROVIDE THE GASOLINE
GASOLINE
Check if it is locked.
The unlocking of trunk could cause serious
accident.
Take care not to spill the gasoline or oil
in the trunk.
Dont allow water to get inside the trunk or
it could damage.
Dont keep the valuables in the trunk when
leaving unattended.
The trunk could be heated. Don’t keep
anything that doesn’t endure heat.
Dont keep the fragile.
CAUTION
When refueling, always shut the engine
off and turn the ignition key to the
OFFposition. Never refuel near
an open flame.
Be careful to operate the fuel tank cap.
Do not overfill the fuel tank. Do not fill
the fuel tank above the bottom of the
filler tube.
WARNING
ProCarManuals.com

13
Spilling gasoline can damage painted
surfaces.
Be careful not to spill any fuel when
filling the fuel tank.
Wipe spilled gasoline up immediate-
ly.
CAUTION
Check how much the engine oil and
gasoline is left.
Put the motorcycle on the center stand.
Before riding
HOW TO START THE ENGINE
P
U
S
H
I
G
N
I
T
I
O
N
Set the ignition switch ONSqueeze the rear brake lever.
Push the starter switch without turning
the throttle grip.
When it doesnt start after several trial, turn the
throttle grip to ~position.
Depress the start switch right after
started.
When the start motor doesnt rotate
within 5 seconds after pushing the
starter switch, try again after 10 sec-
onds for preventing the damage on
battery.
CAUTION
When started, return the throttle grip.
CAUTION
THE PROPER OPERATIONS
ProCarManuals.com

14
Start by using the kick starter lever
You can start using by the kick starter lever when
there is some problem in battery.
Put the motorcycle on the center stand.
Set the ignition switch ONPress forcefully the kick starter lever.
When started, return the kick starter lever.
CAUTION
Dont idle it indoor where there is little or no
ventilation available.
The exhaust gas including carbon monoxide
is extremely poisonous.
WARNING
It is not started easily in the cases as follows.
1It has been long since you started the motorcycle.
2There was no gasoline left.
In this case1.2, push the starter switch
longer without turning the throttle grip.
When the engine is cold, idle it for a while.
HOW TO START OFF
Return the center stand.
For returning the center stand, push the motorcycle
forward gripping the rear brake lever with left hand
and the rear carrier with right hand.
When returning the center stand, Dont grip
the seat.
CAUTION
Ride on
Gripping the lever with both hands, be seated on
from leftside of the motorcycle.
Put the left foot on the earth and fasten the rear
brake lever.
ProCarManuals.com

15
Check the safety
Turn on the left turn signal lamp and check the
safety.
Grip up the rear brake lever.
Put the both foots on the earth to the motorcycle
not sliding or roll over.
Start off
Depress the rear brake lever and turn the throttle
grip slowly, the motorcycle will start moving
forward.
Dont let the engine run excessively before
riding.
CAUTION
Apply the front and rear brakes at the
same time.
HOW TO OPERATE THE BRAKE
You can adjust the speeds with the throttle grip.
Turning - - - - Get faster
Returning - - - Get slower
ADJUSTING THE SPEEDS
When turned the throttle grip excessively,
it will make quick start which is
dangerous.
WARNING
ProCarManuals.com

16
Grip the brake lever right after returning the
throttle grip.
Make the speed lower by operating the brake
slowly.
The quick brake can cause skidding.
Pay much more attention to driving
when rains or snows.
When the brake doesnt work normally, keep
low speeds and apply the brake lightly until
smoothly operated.
Using either front or rear brake is
dangerous and can cause skidding and loss
of control.
WARNING
Turn on the turn signal lamp and return the
throttle grip.
HOW TO STOP AND PARK
P
U
S
H
I
G
N
I
T
I
O
N
When completely stopped, turn off the
turn signal lamp. Set the key OFFposition.
Put the motorcycle on the center stand.
Dont park the motorcycle on the slippery or
tilted surface.
CAUTION
ProCarManuals.com

17
Lock the steering for security.
Pull the ignition key out of the lock and
keep it yourself.
The opening explains how important proper break-in
is to achieve maximum life and performance from
your new Hyosung. The following guidelines explain
proper break-in porcedures.
MAXIMUM THROTTLE OPENING RECOM-
MENDATIONS
The table below shows the maximum throttle open-
ing recommendation during the break-in period.
AVOID CONSTANT LOW SPEED
Operating the engine at constant low speed(light
load) can cause parts to glaze and not seat in.
Allow the engine to accelerate freely through the
gear, without exceeding the recommended maxi-
mum limits.
Do not, however use full throttle for first 1,600 km
(960 miles).
VARY THE ENGINE SPEED
The engine speed should be varied and not held
at a constant speed.
This allows the parts to beloadedwith pres-
sure and then unloaded, allowing the parts to
cool.
This aids the mating process of the parts. It is
essential that some stress be placed on the
engine components during break-in to ensure
this mating process.
BREAK-IN
Maximum throttle opening
Less than 3/5 throttle
Less than 4/5 throttle
Less than 5/5 throttle
Interval
Initial 800 km (480 miles)
Up to 1,600 km (960 miles)
More than 1,600 km (960 miles)
Do not, though, apply excessive load on the
engine.
BREAKING IN THE NEW TIRES
New tires need proper break-in to assure maxi-
mum performance, just as the engine does.
Wear in the tread surface by gradually increas-
ing your cornering lean angles over the first 160
km (100 miles) before attempting maximum per-
formance. Avoid hard acceleration, hard corner-
ing, and hard braking for the first 160 km (100
miles).
Failure to perform break-in of the tires
could cause tire slip and loss of control.
Use extra care when riding on new tire.
Perform proper break-in of the tire as
described in this section and avoid hard
acceleration, hard cornering, and hard
braking for the first 160 km (100 miles).
WARNING
ALLOW THE ENGINE OIL TO CIRCU-
LATE BEFORE RIDING
Allow sufficient idling time after warm or cold
engine start up before applying load or reviving
the engine. This allows time for the lubricating
oil to reach all critical engine components.
OBSERVE YOUR FIRST, AND MOST
1,000 km (600 miles) SERVICE
The 1,000 km (600 miles) service is the most
important service your motorcycle will receive.
During break-in procedures all of the engine
components will have worn in and all of the
other parts will have seated in.
All adjustments will be restored, all fasteners will
be tightened, and the dirty engine oil and engine
oil filter will be replaced.
Timely performance of the 1,000km (600miles)
service will ensure optimum service life and per-
formance from the engine.
ProCarManuals.com

18
The 1,000 km (600 miles) service should be
performed as outlined in the maintenance
schedule section of this owner s manual.
Pay particular attention to the caution and
warning in MAINTENANCE SCHEDULE
section.
CAUTION
Service should may be peformed before
1,000 km (600 miles) on motorcycle that
are used under severe conditions.
CAUTION
INSPECTION BEFORE RIDING
Before riding the motorcycle, be sure to check
the following item.
Inspect every day once them before riding the
motorcycle.
Abnormal point of the previous day.
Extra braking power of the brake lever.
Fluid measure of the master cylinder.
INSPECTION BEFORE RIDING ITEM
Running inspection once in a day and periodic
maintenance 4,000km (2,400miles) or 8,000km
(4,800miles) is necessary for the full performance
and preventing accidents.
Even though the motorcycle is not run
for a long time, the periodic maintence is
necessary.
The engine and muffler are too hot right
after engine stopped, please be caerful not
to be burned.
Dont inspect the engine indoor where
there is little or no ventilation available.
The exhaust gas is extremely poisonous.
CAUTION
Pressure, crack, cut, strange wear, foreign
substance (stone, nail and others) of Tire.
Adequate tread depth of Tire.
Fluid measure of Engine oil.
Pollution degree inspect of Engine oil.
Fluid measure of Fuel.
On and off condition or damage of Lamp,
turn signal lamp and others.
Condition of rear-view mirror.
THE BRAKE LEVER
Turn the front/rear brake adjuster clockwise/or
counterclockwise to obtain the specified play.
After adjusting the play, check there is no
dragging and enough clearance between the
brake lever and grip when the lever is tightly
squeezed.
BRAKES
5~20mm (0.2~0.8in)
5~20mm (0.2~0.8in)
BRAKE FLUID
Keep the motorcycle upright and place the
handlebar straight.
Check brake fluid level by observing the
middle line on the brake fluid reservoir.
When the level is below the middle line,
replenish with brake fluid.
ProCarManuals.com

19
THE TIRE PRESSURE
If you see the problem with the tire, adjust the
pressure (Refer to 24 page) with the pressure
gauge.
TIRES
CRACKS AND CUTS
Check if
1) there are visible cracks and cuts.
2) there are pebbles stuck. TIRE TREAD CONDITION
Operating the motorcycle with excessively worn
tire will decrease riding stability and can lead to
loss of control.
Inspect stortage of tire threads depth by the
tire wear indicator.
Replace the front and rear tires at once when
appear the
tire wear indicator.
If there are some problem with the tire
pressure or cracks and cuts, it will
decrease the riding stability and lead to
flat tire.
CAUTION
THE GASOLINE
GASOLINE
Check if the remaining gasoline is enough for
running to the destination.
Replenish the gasoline before reachingEmark with the ignition switch in the ONposition.
ProCarManuals.com
This manual suits for next models
1
Table of contents
Other HYOSUNG Scooter manuals

HYOSUNG
HYOSUNG SF 50 B User manual

HYOSUNG
HYOSUNG SF 100 User manual

HYOSUNG
HYOSUNG Sense SD-50 User manual

HYOSUNG
HYOSUNG SF 50 User manual

HYOSUNG
HYOSUNG MS3 250 User manual

HYOSUNG
HYOSUNG Sense SD-50 User manual

HYOSUNG
HYOSUNG SF 50 User manual

HYOSUNG
HYOSUNG SR 50 R User manual

HYOSUNG
HYOSUNG Prima User manual

HYOSUNG
HYOSUNG MS3 125 User manual