4
IMPORTANT SAFETY INFORMATION
Listening to HyperSound Clear™audio at excessive volume (e.g., volume
programmed or optimized for a person with hearing loss) can cause permanent
hearing damage. People with normal hearing should use the “Standard” or
“Bright” settings or use as low a volume as possible.
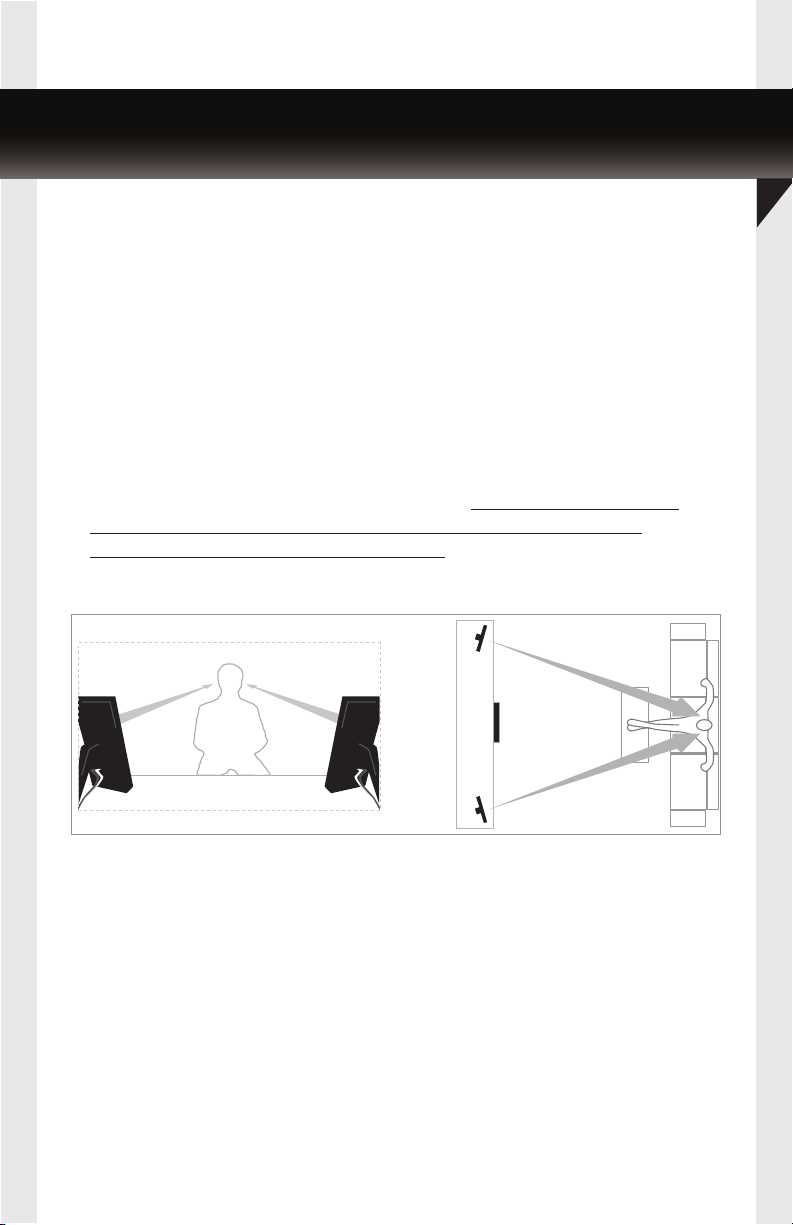
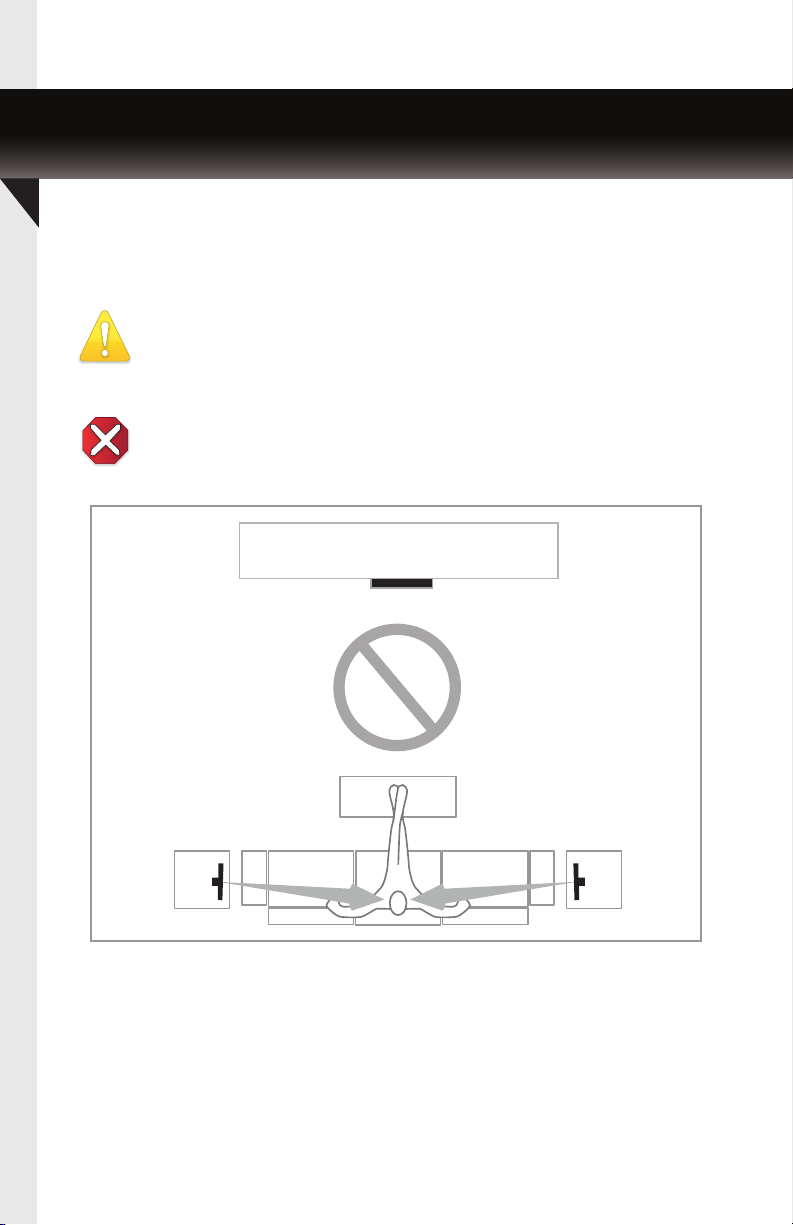
For the best audio experience, a listener must be at least 3 feet from the speakers
and ideally should be 6 to 15 feet away.
NEVER HOLD A SPEAKER UP TO YOUR EAR. MAINTAIN AT LEAST 18 INCHES
DISTANCE BETWEEN THE SPEAKER AND ANY LISTENER.
IMPORTANT WARNING FOR WEARERS OF HEARING AIDS
Because HyperSound®audio is focused, you may need to decrease the volume
or sensitivity of your hearing aid if you feel that the sound is too loud or you
experience any acoustic feedback (squeal or whistle sound) or any other sound
artifacts in the ears. If you are unable to adjust your hearing aid and you are
experiencing any discomfort to your ears while listening to HyperSound Clear,
please remove your hearing aids, step outside of the HyperSound sound zone, or
discontinue use of the HyperSound Clear with your hearing aid.
Customer Service: (888) 496-8001
The precautionary instructions found throughout this manual are indicated by specific
symbols. Understand these symbols and their definitions before operating this equipment.
The definitions of these symbols are as follows:
Warning Symbol
Text with a “WARNING” indicator will explain possible safety infractions that will
potentially cause serious injury and equipment damage.
Hazard Warning
Text with a “Hazard” indicator will explain possible safety infractions that are
imminently hazardous situations that would result in death or serious injury.
Caution Symbol
Text with a “CAUTION” indicator will explain possible safety infractions that could
have the potential to cause minor to moderate injury or damage to equipment.
Hazard Warning!
High Voltage. This situation or condition can cause injury due to electric shock.
NEVER OPERATE THE APPARATUS WITH THE FRONT GRILL OF THE SPEAKER
REMOVED, HIGH VOLTAGES ARE PRESENT.
Important Warnings and Cautions
Read and follow all warning notices and instructions marked on the product or
included in the documentation.
See the Appendix for a complete list of all Warnings and Cautions.
Oxygen vigorously accelerates combustion. Do not operate the apparatus in an
environment with flammable gases or liquids.