032-0329-EN Rev K
-iv
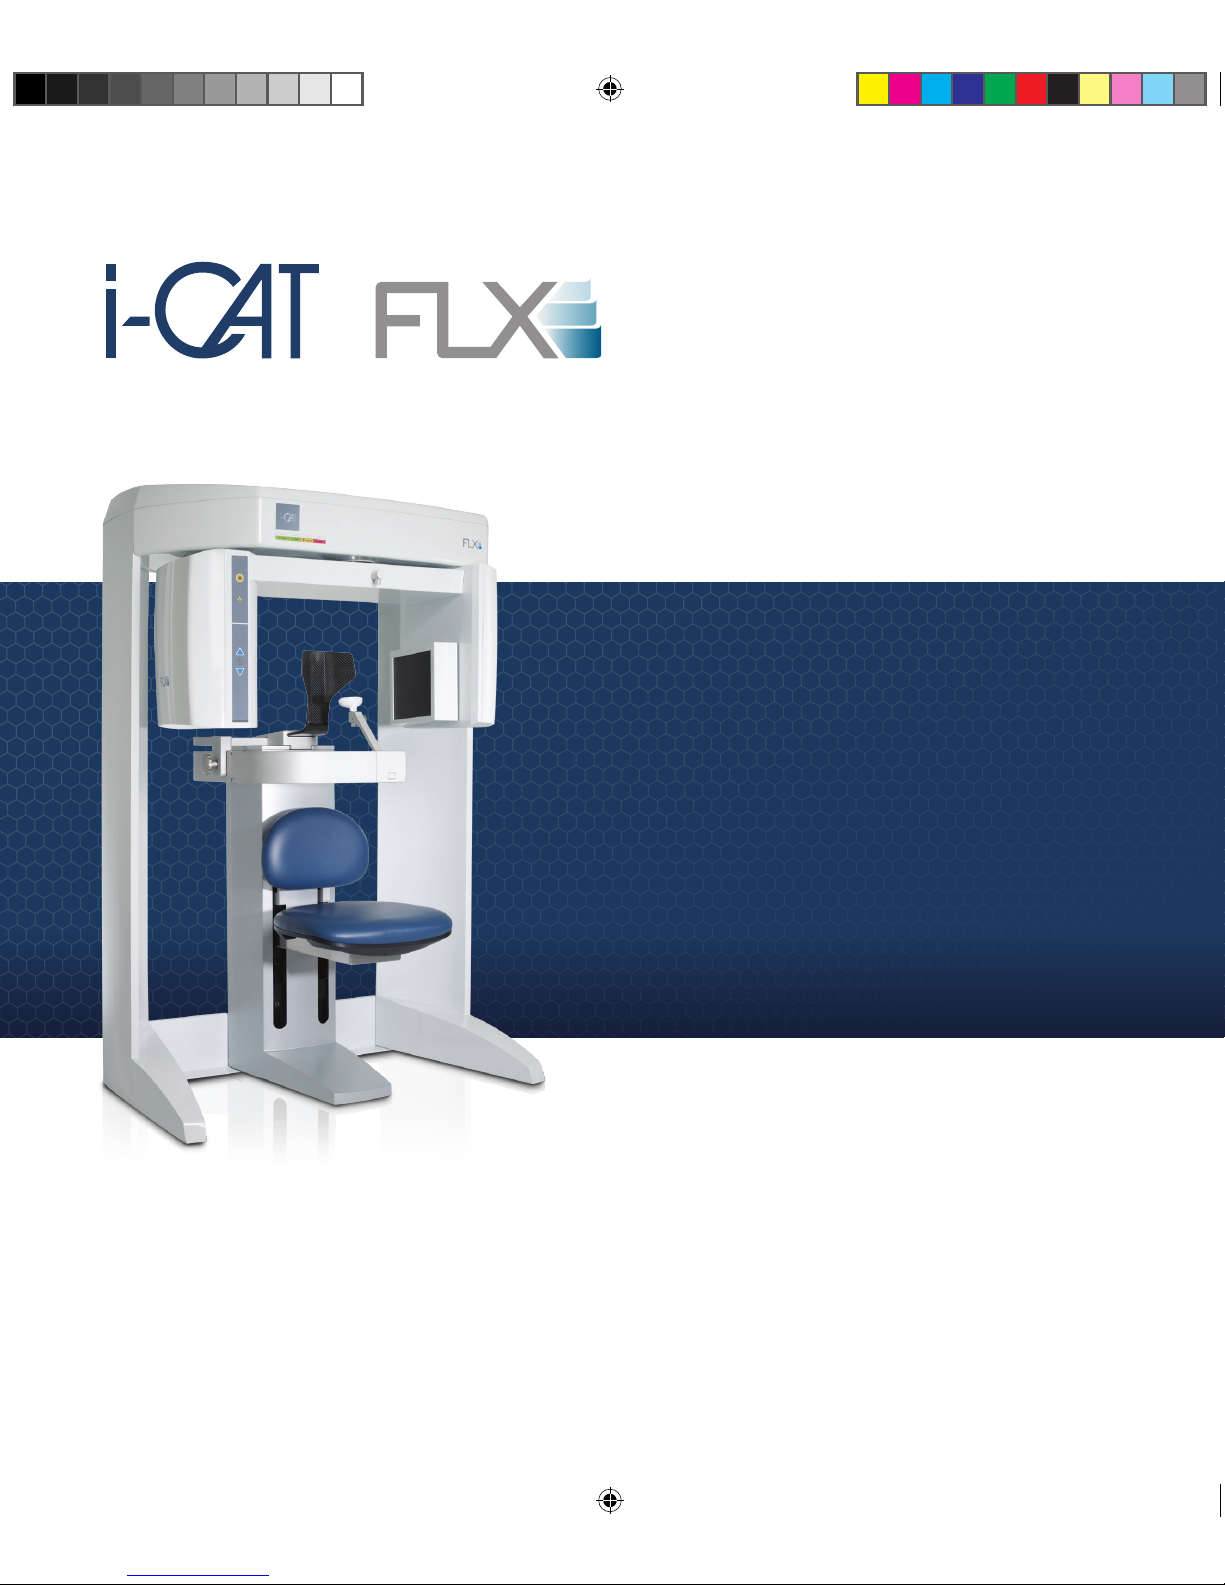
i-CAT FLX User Manual
Chapter 5 - Positioning the Patient
Patient Positioning For CT Scans - At A Glance ........................................................ 5-1
Patient Positioning For PAN Scans - At A Glance ..................................................... 5-2
Patient Positioning - in Detail ..................................................................................... 5-3
Patient Chair ................................................................................................................. 5-4
Gate ................................................................................................................................. 5-5
Chin Support .................................................................................................................... 5-5
Head Support and Head Strap ....................................................................................... 5-6
Alignment Light .............................................................................................................. 5-8
Scouts and Dry Runs ................................................................................................. 5-9
Instruct Patients Prior to the Scan ............................................................................ 5-10
Chapter 6 - Taking a Scan
Scanning Workflow in SmartScan STUDIO ............................................................... 6-1
Using SmartScan STUDIO Step-by-Step ................................................................... 6-3
Perform a CT Scan .......................................................................................................... 6-3
Perform a PAN Scan ....................................................................................................... 6-5
Build a Custom Protocol .................................................................................................. 6-7
SmartScan STUDIO Details ....................................................................................... 6-8
Choose a Patient Exam ................................................................................................... 6-8
Choose a Protocol .......................................................................................................... 6-9
Choose Type ................................................................................................................ 6-12
Perform a Dry Run ......................................................................................................... 6-13
Perform a CT Scout Scan ............................................................................................. 6-14
Perform a Scan .............................................................................................................. 6-17
Review Exam Images ................................................................................................... 6-18
Perform a PAN Scout Scan .......................................................................................... 6-21
Review PAN Image ...................................................................................................... 6-22
Complete/Incomplete Exam .......................................................................................... 6-23
Build a Custom Protocol Workflow in SmartScan STUDIO ...................................... 6-24
Choose Anatomy .......................................................................................................... 6-25
Choose Resolution ....................................................................................................... 6-28
Choose Dose ................................................................................................................ 6-29