IBM 15-inch Flat Panel Monitor Speaker Bezel User manual

IBM 15-inch Flat
Panel Monitor Speaker
Bezel
User’s Guide

Note
Before using this information and the product it supports, read the information
under the appendixes.
First Edition (April 2002)
© Copyright International Business Machines Corporation 2002. All rights reserved.
US Government Users Restricted Rights – Use, duplication or disclosure restricted by
GSA ADP Schedule Contract with IBM Corp.

Safety: Read first
Before installing this product, read the Safety Information.
Antes de instalar este produto, leia as Informações de Segurança.
Pred instalací tohoto produktu si prectete prírucku bezpecnostních instrukcí.
Læs sikkerhedsforskrifterne, før du installerer dette produkt.
Ennen kuin asennat tämän tuotteen, lue turvaohjeet kohdasta Safety
Information.
Avant d’installer ce produit, lisez les consignes de sécurité.
Vor der Installation dieses Produkts die Sicherheitshinweise lesen.
Prima di installare questo prodotto, leggere le Informazioni sulla Sicurezza.
Lees voordat u dit product installeert eerst de veiligheidsvoorschriften.
Les sikkerhetsinformasjonen (Safety Information) før du installerer dette
produktet.
© Copyright IBM Corp. 2002 iii

Antes de instalar este produto, leia as Informações sobre Segurança.
Pred inštaláciou tohto zariadenia si pečítaje Bezpečnostné predpisy.
Antes de instalar este producto lea la información de seguridad.
Lässäkerhetsinformationen innan du installerar den här produkten.
iv IBM 15-inch Flat Panel Monitor Speaker Bezel: User’s Guide

Contents
Safety: Read first ....................iii
About this book ....................vii
Registering your option ..................vii
Installation and user’s guide................1-1
Product description ...................1-1
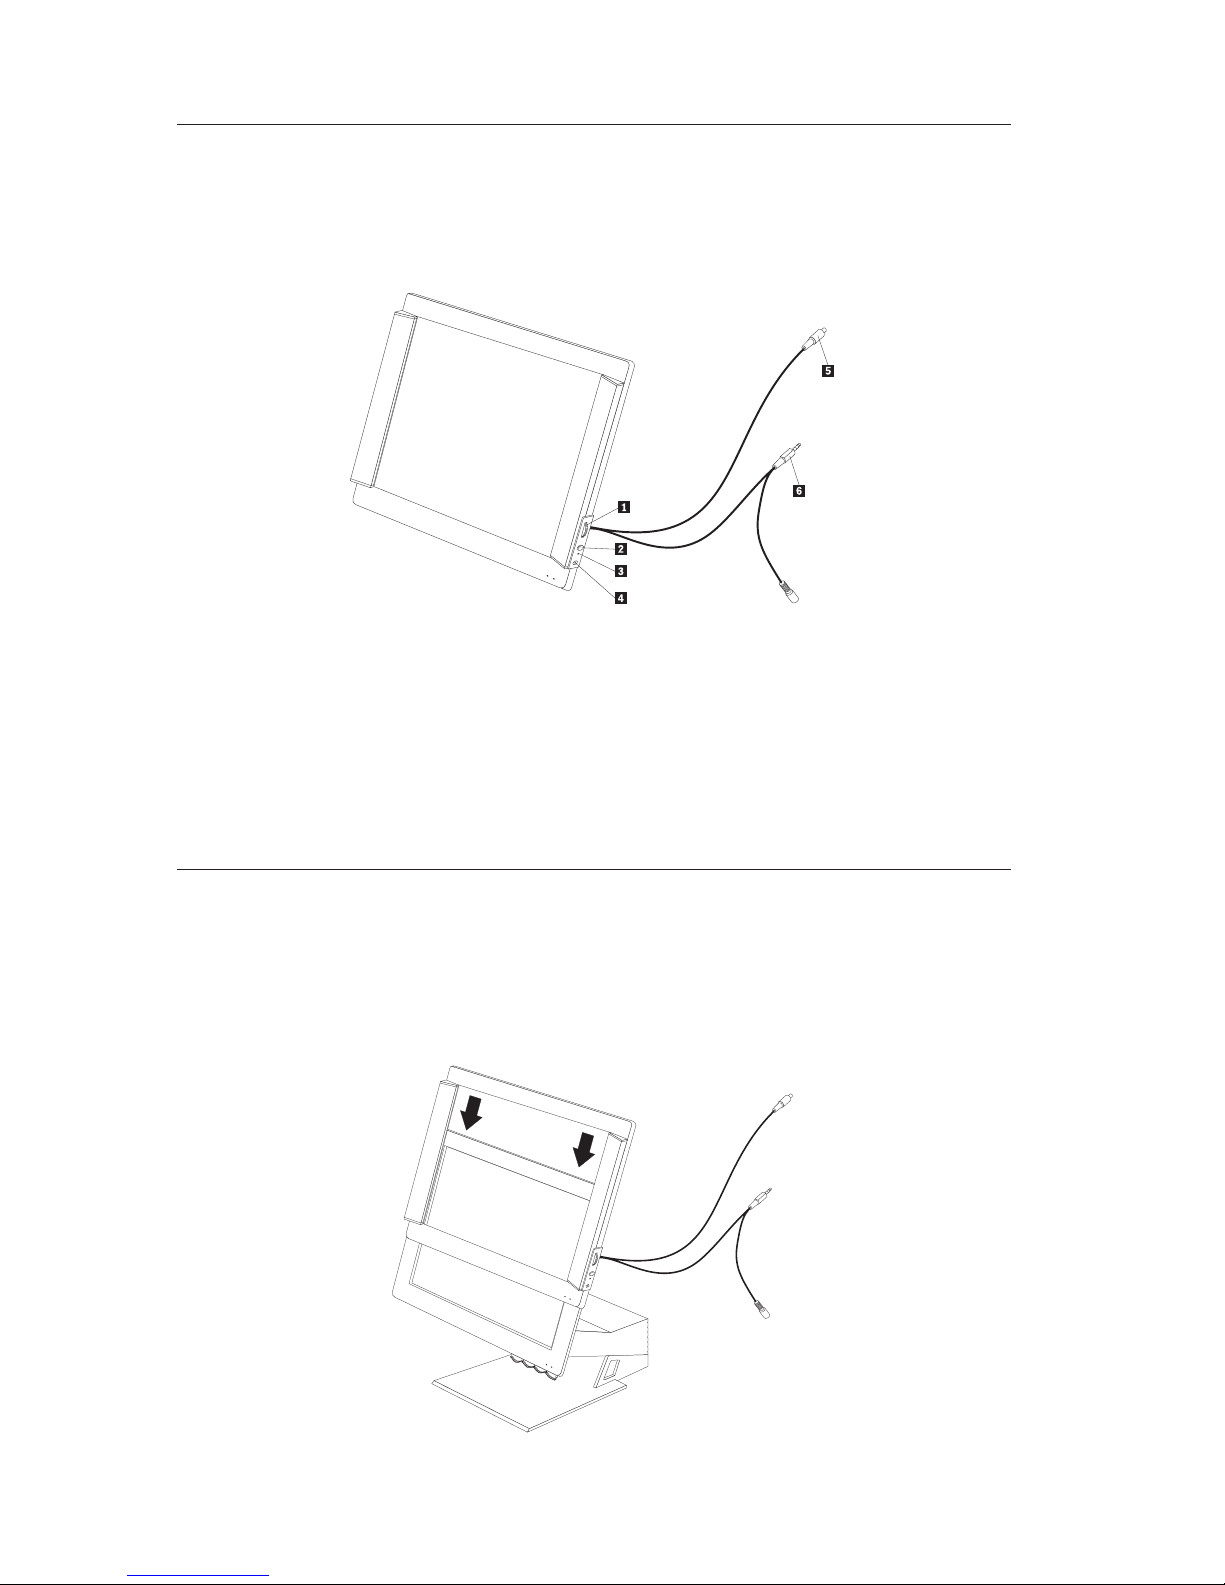
Identifying connectors on the flat panel monitor speaker bezel .....1-2
Mounting and attaching your flat panel monitor speaker bezel .....1-2
Removing the back panels from your T541 flat panel monitor ....1-3
Connecting your flat panel speaker bezel to your monitor .....1-5
Appendix A. Product warranty and support information ......A-1
Warrantyinformation..................A-1
Warranty period ....................A-1
Service and support ...................A-1
WarrantyinformationontheWorldWideWeb.........A-1
Online technical support ................A-1
Telephone technical support ...............A-2
IBM Statement of Limited Warranty Z125-4753-06 8/2000 ......A-3
Part1-GeneralTerms.................A-3
Part 2 - Country-unique Terms ..............A-6
Appendix B. Notices ..................B-1
Trademarks......................B-2
© Copyright IBM Corp. 2002 v

vi IBM 15-inch Flat Panel Monitor Speaker Bezel: User’s Guide

About this book
Installation and user’s guide
This guide contains the product description and installation instructions in the
following languages:
vEnglish
vFrench
vItalian
vGerman
vSpanish
vBrazilian Portuguese
vSimplified Chinese
vTraditional Chinese
vJapanese
Appendixes
The appendixes contain product warranties, help and service information, and
notices.
Note: The illustrations in this manual might be slightly different from your
hardware.
Registering your option
Thank you for purchasing this IBM® product.Please take afew moments to
register your product and provide us with information that will help IBM to
better serve you in the future. Your feedback is valuable to us in developing
products and services that are important to you, as well as in developing better
ways to communicate with you. Register your option on the IBM Web site at
http://www.ibm.com/pc/register/
IBM will send you information and updates on your registered product unless
you indicate on the Web site questionnaire that you do not want to receive
further information.
© Copyright IBM Corp. 2002 vii

viii IBM 15-inch Flat Panel Monitor Speaker Bezel: User’s Guide

Installation and user’s guide
This guide contains instructions on how to install and use the IBM 15-inch Flat
Panel Monitor Speaker Bezel.
Product description
The Flat Panel Monitor Speaker Bezel uses a carbon-fiber composite for flat
panel speaker technology, which provides speaker performance over traditional
speakers. The slide-on speaker concept is a design without using any desktop
space, which complements your IBM 15-inch flat panel monitor.
Product features
vPower on/off - volume control knob
vHeadphone jack provides private listening
vIntegrated sound - speaker fits your monitor and provides a complete
audio/monitor speaker solution
vNo desk space required
v2 W per channel - 4 W total
vUniversal voltage - uses existing dc power from the monitor
v3 m (118.1 in.) audio cable - that enables you to mount flat-panel monitor on
the wall with your computer on the floor
vEasy to connect -- speaker slides onto the bezel of IBM T541 and T560
15-inch flat-panel monitors
© Copyright IBM Corp. 2002 1-1

Identifying connectors on the flat panel monitor speaker
bezel
The following illustration identifies the connectors on the flat panel monitor
speaker bezel.
1Volume control
2Power button
3Power light-emitting diode (LED)
4Headphone connector
5 Audio cable (3 m)
6 Power cable (18 in.)
Mounting and attaching your flat panel monitor speaker
bezel
Position your flat panel speaker bezel over your monitor so that the rail guides
on the sides of the bezel lines up with the monitor. Slide the speaker bezel
down until it covers the monitor bezel.
1-2 IBM 15-inch Flat Panel Monitor Speaker Bezel: User’s Guide

Removing the back panels from your T541 flat panel monitor
Removing the back panels will allow access to the power connector on the
T541 flat panel monitor for attachment of the power cord.
1. Turn off your monitor and unplug the ac/dc power supply from the power
outlet.
2. Press both sides of the back panel1 and push it outward from the
monitor to remove it completely. Push panel 2 upward to remove.
®
3. Push the remaining panel outward from the monitor to remove.
4. To replace the back panels, reverse the steps, after bezel speaker cabling has
been routed and attached (see step 7 on page 1-5).
Installation and user’s guide 1-3

Connecting your flat panel speaker bezel to your monitor
Follow these instructions to connect your speakers to your flat panel monitor,
refer to the illustration for identification.
1 DC power cable (from bezel speaker assembly)
2 DC power plug
3 DC power receptable
4 AC/DC adapter (monitor)
1. Locate the cables on your flat panel monitor speaker bezel. The dc power
cable1is hardwired to your speaker bezel.
2. Unplug the ac/dc adapter connector from the monitor. (Remove the back
panels on the IBM T541 monitor before unplugging the ac/dc adapter).
3. Connect the dc power plug2to the receptacle connector on the monitor.
See step 6 on page 1-5
4. Route wires as shown. See step 6 on page 1-5
5. Connect the dc power receptacle3to the ac/dc adapter plug.
1-4 IBM 15-inch Flat Panel Monitor Speaker Bezel: User’s Guide

6. Your flat panel monitor will look similar to one of the following
illustrations.
IBM T541 monitor
IBM T560 monitor
7. If you have an IBM T541 flat panel monitor, replace the back panels.
Installation and user’s guide 1-5

8. Connect the audio cable, which is hardwired to the speaker bezel, to the
audio speaker connector on your computer.
9. Plug the ac/dc adapter cord into a power outlet.
10. You can now turn your monitor on.
11. Press the power button on the speaker bezel to turn on the speakers.
1-6 IBM 15-inch Flat Panel Monitor Speaker Bezel: User’s Guide

Guide d’installation et d’utilisation
Le présent guide contient des instructions permettant d’installer et d’utiliser le
panneau frontal de haut-parleur pour écran plat 15 pouces IBM.
Description du produit
Le panneau frontal de haut-parleur pour écran plat utilise un composite de
fibre carbone pour la technologie de haut-parleurs pour écran plat, qui offre
des performances accrues par rapport aux haut-parleurs traditionnels. Le
concept de haut-parleur à glissière n’utilise pas l’espace du bureau, qui vient
compléter l’écran plat 15 pouces IBM.
Caractéristiques du produit
vInterrupteur d’alimentation - bouton de réglage du volume
vLa prise pour écouteurs permet une écoute privée.
vSon intégré - un haut-parleur adapté à l’écran offre une solution audio
complète.
vAucun espace de bureau requis
v2 watts par canal-4watts au total
vTension universelle - utilise l’alimentation en courant continu existante de
l’écran.
vCâble audio de 3 m - permet de monter un écran plat contre le mur tout en
laissant l’ordinateur sur le sol.
vFacilité de connexion - le haut-parleur s’insère par glissement sur le panneau
frontal des écrans plats 15 pouces IBM T541 et T560.
©CopyrightIBMCorp.20021-7

Identification des connecteurs sur le panneau frontal de
haut-parleur pour écran plat
L’illustration suivante permet d’identifier les connecteurs sur le panneau
frontal de haut-parleur pour écran plat.
«1¬Réglage du volume
«2¬Interrupteur d’alimentation
«3¬Voyant d’alimentation
«4¬Connecteur d’écouteurs
«5¬Câble audio (3 m)
«6¬Cordon d’alimentation (45 cm environ)
1-8
Panneaufrontaldehaut-parleurpourécranplat15poucesIBM:Guided’utilisation

Montage et connexion du panneau frontal de haut-parleur
pour écran plat
Positionnez le panneau frontal de haut-parleur pour écran plat sur l’écran afin
que les guides du rail situés sur les bords du panneau frontal soient alignés
sur l’écran. Faites glisser le panneau frontal de haut-parleur vers le bas jusqu’à
ce qu’il couvre le panneau frontal de l’écran.
Retrait des panneaux arrière de l’écran plat T541
Le retrait des panneaux arrière permet d’accéder au connecteur d’alimentation
sur l’écran plat T541 en vue de la connexion du cordon d’alimentation.
1. Mettez l’écran hors tension et débranchez le bloc d’alimentation ca/cc du
socle de prise de courant.
2. Appuyez sur les deux côtés du panneau arrière «1¬et poussez-le hors de
l’écran pour le retirer complètement. Poussez le panneau «2¬vers le haut
pour le retirer.
®
Guided’installationetd’utilisation1-9

3. Poussez le panneau restant vers l’extérieur pour le retirer de l’écran.
4. Pour replacer les panneaux arrière, exécutez les étapes en sens inverse, une
foisquelecâbleduhaut-parleurdupanneaufrontalaétéinséréet
connecté(reportez-vousàl’étape7àlapage1-12).
Connexion du panneau frontal de haut-parleur à l’écran plat
Suivez ces instructions pour connecter les haut-parleurs à l’écran plat et
consultez l’illustration pour identifier les différents composants.
«1¬Cordon d’alimentation CC (à partir du haut-parleur du panneau frontal)
«2¬Fiche d’alimentation CC
«3¬Prise femelle d’alimentation CC
«4¬Adaptateur CA/CC (écran)
1-10Panneaufrontaldehaut-parleurpourécranplat15poucesIBM:Guided’utilisation

1. Localisez les câbles sur le panneau frontal de haut-parleur pour écran plat.
Le cordon d’alimentation cc «1¬est raccordé au panneau frontal de
haut-parleur.
2. Débranchez le connecteur de l’adaptateur ca/cc de l’écran. (Retirez les
panneaux arrière de l’écran IBM T541 avant de débranchez l’adaptateur
ca/cc.)
3. Connectez la fiche d’alimentation cc «2¬au connecteur de prise femelle
surl’écran.Reportez-vousàl’étape6àlapage1-12.
4.Faitespasserlesfilscommeindiqué.Reportez-vousàl’étape6àlapage
1-12.
5. Connectez la prise d’alimentation cc «3¬à la fiche de l’adaptateur ca/cc.
Guided’installationetd’utilisation1-11

6. L’écran plat ressemble à l’un de ceux présentés dans les illustrations
ci-dessous.
Ecran IBM T541
Ecran IBM T560
7. Si vous disposez d’un écran plat IBM T541, replacez les panneaux arrière.
1-12Panneaufrontaldehaut-parleurpourécranplat15poucesIBM:Guided’utilisation
Table of contents
Languages:
Other IBM Accessories manuals
Popular Accessories manuals by other brands

Omron
Omron F3C-AL quick start guide

SurfUS
SurfUS SMART-C user manual

Insignia
Insignia NS-BC48SS3 user guide

Delta Electronics
Delta Electronics SR0224-12-DT-A0 Specifications

Southwest Windpower
Southwest Windpower WHISPER 42 FOOT (13 Meter) TOWER KIT for SKYSTREAM... manual

Simrad
Simrad PX MultiSensor Charging manual