manuals.online logo
Brands
  1. Home
  2. •
  3. Brands
  4. •
  5. ICM Controls
  6. •
  7. Thermostat
  8. •
  9. ICM Controls SC1600L/VL User manual

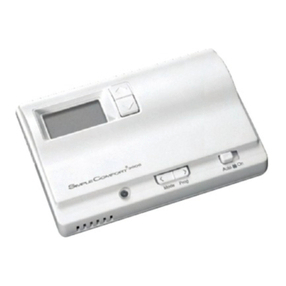
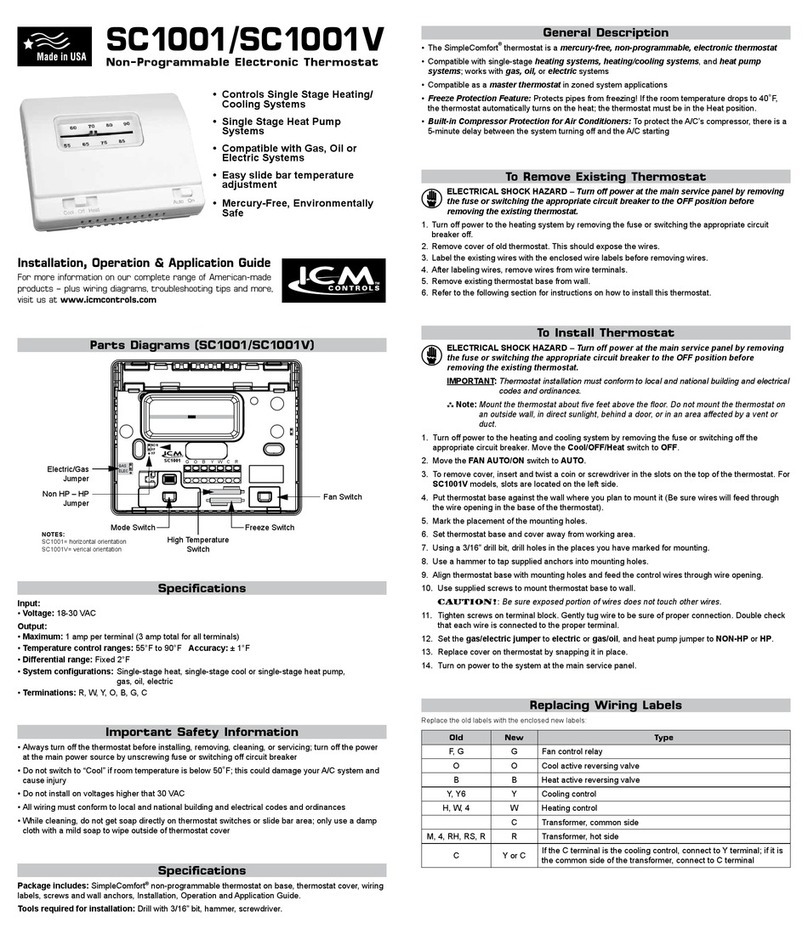
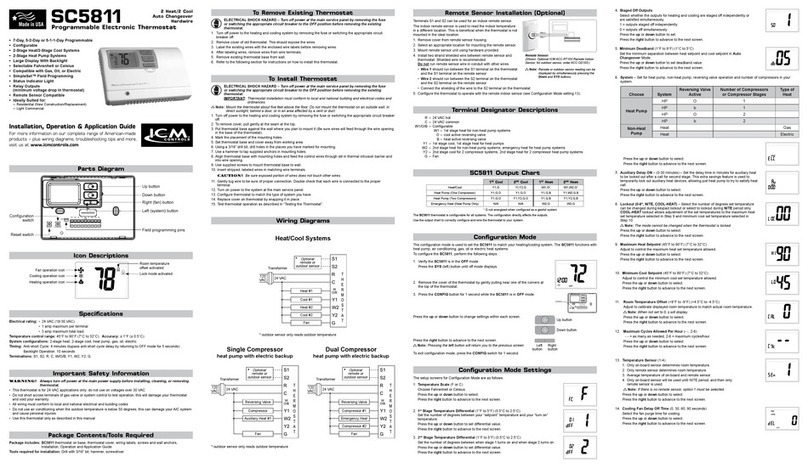
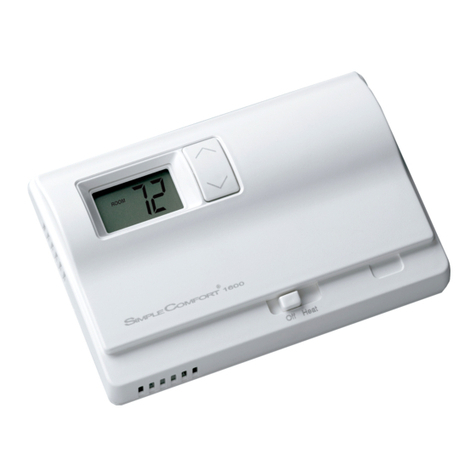
ICM Controls SC1600L/VL User manual

Parts Diagrams
Battery
Compartment
Mode
Switch
Freeze
Switch
High Temp.
Switch
Specifications
Electrical rating: • Millivolt to 30 VAC/VDC
• DC Power: 3.0 VDC (2 “AA” alkaline batteries included)
• 1 amp maximum per terminal
• 2 amp maximum total load
Temperature control range: 45°F to 90°F (7°C to 32°C) Accuracy: ± 1°F
Back Light: Not available on N and VN models
Differential 1-5: Default set to 1 degree. When the heating turns on too frequently you
can increase the temperature differential. A larger differential results in
longer run times.
System congurations: 1-stage heat, gas and oil
Terminations: R, W, S1, S2
Important Safety Information
WARNING!
:
Always turn off power at the main power supply before installing, cleaning,
or removing thermostat.
• This thermostat is for 24 VAC applications only; do not use on voltages over 30 VAC
• Do not short across terminals of gas valve or system control to test operation; this will damage your
thermostat and void your warranty
• All wiring must conform to local and national electrical and building codes
• Use this thermostat only as described in this manual
Package Contents/Tools Required
Package includes: SC1600 thermostat on base, thermostat cover, wiring labels, screws and wall
anchors, Installation, Operation and Application Guide.
Tools required for installation: Drill with 3/16” bit, hammer, screwdriver.
Manual Changeover
Non-Programmable
Battery
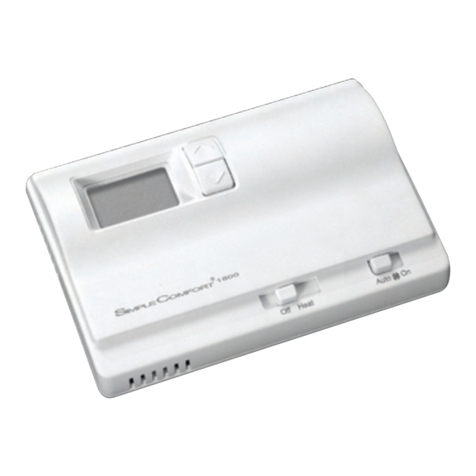
SC1600L/VL
Non-Programmable Electronic Thermostat
Installation, Operation & Application Guide
For more information on our complete range of American-made
products – plus wiring diagrams, troubleshooting tips and more,
visit us at www.icmcontrols.com
• Controls Single Stage Heating Systems
• Congurable for °F and °C
• Millivolt and Hydronic (water or steam) System Compatible
• Compatible with Gas and Oil Systems
• Backlit Display
• Mercury-Free,
Environmentally Safe
To Remove Existing Thermostat
ELECTRICAL SHOCK HAZARD
–
Turn off power at the main service panel by removing
the fuse or switching the appropriate circuit breaker to the OFF position before
removing the existing thermostat.
1. Turn off power to the heating system by removing the fuse or switching the appropriate circuit
breaker off.
2. Remove cover of old thermostat. This should expose the wires.
3. Label the existing wires with the enclosed wire labels before removing wires.
4. After labeling wires, remove wires from wire terminals.
5. Remove existing thermostat base from wall.
6. Refer to the following section for instructions on how to install this thermostat.
General Description
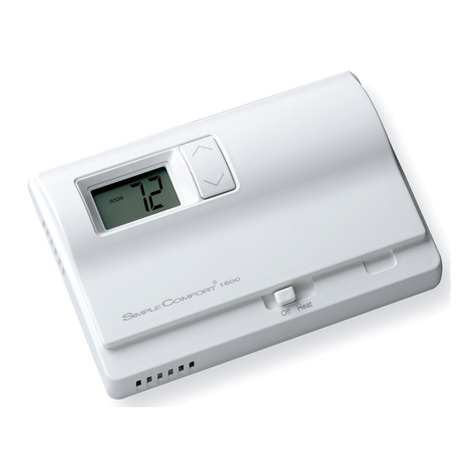
The SC1600 thermostat is a digital, mercury-free, non-programmable, electronic thermostat.
• Compatible with single-stage heating systems
• Compatible as a master thermostat in zoned system applications
• Freeze Protection Feature: Protects pipes from freezing! If the room temperature drops to 40°F,
the thermostat automatically turns on the heat; the thermostat must be
in the Heat position; works even if the batteries are dead
• System Customization: Choose three available temperature differential settings
ELECTRICAL SHOCK HAZARD
– Turn off power at the main service panel by removing
the fuse or switching the appropriate circuit breaker to the OFF position before
removing the existing thermostat.
IMPORTANT: Thermostat installation must conform to local and national building and electrical
codes and ordinances.
Note: Mount the thermostat about ve feet above the oor. Do not mount the thermostat on
an outside wall, in direct sunlight, behind a door, or in an area affected by a vent or
duct.
1. Turn off power to the heating system by removing the fuse or switching off the appropriate circuit
breaker.
2. Move the Off/Heat switch into the Off position.
3. To remove cover, insert and twist a coin or screwdriver in the slots on the sides of the thermostat.
4. Put thermostat base against the wall where you plan to mount it (Be sure wires will feed through
the wire opening in the base of the thermostat).
5. Mark the placement of the mounting holes.
6. Set thermostat base and cover away from working area.
7. Using a 3/16” drill bit, drill holes in the places you have marked for mounting.
8. Use a hammer to tap supplied anchors in mounting holes.
9. Align thermostat base with mounting holes and feed the control wires through wire opening.
10. Use supplied screws to mount thermostat base to wall.
11. Insert stripped, labeled wires in matching wire terminals. See “Wiring Diagrams” section of this
manual.
CAUTION!
: Be sure exposed portion of wires does not touch other wires.
12. Tighten screws on terminal block. Gently tug wire to be sure of proper connection. Double check
that each wire is connected to the proper terminal.
13. Insert two fresh “AA” alkaline batteries into thermostat, oriented in the direction shown on the
battery compartment.
14. Replace cover on thermostat by snapping it in place.
15. Turn on power to the system at the main service panel.
To Install Thermostat
Replacing Wiring Labels
Replace the old labels with the enclosed
new labels. Old New Type
H, W, 4 W Heating control
M, 4, RH, RS, R R Transformer, hot side
N/A S1, S2 Optional remote sensor
Starting the Thermostat
1. Move the Off/Heat switch into the Heat position.
A Quick Test
Do not short jumper across terminals on the gas valve or at the system control to test installation.
Action: Set the Off/Heat switch to Heat; press the up button until the set temperature is 5°F above
the room temperature.
Result: The heating system should turn on; there may be a time delay depending on your
system.
Action: Press the down button until the set temperature is below the room temperature.
Result: The heating system should turn off.
If the above test was successful, you have a proper installation.
If the above test was unsuccessful, double check that the wires are securely connected and are
connected to the proper terminals. Consult the troubleshooting section below.
Troubleshooting
Symptom Remedy
The system is not turning on Check batteries; display is blank when batteries are not
present or are dead.
LCD is blank, or displaying LO BAT Replace batteries, or make sure the existing ones are
properly installed.
Thermostat turns on and off too
frequently
Adjust temperature differential
(see “Setting the Temperature Differential”).
ONE-YEAR LIMITED WARRANTY
The Seller warrants its products against defects in material or workmanship for a period of one (1) year
from the date of manufacture. The liability of the Seller is limited, at its option, to repair, replace or issue a
non-case credit for the purchase prices of the goods which are provided to be defective. The warranty and
remedies set forth herein do not apply to any goods or parts thereof which have been subjected to misuse
including any use or application in violation of the Seller’s instructions, neglect, tampering, improper storage,
incorrect installation or servicing not performed by the Seller. In order to permit the Seller to properly
administer the warranty, the Buyer shall: 1) Notify the Seller promptly of any claim, submitting date code
information or any other pertinent data as requested by the Seller. 2) Permit the Seller to inspect and test
the product claimed to be defective. Items claimed to be defective and are determined by Seller to be non-
defective are subject to a $30.00 per hour inspection fee. This warranty constitutes the Seller’s sole liability
hereunder and is in lieu of any other warranty expressed, implied or statutory. Unless otherwise stated
in writing, Seller makes no warranty that the goods depicted or described herein are t for any particular
purpose.
LIAF005-2
Patent No. 424,953
7313 William Barry Blvd., North Syracuse, NY 13212
(Toll Free) 800-365-5525 (Phone) 315-233-5266 (Fax) 315-233-5276
www.icmcontrols.com
Setting the Setpoint Temperature
1. Place Off/Heat switch in the Heat position.
2. Press the down or up button a single time to see the current temperature setting.
3. Press the down or up button until the desired temperature setpoint displays.
4. The new temperature setpoint is automatically saved in memory. After 5 seconds, the display
returns to showing the current room temperature.
1. Remove cover from remote sensor housing.
2. Select an appropriate location for mounting the remote sensor.
3. Mount remote sensor unit using hardware provided.
4. Install two conductor shielded wires between remote sensor and thermostat. Shielded wire must be
used. Do not run remote sensor wire in conduit with other wires.
• Wire 1 should run between the S1 terminal on the thermostat and the S1 terminal on the remote sensor
• Wire 2 should run between the S2 terminal on the thermostat and the S2 terminal on the remote sensor
• Connect the shielding of the wire to the S2 terminal on the thermostat
5. Disable the main sensor on the thermostat by cutting it from the circuit board.
Remote Sensor Installation (Optional)
S1 RWS2
SC1600L/VL Wiring Diagrams
2-Wire, Single Transformer or Millivolt
Heating Only
Zone Valve/Damper Motor System
3-Wire, Zone Valve/Damper Motor System
2-Wire, Zone Valve/Damper Motor System
Use
appropriate
size, single
pole/double
throw relay
24
VAC
24
VAC
Note: Differential temperature may need to be increased for zone/
damper systems.
Installing and Changing Batteries
If your LCD is blank or displaying LO BAT, the batteries are not installed or need to be changed. We
suggest you change the batteries at least once a year, or whenever the LO BAT warning displays.
Note: After installing new batteries, you have to reset the room temperature setting and the
differential setting.
1. Move the Off/Heat switch into the Off position.
2. Remove the cover, and install the two “AA” alkaline batteries. Proper battery installation is
important! Make sure the positive ends of the batteries match the positive terminals in the battery
compartment.
If the display is on, the batteries are installed properly. Configuration
Enter conguration by simultaneously pressing both the up and down buttons for 1 second while
in OFF mode. Use the up and down buttons to change the setting. Press both the up and down to
advance to the next conguration screen. Exit conguration by sliding the mode switch to Heat mode.
• F/C – select to operate in Fahrenheit or Celsius
• Differential 1-5: Default set to 1 degree. When the heating turns on too frequently you can
increase the temperature differential. A larger differential results in longer run
times.
• Heat time delay
– H0 = No time delay between heat calls
– H1 = 4 minute time delay between heat calls

Other ICM Controls Thermostat manuals

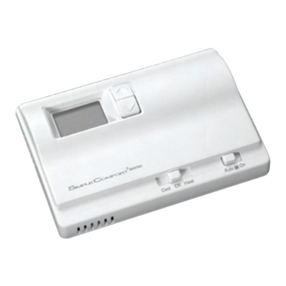
ICM Controls SC1600L General instructions

ICM Controls

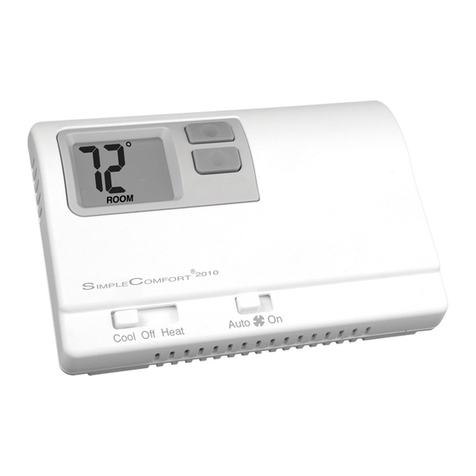
ICM Controls SC1600L General instructions

ICM Controls SC 3006 General instructions

ICM Controls

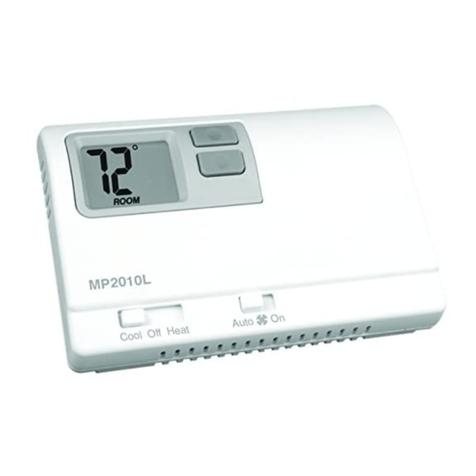
ICM Controls SC 3006 General instructions

ICM Controls ICM I3 Installation and operating instructions

ICM Controls

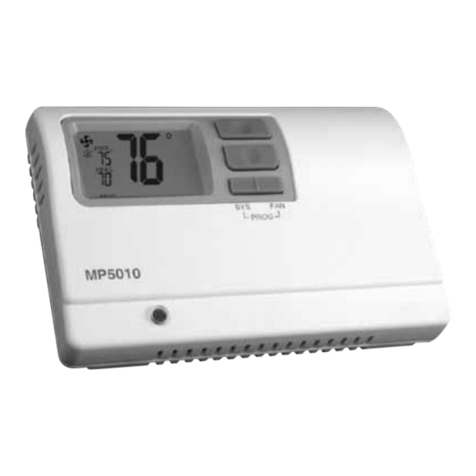
ICM Controls ICM I3 Installation and operating instructions

ICM Controls SC 3801 User manual

ICM Controls

ICM Controls SC 3801 User manual

ICM Controls SC3000L General instructions

ICM Controls

ICM Controls SC3000L General instructions

ICM Controls SC2311L General instructions

ICM Controls

ICM Controls SC2311L General instructions

ICM Controls SC 4811 General instructions

ICM Controls

ICM Controls SC 4811 General instructions

ICM Controls SC2201 General instructions

ICM Controls

ICM Controls SC2201 General instructions

ICM Controls SC 2210 General instructions

ICM Controls

ICM Controls SC 2210 General instructions

ICM Controls SC 2000 General instructions

ICM Controls

ICM Controls SC 2000 General instructions

ICM Controls SC 1800 General instructions

ICM Controls

ICM Controls SC 1800 General instructions

ICM Controls MP2211L User manual

ICM Controls

ICM Controls MP2211L User manual

ICM Controls SC 1901 General instructions

ICM Controls

ICM Controls SC 1901 General instructions

ICM Controls i3 2010WR General instructions

ICM Controls

ICM Controls i3 2010WR General instructions

ICM Controls SC700LV User manual

ICM Controls

ICM Controls SC700LV User manual

ICM Controls SC 4211 General instructions

ICM Controls

ICM Controls SC 4211 General instructions

ICM Controls SC 5811 User manual

ICM Controls

ICM Controls SC 5811 User manual

ICM Controls SC3211L General instructions

ICM Controls

ICM Controls SC3211L General instructions

ICM Controls SC1001 General instructions

ICM Controls

ICM Controls SC1001 General instructions

ICM Controls SC 3201 General instructions

ICM Controls

ICM Controls SC 3201 General instructions

ICM Controls SC710 General instructions

ICM Controls

ICM Controls SC710 General instructions

ICM Controls SC4011 General instructions

ICM Controls

ICM Controls SC4011 General instructions

ICM Controls SC 3001 General instructions

ICM Controls

ICM Controls SC 3001 General instructions

ICM Controls SC 2001 General instructions

ICM Controls

ICM Controls SC 2001 General instructions

Popular Thermostat manuals by other brands

Honeywell RLV4300 owner's manual

Honeywell

Honeywell RLV4300 owner's manual

Fort ECSPST quick start guide

Fort

Fort ECSPST quick start guide

EUROSTER 4040TXC6 Installation and operation manual

EUROSTER

EUROSTER 4040TXC6 Installation and operation manual

Quantrax COMPUTHERM Q5RF operating instructions

Quantrax

Quantrax COMPUTHERM Q5RF operating instructions

Vemer KLIMA Series user manual

Vemer

Vemer KLIMA Series user manual

HomeMatic HmIP-eTRV-B-UK Mounting instruction and operating manual

HomeMatic

HomeMatic HmIP-eTRV-B-UK Mounting instruction and operating manual

Carrier Debonair 33CS250-RC owner's manual

Carrier

Carrier Debonair 33CS250-RC owner's manual

Ariston 3318590 Assembly and operation instructions

Ariston

Ariston 3318590 Assembly and operation instructions

Conrad 55 16 99 operating instructions

Conrad

Conrad 55 16 99 operating instructions

Vaillant ecoFIT user guide

Vaillant

Vaillant ecoFIT user guide

VDH ALFA 33 DP user manual

VDH

VDH ALFA 33 DP user manual

Flextherm FLP35 instructions

Flextherm

Flextherm FLP35 instructions

TKB Home TKBETZ1036 manual

TKB Home

TKB Home TKBETZ1036 manual

Robertshaw 9801I user manual

Robertshaw

Robertshaw 9801I user manual

White Rodgers 1F86-344 Installation and operation instructions

White Rodgers

White Rodgers 1F86-344 Installation and operation instructions

Omni REGH12/08M manual

Omni

Omni REGH12/08M manual

harmoni touch Series instruction manual

harmoni

harmoni touch Series instruction manual

Vimar CLIMARADIO Instruction handbook

Vimar

Vimar CLIMARADIO Instruction handbook

manuals.online logo
manuals.online logoBrands
  • About & Mission
  • Contact us
  • Privacy Policy
  • Terms and Conditions

Copyright 2025 Manuals.Online. All Rights Reserved.