ICStation Trans-CRS-162DZC User manual

www.icstation.com
1
Electronic Scales DIY Kit
1. Introduction
Multi-function electronic scales, not only to weigh, it can count, set
the alarm and view the time.
2. Parameter
NO.
Parameter
Value
1
Product name
Multi function electronic scale
2
Product model
Trans--CRS--162DZC
3
Maximum weighing
10kg
4
Precision grade
1g
5
Machine size
15.2*14.1*6.5cm(Length*width*height)
6
Platform size
15.6*9.5*0.5cm(Length*width*height)
7
Net weight
0.515kg
8
Power
DC 5V
3. Feature
1>. Power-off memory function,it can save the parameters that have
been set.
2>. Match dates and weeks automatically.
3>. Set the alarm function.Set on and off.
4>. Calibration function, pressure coefficient calibration, to achieve
zero error.
5>. Small size, large scale, almost anything common around can
weigh.

www.icstation.com
2
4. Component listing
NO.
Component Name
PCB Marker
Parameter
QTY
1
Metal Film Resistor
4.7K
4.7K
2
2
Crystal
11.0592M
11.0592MHz
1
3
Crystal
32.768K
32.768KHz
1
4
Ceramic Capacitor
30P
30pf
2
5
IC Socket
DS1302
DIP-8
1
6
IC Socket
AT24C02
DIP-8
1
7
IC Socket
STC89C5XRC
DIP-40
1
8
DS1302
DS1302
DIP-8
1
9
AT24C02
AT24C02
DIP-8
1
10
STC89C52
STC89C5XRC
DIP-40
1
11
CR1220 Battery Socket
CR1220
1
12
CR1220 Battery
3V
1
13
DS18B20
DS18B20
TO-92
1
14
Round Pin
DS18B20
3P
1
15
Power Pin
2.54mm 2P Right Angle
1
16
Switch Pin
2.54mm 2P Right Angle
1
17
Potentiometer
103
10K
1
18
S8550
S8550
TO-92
1
19
Buzzer
5V
1
20
Network Resistor
103
10K
1
21
Female Pin
4P
1
22
Female Pin
16P
1
23
Male Pin
4P
1
24
Male Pin
6P
1
25
Male Pin
2.54mm 8P Right Angle
1
26
HX711 Module
1
27
LCD1602
Yellow
1
28
Male Pin
16P
1
29
Cable
2P 10cm
2
30
Keyboard
4*4
1
31
Pressure Sensor
10Kg
1
32
Acrylic Stent
6
33
Seat Cushion
6
34
Screw
M3*10
17
35
Nut
M3
17
36
Acrylic Gasket
2.5*2cm
8

www.icstation.com
3
37
Screw
M7*30
4
38
KCD1-11 Switch
1
39
Power Socket
1
40
Nut
M11
1
41
USB Cable
5.5*2.1MM
1
5. Function
1>. Calendar, time, temperature display function.
It will display Date,Time and Temperature after power on.
It can set Date and Time by Set Button ‘A’ and ‘+’ button ‘B’ and
‘-’ button ‘C’.Button ‘D’ can check the alarm clock.
2>. Alarm function.
In calendar time mode, press the button D to enter the view
alarm interface.
User can adjust the alarm status and regular time by Set Button
‘A’ and ‘+’ button ‘B’ and ‘-’ button ‘C’.
Buzzer alarm when reach the regular time.Press any button to
end the alarm.
The ON and OFF status display is Chinese.“开”means ON, and
“关”means OFF.
3>. Valuation scale function.
“Calendar mode” and “Electronic scale mode” switching by
button “C”.
The value of unit price “P” can be set by numeric button, and the

www.icstation.com
4
Money “M” will be calculated automatically.
The unit price “P” can be accurate to 0.1. At this time, press the
button ‘D’ to switch to the counting scale mode.
4>. Counting scale function
“weighing scale” and “counting scale” switching by button “D”.
1pcs weight D can be set by the digital keyboard, and the system
will automatically calculate the number of N. A single weight of D can
be accurate to 0.1g.
E.g: the national standard weight of one yuan coin is 3.2G. The
weight of the single weight D is set to 3.2G, pan put 10 coins,
electronic scales show weight: 0.032KG, number N=10.
6. Setting method
1>. Setting of calendar and time
Turn on the switch after the power is switched on. Boot mode defaults to
calendar time mode". The screen displays as follows:
In this mode, only four keys of A, B, C and D are effective.
A: setting; press the button ‘A’ in turn, the year, month, day, time, minutes,
seconds of the cursor blinking in turn. It can be adjusted by B and C keys.
B: Add; click and add a value.
C: Reduce; click and reduce the value of one.
D: Check the alarm clock, enter the “alarm clock” interface.
The screen displays as follows:

www.icstation.com
5
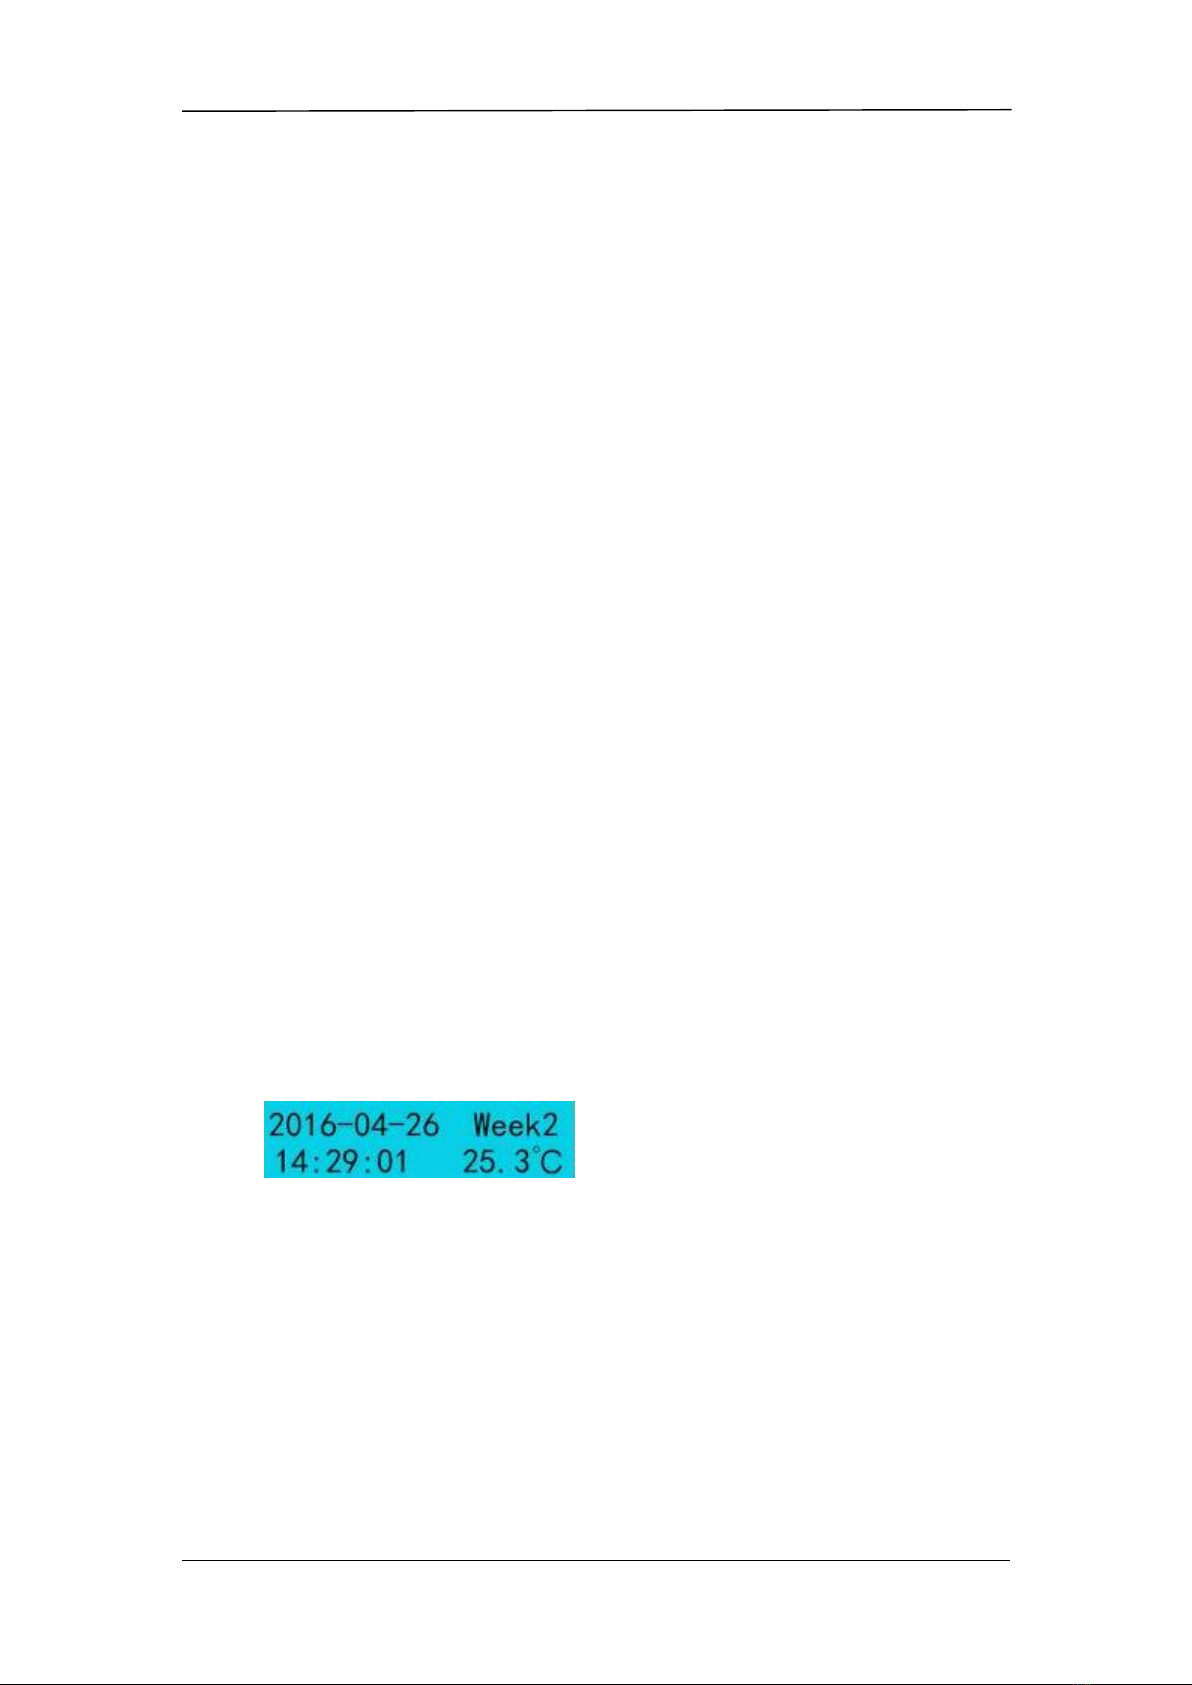
2>. Setting of alarm clock
In this mode of the interface, press the button A, the alarm switch ON/OFF,
time, minutes, seconds cursor blinking in turn. Then it can be adjusted by buttons
B and C. Press the button D, you can exit the “alarm settings interface” anytime to
return to “calendar time interface”.
The ON and OFF status display is Chinese.“开”means ON, and
“关”means OFF.
3>. Setting of valuation scale
In the display time mode, press the C key, switch to the "valuation scale"
mode.The screen displays as follows:
The first line displays weight, and the unit is KG.
The second line displays unit price “P" and money M”.
In this mode, the 16 buttons are all effective.
Keypad introduction:
1234567890 represents the number, the keyboard can set the value of P, the
value can be accurate to 0.1g.
After setting the unit price, the system will automatically calculate the money
M.
A: clear.
B: clear unit price P
C: switch to “calendar time mode”
D: switch to the “counting scale mode”
4>. Setting of counting scale
Under the “valuation scale mode”, press the button D to switch to the
counting scale mode. The screen displays as follows:

www.icstation.com
6
The first line displays weight value, and the unit is KG.
The second line displays D=single item weight, number of N= items.
Keypad introduction:
1234567890 represents the number, the keyboard can set the value of P=,
the value can be accurate to 0.1g.
After setting the unit price, the system will automatically calculate the
Number N
A: clear.
B: clear unit price P
C: switch to “calendar time mode”
D: switch to the “counting scale mode”
5>. System calibration method
After the switch on, the system is stable, put a fixed weight object(Known
weight items) on the scale. If the system is not equal to the fixed weight display,
then press button “#” for 3 seconds. Then the right side of the first line of the
screen shows the “calibration factor". After the calibration factor appears, the
calibration factor can be increased and reduced by the buttons C and D
respectively. By adjusting the "calibration factor", the weight displayed on the
screen is exactly equal to the weight of the object. Finally, press button "#" for 3
seconds, the calibration factor disappears, the calibration is complete.

www.icstation.com
7
7. Installation Steps
Step 1: Install the PCB.Install 2pcs 4.7K resistor and 1pcs 11.0592MHz
crystal and 1pcs 32.768KHz crystal in right place.

www.icstation.com
8
Step 2: Install 2pcs 30pf capacitor,2pcs Right Angle 2P Male Pin for
power and switch,1pcs Right Angle 8P Male Pin for keyboard,1pcs 3P
Round Pin for DS18B20 sensor.

www.icstation.com
9
Step 3: Install 2pcs DIP-8P IC socket and 1pcs DIP-40P IC socket.Pay
attention to the installation direction.

www.icstation.com
10
Step 4: Install 1pcs CR1220 battery socket and 1pcs S8550

www.icstation.com
11
Step 5: Install 1pcs 10k network resistor,1pcs 10k potentiometer,1pcs
4P Female pin for HX711 module,1pcs 16P Female pin for LCD1602,1pcs
Buzzer.

www.icstation.com
12
Step 6: Install 4pcs IC and battery.Pay attention to the installation
direction.

www.icstation.com
13
Step 7: Install 4P and 6P male pin for HX711 sensor module.Pay
attention to the installation direction.

www.icstation.com
14
Step 8: Install 16P male pin for LCD1602 display module.Pay attention
to the installation direction.
Step 9: Assemble PCB board,HX711 module,LCD1602,Pressure
Sensor,and keyboard.Note the direction of the keyboard.
Pressure Sensor and HX711 module connect type:
Red==>E+
Green==>E-
White==>A-
Black==>A+
B+ and B- on HX711 do not use.

www.icstation.com
15

www.icstation.com
16
Step 10: Install brackets.Tear off the protective film.Install 6pcs Seat
Cushion.
There are transparent and black acrylic. The installation manual use
black acrylic as an example.The same way of installation.

www.icstation.com
17

www.icstation.com
18
Step 11: Install Pressure Sensor with 4pcs Acrylic Gasket by M7*30
screw fixed.Pay attention to the sensor installation direction.

www.icstation.com
19
Step 12: Install cable to power socket and switch.
Step 13: Install Power socket on side Acrylic board and fixed by
nut.And then fixed it on base board.

www.icstation.com
20
Table of contents
Popular Scale manuals by other brands

Health O Meter
Health O Meter Professional Digital Scale Wireless USB... User instructions

Somogyi
Somogyi HG FM 10 instruction manual

RONDELL
RONDELL RDE-1553 Manual instruction

Beurer
Beurer Signature Series Instructions for use

Xavax
Xavax Kolibri operating instructions

DynoSense
DynoSense Adore quick start guide