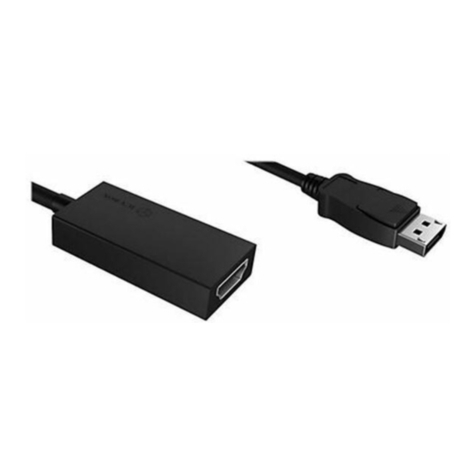
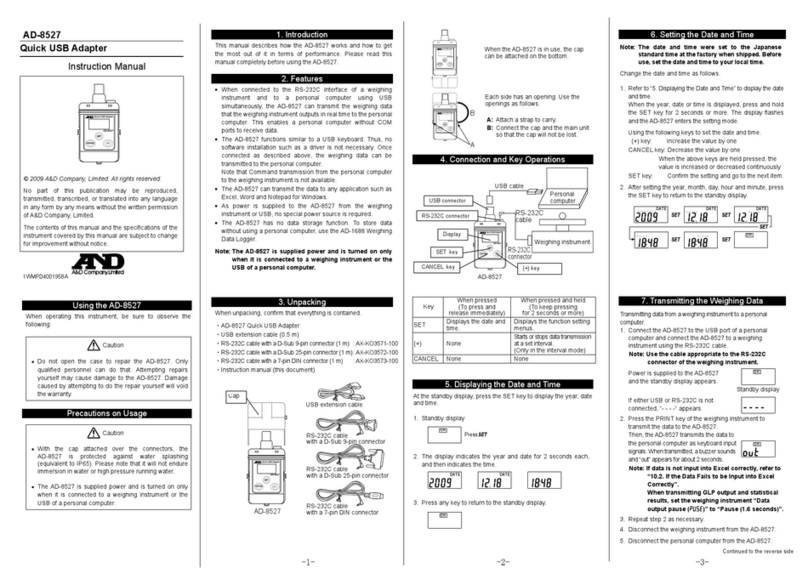
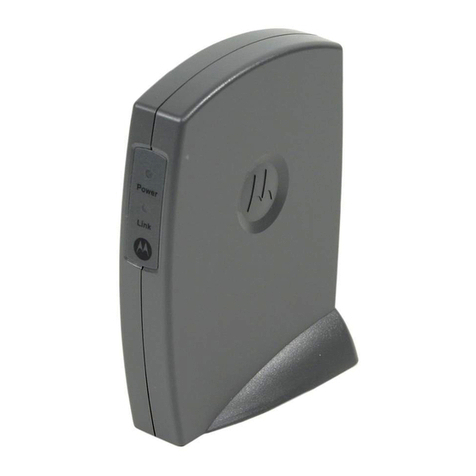
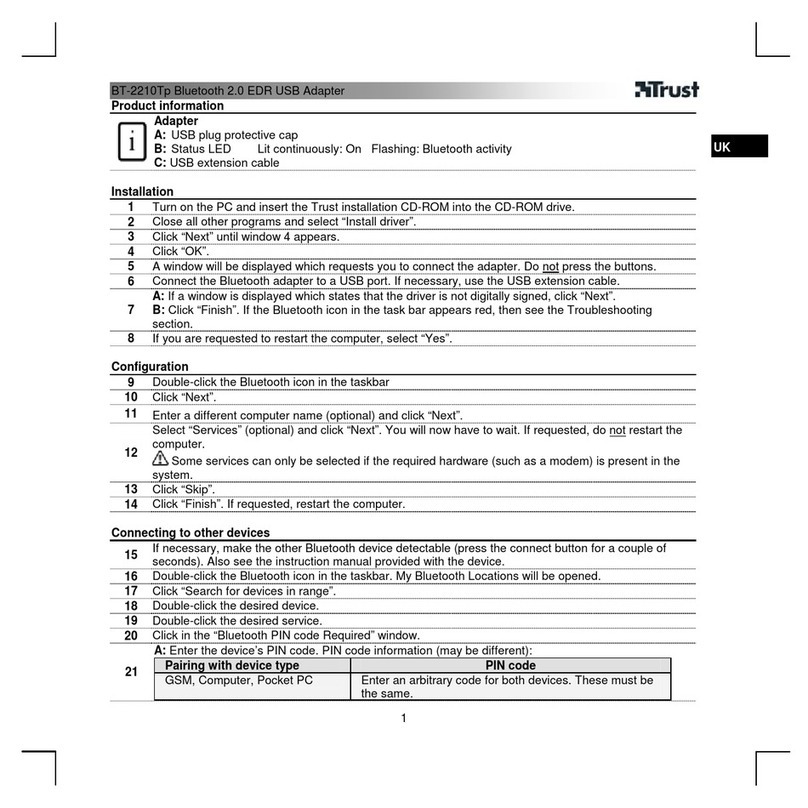
Icy Box IB-AC513 User manual

Manual IB-AC513
USB3.0 to 4K2K DisplayPort Adapter
Handbuch IB-AC513
USB3.0 zu 4K2K DisplayPort Adapter
Manuel IB-AC513
USB3.0 - 4K2K DisplayPort Adaptateur
Manuale IB-AC513
USB3.0 - 4K2K DisplayPort Adapter
Manual IB-AC513
USB3.0 - 4K2K DisplayPort Adapter
Manual IB-AC513
USB3.0 - 4K2K DisplayPort Adapter
Instrukcja IB-AC513
USB3.0 - 4K2K DisplayPort Adapter
Ručník IB-AC513
USB3.0 - 4K2K DisplayPort Adapter
Εγχειρίδιο IB-AC513
USB3.0 - 4K2K DisplayPort Adapter
Руководство IB-AC513
USB3.0 - 4K2K DisplayPort Adapter
IB-AC513
http:\\www.icybox.de

Package content
1x IB-AC513, 1x USB 3.0 cable, 1x CD, 1 x QuickInstallationGuide
Connection diagram
IB-AC513
USB3.0 to 4K2K DisplayPort Adapter
1. Install the Driver
* Caution: Do not connect the adapter to your computer before installing the driver from
the delivered CD or from the download area of http://www.raidsonic.de.
Windows 7/8/8.1:
a. Insert the CD into the CD ROM drive.
b. The installer program will run automatically or click on “Run Setup.exe”.
c. Followtheinstructionsandnishthedriverinstallation.
d. Connect the adapter to a USB port on the PC.
e. Restart the PC.
f. The IB-AC513 is ready to be used.
2. Connection to Monitor/Projector
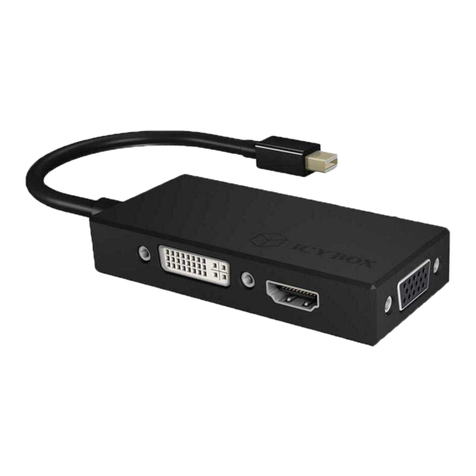
Connect the USB 3.0 cable to your notebook / PC and connect your monitor / projector
to the DisplayPort DP 1.2
Please setup your display settings accordingly to your operating system and require-
ments.
For detailed information of your operating system, see the corresponding operation
manual and description of your operating system.
DisplayPortUSB 3.0 IB-AC513

IB-AC513
USB3.0 zu 4K2K DisplayPort Adapter
1. Installieren Sie den Treiber
*Achtung: Installieren Sie bitte zuerst den Treiber mithilfe der beiliegenden Treiber
CD-ROM oder laden Sie die aktuellen Treiber unter http://www.raidsonic.de herunter.
Schließen Sie erst nach der Installation den Adapter an ihr System an!
Windows 7/8/8.1
a. Legen Sie die CD in Ihr CD ROM Laufwerk
b. Das Installationsprogramm startet automatisch oder klicken Sie „Run Setup.exe“
c. Folgen Sie den Anweisungen und beenden Sie die Installation
d. Starten Sie Ihren PC neu
e. Verbinden Sie den Adapter mit ihrem PC
f. Fertig! Sie können den IB-AC513 nun verwenden.
2. Monitor / Projektor verbinden
Verbinden Sie das USB 3.0 Kabel mit ihrem Notebook und anschließend den Monitor/
Projektor mit dem DisplayPort DP 1.2. Nun navigieren Sie unter Windows und Mac in die
Einstellungen/BilschirmauösungundstellendieAuösungundMonitoreigenschaften
nach ihren Wünschen ein.
Zur optimalen Einstellung Ihrer Anzeigeeinheiten gehen Sie bitte entsprechend Ihres
Betriebssystems und Bedürfnissen vor. Genauere Informationen entnehmen Sie bitte
dem Handbuch und Beschreibungen Ihres Betriebssystems.
IB-AC513
USB3.0 - 4K2K DisplayPort Adaptateur
1. Installation du pilote
* Attention: Ne pas brancher l‘adaptateur à votre ordinateur avant d‘installer le pilote à
partir du CD fourni ou de la zone de téléchargement à l‘adresse http://www.raidsonic.de.
Windows 7/8/8.1 :
a. Insérez le CD dans le lecteur de CD ROM.
b. Le programme d‘installation s‘exécutera automatiquement
(Cliquez sur « Run Setup.exe ».)
c. Suivez les instructions et terminez l‘installatio.
d. Connectez l‘adaptateur à un port USB du PC.
e. Redémarrez le PC.
f. L‘IB-AC513 est prêt à l‘emploi.
2. Raccordement au moniteur/projecteur
Branchez le câble USB 3.0 à votre notebook / PC et connectez votre moniteur / projec-
teur au port DisplayPort DP 1.2.
Veuillezcongurerlesparamètresdevotremoniteurselonvotresystèmed‘exploitation
etvotrecongurationrequise.Pourplusd‘informationssurvotresystèmed‘exploitation,
reportez-vous à son manuel de fonctionnement et à sa description.
IB-AC513
USB3.0 - 4K2K DisplayPort Adapter
1. Installazione dei driver
* Attenzione: non collegare l’adattatore al PC prima di installare i driver dal CD fornito o
dall’area di download all’indirizzo http://www.raidsonic.de.
Windows 7/8/8.1:
a. Inserire il CD nel CD ROM.
b. Il programma di installazione si avvia automaticamente
(Fare clic su “Run Setup.exe”)
c. Seguireleistruzionienirel’installazionedeidriver.
d. Collegare l’adattatore alla porta USB del PC.
e. Riavviare il PC.
f. IB-AC513èprontoall’uso.
2. Collegamento al monitor/proiettore
Collegare il cavo USB 3.0 al notebook/PC ed il monitor/proiettore alla porta DisplayPort
DP 1.2.
Congurareilmonitorinbaseaiproprirequisitiealpropriosistemaoperativo.
Per ulteriori informazioni sul proprio sistema operativo, consultare il rispettivo manuale
d’uso e la descrizione del sistema operativo.
IB-AC513
USB3.0 - 4K2K DisplayPort Adapter
1. Instalación del controlador
* Precaución: No conectar el adaptador al ordenador antes de instalar el controlador
desde el CD suministrado o desde la zona de descargas en http://www.raidsonic.de.
Windows 7/8/8.1:
a. Introduzca el CD en la unidad CD ROM.
b. El programa del instalador se ejecutará automáticamente.
(Haga clic en “Run Setup.exe”)
c. Siga las instrucciones hasta que concluya la instalación del controlador.
d. Conecte el adaptador a un puerto USB del PC.
e. Reinicie el PC.
f. El IB-AC513 ya está listo para comenzar a utilizarlo.
2. Conexión a un monitor/proyector
Conecte el cable USB 3.0 al portátil/PC y su monitor/proyector al puerto DisplayPort DP 1.2.
Adaptelaconguracióndesumonitoralsistemaoperativoenejecuciónoconformea
los requisitos.
Si necesita más información sobre su sistema operativo, consulte el manual de funciona-
miento correspondiente y la descripción de su sistema operativo.

IB-AC513
USB3.0 - 4K2K DisplayPort Adapter
1. Instalar o controlador
* Atenção: não ligue o adaptador ao seu computador antes de instalar o controlador a
partir do CD fornecido ou a partir da área de transferências de http://www.raidsonic.de.
Windows 7/8/8.1:
a. Insira o CD na unidade de CD-ROM.
b. O programa de instalação irá executar-se automaticamente
(Clique em “Run Setup.exe”)
c. Observe as instruções e termine a instalação do controlador.
d. Ligue o adaptador a uma porta USB no PC.
e. Reinicie o PC.
f. O IB-AC513 está pronto a ser usado.
2. Conexão ao monitor/projetor
Ligue o cabo USB 3.0 ao seu computador portátil/PC e ligue o seu monitor/projetor à
porta DisplayPort DP 1.2.
Congureasdeniçõesdoseumonitordeacordocomoseusistemaoperativoecomos
requisitos do mesmo.
Para informações mais pormenorizadas sobre o seu sistema operativo, consulte o respe-
tivo manual de instruções e a descrição do seu sistema operativo.
IB-AC513
USB3.0 - 4K2K DisplayPort Adapter
1. Instalacja sterownika
*Przestroga:Niepodłączaćadapteradokomputeraprzedzainstalowaniem
sterownikazdołączonejpłytyCDlubzobszarupobieraniahttp://www.raidsonic.de.
Windows 7/8/8.1:
a. WłożyćpłytęCDdonapęduCD-ROM.
b. Programinstalacyjnyuruchomisięautomatycznie
(Kliknąć„UruchomSetup.exe”)
c. Postępowaćzgodniezinstrukcjamiizakończyćinstalacjęsterownika.
d. PodłączyćadapterdoportuUSBkomputeraPC.
e. PonownieuruchomićkomputerPC.
f. StacjaIB-AC513jestgotowadoużytku.
2. Podłączanie do monitora/projektora
PodłączyćkabelUSB3.0donoteboooka/PCipodłączyćmonitor/projektordoportu
DsiplayPort DP 1.2.
Skongurowaćustawieniamonitoraodpowiedniodosystemuoperacyjnegoiwymagań.
Szczegółoweinformacjeosystemieoperacyjnymsązawartewodpowiedniejinstrukcjii
opisie systemu operacyjnego.

IB-AC513
USB3.0 - 4K2K DisplayPort Adapter
1. Instalace ovladače
*Varování:Adaptérnepřipojujtekpočítačipředinstalacíovladačez
přiloženéhoCDnebozoblastikestaženínastránkáchhttp://www.raidsonic.de.
Windows 7/8/8.1:
a. VložteCDdojednotkyCD-ROM.
b. Instalačníprogramsespustíautomaticky(Kliknětena„SpustitSetup.exe“)
c. Postupujtepodlepokynůadokončeteinstalaciovladače.
d. PřipojteadaptérkpočítačipomocíUSBportu.
e. Restartujepočítač.
f. IB-AC513jepřipravenokpoužití.
2. Spojení s monitorem/projektorem
PřipojtekabelUSB3.0knotebooku/PCapřipojtemonitor/projektorkportuDisplay-
Port DP 1.2.
Nastavtemonitorvsouladusoperačnímsystémemapožadavky.
Podrobnéinformaceooperačnímsystémuvizodpovídajícínávodkpoužitíapopisvaše-
hooperačníhosystému.
IB-AC513
USB3.0 - 4K2K DisplayPort Adapter
1. Εγκατάσταση του προγράμματος οδήγησης
*Προσοχή:Μησυνδέσετετονπροσαρμογέαστονυπολογιστήσαςπροτού
εγκαταστήσετετοπρόγραμμαοδήγησηςαπότοπαρεχόμενοCDήαπότην
περιοχήστοιχείωνλήψηςτηςσελίδαςhttp://www.raidsonic.de.
Windows 7/8/8.1:
a. ΕισαγάγετετοCDστημονάδαCDROM.
b. Τοπρόγραμμαεγκατάστασηςθαεκτελεστείαυτόματα
(Κάντεκλικστοαρχείο“RunSetup.exe”)
c. Ακολουθήστετιςοδηγίεςκαιολοκληρώστετηνεγκατάστασητου
προγράμματοςοδήγησης.
d. ΣυνδέστετονπροσαρμογέασεμιαθύραUSBτουυπολογιστή.
e. Κάντεεπανεκκίνησητουυπολογιστή.
f. ΤοIB-AC513είναιέτοιμογιαχρήση.
2. Σύνδεση σε οθόνη/προβολέα
ΣυνδέστετοκαλώδιοUSB3.0στονφορητόυπολογιστή/επιτραπέζιουπολογιστήκαι
συνδέστετηνοθόνη/τονπροβολέασαςστηθύραDisplayPortDP1.2.
Ορίστετιςρυθμίσειςτηςοθόνηςσαςανάλογαμετολειτουργικόσύστημακαιτις
απαιτήσειςσας.
Γιααναλυτικέςπληροφορίεςγιατολειτουργικόσύστημαπουδιαθέτετε,ανατρέξτεστο
αντίστοιχοεγχειρίδιοχρήσηςκαιτηνπεριγραφήτουλειτουργικούσυστήματόςσας.

IB-AC513
USB3.0 - 4K2K DisplayPort Adapter
1. Установка драйвера
*Осторожно!Неподключайтеадаптерккомпьютерупередустановкой
драйвераспредоставленногокомпакт-дискаилизагруженногоссайтаhttp://www.raidsonic.de
Windows 7/8/8.1:
a Вставьтекомпакт-дисквдисководдлякомпакт-дисков.
b Автоматическизапуститсяпрограммаустановки
(Нажмитефайл«RunSetup.exe»)
c Выполнитеинструкцииизавершитеустановкудрайвера.
d ПодключитеадаптеркUSB-портукомпьютера.
e Перезагрузитекомпьютер.
f УстройствоIB-AC513готовокиспользованию.
2. Подключение к монитору/проектору
ПрисоединитекабельUSB3.0кноутбуку/ПКиподключитемонитор/проекторк
портуDisplayPortDP1.2.
Настройтемониторвсоответствиисвашейоперационнойсистемойитребованиями.
Дляполученияболееподробнойинформацииовашейоперационнойсистемесм.ее
описаниевсоответствующемруководствепользователя.
© Copyright 2014 by RaidSonic Technology GmbH. All Rights Reserved
The information contained in this manual is believed to be accurate and reliable. RaidSonic Technology GmbH
assumes no responsibility for any errors contained in this manual. RaidSonic Technology GmbH reserves the right
tomakechangesinthespecicationsand/ordesignoftheabovementionedproductwithoutpriornotice.The
diagrams contained in this manual may also not fully represent the product that you are using and are there for
illustrationpurposesonly.RaidSonicTechnologyGmbHassumesnoresponsibilityforanydierencesbetweenthe
product mentioned in this manual and the product you may have. All the information contained in this manual was
correct at the time of publication. However, as our engineers are always updating and improving the product, your
device’ssoftwaremayhaveaslightlydierentappearanceormodiedfunctionalitythanpresentedinthismanual.
Table of contents
Other Icy Box Adapter manuals

Icy Box
Icy Box IB-AC514 User manual

Icy Box
Icy Box IB-DK2103-C User manual

Icy Box
Icy Box IB-AA501 User manual

Icy Box
Icy Box IB-AC645 User manual

Icy Box
Icy Box IB-DK2104-C User manual

Icy Box
Icy Box IB-AC1032 User manual

Icy Box
Icy Box IB-PCI217 User manual

Icy Box
Icy Box IB-CB527-C User manual

Icy Box
Icy Box IB-AC703-U3 User manual

Icy Box
Icy Box IB-RPA100 User manual
Popular Adapter manuals by other brands

Parker
Parker isysNet E104P A Series Installation & service instructions

Silicon Graphics
Silicon Graphics network adapter user guide

StarTech.com
StarTech.com PEXESAT32 instruction manual

Atlantis Land
Atlantis Land A02-PL301 quick start guide

Nikon
Nikon EH-5 instruction manual

Sony
Sony PGV-250 Operation manual