manuals.online logo
Brands
  1. Home
  2. •
  3. Brands
  4. •
  5. Icy Dock
  6. •
  7. Enclosure
  8. •
  9. Icy Dock MB122AKGF User manual

Icy Dock MB122AKGF User manual

ICY DOCK Express Installation Guide
→
←
day hr
45
1
6
7
8
10
9
11
12
13
14
15
23
2. LCD Screen Symbol Description
8
25
34
7
6
1
1. MB122AKGF Front Panel Description
day hr
DC INPUT
FS
F
T
FS:Fail signal
F:Fan fail high signal out (5V)
T:overheat high signal out (5V)
PIN No.1
40-Pin IDE
1. LCD screen display 5. Active-handle
2. SET button 6. Handle
3. UP button 7. Cartridge frame
4. Down button 8. Key lock
1. Hard drive access 9. Hour indicator
2. SLAVE display 10. Degrees indicator
3. MASTER display 11. Decimal indicator
4. Alarm 12. Up selector
5. Fan status 13. Day indicator
6. Temperature status 14. SET selector
7. Numeric indicator 15. HUTR indicator
8.Downselector
Note: HUTR (HDD Usage Time Record)
3. Default Setting 4. Back-plane Description
Item Default Setting
Temperature detect 50.0℃(122.0℉)
MASTER/SLAVE Display SLAVE
HUTR 0
5. Function Settings and Operation
When power is turned on, the LCD screen displays the following:
●HDD mode: SLAVE (Default Setting)
●Surrounding temperature if at 30.6℃
●Press the ”▲” or ” ▼” button, the LCD
displays to the different modes accordingly:
Temperature Detection Setting→HUTR
Display.
5-1 Temperature Detection and ℃/℉Settings
1. From Main Display, press ”SET” button to enter Temperature ℃/℉Setting
Mode and display the following:
●Press ”▲” button or ”▼” button
to switch the ℃→℉→℃.
●Press “SET” button to confirm
your choice.
2. After confirming the ℃/℉mode, enter
Temperature detection Setting mode. The LCD
screen flashes the following:
●Default setting: 50.0℃(122.0℉).
3. If setting temperature at 55.0℃(131.0℉), the LCD
will display the following:
●Press hold the ”SET” button for more than 3
seconds, and the alarm buzzer will sound
“BEEP” twice as confirmed choice. If sound
“BEEP” is less than twice, it is not a confirmed
choice.
Remark: If LCD screen does not return to Main Display, stop operation for 15
seconds, the LCD will then automatically return to the Main Display and the
original temperature detection setting will be cancelled.
5-2 HUTR Display
To enter the HUTR mode. The
Hour signal is displayed as below:
5-3 HDD Access Display
If HDD is reading or writing, HDD
access signal displays the below:
5-4 Overheating from original Temperature Detection Setting
1. Original detection set at 50.0℃(122.0℉), if temperature detected overheats
the original setting. Screen using ℃will display the following:
●HDD access and Fan signals are displayed.
●Temperature and alarm buzzer signals will
continuously flash.
5-5 Fan Fail Alarm
1. If the fan fails or is disconnected, the LCD displays
the following:
●HDD access signal is displayed.
●Fan and alarm buzzer signals will continuously
flash.
Remark: Buzzer and alarm symbol are disable by
pressing any buttons located at the front panel.
6. Key lock
Status
Segment Power status Security status
A ON Locked (Non-removable)
B OFF Locked (Non-removable)
C OFF Unlocked (Removable)
A
B
C
P99723V2.0-1/2
ICY DOCK Express Installation Guide
ON
1234
DIP
PUSH
7. Master/Slave Settings and Operation (Back plane of carrier body)
7-1 Description
Dipswitch
No.
Jumper wire
Color
Dipswitch
Default setting
Jumper status/
Display
1 Green OFF OPEN
2 Yellow OFF OPEN
3 Red OFF OPEN
4 X OFF SLAVE
MASTER
SLAVE
RED CABLE
YELLOW CABLE
GREEN CABLE
JUMPER SETTING
1
2
3
JUMPER SETTING
1
2
3
YELLOW CABLE
ON
1234
DIP
ON
2
14
3
DIP
ON
2
14
3
DIP
ON
SLAVE
MASTER
1234
DIP
GREEN CABLE
RED CABLE
7-2 Operation Note: Switch No. 4 sets the display for “Master” or “Slave” on the LCD screen.
1. Carefully read the default setting of MASTER or SLAVE status on the HDD that
is to be used.
2. Remove the original jumpers on the HDD, and plug in the jumper wires into
correct pins. (Refer to section 7-3 Jumper wires setting)
3. Set the dipswitch from No. 1 to No. 4 by switching to ON or OFF according to
the MASTER or SLAVE statuses setting of the HDD used.
7-3 Jumper wires setting (Example)
SEAGATE HDD
Jumper setting
MASTER
SLAVE
IBM HDD
Jumper setting
MASTER
SLAVE
Note: The different brands of the HDD will have different MASTER or SLAVE setting.
Please refer to the HDD’s instruction manual or log on to www.icydock.com.tw
8. Installing Hard Drive into Carrier body
8-1. Pull the active-handle outwards and use the
miniature key provided and insert into the key hole,
turning the key anti-clockwise, then the handle will
auto-eject for pulling out. (Fig.1)
8-2. Pull the handle outwards to remove the carrier body
away from the cartridge frame. (Fig.2)
8-3. Push the release latch to slide the top cover
backwards and remove. (Fig.3)
8-4. Insert the jumper wires (Refer to section 7-3
Jumper wires setting) and DC power cable and
IDE cable on the HDD. (Fig.4)
8-5. Position the HDD into carrier body and secure the
HDD using the four 6#-32 screws provided. (Fig.5)
8-6. Slide the top cover back to the carrier body by
sliding forward to secure. (Fig.6)
8-7. Set the dipswitch of back plane on the carrier body.
(Refer to section 7 Master/Slave Settings and
Operation)
8-8. Slide the carrier body back into the cartridge frame.
(Fig.7)
8-9. Push carrier body further into cartridge frame until
fully inserted. (Fig. 8)
8-10.Install the module into a 5.25” half-height
expansion bay. Insert the DC power cable and the
IDE cable of the user’s chassis to connectors
located at the back plane of the cartridge frame.
Then, fully secure the module to the chassis by
using the four M3x6 screws provided. (Fig.9)
8-11.Pull the active-handle outwards and use the
miniature key provided and insert into the key hole,
turning the key clockwise to secure the handle.
(Refer to section 6 Key lock)
Fig. 3
Fig. 4
Fig. 5
Fig. 6
Fi
g
. 7
Fi
g
. 8
Fi
g
. 9
Fi
g
. 1 Fi
g
. 2
P99723V2.0-2/2

Other Icy Dock Enclosure manuals

Icy Dock flexiDOCK MB795SP-B User manual

Icy Dock

Icy Dock flexiDOCK MB795SP-B User manual

Icy Dock ToughArmor MB508SP-B User manual

Icy Dock

Icy Dock ToughArmor MB508SP-B User manual

Icy Dock MB672SKGF User manual

Icy Dock

Icy Dock MB672SKGF User manual

Icy Dock MB662UEAB-2S User manual

Icy Dock

Icy Dock MB662UEAB-2S User manual

Icy Dock ToughArmor User manual

Icy Dock

Icy Dock ToughArmor User manual

Icy Dock MB662U3-2S R1 User manual

Icy Dock

Icy Dock MB662U3-2S R1 User manual

Icy Dock ToughArmor MB991U3-1SB User manual

Icy Dock

Icy Dock ToughArmor MB991U3-1SB User manual

Icy Dock MB882HX-1SB User manual

Icy Dock

Icy Dock MB882HX-1SB User manual

Icy Dock Black Vortex User manual

Icy Dock

Icy Dock Black Vortex User manual

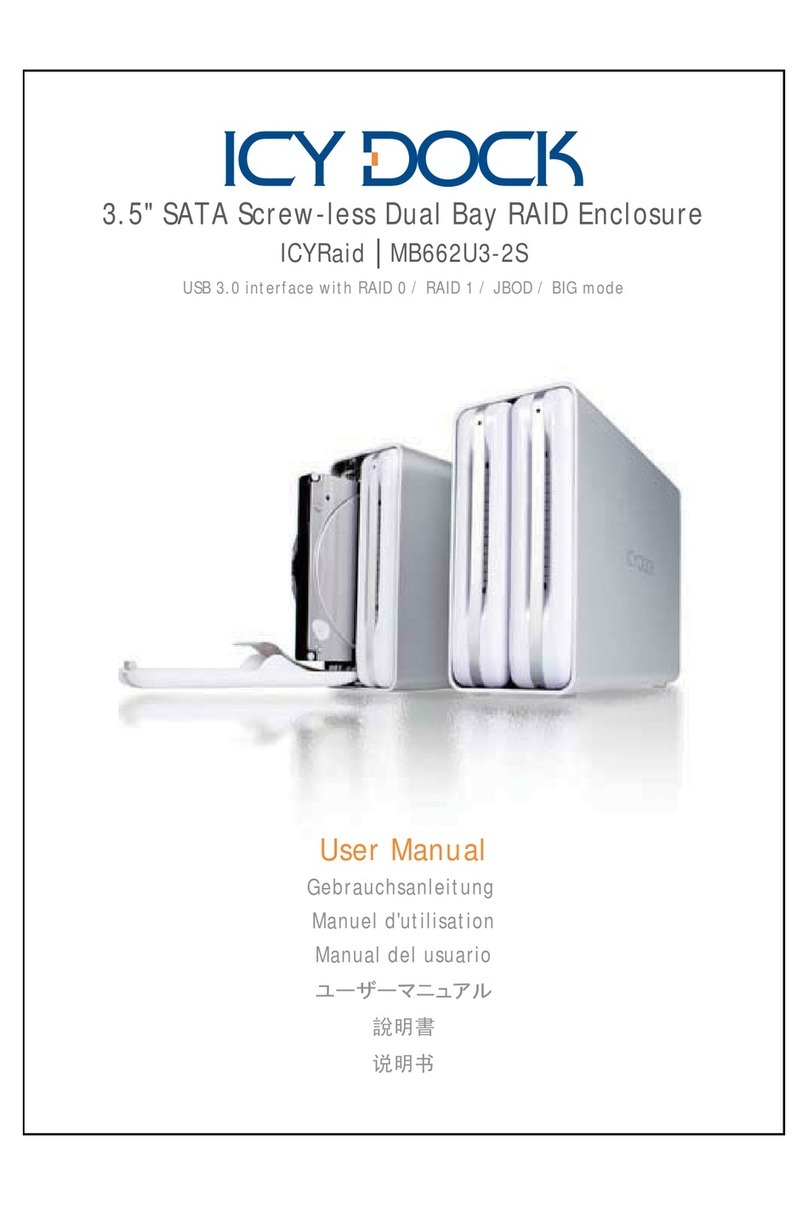
Icy Dock MB662U3-2S User manual

Icy Dock

Icy Dock MB662U3-2S User manual

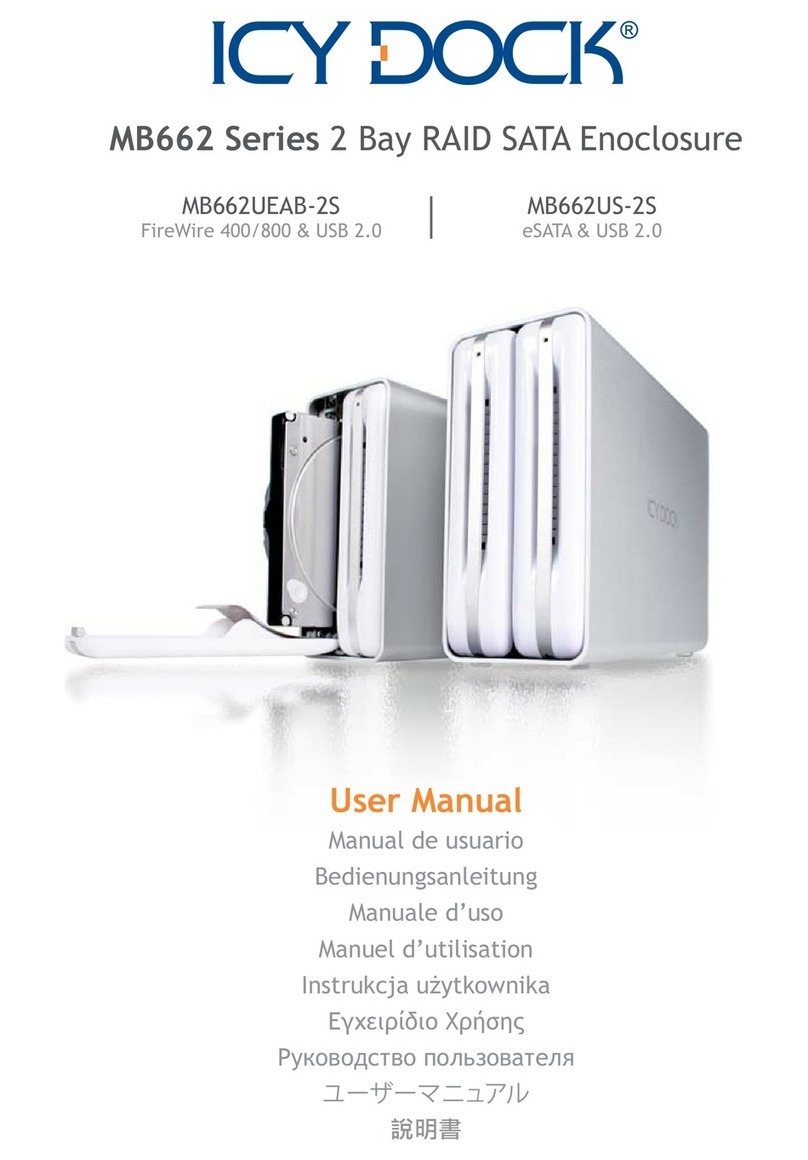
Icy Dock MB662 Series User manual

Icy Dock

Icy Dock MB662 Series User manual

Icy Dock MB153SP-B User manual

Icy Dock

Icy Dock MB153SP-B User manual

Icy Dock MB561U3S-4S R1 User manual

Icy Dock

Icy Dock MB561U3S-4S R1 User manual

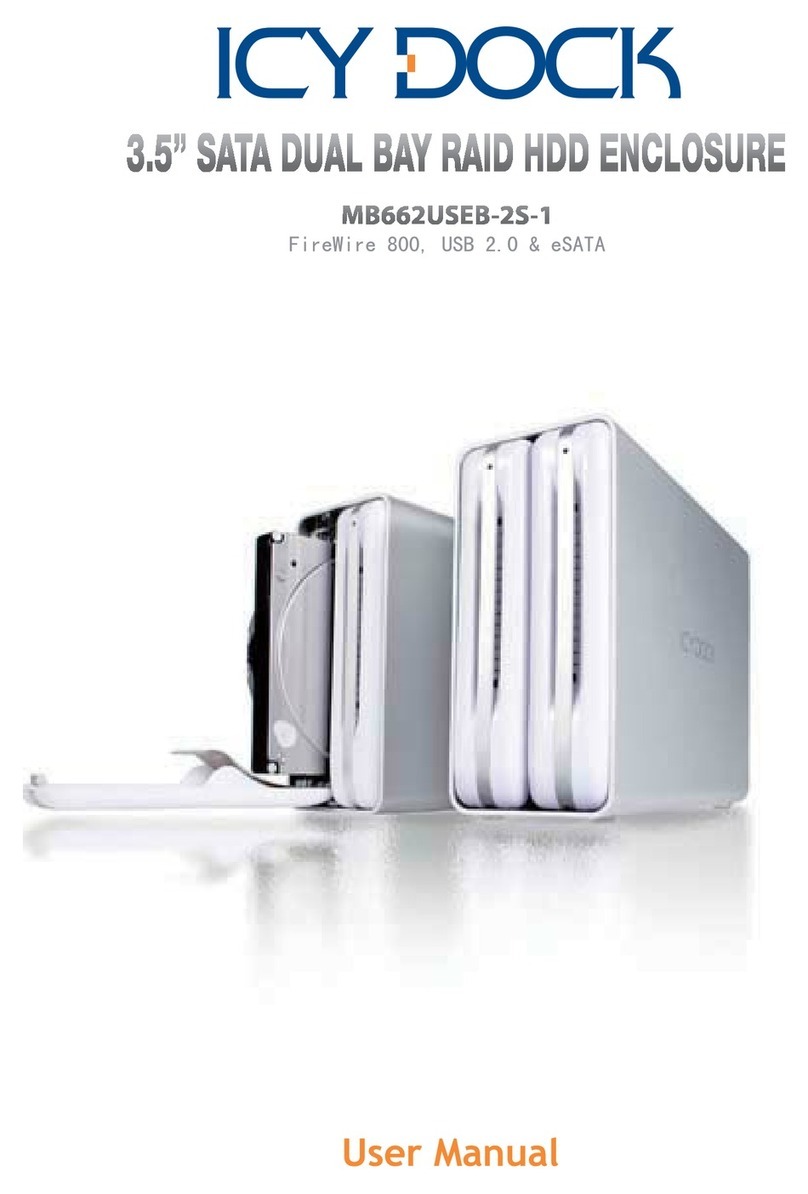
Icy Dock MB662USEB-2S-1 User manual

Icy Dock

Icy Dock MB662USEB-2S-1 User manual

Icy Dock FlexCage MB975SP-B User manual

Icy Dock

Icy Dock FlexCage MB975SP-B User manual

Icy Dock MB663UB Series Instruction Manual

Icy Dock

Icy Dock MB663UB Series Instruction Manual

Popular Enclosure manuals by other brands

Stahl 8118 Series operating instructions

Stahl

Stahl 8118 Series operating instructions

ENERMAX “Brick” EB208S user manual

ENERMAX

ENERMAX “Brick” EB208S user manual

Code Blue CB 4 Series Administrator's guide

Code Blue

Code Blue CB 4 Series Administrator's guide

Dimastech mini v.2.0 Assembly manual

Dimastech

Dimastech mini v.2.0 Assembly manual

Addonics Technologies AE5IDECSU2 user guide

Addonics Technologies

Addonics Technologies AE5IDECSU2 user guide

Zellabox Cubb user manual

Zellabox

Zellabox Cubb user manual

BlueStork BS-EHD-35/COMBO/30 user manual

BlueStork

BlueStork BS-EHD-35/COMBO/30 user manual

Altronix Trove2AM2 installation guide

Altronix

Altronix Trove2AM2 installation guide

Vynco VMC334 installation instructions

Vynco

Vynco VMC334 installation instructions

Manhattan 130257 user manual

Manhattan

Manhattan 130257 user manual

Pulsar 7/TRP20/SATEL Assembly instructions

Pulsar

Pulsar 7/TRP20/SATEL Assembly instructions

Icy Box IB-2227 Series manual

Icy Box

Icy Box IB-2227 Series manual

Wheelock EWP installation instructions

Wheelock

Wheelock EWP installation instructions

ZALMAN GS1000 SE user manual

ZALMAN

ZALMAN GS1000 SE user manual

Rittal CS Toptec Assembly instructions

Rittal

Rittal CS Toptec Assembly instructions

StarTech.com S3520BU33ER Spec sheet

StarTech.com

StarTech.com S3520BU33ER Spec sheet

RaidSonic Technology ICY BOX IB-236-C3 manual

RaidSonic Technology

RaidSonic Technology ICY BOX IB-236-C3 manual

Musway BASSREFLEX MR108Q manual

Musway

Musway BASSREFLEX MR108Q manual

manuals.online logo
manuals.online logoBrands
  • About & Mission
  • Contact us
  • Privacy Policy
  • Terms and Conditions

Copyright 2025 Manuals.Online. All Rights Reserved.