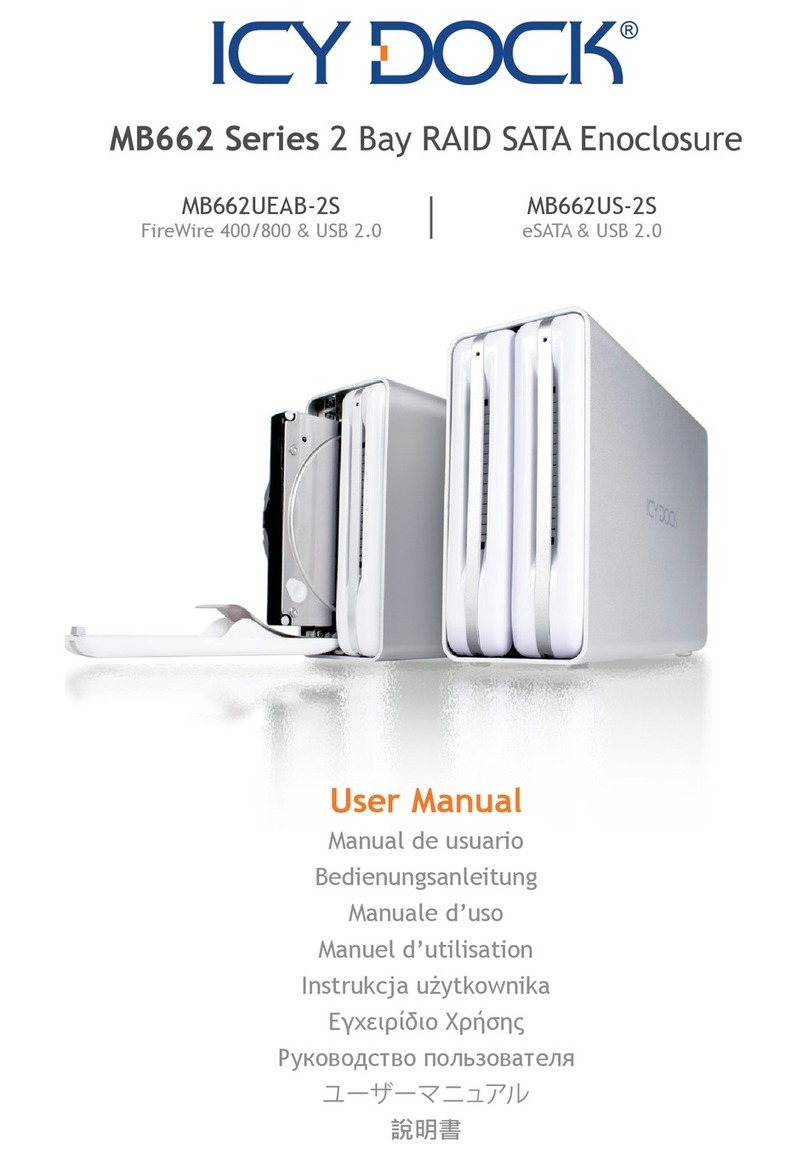
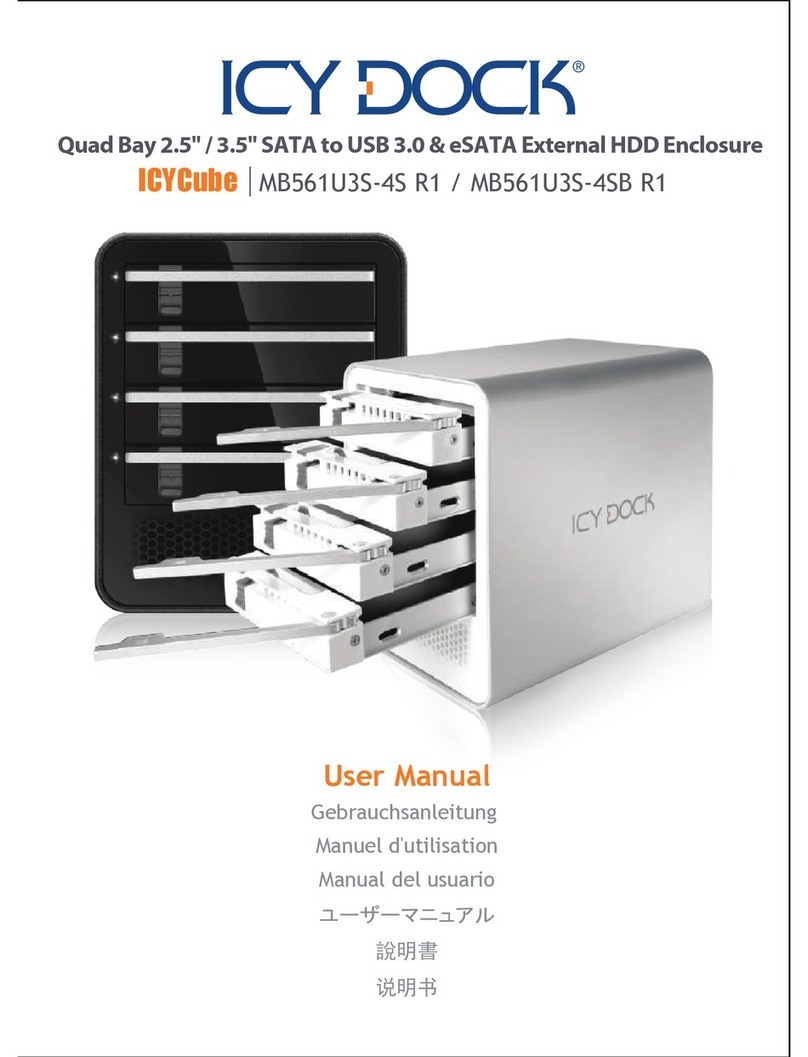
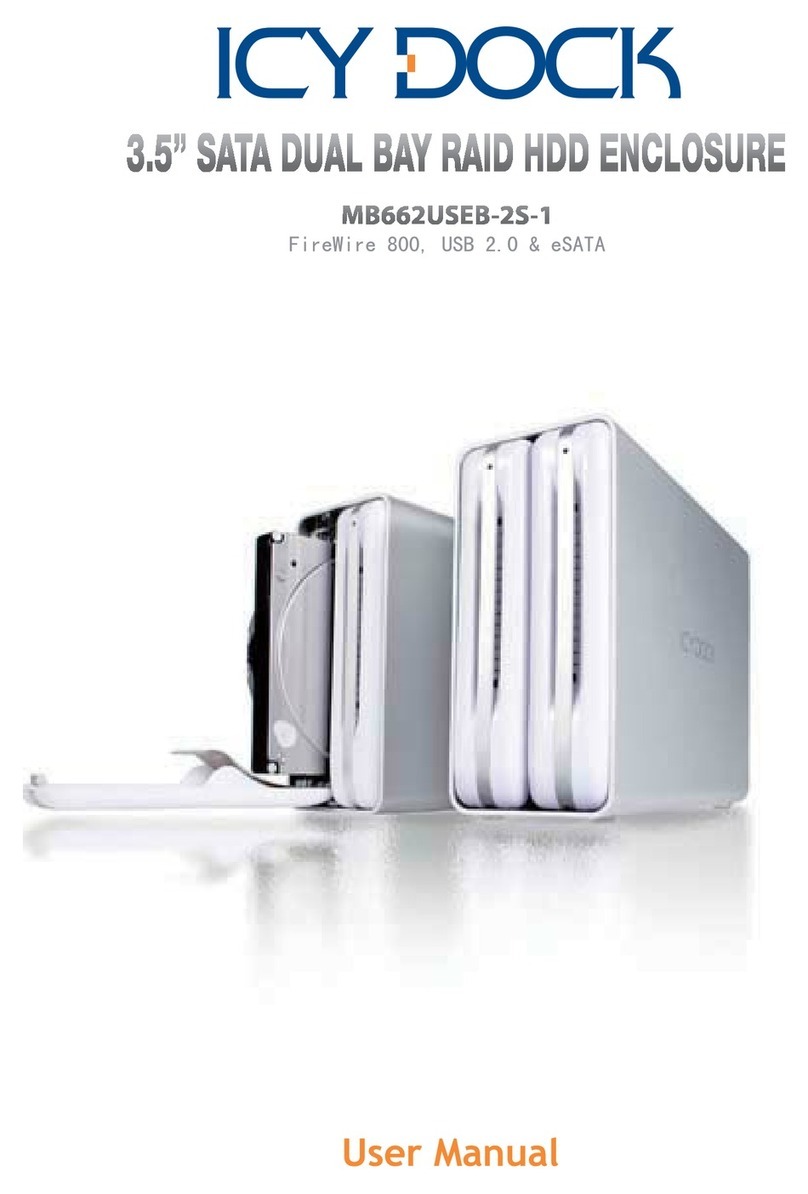
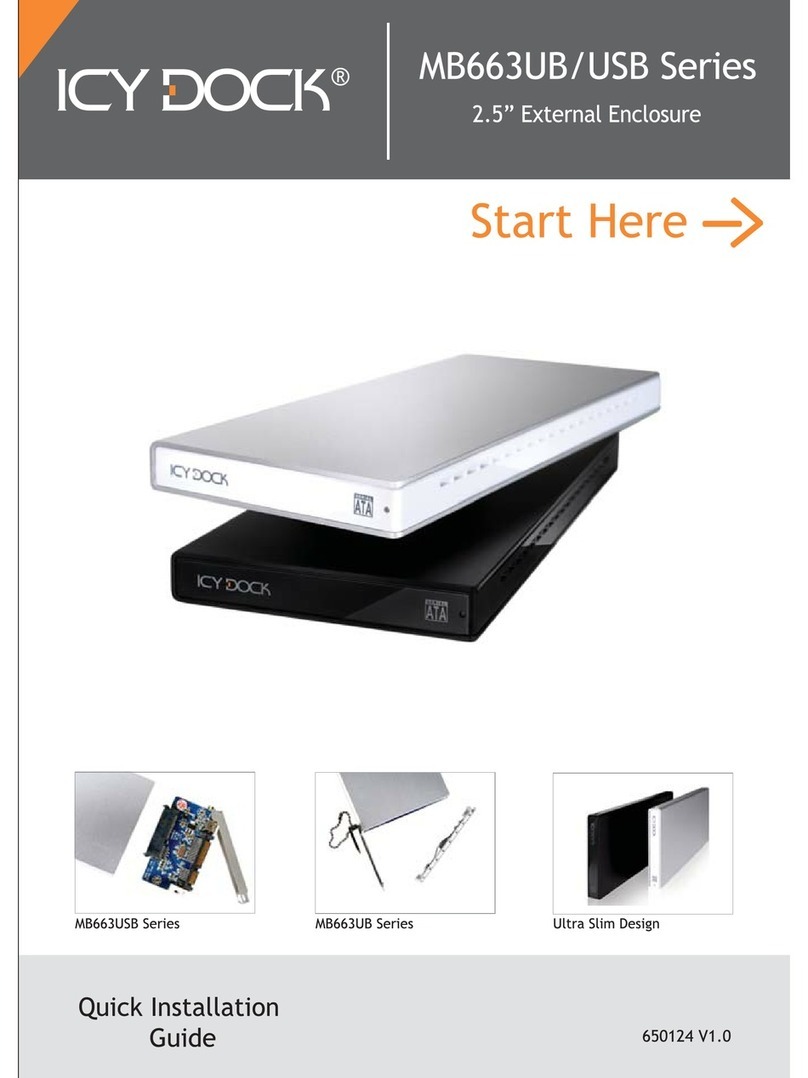
Icy Dock MB662 Series User manual

MB662 Series 2 Bay RAID SATA Enoclosure
MB662UEAB-2S
FireWire 400/800 &USB 2.0 MB662US-2S
eSATA &USB 2.0
User Manual
Manual de usuario
Bedienungsanleitung
Manuale d’uso
Manuel d’utilisation
Instrukcja użytkownika
Εγχειρίδιο Χρήσης
Руководство пользователя
ユーザーマニュアル
奨㓌㖶

English
Español
Deutsch
Italiano
Français
Polski
Ελληνική
Русский
日本語
䳿榒ᳫ㑅
Page 2
Page 8
Page 14
Page 20
Page 26
Page 32
Page 38
Page 44
Page 50
Page 56

English
2.Front Panel Information
1.Packing Contents
A. Standard Contents
A. LED Indicator
B. Front Door Panel
B. Other Contents
MB662UEAB-2S Series
MB662UEAB-2S
POWER : White LED
HDD ACCESS: Flashing white LED
Rebuilding: Blue LED
HDD FAIL: Red LED
MB662US-2S Series
USB Cable USB Cable
Firewire 800 Cable
(IEEE 1394. B)
eSATA Cable
Product
User Manual
Power Adapter
(Including cable)
Firewire 400 Cable
(IEEE 1394. A)
eSATA Card
(OPTIONAL)
2
MB662US-2S
POWER : Blue LED
HDD ACCESS: Flashing Purple LED
Rebuilding: LED blinking in Red &Purple
HDD FAIL: LED blinking in Blue &Red
A
B

English
3.Back Panel and Connection Information
MB662UEAB-2S
MB662US-2S
3
JBOD
BIG
SAFE 50
RAID 0
FAST
JBOD
SAFE 33
RAID 1
SAFE
BIG
RAID 1
SAFE
RAID 0
FAST
RAID SETTING
RAID SETTING
Please referral to 6-1 for more
RAID setting information
USB Cable
Power Adepter
eSATA Cable
Fan Speed Control
Raid Selection Switch
Reset Button
Safety Key Lock
Power Switch
USB Cable
Firewire 400 Cable
Firewire 800 Cable
Power Adepter
Fan Speed Control
Raid Selection Switch
Power Switch
Safety Key Lock

English
4
4.Hard Drive Installation
1. 2.
3. 4.
5. 6.

English
5
5.MB662 Installation
1. Users are advised to disable the device from the computer before unplugging the cable
or turning off the device.
2. If the hard drive does not support ACCESS signal, then the white LED lights will not
flash when the hard drive is in use.
3. If the system cannot detect the device, please go to device management and enable it.
1. JBOD (Non-RAID): The two physical disks read as two independent hard drives in a
single housing, so that two logical volumes mount on the desktop. Therefore, the computer
will show two separate drives.
Note: When using the MB662US-2S e-SATA connector, the computer must support port
multiplier for this function to work. The failure of one disk will not affect the other disk.
Therefore, the data on the working drive will be intact and functioning.
6-1. MB662 Series RAID Information
Caution: Changing the RAID mode destroys data stored on the MB662 series. If you
have saved data on the drives, back up data before following these steps.
For more information, please go on our website at www.icydock.com
MB662US-2S Model

English
6
2. BIG (Concatenation): The two physical drives are combined so that one single yet
larger logical volume mounts on the desktop, offering maximum possible capacity (the
available capacities of each disk are combined).
Note: If one physical disk fails, the data on both disks will become inaccessible. If you
are concerned about data security, we highly recommend using Safe configuration (RAID 1
mode). Please see section 6.1-4 for more information.
3. Fast (RAID 0 Mode): The two physical drives are stripped together so that one larger
logical volume mounts on the desktop, offering the maximum possible capacity like in Big
mode (the available capacities of each disk are combined) yet with greater speed than the
Big mode (the speed of each disk runs faster to a certain level).
Note: If one drive fails, the data on both disks will become inaccessible.
4. Safe (RAID 1 Mode): The two physical drives are “mirrored” (RAID 1) so that
one single logical volume mounts on the desktop. All of the data on one drive will be
recoverable from the other drive (the available capacity of one drive cannot exceed the
available capacity of the other drive).
Note: If one physical disk fails, the data can be immediately recovered from the second
disk. No data will be lost if one drive fails.
5. Safe33 (MB662US-2S only): RAID 1 (SAFE 33%) + (BIG 67%), 33% of memory space
on both hard drives will be operating under RAID 1 mode, and the rest of the hard drive
memory on both disks will be assorted into BIG.
6. Safe50 (MB662US-2S only): RAID 1 (SAFE 50%) + (BIG 50%), 50% of the memory
in both disks will be RAID 1, and the rest of the hard drive memory on both disks will be
assorted into BIG.
1. MB662UEAB-2S: Restart the device to reset the RAID Level.
2. MB662US-2S: Press the Reset button to reset the RAID Level. The LED light will
remain off during the reset process and the blue LED will turn on after the reset is
completed.
6-2. RAID mode switch notification
Caution: Changing the RAID mode destroys data stored on the MB662 series. If you
have saved data on the drives, back up data before following these steps.

English
7
1. It is better to use the same hard drive brand and memory capacity to use the RAID functions.
2. When using a MB662US-2S with an eSATA connector to set JBOD function, if the host
cannot support port multiplier function, the computer may not be able to detect 2 hard
drives simultaneously. (You may need to purchase the optional port multiplier eSATA
controller card to get the enclosure working properly)
3. It takes about an hour to rebuild a 100GB hard drive.
6-3. RAID notification
MB662UEAB-2S LED Status
MB662US-2S LED Status
Status
HDD Access Flashing Purple LED
No HDD in Position LED blinking in Blue &Red
HDD Failure LED blinking in Blue &Red
Rebuilding Purple LED (Source Drive)
LED blinking in Red &Purple (Target Drive)
Rebuilding Verifying Blue LED (Source Drive)
Purple LED (Target Drive)
HDD Idling Blue LED
Status
HDD Access Flashing White LED
No HDD in Position Red LED
HDD Failure Red LED
Rebuilding &Verifying LED blinking in White &Blue (Source Drive)
LED blinking in White &Red (Target Drive)
HDD Idling White LED

Español
2.Información del panel frontal
1.Contenido del paquete
A. Contenido estándar
A. Indicador LED
B. Panel de la puerta delantera
B. Contenido adicional
MB662UEAB-2S Series
MB662UEAB-2S
POWER (ALIMENTACIÓN): LED blanco
HDD ACCESS (ACCESO AL DISCO DURO): LED intermitente en blanco
Rebuilding (Reconstrucción): LED azul
HDD FAIL (ERROR EN EL DISCO DURO): LED rojo
MB662US-2S Series
Cable USB Cable USB
Cable Firewire 800
(IEEE 1394. B)
Cable eSATA
Producto
Manual del usuario
Adaptador de alimentación
(cable incluido)
Cable Firewire 400
(IEEE 1394. A)
Tarjeta eSATA
(OPCIONAL)
8
MB662US-2S
POWER (ALIMENTACIÓN): LED azul
HDD ACCESS (ACCESO AL DISCO DURO): LED intermitente en púrpura
Rebuilding (Reconstrucción): LED intermitente en rojo y púrpura
HDD FAIL (ERROR EN EL DISCO DURO): LED intermitente en azul y rojo
A
B

Español
3.Panel posterior e información de conexión
MB662UEAB-2S
MB662US-2S
9
JBOD
BIG
SAFE 50
RAID 0
FAST
JBOD
SAFE 33
RAID 1
SAFE
BIG
RAID 1
SAFE
RAID 0
FAST
Configuración RAID
Configuración RAID
Por favor remisión a 6-1 para más
INCURSIÓN que fija lainformación
Cable USB
Adaptador
de alimentación
Cable eSATA
Aviente El Control
De la Velocidad
Interruptor De la Selección
de la INCURSIÓN
Reajuste El Botón
Cerradura Dominante
De Seguridad
Interruptor
Cable USB
Cable Firewire 400
Cable Firewire 800
Adaptador
de alimentación
Aviente El Control
De la Velocidad
Interruptor De la Selección
de la INCURSIÓN
Interruptor
Cerradura Dominante
De Seguridad

Español
10
4.Instalación de la unidad de disco duro
1. 2.
3. 4.
5. 6.

Español
11
5.Instalación de la unidad MB662
1. Es aconsejable deshabilitar el dispositivo del equipo antes de desenchufar el cable o
apagar dicho dispositivo.
2. Si la unidad de disco duro no admite la señal ACCESO, el LED blanco no parpadeará
cuando dicha unidad esté en uso.
3. Si el sistema no puede detectar el dispositivo, vaya a la administración del mismo y habilítelo.
1. JBOD (no RAID): los dos discos físicos se leen como dos unidades de disco
independientes en una sola carcasa, por lo que se montan dos volúmenes lógicos en el
escritorio. Por tanto, el equipo mostrará dos unidades independientes.
Nota: cuando use el conector e-SATA MB662US-2S, el equipo debe admitir un multiplicador
de puertos para que esta función esté disponible. Si un disco se avería el otro no se verá
afectado. Por tanto, los datos de la unidad de trabajo permanecerán intactos y operativos.
6-1. Información sobre la configuración RAID de la serie MB662
Precaución: Cambiar el modo de la INCURSIÓN destruye los datos almacenados
en la serie MB662. Si usted ha ahorrado datos en las impulsiones, los datos de reserva
antes después de estos pasos.
Para obtener más información, visite nuestro sitio Web en www.icydock.com
MB662US-2S Model

Español
12
2. GRANDE: las dos unidades físicas se combinan de forma que se monta un volumen lógico
todavía más grande en el escritorio, lo que ofrece la capacidad máxima posible (se combinan
las capacidades disponibles de cada disco).
Nota: si un disco físico se avería, no se podrá obtener acceso a los datos de ninguno de los dos
discos. Si le preocupa la seguridad de los datos, es muy recomendable usar la configuración
segura (modo RAID 1). Consulte la sección 6.1-4 para obtener más información.
3. Rápida (modo RAID 0): las dos unidades físicas se desmontan de forma que se monta un
volumen lógico más grande en el escritorio, lo que ofrece la capacidad máxima posible como en el
modo Grande (se combinan las capacidades disponibles de cada disco) pero se proporciona mayor
velocidad que en dicho modo (la velocidad de cada disco es mayor a un determinado nivel).
Nota: si una unidad se avería, no se podrá obtener acceso a los datos de ninguno de los dos discos.
4. Segura (modo RAID 1): las dos unidades físicas se “reflejan” (RAID 1) de forma que
se monta un solo volumen lógico en el escritorio. Todos los datos de una unidad se podrán
recuperar de la otra unidad (la capacidad disponible de una unidad no puede superar la
capacidad disponible de la otra).
Nota: si un disco físico se avería, los datos se podrán recuperar inmediatamente del segundo
disco. No se perderá ningún dato si una de las unidades se avería.
5. Segura33 (solamente para el modelo MB662US-2S): RAID 1 (SEGURA 33%) +
(GRANDE 67%); el 33% del espacio de memoria de ambas unidades de disco duro funcionará
en el modo RAID 1 y el resto de la memoria de unidad de disco duro de ambos discos
funcionará en el modo GRANDE.
6. Segura50 (solamente para el modelo MB662US-2S): RAID 1 (SEGURA 50%) +
(GRANDE 50%); el 50% de la memoria de ambos discos funcionará en el modo RAID 1 y el resto
de la memoria de unidad de disco duro de ambos discos funcionará en el modo GRANDE.
1. MB662UEAB-2S: reinicie el dispositivo para restablecer el nivel RAID.
2. MB662US-2S: presione el botón Reset (Restablecer) para reiniciar el nivel RAID. El LED
permanecerá apagado durante el proceso de restablecimiento y el LED azul se encenderá
cuando el proceso de restablecimiento se haya completado.
6-2. Notificación de cambio de modo RAID
Precaución: Cambiar el modo de la INCURSIÓN destruye los datos almacenados
en la serie MB662. Si usted ha ahorrado datos en las impulsiones, los datos de reserva
antes después de estos pasos.

Español
13
1. Es mejor usar la misma marca de unidades de disco duro y de memoria para las funciones
RAID.
2. Cuando use una unidad MB662US-2S con un conector eSATA para establecer la función
JBOD, si el host no puede admitir la función de multiplicador de puertos, el equipo no
podrá detectar 2 unidades de disco duro simultáneamente. Puede que tenga que adquirir
la tarjeta controladora eSATA del multiplicador de puertos opcional para que la carcasa
funcione correctamente.
3. Una unidad de disco duro de 100 GB tarda aproximadamente una hora en reconstruirse.
6-3. Notificación RAID
Estado del LED de la unidad MB662UEAB-2S
Estado del LED de la unidad MB662US-2S
Estado
Acceso al disco duro LED intermitente en púrpura
No hay disco duro en posición LED intermitente en azul y rojo
Error en el disco duro LED intermitente en azul y rojo
Reconstrucción LED púrpura (unidad de origen)
LED intermitente en rojo y púrpura (unidad de destino)
Reconstrucción y comprobación LED azul (unidad de origen)
LED púrpura (unidad de destino)
Disco duro inactivo LED azul
Estado
Acceso al disco duro LED intermitente en blanco
No hay disco duro en posición LED rojo
Error en el disco duro LED rojo
Reconstrucción y comprobación LED intermitente en blanco y azul (unidad de origen)
LED intermitente en blanco y rojo (unidad de destino)
Disco duro inactivo LED blanco

Deutsch
2.Frontblende
1.Lieferumfang
A. Standard-Lieferumfang
A. LED-Anzeige
B. Fronttür
B. Sonstige Komponenten
MB662UEAB-2S Series
MB662UEAB-2S
POWER (Ein/Aus): Weiße LED
HDD ACCESS (Festplattenzugriff): Weiß blinkende LED
Rebuilding (Neuaufbau): Blaue LED
HDD FAIL (Festplattenausfall): Rote LED
MB662US-2S Series
USB-Kabel USB-Kabel
Firewire 800-Kabel
(IEEE 1394. B)
eSATA-Kabel
Produkt
Bedienungsanleitung
Netzteil (mit Kabel)
Firewire 400-Kabel
(IEEE 1394. A)
eSATA-Karte
(optional)
14
MB662US-2S
POWER (Ein/Aus): Blaue LED
HDD ACCESS (Festplattenzugriff): Purpur blinkende LED
Rebuilding (Neuaufbau): Rot und purpur blinkende LED
HDD FAIL (Festplattenausfall): Blau und rot blinkende LED
A
B

Deutsch
3.Rückwand und Anschlüsse
MB662UEAB-2S
MB662US-2S
15
JBOD
BIG
SAFE 50
RAID 0
FAST
JBOD
SAFE 33
RAID 1
SAFE
BIG
RAID 1
SAFE
RAID 0
FAST
RAID-Einstellung
RAID-Einstellung
Bitte Empfehlung bis 6-1 für mehr
ÜBERFALL, der Informationeneinstellt
USB-Kabel
Netztei
eSATA-Kabel
Lockern Sie
Geschwindigkeit
Steuerung Auf
ÜBERFALL Vorwähler-
Schalter
Stellen Sie Taste Zurück
Sicherheit
Schlüsselverriegelung
Energie Schalter
USB-Kabel
Firewire 400-Kabel
Firewire 800-Kabel
Netztei
Lockern Sie
Geschwindigkeit
Steuerung Auf
ÜBERFALL Vorwähler-
Schalter
Energie Schalter
Sicherheit
Schlüsselverriegelung

Deutsch
16
4.Festplatteninstallation
1. 2.
3. 4.
5. 6.

Deutsch
17
5.MB662-Installation
1. Bitte nutzen Sie die Windows-Funktion „Hardware sicher entfernen“, bevor Sie Kabel
trennen oder Geräte abschalten.
2. Falls die Festplatte kein ACCESS-Signal zur Meldung des Festplattenzugriffs unterstützt,
blinkt die weiße LED beim Zugriff auf die Festplatte nicht.
3. Falls das Gerät nicht vom System erkannt werden sollte, wechseln Sie zur
Geräteverwaltung und aktivieren es.
1. JBOD (Nicht-RAID): Zwei physische Laufwerke werden als zwei unabhängige
Laufwerke in einem Gehäuse angesteuert und können über das Desktop als zwei logische
Volumes angesprochen werden. Der Computer zeigt daher zwei einzelne Laufwerke an.
Hinweis: Wenn Sie den eSATA-Anschluss des MB662US-2S verwenden, muss der Computer
Portmultiplikatorfunktionen unterstützen, um diese Funktion nutzen zu können. Beim
Ausfall eines Laufwerks wird das zweite Laufwerk nicht beeinflusst. Daher bleiben die
Daten des funktionierenden Laufwerks intakt und zugriffsbereit.
6-1. MB662-Serie – RAID-Informationen
Vorsicht: Das Ändern des ÜBERFALL-Modus zerstört die Daten, die auf der
Reihe MB662 gespeichert werden. Wenn Sie Daten auf den Antrieben gespeichert
haben, Unterstützungsdaten vor nach diesen Schritten.
Weitere Informationen finden Sie auf unseren Internetseiten: www.icydock.com
MB662US-2S Model

Deutsch
18
2. Groß: Zwei physische Laufwerke werden zur Kapazitätsmaximierung (die Kapazität
entspricht der Summe der einzelnen Laufwerkkapazitäten) zu einem einzelnen, aber größeren
Laufwerk kombiniert, das über das Desktop angesprochen werden kann.
Hinweis: Falls ein physisches Laufwerk ausfällt, kann nicht mehr auf die Daten beider
Laufwerke zugegriffen werden. Falls Ihnen Datensicherheit am Herzen liegt, empfehlen wir
dringend, die sichere Konfiguration (RAID 1-Modus) zu verwenden. In Abschnitt 6.1-4 finden Sie
weitere Informationen zu diesem Thema.
3. Schnell (RAID 0-Modus): Zwei physische Laufwerke werden zu einem größeren
logischen Volume kombiniert, das über das Desktop angesprochen werden kann. Dadurch wird
eine maximale Kapazität wie im Groß-Modus (die Kapazität entspricht auch hier der Summe
beider Laufwerkkapazitäten), allerdings mit einer höheren Geschwindigkeit erreicht: Die
Geschwindigkeit der beiden Laufwerke wird bis zu einem bestimmten Grad gesteigert.
Hinweis: Falls ein Laufwerk ausfällt, kann nicht mehr auf die Daten beider Laufwerke
zugegriffen werden.
4. Sicher (RAID 1-Modus): Zwei physische Laufwerke werden gespiegelt (RAID 1); dabei
kann über das Desktop auf ein einzelnes, logisches Laufwerk zugegriffen werden. Sämtliche
Daten eines Laufwerks können über das jeweils andere Laufwerk wiederhergestellt werden
(die verfügbare Kapazität eines Laufwerks kann dabei die verfügbare Kapazität des anderen
Laufwerks nicht überschreiten).
Hinweis: Falls ein physisches Laufwerk ausfallen sollte, können die Daten über das zweite
Laufwerk sofort wiederhergestellt werden. Es treten keine Datenverluste auf, falls ein
Laufwerk ausfällt.
5. Sicher33 (nur MB662US-2S): RAID 1 (Sicher 33 %) + (Groß 67 %), Auf 33 % des
Speicherplatzes beider Laufwerke wird im RAID 1-Modus zugegriffen, der Rest der
Speicherkapazität beider Laufwerke wird unter Groß verwaltet.
6. Sicher50 (nur MB662US-2S): RAID 1 (Sicher 50 %) + (Groß 50 %), Auf 50 % des
Speicherplatzes beider Laufwerke wird im RAID 1-Modus zugegriffen, der Rest der
Speicherkapazität beider Laufwerke wird unter Groß verwaltet.
1. MB662UEAB-2S: Zum Rücksetzen der RAID-Stufe starten Sie das Gerät neu.
2. MB662US-2S: Mit der Reset-Taste setzen Sie die RAID-Stufe zurück. Während des
Rücksetzens leuchtet die LED nicht; erst nach Abschluss des Rücksetzens leuchtet die blaue
LED auf.
6-2. Hinweise zur RAID-Modusumschaltung
Vorsicht: Das Ändern des ÜBERFALL-Modus zerstört die Daten, die auf der Reihe
MB662 gespeichert werden. Wenn Sie Daten auf den Antrieben gespeichert haben,
Unterstützungsdaten vor nach diesen Schritten.

Deutsch
19
1. Zur Nutzung der RAID-Funktionalität empfehlen wir, Festplatten gleicher Marke und
Kapazität zu verwenden.
2. Wenn Sie JBOD mit dem MB662US-2S über den eSATA-Anschluss nutzen, kann der
Computer eventuell nicht 2 Festplatten gleichzeitig erkennen, wenn das System über
keine Portmultiplikatorfunktion verfügt. (In diesem Fall müssen Sie die optionale eSATA-
Portmultiplikator-Controllerkarte erwerben, um das System richtig nutzen zu können.)
3. Der Neuaufbau eines 100 GB-Festplattenlaufwerkes benötigt etwa eine Stunde.
6-3. Notificación RAID
MB662UEAB-2S – LED-Status
MB662US-2S – LED-Status
Status
Festplattenzugriff Purpur blinkende LED
Keine Festplatte installiert Blau und rot blinkende LED
Festplattenausfall Blau und rot blinkende LED
Neuaufbau Purpurne LED (Quelllaufwerk)
Rot und purpur blinkende LED (Ziellaufwerk)
Neuaufbau-Verifizierung Blaue LED (Quelllaufwerk)
Purpurne LED (Ziellaufwerk)
Festplatte im Leerlauf Blaue LED
Status
Festplattenzugriff Weiß blinkende LED
Keine Festplatte installiert Rote LED
Festplattenausfall Rote LED
Neuaufbau & Verifizierung Weiß und blau blinkende LED (Quelllaufwerk)
Weiß und rot blinkende LED (Ziellaufwerk)
Festplatte im Leerlauf Weiße LED
This manual suits for next models
2
Table of contents
Languages:
Other Icy Dock Enclosure manuals

Icy Dock
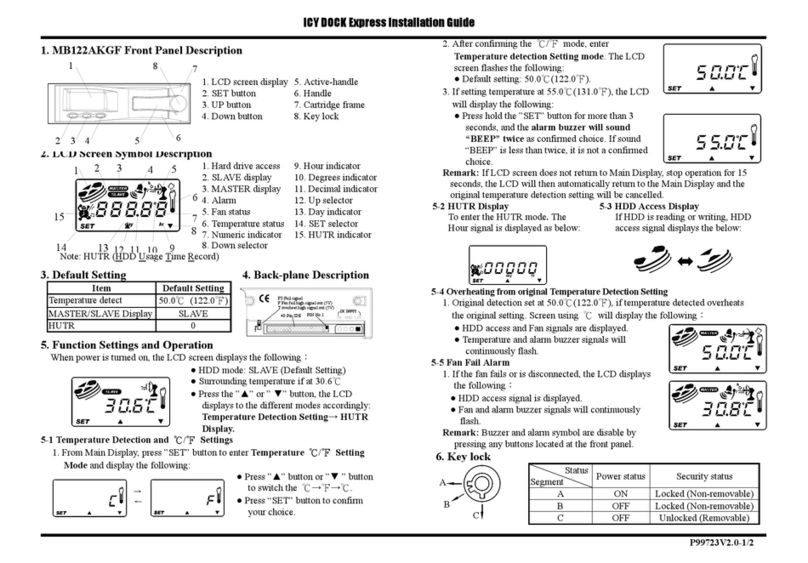
Icy Dock MB122AKGF User manual

Icy Dock
Icy Dock MB663UB Series Instruction Manual

Icy Dock
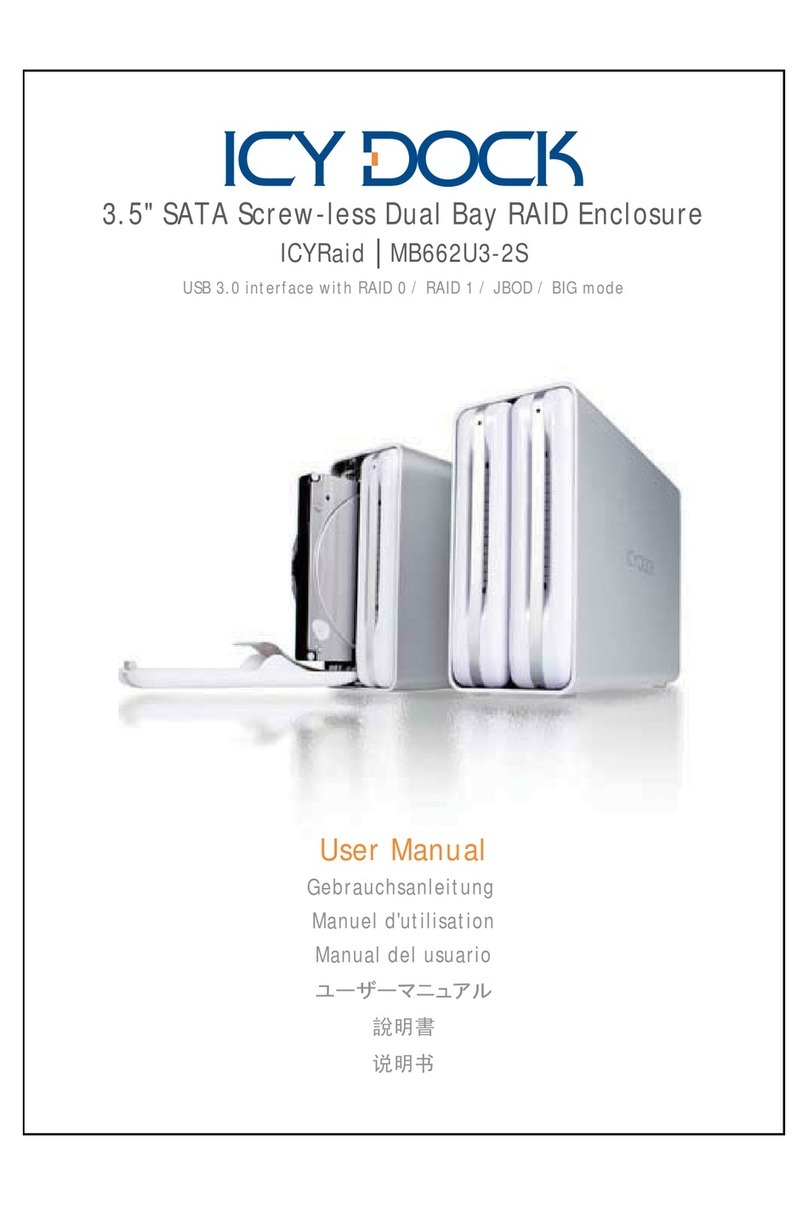
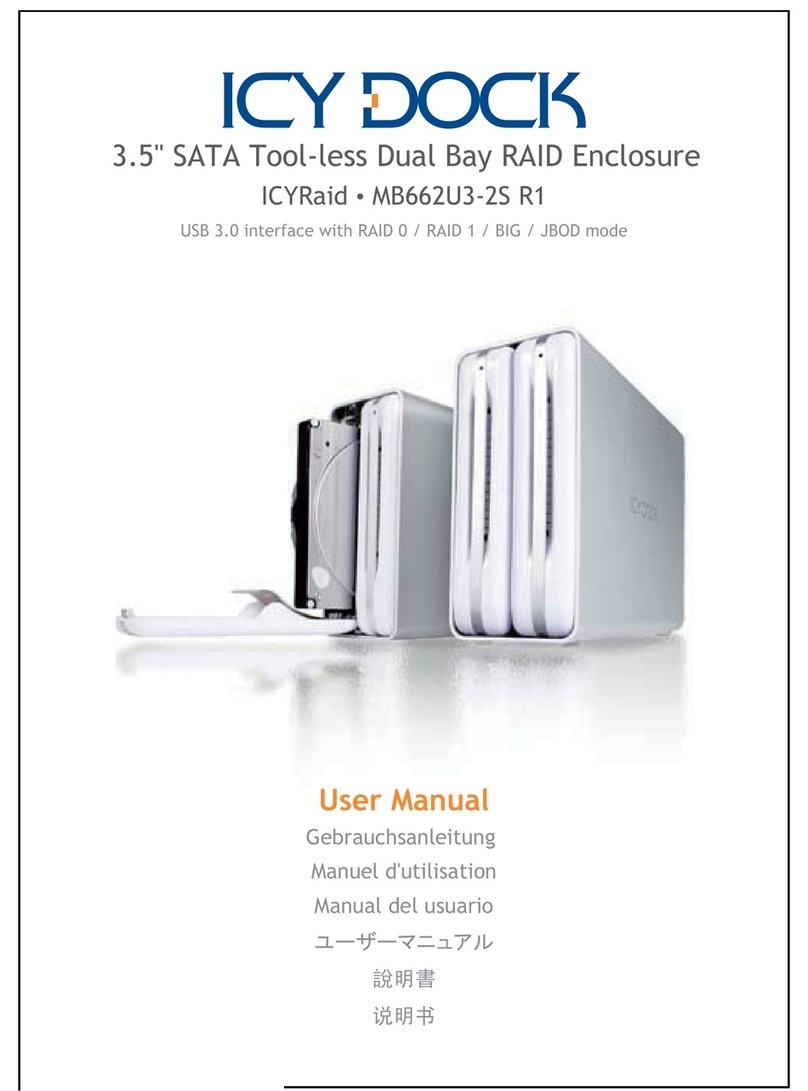
Icy Dock MB662U3-2S R1 User manual

Icy Dock
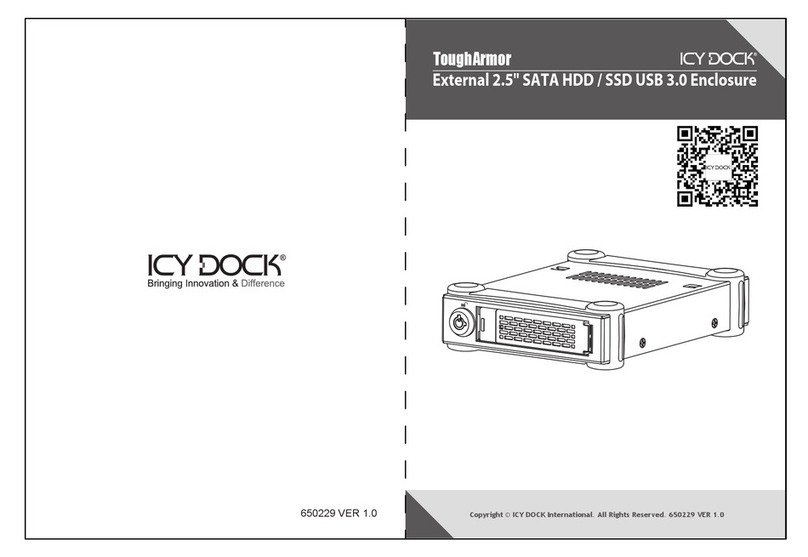
Icy Dock ToughArmor User manual

Icy Dock
Icy Dock ToughArmor MB508SP-B User manual

Icy Dock
Icy Dock MB662USEB-2S-1 User manual

Icy Dock
Icy Dock MB662UEAB-2S User manual

Icy Dock
Icy Dock MB662U3-2S User manual

Icy Dock
Icy Dock MB153SP-B User manual

Icy Dock
Icy Dock ToughArmor MB991U3-1SB User manual