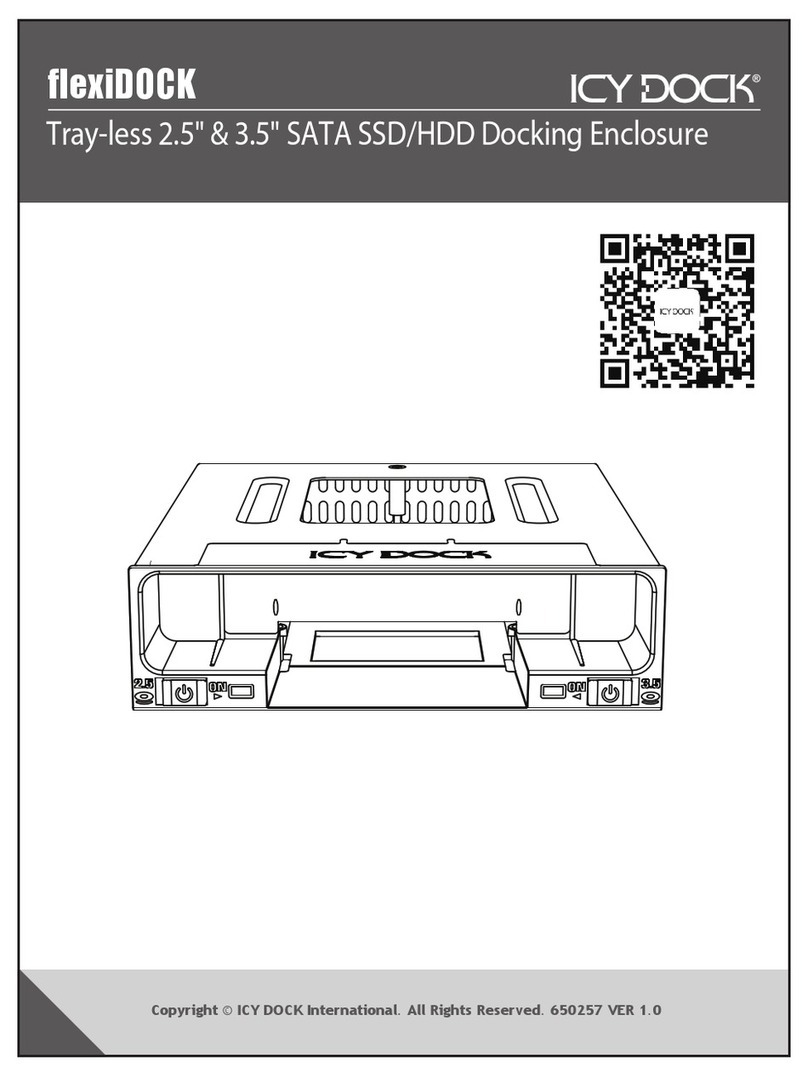
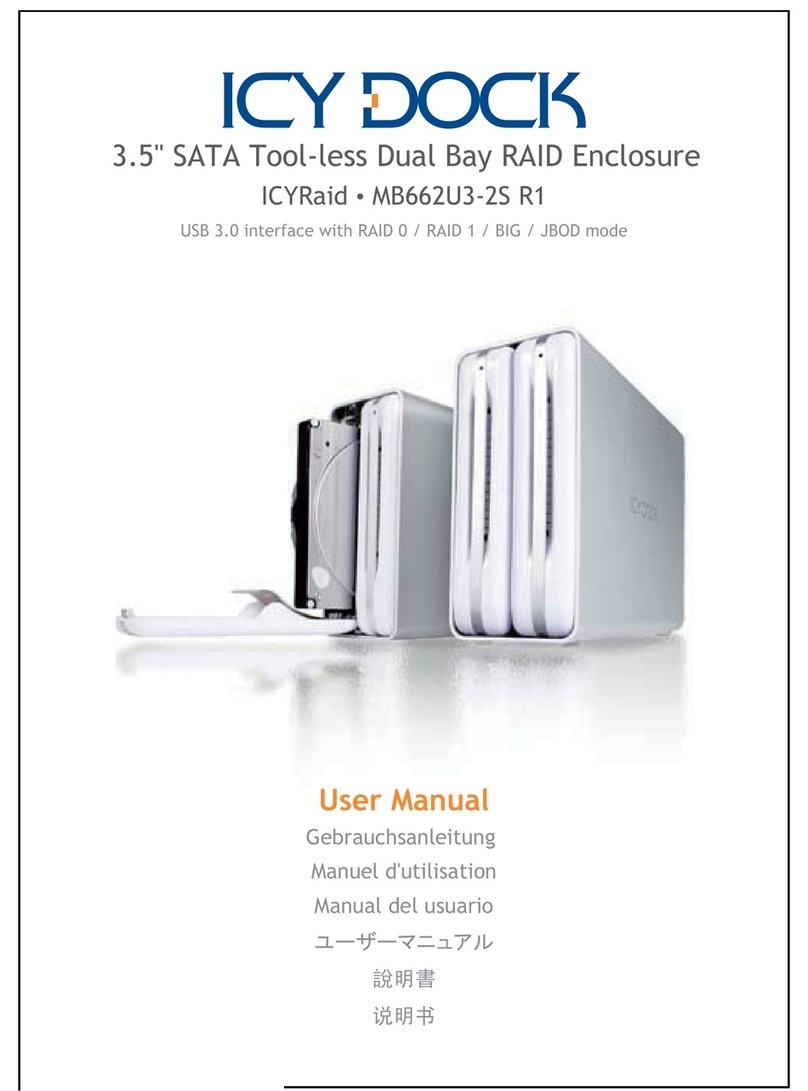
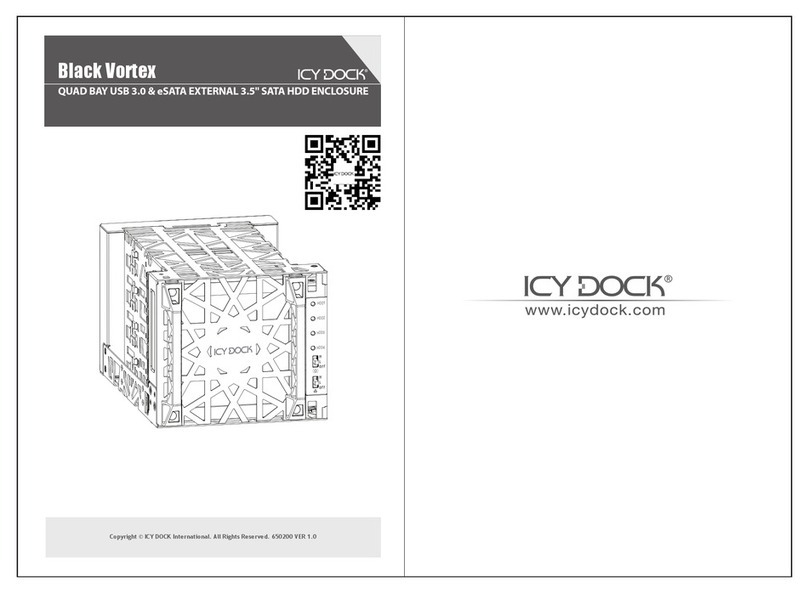
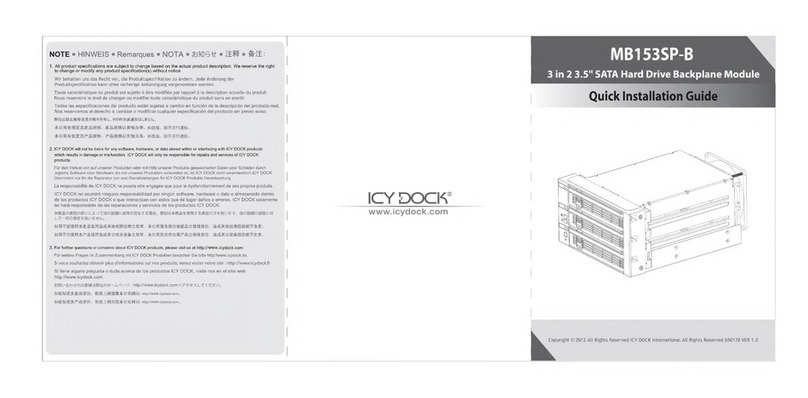
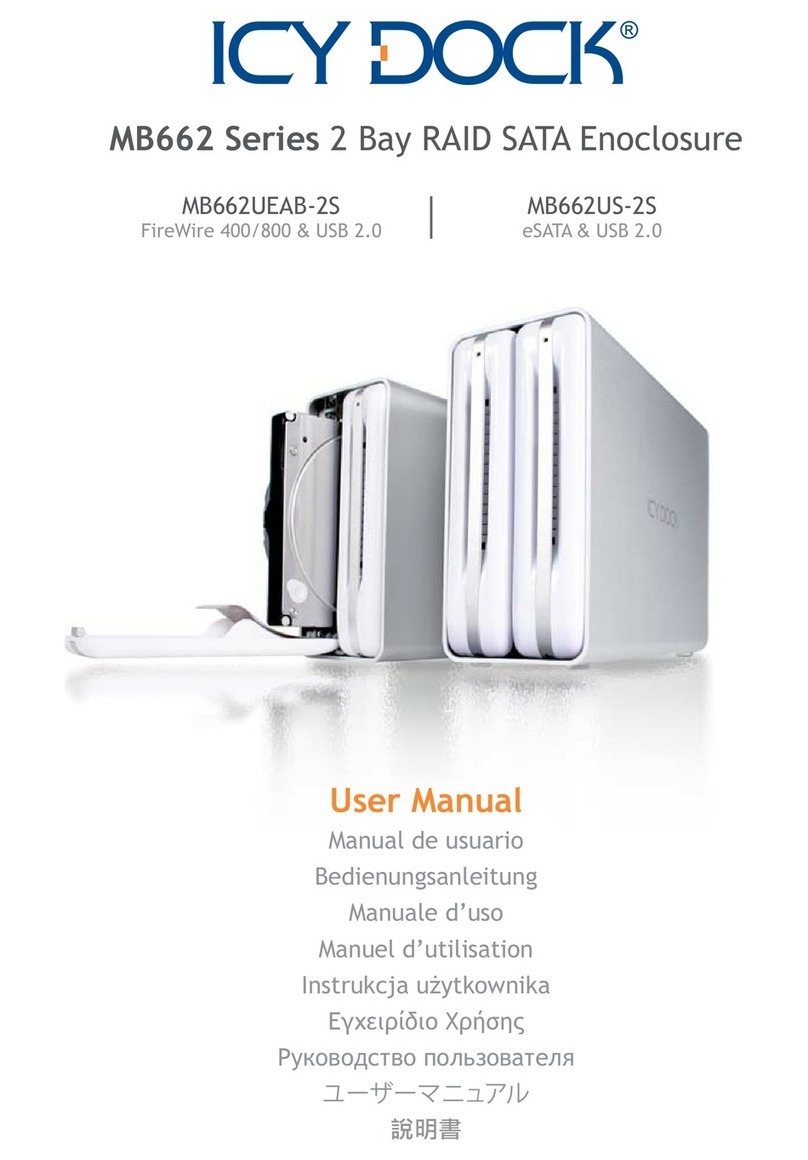
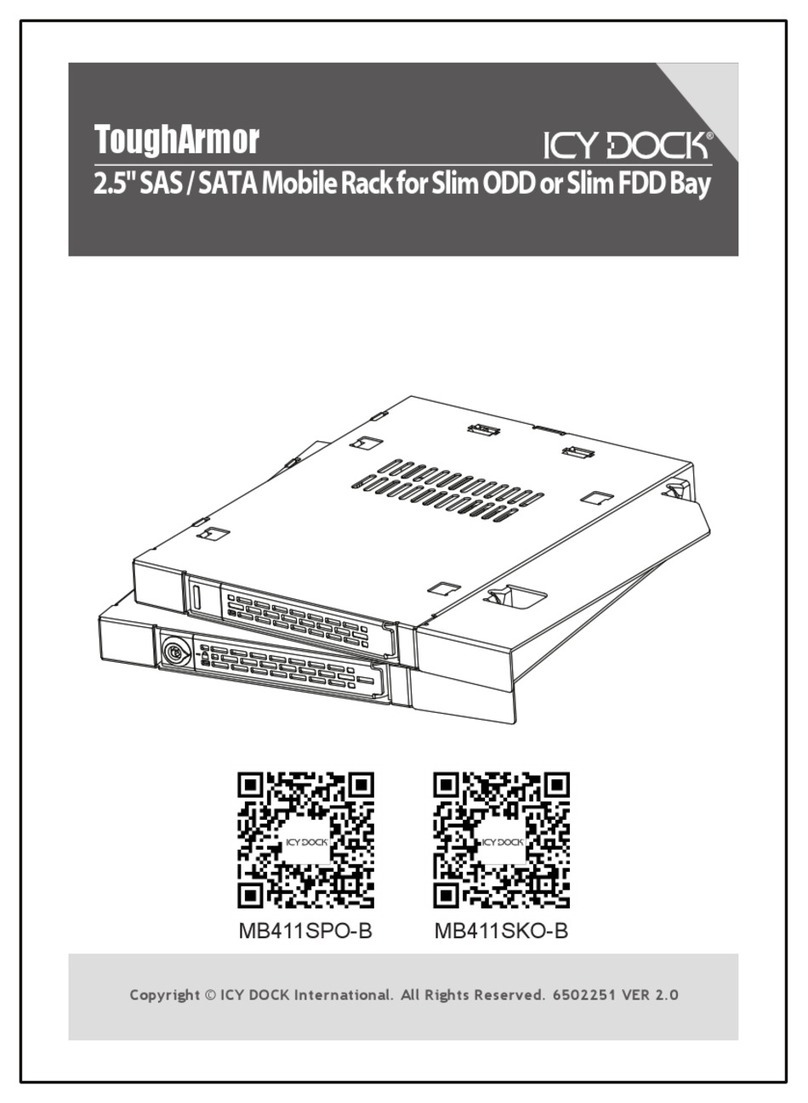
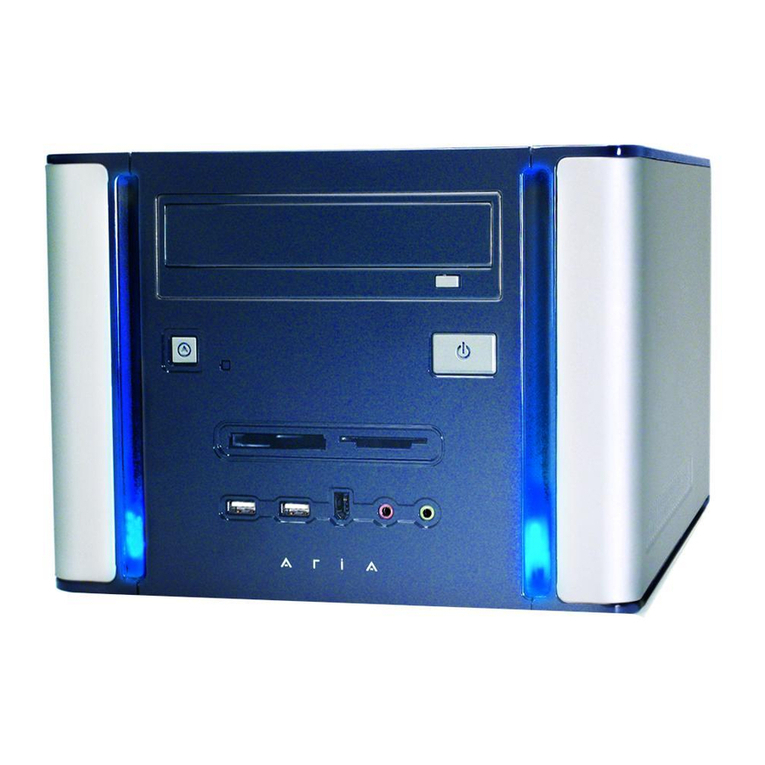
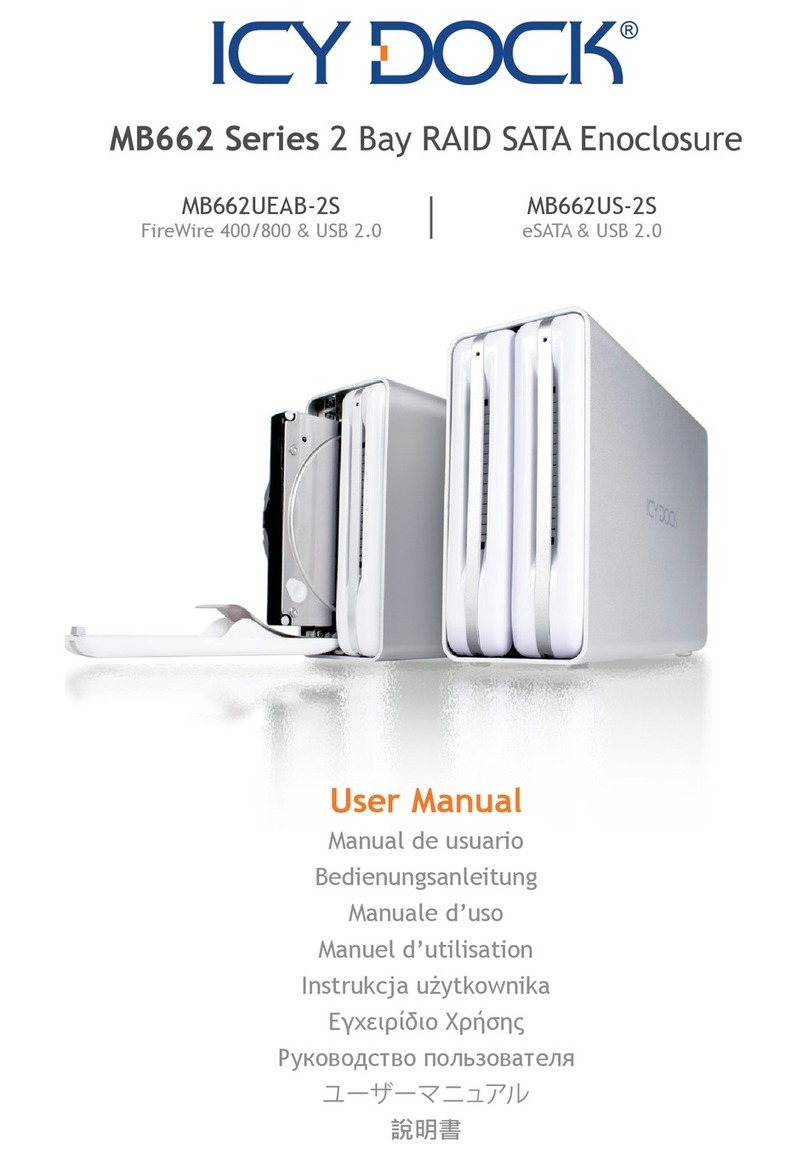
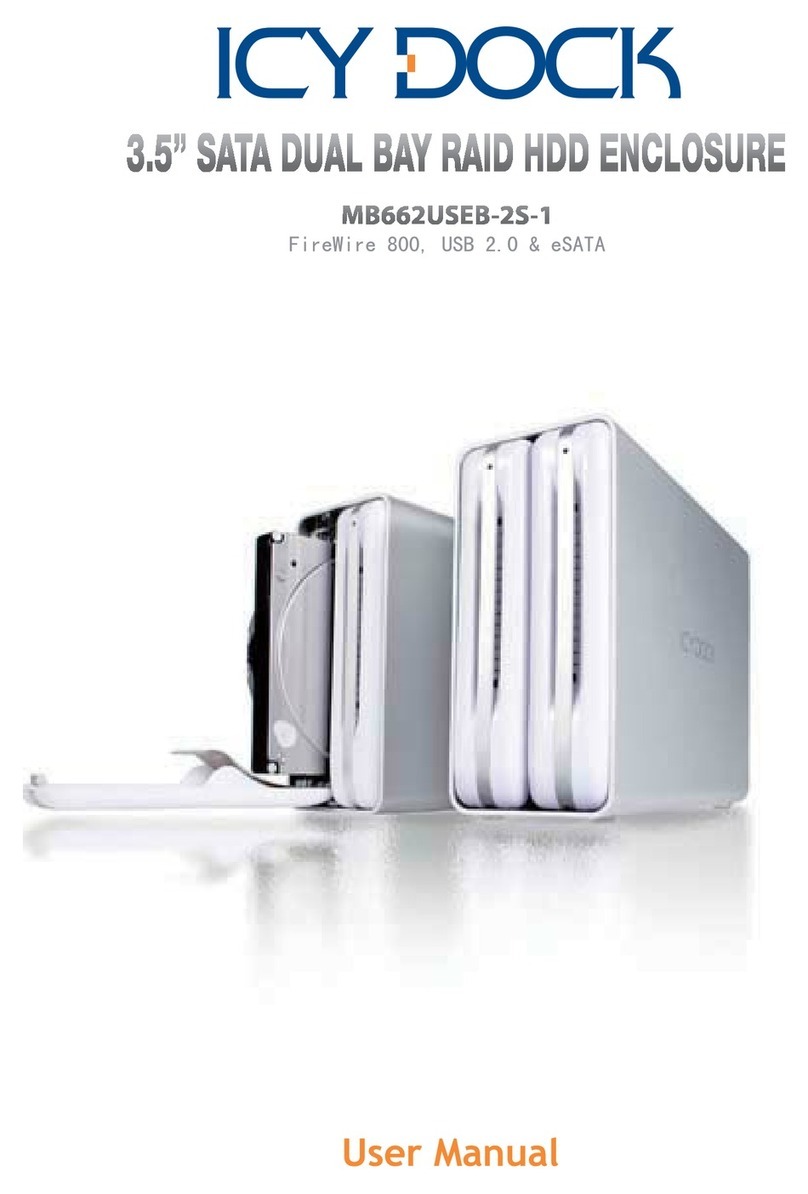
Icy Dock MB662U3-2S User manual

User Manual
Gebrauchsanleitung
䊡䊷䉱䊷䊙䊆䊠䉝䊦
䁾ᯢ
䇈ᯢк
Manuel d'utilisation
Manual del usuario
USB 3.0 interface with RAID 0 / RAID 1 / JBOD / BIG mode
3.5" SATA Screw-less Dual Bay RAID Enclosure
MB662U3-2SICYRaid

English Page 1~8
Deutsch Page 9~16
Français Page 17~24
Español Page 25~32
ᣣᧄ⺆ Page 33~40
㐕储Ё᭛ Page 41~48
ㅔԧЁ᭛ Page 49~56

2Front View of the Device
1Package Contents
MB662U3-2S Device User Manual
Power Adapter
USB 3.0 Cable
Power Cord
1
English
Front door panel
LED indicator
Aluminum Shell
Support pad
Drive eject button

2
English
3Back Panel Information
Note: Always ensure enough airflow around the enclosure for best performance.
86%
POWER
SAVE
LED
INDICATOR
OFF
JBOD RAID 0
BIG RAID 1
Fan Speed Control
Reset Button
Safety Key Lock
Power Switch
Power Port
USB 3.0 Cable
JBOD RAID 0
BIG RAID 1
JBOD RAID 0
BIG RAID 1
JBOD RAID 0
BIG RAID 1
JBOD RAID 0
BIG RAID 1
RAID Mode Selections
RAID 0
(FAST) RAID 1
(SAFE)
JBOD BIG
ON (DEFAULT) OFF
LED Indicator Switch
Power Saving Mode
Switch Disable power saving
mode
Turn on LED indicators
When the system goes to sleep
mode or has been powered off,
the enclosure will automatically
go to sleep mode. The exception
is while the data is rebuilding.
Turn off LED indicators

4Drive Installation
1.Press the button located on
top of the unit to open the
front panel.
2.The front door panel will pop
and eject partially
3.Insert the hard drive in the correct position, and then close the front panel.
SATA 7 + 15 PIN
connector
3
English

4.Push to close the front panel until a "click"
sound is audible, indicating the panel is
locked in securely.
5.Connect the power adapter to
the unit and plug the interface
cable one end to the unit one
end to the PC or Mac.
4
English
1. Insert two hard drives into the enclosure, select the preferred interface, plug
in the interface cable, connect the power adapter to the enclosure, and then
turn on the power. The RAID mode is set default to JBOD.
2. Select the preferred RAID by using the RAID switch located on the back of
the enclosure.
3. Press the “Reset” button once, wait until the front white LED flashes, and the
RAID mode change has been completed.
4. Reformatting the hard drive(s): delete the old drive partition(s) (if applicable)
and recreate the new drive partition(s).
The device is factory preset to JBOD mode (system will recognized as two
individual volumes). If you wish to only change the RAID mode, please skip
step 1 and go directly to step 2. Verify the device is powered on while
changing the RAID mode.
5Using the RAID Mode
Warning: All data will be lost when the RAID mode is changed.
Power Adapter
USB 3.0 Cable

6LED Status Indicators
BIG (Concatenation): The two physical drives are combined so that one single yet
larger logical volume mounts on the desktop, offering maximum possible capacity
(the available capacities of each disk are combined).
7About RAID Mode
Note: If one physical disk fails, the data on both disks will become inaccessible. If you
are concerned about data security, we highly recommend using Safe configuration
(RAID 1 mode).
JBOD (Non-Raid): The two physical disks are read as two independent hard drives
in a single housing. Therefore, the computer will show two separate drives.
JBOD
JBOD RAID 0
BIG RAID 1
BIG
JBOD RAID 0
BIG RAID 1
LED Indicators
HDD Access Flashing white LED
HDD Fail Solid red LED
Empty Bay Solid red LED
Solid white LED
RAID Status
Rebuilding (RAID 1)
Verifying or Confirmation Flashing white LED then turn off
5
English

RAID 0 (FAST): The two physical drives are stripped together so that one larger
logical volume mounts on the desktop. Storage capacity equals twice the capacity
of the smaller hard drive (the available capacities of each disk are combined) yet
with greater speed than the Big mode (the speed of each disk runs faster to a
certain level).
RAID 1 (SAFE): The two physical drives are “mirrored” so that one single logical
volume mounts on the desktop. All of the data on one drive will be recoverable
from the other drive (the available capacity of one drive cannot exceed the
available capacity of the other drive).
Note: If one physical disk fails, the data on both disks will become inaccessible. If you
are concerned about data security, we highly recommend using Safe
configuration (RAID 1 mode).
JBOD RAID 0
BIG RAID 1
RAID 0
JBOD RAID 0
BIG RAID 1
RAID 1
HDD 1
Default source drive
HDD 2
Default target drive
6
English

8Important Info
1. It is recommended to use identical brand new hard drives for any RAID array,
if you are using hard drives that have been used in a RAID before, you must
first remove the previous data and restore the hard drive to factory settings in
order to prevent any RAID mode failure.
2. WD (Western Digital) Desktop hard drives do not support RAID modes. Only
enterprise-type hard drive (Enterprise edition) can operate in RAID mode, for
more details please refer to WD’s official website.
3. Windows XP 32Bit currently supports up to 2TB hard drive capacity, if the
drive capacity is over 2TB under any RAID mode, the system may not able
to detect the capacity correctly.
4. This enclosure supports S.M.A.R.T functionality and sleep mode.
2. RAID 1 is not suggested for hard drive duplication, please do not switch the drive
order in any RAID mode. It is recommended to use the identical hard drive to ensure
stability and performance. Removing or changing any hard drive in RAID 1 while in
operation may result in data loss.
3. Do not replace both drives in any RAID mode, as both drives will cause the
enclosure to rewrite the RAID table. Once this done, the original drives will no
longer function in RAID 1 array.
4. It is normal that the enclosure will perform the data rebuilding verification after
swapping one of the hard drives when using RAID 1. The verification process may
vary depending on the hard drive’s specifications. It usually takes about an hour to
verify a 100GB capacity.
1. While setting up RAID 1, the hard drive will recognize HDD 1 as the source drive,
HDD 2 as the target drive. If one of the hard drives is to malfunction, simply
remove the malfunctioning hard drive and insert a new identical hard drive (while the
enclosures power is on). The new drive inserted will become the target drive. The
remaining working hard drive will become the source drive.
6. While replacing the malfunctioning hard drive in RAID 1 mode, check the error
indicator light to see which drive has failed and remove the drive from the enclosure.
Then insert the new identical hard drive while the enclosures power is on, close the
front door panel and the error indicator will disappear in a few seconds. After this is
done, the enclosure will then start the rebuilding process.
5. In RAID 1 mode, if one of the drives fails, or has been removed from the enclosure,
the data will become inaccessible until a working HDD has been inserted.
7
English
8
English
Caution: Changing RAID settings will erase data on the hard drive and cannot be
restored. If there's existing data on the hard drive, please back up the data
first then setup the RAID.
For more product information, please visit http://www.icydock.com
5. iSMART monitoring software is available to check hard drive information under
for the windows system. It is available from our website HYPERLINK
"http://www.icydock.com"www.icydock.com. Please go to the MB662U3-2S
product page to download the software. Please see below for the software
installation steps:
b. Install the enclosure to the Windows computer, and after the enclosure has
been detected correctly by the Windows OS, double click the desktop shortcut.
iSMART then will display a window as shown below:
Hard drive information will be displayed under “Disk Information / S.M.A.R.T.
Information / RAID Setting”
a. Double click the setup file:
Please follow next instruction steps to install the software, the shortcut will be
created to the desktop after installation is complete.

1Packungsinhalt
MB662U3-2S
Netzteil Stromkabel
Anleitung USB 3.0 Kabel
2Frontansicht
9
Deutsch
Frontklappen
LED-Anzeige
Aluminiumgehäuse
Standfüße
Auswurftasten

10
Deutsch
Hinweis: Stellen Sie sicher, dass das Gehäuse stets mit genügend Luft versorgt wird,
um eine optimale Leistung zu garantieren.
3Rückansicht
86%
POWER
SAVE
LED
INDICATOR
OFF
JBOD RAID 0
BIG RAID 1
Lüftersteuerung
Stromanschluss
Reset-Knopf
Ein- / Ausschalter
USB 3.0 Kabel
Öffnung für
Sicherheitsschloss
JBOD RAID 0
BIG RAID 1
JBOD RAID 0
BIG RAID 1
JBOD RAID 0
BIG RAID 1
JBOD RAID 0
BIG RAID 1
RAID 0
(FAST) RAID 1
(SAFE)
JBOD BIG
Auswahl des RAID-Modus
AUS
LED-Schalter
Stromsparmodus-
Schalter Stromsparmodus
ausgeschaltet
LED-Anzeige eingeschaltet
Wenn das System in den
Schlafmodus wechselt oder
ausgeschaltet wird, wechselt
das Gehäuse automatisch in
den Schlafmodus. Eine
Ausnahme bildet der
RAID-Aufbau.
LED-Anzeige
ausgeschaltet
EIN (STANDARD)

7-Pin SATA + 15-Pin
SATA Stromanschluss
1. Drücken Sie die Tasten auf der
Oberseite des Gehäuses um die
Frontklappen zu öffnen.
3. Setzen Sie die Laufwerke in der korrekten Position ein und schließen Sie
die Klappen.
2. Die Frontklappen springen
heraus und öffnen sich
teilweise.
4Laufwerksinstallation
11
Deutsch

USB 3.0 Kabel
Netzteil
4. Drücken sie die Frontklappen bis
Sie ein“Klick”-Geräusch vernehmen. 5. Verbinden Sie das Netzteil mit
dem Gerät und schließen Sie
das Datenkabel an das
Gehäuse auf der einen, und
den PC oder Mac auf der
anderen Seite an.
12
Deutsch
5Verwendung von RAID
1. Setzen Sie zwei Festplatten in dem Gehäuse ein, schließen Sie das Datenkabel
sowie das Netzteil an, und schalten Sie einschließend das Gehäuse ein.
Werkseitig ist der JBOD-Modus voreingestellt.
2. Wählen Sie mittels des rückseitigen Schalters den bevorzugten RAID-Modus
aus.
3. Drücken Sie einmalig die Reset-Taste, warten Sie bis die Front-LED weiß
aufblinkt. Der Wechsel des RAID-Modus ist nun abgeschlossen.
4. Reformatieren der Festplatte(n): Löschen Sie alte Partitionen (falls vorhanden)
und erstellen Sie neue Partitionen.
Das Gerät ist von Werk aus auf den JBOD-Modus (System erkennt zwei individuelle
Volumen) eingestellt. Wenn Sie nur den RAID-Modus ändern möchten überspringen
Sie Schritt 1 und gehen direkt zu Schritt 2. Stellen Sie sicher, dass das Gerät
eingeschaltet während Sie den RAID-Modus wechseln.
Warnung: Wenn der RAID-Modus geändert wird, werden alle Daten gelöscht.

JBOD
JBOD RAID 0
BIG RAID 1
BIG
JBOD RAID 0
BIG RAID 1
RAID-Status
HDD-Zugriff Weiß blinkende LED
Rote LED
Rote LED
Weiße LED
Weiß blinkende LED, danach LED aus
Leerer Festplattenschacht
Festplatten-Fehler
RAID-Aufbau (RAID 1)
Verifizierung / Bestätigung
LED-Anzeige
JBOD (Non-RAID): Zwei physische Laufwerke werden als zwei unabhängige
Laufwerke erkannt. Der Computer zeigt zwei getrennte Laufwerke an.
BIG (Verknüpfung): Zwei physische Laufwerke werden kombiniert, sodass ein großes,
logisches Volumen auf dem Desktop angezeigt wird. Dieser Modus bietet die
größtmögliche Speicherkapazität.(Die Kapazitäten beider Laufwerke werden kombiniert)
Hinweis: Falls ein physisches Laufwerk ausfällt, kann auf die Daten beider Laufwerke
nicht mehr zugegriffen werden. Wenn Sie sich um die Sicherheit Ihrer Daten
sorgen empfehlen wir Ihnen den RAID 1 Modus.
6LED-Statusanzeige
7RAID-Modi
13
Deutsch

14
Deutsch
JBOD RAID 0
BIG RAID 1
RAID 0
JBOD RAID 0
BIG RAID 1
RAID 1
RAID 1 (SAFE): Die zwei physischen Laufwerke werden “gespiegelt”, sodass
ein logisches Volumen auf dem Desktop angezeigt wird. Alle Daten eines
Laufwerks können von dem anderen Laufwerk wiederhergestellt werden.
(Die verfügbare Kapazität eines Laufwerks kann die Kapazität des anderen Laufwerks nicht
übersteigen)
RAID 0 (FAST): Die beiden physischen Laufwerke werden im “Striping”-Verfahren
kombiniert, sodass ein großes, logisches Volumen auf dem Desktop angezeigt
wird. Die Speicherkapazität entspricht der doppelten Kapazität des kleineren
Laufwerks, die Geschwindigkeit ist allerdings höher als im BIG-Modus.
Hinweis: Falls ein physisches Laufwerk ausfällt, kann auf die Daten beider Laufwerke
nicht mehr zugegriffen werden. Wenn Sie sich um die Sicherheit Ihrer Daten
sorgen empfehlen wir Ihnen den RAID 1 Modus.
HDD 2
Standard-Ziellaufwerk HDD 1
Standard-Quelllaufwerk

1. Während der Einrichtung von RAID 1, erkennt das Gehäuse HDD 1 als
Quelllaufwerk und HDD 2 als Ziellaufwerk. Sollte eine der beiden Festplatten
eine Fehlfunktion erleiden, so entnehmen Sie einfach die defekte Festplatte und
ersetzen sie durch eine neue, identische Festplatte (während das Gehäuse eingeschaltet ist).
Das neu eingesetzte Laufwerk wird so zum Ziellaufwerk. Das ursprünglich
verbliebene Laufwerk wird zum Quelllaufwerk.
2. Die Verwendung des RAID 1 Modus zur Festplattenduplikation wird nicht empfohlen.
Bitte ändern Sie in keinem RAID-Modus Die Laufwerksreihenfolge. Es wird
empfohlen identische Laufwerke zu verwenden um Stabilität und Leistung zu
garantieren.Das Entfernen oder Wechseln einer Festplatte während des Betriebs im
RAID 1 Modus kann zu einem Datenverlust führen.
3. Ersetzen Sie nicht beide Laufwerke gleichzeitig da das Gerät hierdurch den
RAID-Verbund neu aufbaut. Sobald das geschieht werden die ursprünglichen
Laufwerke nicht mehr in dem RAID 1 Verbund lesbar sein.
4. Es ist normal, dass das Gehäuse im RAID 1 Modus nach dem Wechsel eines
Laufwerks den RAID-Aufbau neu verifiziert. Der Verifikations-Prozess kann je nach
den Laufwerksspezifikationen unterschiedlich lange dauern. Für gewöhnlich wird für
die Verifizierung von 100GB Speicherkapazität circa eine Stunde benötigt.
5. Im RAID 1 Modus kann im Falle eines Laufwerksausfalls solange nicht auf die Daten
zugegriffen werden bis ein e funktionsfähige HDD eingesetzt wurde.
6. Kontrollieren Sie im Falle einer defekten Festplatte die LED-Anzeige um festzustellen
welches Laufwerk betroffen ist . Entnehmen Sie diese anschließend. Setzen Sie ein
neues, identisches Laufwerk ein, während das Gehäuse eingeschaltet ist.
Die LED sollte wenige Sekunden nachdem Sie die Frontklappe geschlossen haben
keinen Fehler mehr anzeigen. Anschließend beginnt das Gerät mit dem
Wiederaufbau des RAID-Verbunds.
15
Deutsch
8Wichtige Informationen
1. Es wird empfohlen neue, identische Festplatten in einem RAID-Verbund zu
verwenden. Wurden die Festplatten die zuvor schon in einem RAID-Verbund
verwendet wurden so formatieren Sie diese und setzen sie auf den
Fabrikzustand zurück um eventuelle RAID-Fehler zu verhindern.
2. WD (Western Digital) Desktop-Festplatten unterstützen die RAID-Funktion nicht,
nur professionelle WD Festplatten der Enterprise Edition unterstützen RAID.
Für weitere Details konsultieren Sie bitte die offizielle Western Digital Website.
3. Windows XP 32Bit unterstützt derzeit nur Laufwerke bis zu einer Kapazität von
2TB. Das System ist unter Umständen nicht in der Lage Laufwerke mit einer
Kapazität von mehr als 2TB korrekt zu erkennen - unabhängig von dem
gewählten RAID-Modus.
4. Dieses Gehäuse unterstützt das Auslesen von S.M.A.R.T.-Werten und verfügt
über einen Stromsparmodus.

16
Deutsch
Für weitere Produktinformationen besuchen Sie bitte http://www.icydock.de
Achtung: Eine Änderung der RAID-Einstellungen wird die Daten auf den Festplatten
löschen. Diese Daten können nicht wiederhergestellt werden. Sind bereits
Daten auf den Laufwerken gespeichert so sichern Sie diese bitte zuvor.
5. Für Windows Betriebssysteme steht Ihnen die iSMART Software zur Verfügung
mit der Laufwerksinformationen kontrollieren können. Gehen Sie unter
http://www.icydock.de auf die MB662U3-2S Produktseite um das Programm
herunterzuladen. Für die Installation folgen Sie den nächsten Schritten:
b. Schließen Sie das Gehäuse an Ihren Windows Computer an. Nachdem dieses
korrekt von Windows erkannt wurde doppelklicken Sie auf die Verknüpfung auf
Ihrem Arbeitsplatz. iSMART öffnet ein wie untenstehend abgebildetes Fenster:
Festplatten-Informationen werden unter "Disk Information / S.M.A.R.T.
Information / RAID Setting" angezeigt.
a. Doppelklicken Sie auf die Setup-Datei:
Folgen Sie den Anweisungen um die Software zu installieren. Nach der
erfolgreichen Installation wird eine Verknüpfung zu dem Programm auf Ihrem
Arbeitsplatz angelegt.

Produit Manuel d'utilisation
Adaptateur d'alimentaiton Câble d'alimentaiton
Câble USB 3.0
2Vue de face du produit
1Contenu
17
Français
Porte avant
Indicateur LED
Coque en aluminium
Pieds
Bouton d'ejection du disque

18
Français
3Vue arrière du produit
Remarque :Pour de meilleurs performances, veillez à garder à votre boîtier une
bonne ventilation externe.
JBOD RAID 0
BIG RAID 1
JBOD RAID 0
BIG RAID 1
JBOD RAID 0
BIG RAID 1
JBOD RAID 0
BIG RAID 1
Selection mode RAID
RAID 0
(FAST) RAID 1
(SAFE)
JBOD BIG
Contrôleur de vitesse
du ventilateur
Câble USB 3.0
Bouton d'alimentation
Clé de vérouillage
de sécurité
Port d'alimentation
Bouton reset
ON (DEFAULT) OFF
Commutateur de
mode d'économie
d'énergie
Désactiver le mode
économie d'énergie
Lorsque le système passe en
mode veille ou a été mis hors
tension, le boîtier se met
automatiquement en mode
veille. La seule exception est
lorsque les données sont à
reconstruire.
Commutateur
d'indicateur de LED Allume indicateurs LED Eteint indicateurs LED
86%
POWER
SAVE
LED
INDICATOR
OFF
JBOD RAID 0
BIG RAID 1
Table of contents
Languages:
Other Icy Dock Enclosure manuals

Icy Dock
Icy Dock ToughArmor MB508SP-B User manual

Icy Dock
Icy Dock ToughArmor User manual

Icy Dock
Icy Dock MB662UEAB-2S User manual

Icy Dock
Icy Dock Black Vortex User manual

Icy Dock
Icy Dock MB672SKGF User manual

Icy Dock
Icy Dock MB662USEB-2S-1 User manual

Icy Dock
Icy Dock MB561U3S-4S R1 User manual

Icy Dock
Icy Dock MB882HX-1SB User manual

Icy Dock
Icy Dock ToughArmor MB991U3-1SB User manual

Icy Dock
Icy Dock MB122AKGF User manual