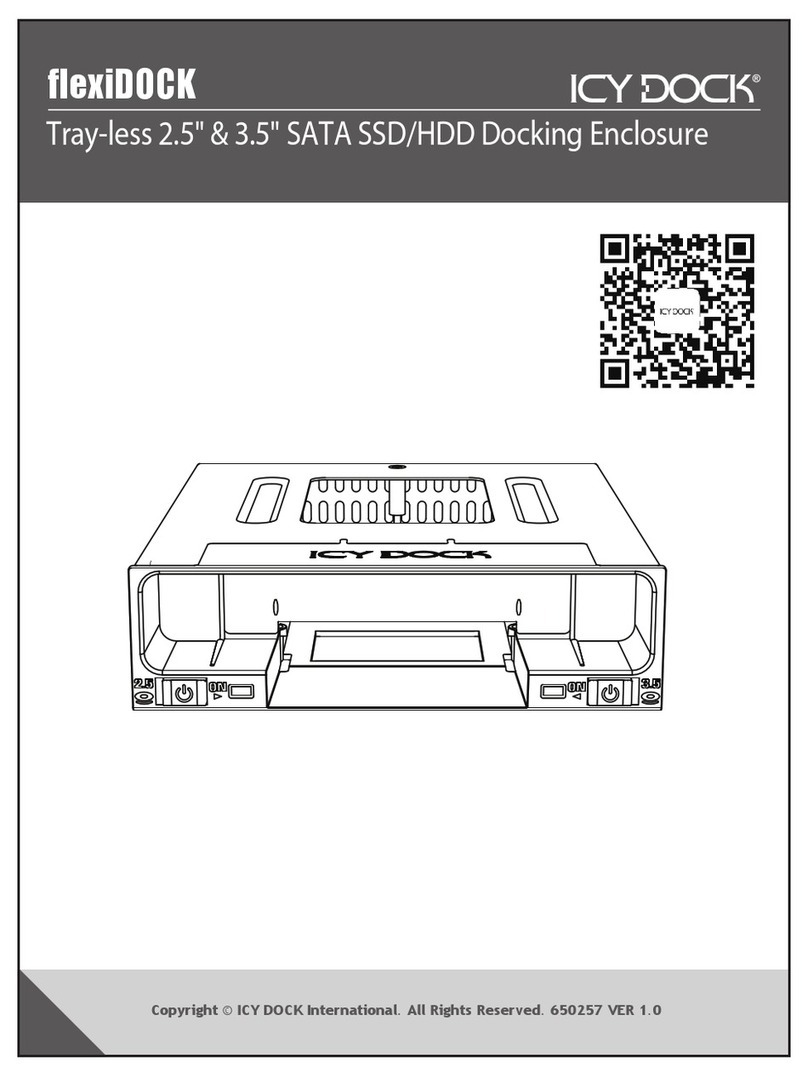
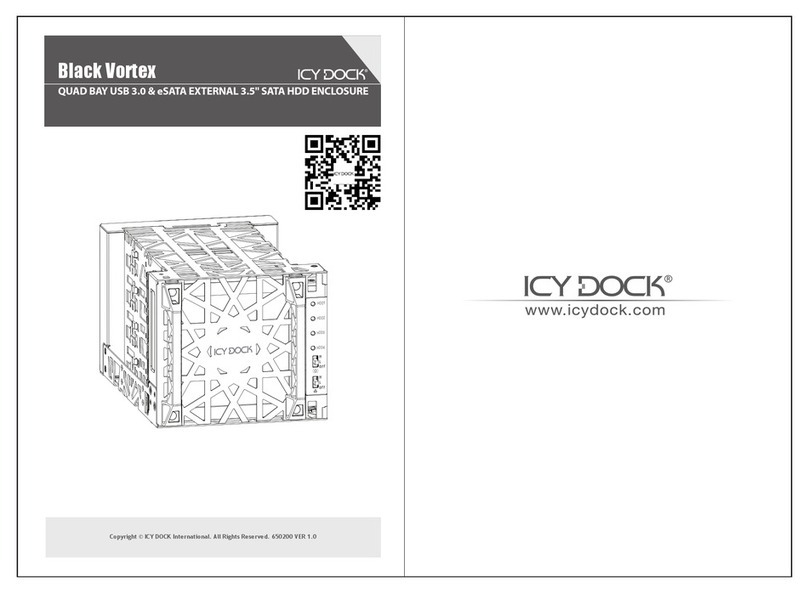
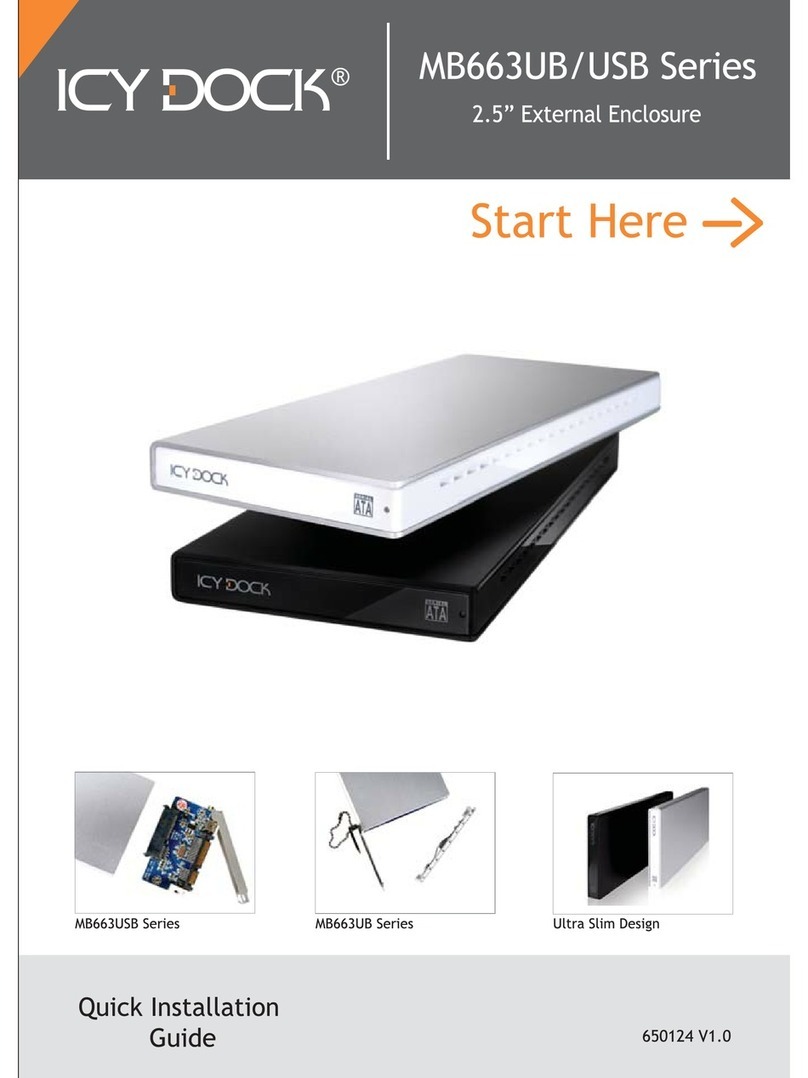
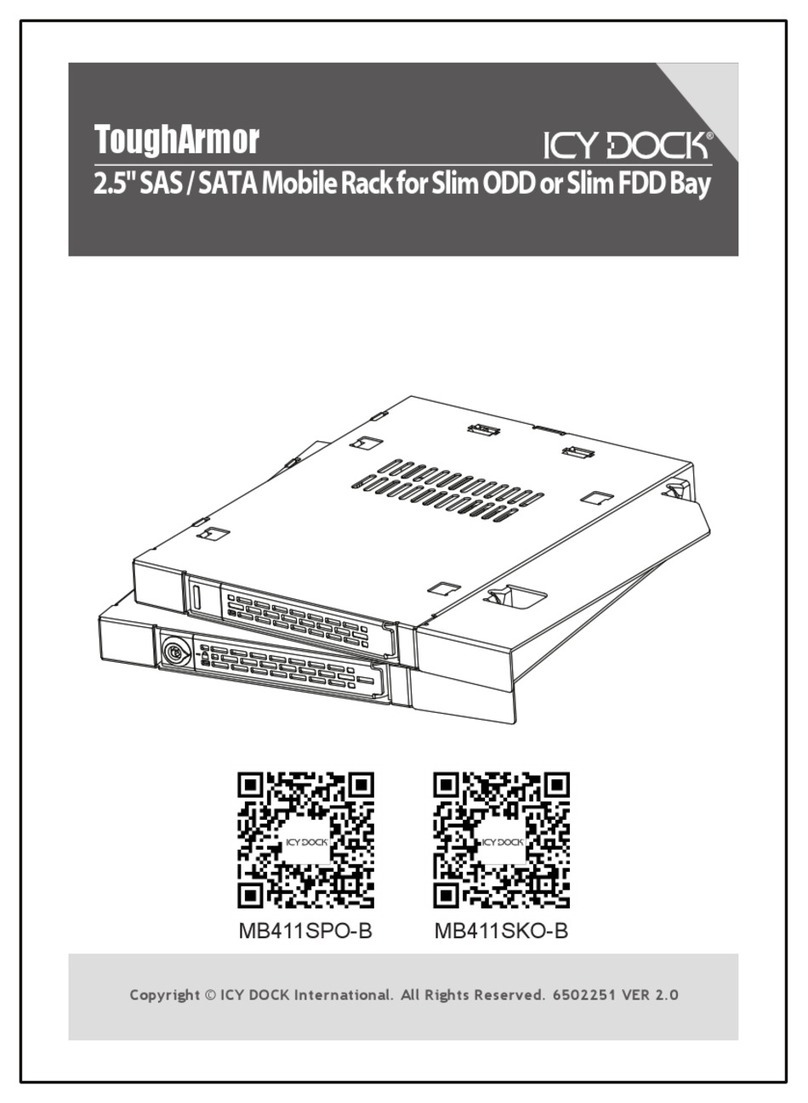
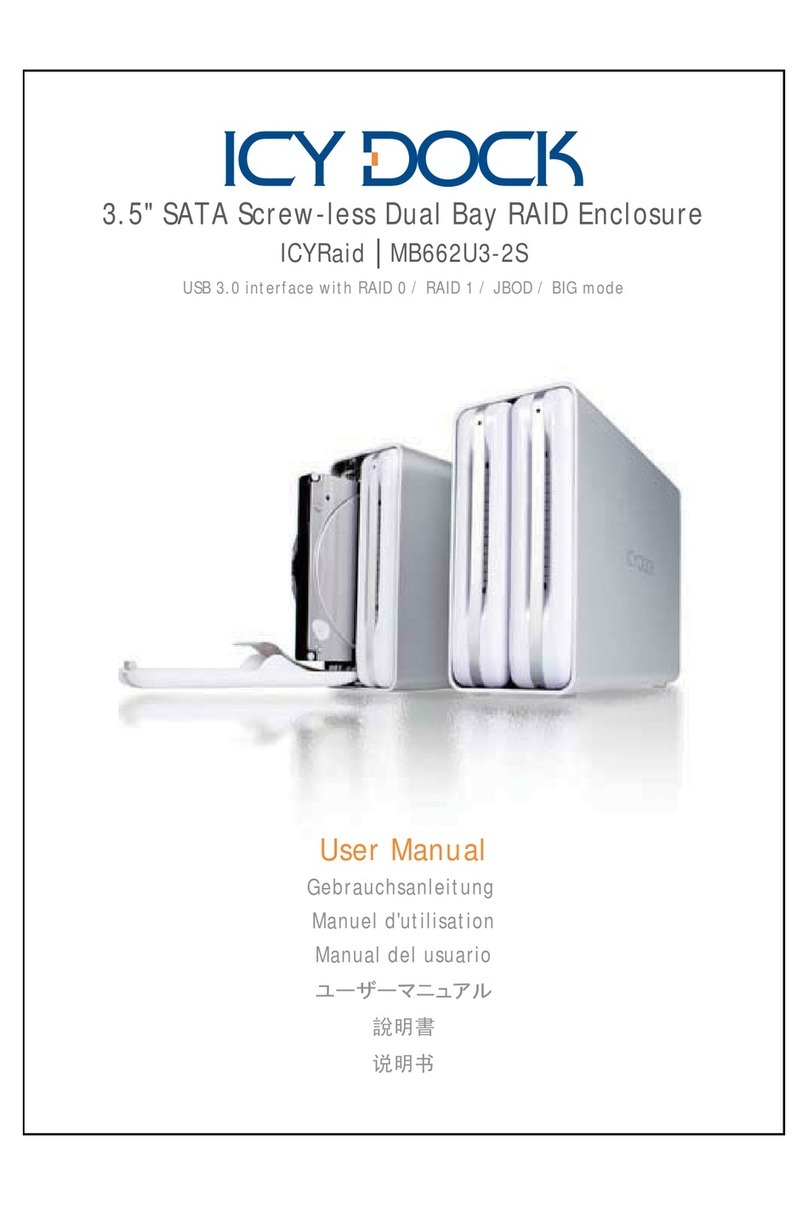
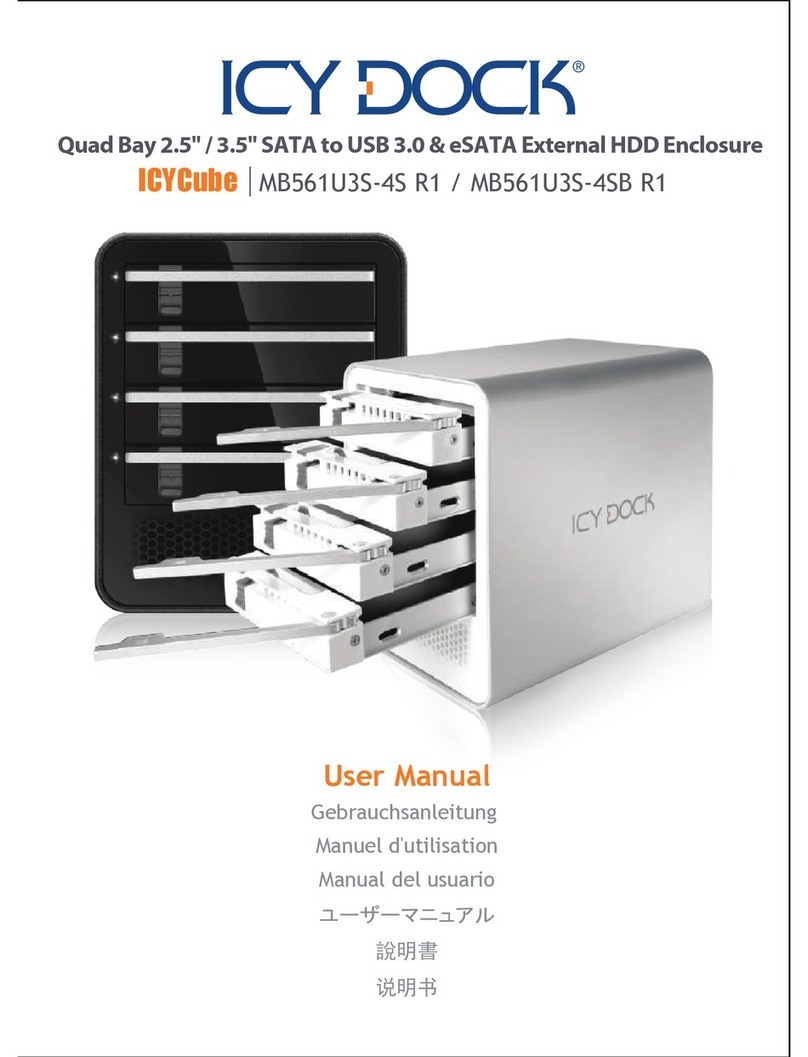
Icy Dock MB662U3-2S R1 User manual

User Manual
Gebrauchsanleitung
䊡䊷䉱䊷䊙䊆䊠䉝䊦
䁾ᯢ
䇈ᯢк
Manuel d'utilisation
Manual del usuario
USB 3.0 interface with RAID 0 / RAID 1 / BIG / JBOD mode
3.5" SATA Tool-less Dual Bay RAID Enclosure
MB662U3-2S R1ICYRaid

English Page 1~8
Deutsch Page 9~16
Français Page 17~24
Español Page 25~32
ᣣᧄ⺆ Page 33~40
㐕储Ё᭛ Page 41~48
ㅔԧЁ᭛ Page 49~56

2Front View of the Device
1Package Contents
Device User Manual
Power Adapter
USB 3.0 Cable
Power Cord
1
English
Front door panel
Drive activity LED indicators
Aluminum shell
Support pads
Drive eject buttons

4Drive Installation
1. Press the button located on the
top of the unit to open the front
door panel.
2. The front door panel will pop
and eject partially.
2
English
3Back Panel Information
Fan Speed Control
Rebuild LED
Indicator
Reset Button
Safety Key Lock
Power Switch
Power Port
USB 3.0 Cable
JBOD RAID 0
BIG RAID 1
JBOD RAID 0
BIG RAID 1
JBOD RAID 0
BIG RAID 1
JBOD RAID 0
BIG RAID 1
RAID Mode Selections
RAID 0
(FAST)
RAID 1
(SAFE)
JBOD BIG
LED
INDICATOR
OFF
JBOD RAID 0
BIG RAID 1
Rebuild
ON (Default)
OFF
LED Indicator ON / OFF Switch
Turn on LED indicators
Turn off LED indicators

3. Insert the hard drive in the correct position, insert the drive by slowly pushing
the drive in and closing the front door panel at the same time.
3
English
4. Push to close the front panel until a
"click" sound is audible, indicating
the panel is locked in securely.
5. Connect the power adapter to the
unit. Plug the included USB 3.0
cable to the unit and other end to
PC or Mac. ( Note: the default mode is
preset to JBOD mode. To change RAID
modes, please refer to Section 5 - Using
the RAID Mode.)
Power Adapter
USB 3.0 Cable
USB
3.0
Note: Always ensure enough airflow around the enclosure for best performance.
SATA 7 + 15 PIN
connector

4
English
1. Insert two hard drives into the enclosure, plug in the USB 3.0 cable, connect the
power adapter to the enclosure, and then turn on the power. The RAID mode is
set default to JBOD.
2. Select the preferred RAID mode by using the RAID switch located on the back of
the enclosure.
3. Press the "Reset" button located on the back of the device for at least 3 seconds
until the front white LED indicator flashes then release. The white LED indicator
will become solid white once the RAID mode change has been completed.
4. Reformatting the hard drive(s): delete the old drive partition(s) (if applicable)
and recreate new drive partition(s).
The device is factory preset to JBOD mode (system will recognize the two drives as
two individual volumes). If you wish to only change the RAID mode, please skip step
1 and go directly to step 2. Verify the device is powered on while changing the RAID
mode.
5Using the RAID Mode
Caution: Changing RAID settings permanently erase any erase data on the hard drive
and cannot be restored. If there are existing data on the hard drive, please
back up the data first then setup the RAID.
6LED Status Indicators
LED Indicators
HDD(s) in Bay
Back Panel LED
Front Panel LEDs
No light
RAID Status
RAID Rebuilding
RAID Rebuild Completed
No Light
HDD Access
HDD Fail
Empty Bay
Verifying or Confirmation
Flashing white LED
Flashing white LED
Flashing white LED
Solid red LED
Solid white LED

BIG
(Concatenation)
: The two physical drives are combined so that one single yet
larger logical volume mounts on the desktop, offering maximum possible capacity
(the available capacities of each disk are combined)
.
7About RAID Mode
Note: If one physical disk fails, the data on both disks will become inaccessible. If you
are concerned about data security, we highly recommend using Safe configuration
(RAID 1 mode).
JBOD
(Non-Raid)
: The two physical disks are read as two independent hard drives
in a single housing. Therefore, the computer will show two separate drives.
JBOD
JBOD RAID 0
BIG RAID 1
BIG
JBOD RAID 0
BIG RAID 1
5
English
RAID 0 (Fast): The two physical drives are stripped together so that one larger
logical volume mounts on the desktop. Storage capacity equals twice the capacity
of the smaller hard drive (the available capacities of each disk are combined) yet with
greater speed than the Big mode (the speed of each disk runs faster to a certain level).
Note: If one physical disk fails, the data on both disks will become inaccessible. If you
are concerned about data security, we highly recommend using Safe
configuration (RAID 1 mode).
JBOD RAID 0
BIG RAID 1
RAID 0
Note: Due to the chipset designs, removing or inserting any hard drives in JBOD mode
the unit will be refreshed. Please make sure that data transfers are completed
before changing any HDD while in operation to prevent data loss.

RAID 1 (Safe): The two physical drives are “mirrored” so that one single logical
volume mounts on the desktop. All of the data on one drive will be recoverable
from the other drive (the available capacity of one drive cannot exceed the available capacity
of the other drive).
JBOD RAID 0
BIG RAID 1
RAID 1
HDD 1
Default source drive
HDD 2
Default target drive
6
English
2. It is normal that the enclosure will perform the data rebuilding verification after
swapping one of the hard drives when using RAID 1. The rebuilding verification
process time may vary depending on the hard drive’s specifications. It usually
takes about an hour to verify/rebuild a 100GB capacity.
3. Do not replace both drives in any RAID mode, as both drives will cause the
enclosure to rewrite the RAID table. Once this done, the original drives will no
longer function in RAID 1 array.
4. RAID 1 is not suggested for hard drive duplication, please do not switch the drive
order in any RAID mode. It is recommended to use the identical hard drive to
ensure stability and performance. Removing or changing any hard drive in RAID 1
while in operation may result in data loss.
1. While setting up RAID 1, the hard drive will recognize HDD 1 as the source drive,
HDD 2 as the target drive. If one of the hard drives malfunctions, check the error
indicator light in the front to see which drive has failed. Simply remove the
malfunctioning hard drive from the enclosure, then insert a new identical hard drive
while the enclosure is powered on. Close the front panel along with the new drive
and the error indicator light will disappear in a few seconds. After replacing a new
drive, the rebuilding process will start promptly. The new drive will become the new
target drive while the remaining working hard drive will become the source drive.
Note: In case both drives fail at the same time, it is recommended to backup any stored
data onto another HDD periodically for extra security.
7
English
9UASP Function
This device supports UASP function, please make sure that both your hardware
components and operation system support UASP function in order to work properly
(Min OS requirements: Windows 8 or Mac OS 8 & up).
For Windows 8 users, you can verify the UASP status by entering into device
manager storage controller and look for UAS storage device. If it is not listed
then your computer does not supports UASP function.
BIG
RAID 1
RAID 0
JBOD
8RAID Monitoring Software
b. Different RAID modes will display differently (See below):
a. Please verify that the software is installed correctly, then double click to launch.
ICY DOCK HW
RAID Manager
The RAID monitoring software supports both Windows and Mac OS, please visit
http://icydock.com and download the software from the product page, located at
Support & Download section.

8
English
10 Important Info
2. It is recommended to use identical brand new hard drives for any RAID array,
if you are using hard drives that have been used in a RAID before, you must
first remove the previous data and restore the hard drive to factory settings in
order to prevent any RAID mode failure.
1. While creating or changing RAID mode, the chipset will automatically erase any
data previously stored in the drives. Please be sure to backup any data before
setting up RAID modes to prevent data loss.
3. You cannot exchange the RAID array created by this device with different RAID
enclosures. The IC chipset and firmware must be the same otherwise it may cause
data loss. If the product malfunctions, please contact our customer support.
For most reliable RAID performance, it is recommended to use Enterprise grade
hard drives to configure RAID 0 / RAID 1 modes.
For more product information, please visit http://www.icydock.com

1Packungsinhalt
HDD-Gehäuse
lebakmortSlietzteN
Anleitung USB 3.0 Kabel
2Frontansicht
9
Deutsch
Frontklappen
LED-Anzeige
Aluminiumgehäuse
Standfüße
Auswurftasten

1. Drücken Sie die Frontklappen
herein, bis Sie ein "Klick-Geräusch"
vernehmen.
2. Die Frontklappen springen
heraus und öffnen sich
teilweise.
4Laufwerksinstallation
10
Deutsch
3Rückansicht
Lüftersteuerung
Neuaufbaulichtanzeige
(LED)
Reset-Knopf
Öffnung für
Sicherheitsschloss
Ein- / Ausschalter
Stromanschluss
USB 3.0 Kabel
JBOD RAID 0
BIG RAID 1
JBOD RAID 0
BIG RAID 1
JBOD RAID 0
BIG RAID 1
JBOD RAID 0
BIG RAID 1
Auswahl des RAID-Modus
RAID 0
(FAST)
RAID 1
(SAFE)
JBOD BIG
LED
INDICATOR
OFF
JBOD RAID 0
BIG RAID 1
Rebuild
EIN (STANDARD)
AUS
LED-Schalter
LED-Anzeige
eingeschaltet
LED-Anzeige
ausgeschaltet

11
Deutsch
4. Drücken sie die Frontklappen
bis Sie ein“Klick”-Geräusch
vernehmen.
5. Verbinden Sie das Netzteil mit dem
Gerät und schließen Sie das
Datenkabel an das Gehäuse
auf der einen, und den PC oder
Mac auf der anderen Seite an.
(Hinweis: Per Standard ist der JBOD-Modus
voreingestellt. Hinweise zur Änderung der
RAID-Modi finden Sie in Abschnitt
5 - Verwendung der RAID-Modi.)
Hinweis: Stellen Sie sicher, dass das Gehäuse stets mit genügend Luft versorgt wird,
um eine optimale Leistung zu garantieren.
Netzteil
USB 3.0 Kabel
USB
3.0
3. Setzen Sie die Laufwerke in der korrekten Position ein und schließen Sie
die Klappen.
7-Pin SATA + 15-Pin
SATA Stromanschluss

12
Deutsch
6LED-Statusanzeige
LED-Anzeige
Festplatte(n) im Einschub
LED an der
Rückseite
LEDs an der
Vorderseite
LED aus
LED aus
RAID-Status
RAID wird neu aufgebaut
RAID-Neuaufbau abgeschlossen
HDD-Zugriff
Festplatten-Fehler
Leerer Festplattenschacht
Verifizierung / Bestätigung
Weiß blinkende LED
Weiß blinkende LED
Weiß blinkende LED
Rote LED
Weiße LED
5Verwendung der RAID-Modi
1. Setzen Sie zwei Festplatten in dem Gehäuse ein, schließen Sie das Datenkabel
sowie das Netzteil an, und schalten Sie einschließend das Gehäuse ein. Werkseitig
ist der JBOD-Modus voreingestellt.
2. Wählen Sie mittels des rückseitigen Schalters den bevorzugten RAID-Modus aus.
3. Halten Sie die “Reset”-Taste an der Rückseite des Geräts mindestens 3
Sekunden lang gedrückt, bis die weiße Lichtanzeige (LED) an der Vorderseite
blinkt, und lassen Sie sie dann los. Die weiße Lichtanzeige (LED) leuchtet
durchgehend weiß, sobald sich der RAID-Modus erfolgreich geändert hat.
4. Reformatieren der Festplatte(n): Löschen Sie alte Partitionen (falls vorhanden)
und erstellen Sie neue Partitionen.
Das Gerät ist von Werk aus auf den JBOD-Modus (System erkennt zwei individuelle
Volumen) eingestellt. Wenn Sie nur den RAID-Modus ändern möchten überspringen
Sie Schritt 1 und gehen direkt zu Schritt 2. Stellen Sie sicher, dass das Gerät
eingeschaltet während Sie den RAID-Modus wechseln.
Achtung: Eine Änderung der RAID-Einstellungen wird die Daten auf den Festplatten
löschen. Diese Daten können nicht wiederhergestellt werden. Sind bereits
Daten auf den Laufwerken gespeichert so sichern Sie diese bitte zuvor.

BIG
JBOD RAID 0
BIG RAID 1
BIG (Verknüpfung): Zwei physische Laufwerke werden kombiniert, sodass ein großes,
logisches Volumen auf dem Desktop angezeigt wird. Dieser Modus bietet die
größtmögliche Speicherkapazität.(Die Kapazitäten beider Laufwerke werden kombiniert)
Hinweis: Falls ein physisches Laufwerk ausfällt, kann auf die Daten beider Laufwerke
nicht mehr zugegriffen werden. Wenn Sie sich um die Sicherheit Ihrer Daten
sorgen empfehlen wir Ihnen den RAID 1 Modus.
JBOD
JBOD RAID 0
BIG RAID 1
JBOD (Non-Raid): Zwei physische Laufwerke werden als zwei unabhängige
Laufwerke erkannt. Der Computer zeigt zwei getrennte Laufwerke an.
Hinweis: Aufgrund des Chipsatzdesigns aktualisiert sich das Gerät, wenn Festplatten im
JBOD-Modus entfernt oder eingefügt werden. Achten Sie bitte darauf, dass
Datenübertragungen abgeschlossen sind, bevor Sie eine Festplatte während
des Betriebs austauschen, damit keine Daten verloren gehen.
7RAID-Modi
13
Deutsch
JBOD RAID 0
BIG RAID 1
RAID 0
RAID 0 (Fast): Die beiden physischen Laufwerke werden im “Striping”-Verfahren
kombiniert, sodass ein großes, logisches Volumen auf dem Desktop angezeigt
wird. Die Speicherkapazität entspricht der doppelten Kapazität des kleineren
Laufwerks, die Geschwindigkeit ist allerdings höher als im BIG-Modus.
Hinweis: Falls ein physisches Laufwerk ausfällt, kann auf die Daten beider Laufwerke
nicht mehr zugegriffen werden. Wenn Sie sich um die Sicherheit Ihrer Daten
sorgen empfehlen wir Ihnen den RAID 1 Modus.

14
Deutsch
HDD 2
Standard-Ziellaufwerk
HDD 1
Standard-Quelllaufwerk
3. Ersetzen Sie nicht beide Laufwerke gleichzeitig da das Gerät hierdurch den RAID-Verbund
neu aufbaut. Sobald das geschieht werden die ursprünglichen Laufwerke nicht mehr in dem
RAID 1 Verbund lesbar sein.
1. Während der Einrichtung von RAID 1 wird die Festplatte Nr. 1 als Quelllaufwerk und die
Festplatte Nr. 2 als Ziellaufwerk zugewiesen. Sollte eine der Festplatten Funktionsstörungen
aufweisen, ermitteln Sie anhand des Fehlerlichtanzeigers an der Vorderseite, welches
Laufwerk ausgefallen ist. Nehmen Sie die ausgefallene Festplatte einfach aus dem Gehäuse
heraus und fügen Sie eine neue, identische Festplatte ein, während das Gehäuse weiterhin
mit Strom versorgt wird. Schließen Sie die Vorderseite nach Einfügung des neuen Laufwerks
und der Fehlerlichtanzeiger wird nach wenigen Sekunden erlöschen. Gleich nach dem Einfügen
eines neuen Laufwerks beginnt der Neuaufbau. Das neue Laufwerk wird jetzt das neue
Ziellaufwerk, während die verbleibende Festplatte die Rolle des Quelllaufwerks übernimmt.
2. Es ist normal unter RAID 1, dass das Gehäuse nach dem Austausch einer der Festplatten
den Datenneuaufbau verifiziert. Die Dauer der Neuaufbauverifizierung variiert je nach den
Spezifikationen der Festplatte. Es dauert in der Regel eine Stunde, eine Kapazität von
100 GB zu verifizieren / neu aufzubauen.
4. Die Verwendung des RAID 1 Modus zur Festplattenduplikation wird nicht empfohlen. Bitte
ändern Sie in keinem RAID-Modus Die Laufwerksreihenfolge. Es wird empfohlen identische
Laufwerke zu verwenden um Stabilität und Leistung zu garantieren.Das Entfernen oder Wechseln
einer Festplatte während des Betriebs im RAID 1 Modus kann zu einem Datenverlust führen.
JBOD RAID 0
BIG RAID 1
RAID 1
RAID 1 (Safe): Die zwei physischen Laufwerke werden “gespiegelt”, sodass ein
logisches Volumen auf dem Desktop angezeigt wird. Alle Daten eines Laufwerks
können von dem anderen Laufwerk wiederhergestellt werden.
(Die verfügbare Kapazität eines Laufwerks kann die Kapazität des anderen Laufwerks nicht übersteigen)
Hinweis: Für den Fall, dass beide Laufwerke gleichzeitig ausfallen, wird zwecks
zusätzlicher Sicherheit empfohlen, gespeicherte Daten in regelmäßigen
Abständen auf einer anderen Festplatte zu sichern.

15
Deutsch
9UASP-Funktion
Dieses Gerät unterstützt die UASP-Funktion. Achten Sie daher bitte darauf, dass
Ihre Hardwarekomponenten und Ihr Betriebssystem die UASP-Funktion für eine
ungestörte Betriebsweise unterstützt (Mindestanforderungen für das
Betriebssystem: Windows 8 oder Mac OS 8 und aktueller).
Benutzer von Windows 8 können den UASP-Status durch Aufruf von Geräte-Manager
Speichercontroller verifizieren und dort nach dem UAS-Speichergerät suchen.
Sollte es nicht aufgelistet sein, unterstützt Ihr Computer die UASP-Funktion nicht.
BIG
RAID 1
RAID 0
JBOD
8RAID-Überwachungssoftware
Da die RAID-Überwachungssoftware die Betriebssysteme Windows und Mac
unterstützt, rufen Sie bitte http://icydock.com auf und laden Sie die Software auf der
Produktseite im Abschnitt Support & Download herunter.
b. Unterschiedliche RAID-Modi werden unterschiedlich angezeigt (Siehe unten):
a. Vergewissern Sie sich bitte, dass die Software richtig installiert ist und
doppelklicken Sie zu ihrer Ausführung auf .
ICY DOCK HW
RAID Manager

16
Deutsch
10 Wichtige Informationen
2. Es wird empfohlen neue, identische Festplatten in einem RAID-Verbund zu
verwenden. Wurden die Festplatten die zuvor schon in einem RAID-Verbund
verwendet wurden so formatieren Sie diese und setzen sie auf den
Fabrikzustand zurück um eventuelle RAID-Fehler zu verhindern.
3. Sie können das von diesem Geräte erstellte RAID-Array nicht durch andere
RAID-Gehäuse austauschen. Der IC-Chipsatz und die Firmware müssen gleich
bleiben, denn sonst droht ein Datenverlust. Sollte das Produkt Funktionsstörungen
aufweisen, wenden Sie sich bitte an unseren Kundendienst.
4. Für eine verlässlichste RAID-Leistung wird die Verwendung von Festplatten der
Unternehmensklasse zur Konfiguration der RAID 0-/ RAID 1-Modi empfohlen.
1. Während der Erstellung oder Änderung des RAID-Modus löscht der Chipsatz
automatisch alle zuvor auf den Laufwerken gespeicherten Daten. Sichern Sie
bitte unbedingt alle Daten, bevor Sie den RAID-Modus einrichten, um einen
Datenverlust zu vermeiden.
Für weitere Produktinformationen besuchen Sie bitte http://www.icydock.de

noitasilitu'dleunaMtiudorP
Adaptateur d'alimentaiton Câble d'alimentaiton
Câble USB 3.0
2Vue de face du produit
1Contenu
17
Français
Porte avant
Indicateur LED
Coque en aluminium
Pieds
Bouton d'ejection du disque

18
Français
1. Appuyez sur le bouton situé sur le
dessus de l'appareil pour ouvrir le
panneau de la porte frontale.
2. La porte du tiroir s'ejecte
partiellement.
4Installation du disque
3Vue arrière du produit
Contrôleur de vitesse
du ventilateur
Voyant LED de
reconstruction
Bouton reset
Clé de vérouillage
de sécurité
Bouton d'alimentation
Port d'alimentation
Câble USB 3.0
JBOD RAID 0
BIG RAID 1
JBOD RAID 0
BIG RAID 1
JBOD RAID 0
BIG RAID 1
JBOD RAID 0
BIG RAID 1
Selection mode RAID
RAID 0
(FAST)
RAID 1
(SAFE)
JBOD BIG
LED
INDICATOR
OFF
JBOD RAID 0
BIG RAID 1
Rebuild
ON (Default)
OFF
Commutateur d'indicateur de LED
Indicateur LED Allumé
Indicateur LED Eteint
Table of contents
Languages:
Other Icy Dock Enclosure manuals

Icy Dock
Icy Dock Black Vortex User manual

Icy Dock
Icy Dock MB122AKGF User manual

Icy Dock
Icy Dock FlexCage MB975SP-B User manual

Icy Dock
Icy Dock MB672SKGF User manual

Icy Dock
Icy Dock MB662UEAB-2S User manual

Icy Dock
Icy Dock MB662 Series User manual

Icy Dock
Icy Dock MB662U3-2S User manual

Icy Dock
Icy Dock ToughArmor MB508SP-B User manual

Icy Dock
Icy Dock MB662USEB-2S-1 User manual

Icy Dock
Icy Dock MB561U3S-4S R1 User manual