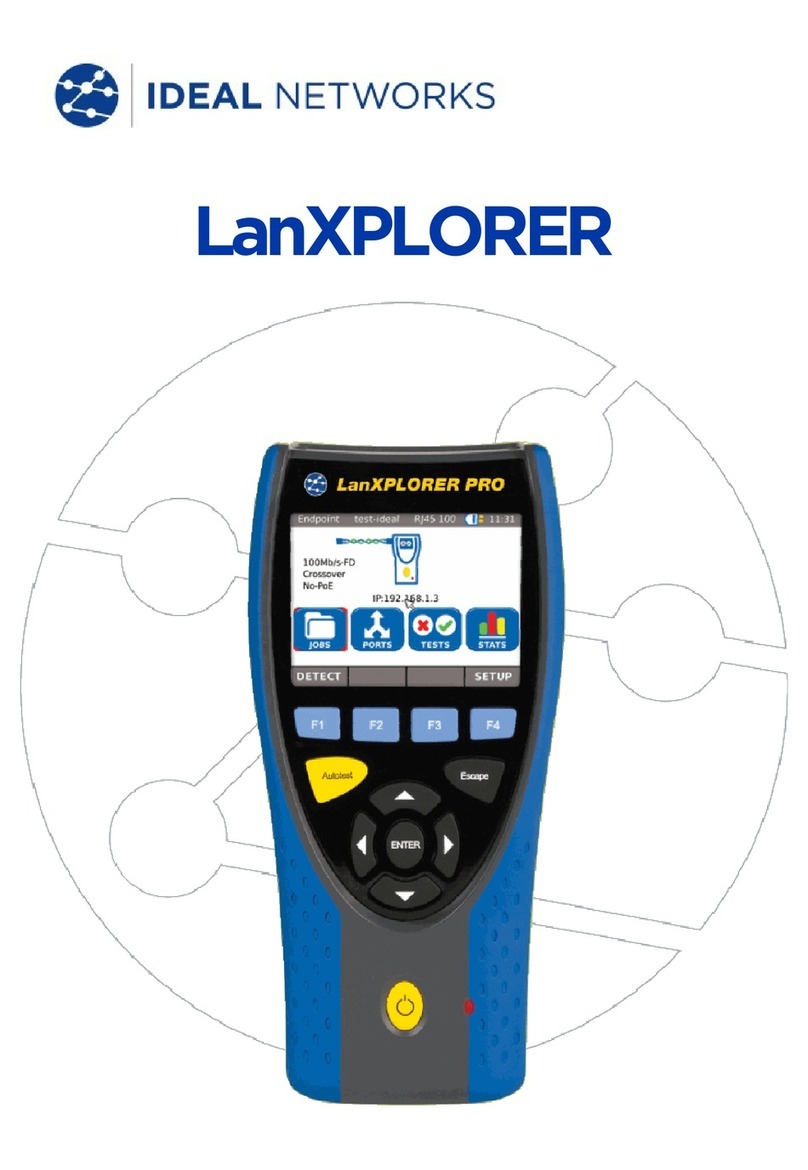
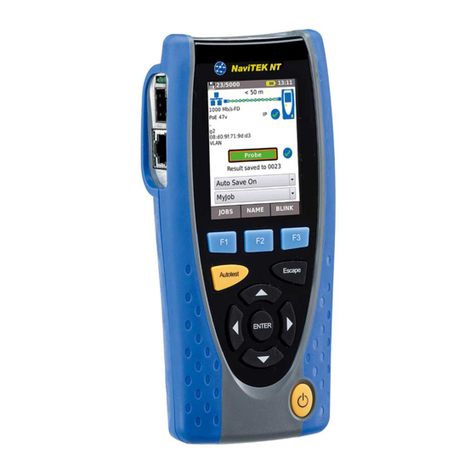
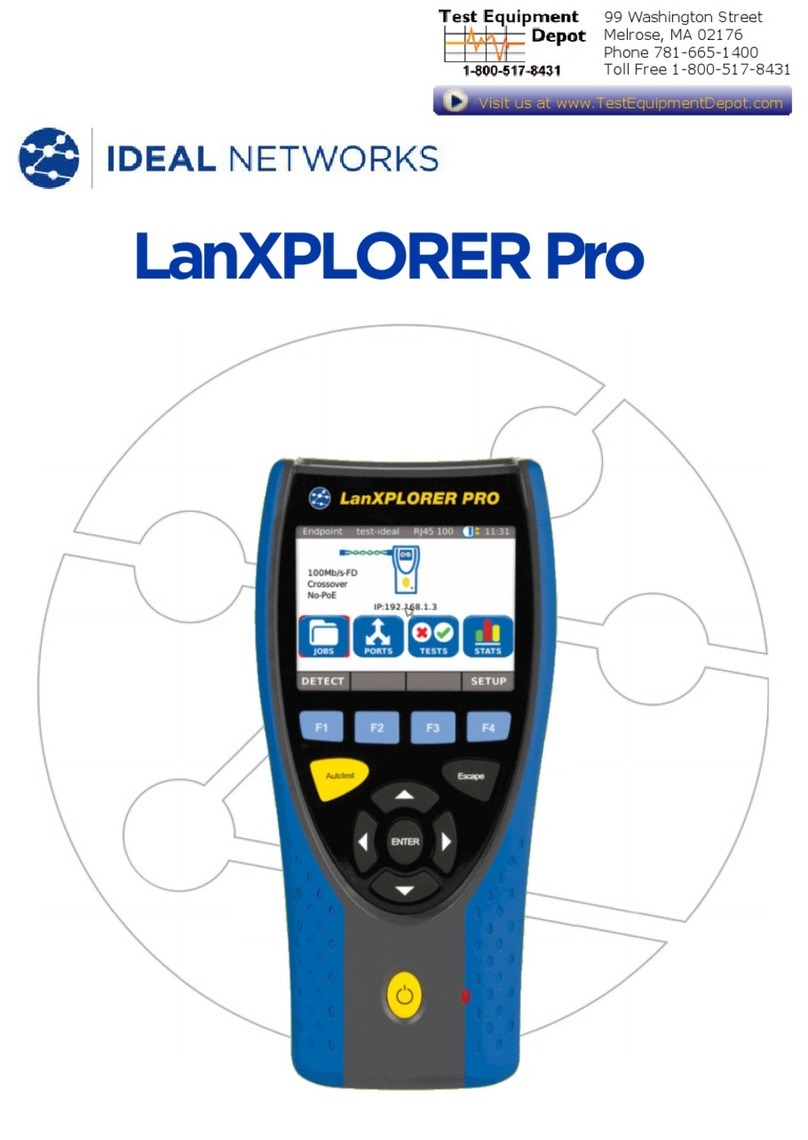
IDEAL Networks LanXPLORER Pro User manual

LanXPLORER Pro

LanXPLORER Pro 150835 Iss 5
User Manual Page 1
COPYRIGHT NOTICE
The information contained in this document is the property of IDEAL INDUSTRIES Ltd. and is
supplied without liability for errors and omissions. No part of this document may be
reproduced or used except as authorized by contract or other written permission from
IDEAL INDUSTRIES Ltd. The copyright and all restrictions on reproduction and use apply to
all media in which this information may be placed.
IDEAL INDUSTRIES Ltd. pursues a policy of continual product improvement and reserves the
right to alter without notice the specification, design, price or conditions of supply of any
product or service.
© IDEAL INDUSTRIES LTD. 2016
All rights reserved
Publication ref: 150835
Issue 5 - 05/2016
(Applies to software revision 2.0.40 onwards)
IDEAL INDUSTRIES LTD.
Stokenchurch House
Oxford Road
Stokenchurch
High Wycombe
Buckinghamshire
HP14 3SX UK
www.idealnetworks.net

LanXPLORER Pro 150835 Iss 5
User Manual Page 2
Safety Precautions
CAUTION ON HANDLING RECHARGEABLE BATTERIES (ACCUMULATOR
BATTERIES)
All nickel/metal hydride (Ni-MH) rechargeable batteries generate sufficient electrical current
to cause injury and/or damage regardless of the charge state indicated.
Nickel/metal hydride (Ni-MH) rechargeable batteries should never be exposed to fire or
disposed of with normal domestic waste. Nickel/metal hydride (Ni-MH) rechargeable
batteries can explode when exposed to open flames. These batteries constitute special
hazardous waste and can contaminate the ground water when disposed of at a waste dump.
Observe the following instructions precisely when handling rechargeable batteries to avoid
injury.
•When a rechargeable battery is not installed in the hand-held instrument, it should be
stored in a clean, dry and non-conductive package.
•Ensure that the contracts on the rechargeable battery do not come into contact with
conductive materials.
•Avoid touching the contact surfaces on the rechargeable battery.
•The rechargeable batteries can be charged while installed in the hand-held
instrument. Charging in any other manner can result in the rechargeable battery
exploding.
•Install, remove, store and charge the rechargeable batteries only in non-explosive
atmospheres.
•Observe the operating and storage temperatures (see. Dimensions, Weights,
Operating Conditions).
•Do not allow children or persons not familiar with the safety precautions in these
operating instructions to handle or charge rechargeable batteries.
•Never open the rechargeable battery case. There are no user-serviceable parts in the
case and the rechargeable batteries contained in the case are not replaceable.
Disclaimer
IDEAL INDUSTRIES, LTD. does not assume any liability for death, injury or damage to
equipment or property resulting from improper use of the battery packs.
IDEAL INDUSTRIES, LTD. will not be liable for consequential damages that may result from
tampering with the battery packs or charger or their use thereafter.
Subject to technical changes.
Environmental Protection
If you have any questions concerning these precautions, the operating instructions, or any
other concerns about the safe use and disposal of the battery packs used in LanXPLORER
Pro, please contact a representative of IDEAL INDUSTRIES, LTD.

LanXPLORER Pro 150835 Iss 5
User Manual Page 3
Information on the use of this Instruction Manual
The following symbols used in this manual indicate that the user should exercise particular
caution in order to prevent personal injury or damage to the LanXPLORER or the system
under test.
WARNING!
This symbol indicates potentially lethal voltages or dangerous situations. The life and/or
health of the person performing the activity or anybody in the vicinity is at risk.
CAUTION!
This symbol indicates that the relative activity could possibly harm the environment or
damage technical equipment.
NOTE:
Here you will find general notes, additional information, or support.
Typographical Conventions
•Boldface Refers to a button on LanXPLORER.
•Italics Refers to a menu option in this Operating Manual.
•Quotation marks " " identify a "Screen Message".

LanXPLORER Pro 150835 Iss 5
User Manual Page 4
CONTENTS
Chapter 1. Your LanXPLORER.................................................................................................... 6
1.1 Technical Data....................................................................................
Error! Bookmark not defined.
1.2 Dimensions, Weights, Operating Conditions .....................................................................................7
Chapter 2. Instrument description............................................................................................. 8
2.1 LanXPLORER ...................................................................................................................................................8
2.1.1 Controls And Interfaces/Connections ........................................................................................8
2.1.2 Image on TFT display.......................................................................................................................10
2.1.3 Touchscreen .........................................................................................................................................10
2.1.4 Arrow keys / Enter ............................................................................................................................10
2.1.5 Softkeys..................................................................................................................................................10
2.2 Power options ........................................................................................................................................... 11
2.2.1 Mains Operation................................................................................................................................... 11
2.2.2 Charging rechargeable batteries................................................................................................. 12
2.2.3 Removing / installing rechargeable batteries ....................................................................... 12
Chapter 3. Settings ..................................................................................................................... 13
3.1 Principles ......................................................................................................................................................... 13
3.2 System .........................................................................................................................................................14
3.2.1 Owner...................................................................................................................................................... 14
3.2.2 Preferences...........................................................................................................................................14
3.2.3 Update .................................................................................................................................................... 15
3.2.4 Jobs.......................................................................................................................................................... 15
3.2.5 Save ......................................................................................................................................................... 16
3.2.6 About ...................................................................................................................................................... 16
3.2.7 Language............................................................................................................................................... 17
3.2.8 Date and Time ..................................................................................................................................... 17
3.2.9 Factory ................................................................................................................................................... 17
3.3 RJ45.............................................................................................................................................................. 18
3.4 Fiber-optic cable ..................................................................................................................................... 19
3.5 Tests ............................................................................................................................................................. 19
3.5.1 Cable Wire Tests ................................................................................................................................ 19
3.5.2 Autotest ................................................................................................................................................. 21
3.5.3 IP Tests ................................................................................................................................................... 21
3.5.4 Targets V4 & Targets V6 ............................................................................................................... 26
3.6 IPv4 .............................................................................................................................................................. 28
3.7 IPv6 .............................................................................................................................................................. 29
3.8 VLAN ........................................................................................................................................................... 29
3.9 Wi-Fi ............................................................................................................................................................30
3.9.1 Connect / disconnect with an existing Wi-Fi network .....................................................30
3.9.2 Creating a new Wi-Fi network ....................................................................................................30
3.9.3 Changing a Wi-Fi network already present...........................................................................30
3.9.4 Deleting a Wi-Fi network already present .............................................................................30
3.10 802.1x ..........................................................................................................................................................30
Chapter 4. Test Summary.......................................................................................................... 32
Chapter 5. Test Setup ................................................................................................................ 33
5.1 Ports.................................................................................................................................................................. 33
5.2 Passive Wiring ......................................................................................................................................... 33
5.2.1 Testing a passive link without Active Remote ..................................................................... 33
5.2.2 Testing a passive link with Active Remote ............................................................................34
5.3 Active wiring ............................................................................................................................................ 35
5.4 Inline Test .................................................................................................................................................. 35
5.5 Fiber-optic cable .................................................................................................................................... 36
5.6 Wi-Fi ............................................................................................................................................................ 37
Chapter 6. Test description and procedure ........................................................................... 38
6.1 Test summary ............................................................................................................................................... 38
6.1.1 Performing individual tests........................................................................................................... 38
6.1.2 Resetting test results....................................................................................................................... 38

LanXPLORER Pro 150835 Iss 5
User Manual Page 5
6.1.3 Saving test results ............................................................................................................................ 38
6.2 Autotest ..................................................................................................................................................... 39
6.2.1 Run Autotest....................................................................................................................................... 39
6.2.2 Overall pass/fail result .................................................................................................................... 39
6.2.3 Display of individual test results................................................................................................. 39
6.3 Wiremap test ........................................................................................................................................... 39
6.3.1 Performing Wiremap test..............................................................................................................40
6.3.2 Display results ....................................................................................................................................40
6.4 Testing a passive route without Active Remote .......................................................................41
6.5 Netmap....................................................................................................................................................... 42
6.5.1 Performing test ..................................................................................................................................42
6.5.2 Saving Netmap for comparisons - Verify ............................................................................... 42
6.5.3 Display results .................................................................................................................................... 42
6.6 Verify ...........................................................................................................................................................43
6.6.1 Performing test ..................................................................................................................................43
6.6.2 Saving Netmap for comparisons - Verify ...............................................................................43
6.6.3 Display results ....................................................................................................................................43
6.7 PING4 & PING6 .......................................................................................................................................44
6.7.1 Performing test ..................................................................................................................................44
6.7.2 Display results ....................................................................................................................................44
6.8 Voice over IP (VoIP) .............................................................................................................................45
6.8.1 Performing test ..................................................................................................................................45
6.8.2 Display results ....................................................................................................................................45
6.9 Trace Route ..............................................................................................................................................46
6.9.1 Performing test ..................................................................................................................................46
6.9.2 Display results ....................................................................................................................................46
6.10 Blink .............................................................................................................................................................47
6.10.1 Performing test .............................................................................................................................47
6.11 Power over Ethernet (PoE) ...............................................................................................................47
6.11.1 Performing test ..................................................................................................................................47
6.11.2 Display results ....................................................................................................................................47
6.12 Loop.............................................................................................................................................................48
6.12.1 Performing test ..................................................................................................................................48
6.13 PC Diagnosis ............................................................................................................................................48
6.14 Statistics.....................................................................................................................................................49
6.15 Wi-Fi ............................................................................................................................................................50
6.15.1 Connecting to a network ...............................................................................................................50
6.15.2 Performing tests............................................................................................................................ 51
Chapter 7. Wiring test on fiber-optic conductors and SFP modules ................................. 52
7.1 Safety precautions...................................................................................................................................... 52
7.2 Instructions for cleaning SFP modules and patch cables..................................................... 52
Chapter 8. Reports ..................................................................................................................... 53
Chapter 9. LanXPLORER Firmware Update............................................................................ 55
Chapter 10. Spare parts - Socket inserts .................................................................................. 56
Chapter 11. Specifications .......................................................................................................... 57

LanXPLORER Pro 150835 Iss 5
User Manual Page 6
Chapter 1. Your LanXPLORER
The LanXPLORER can be used to test RJ45 cable routes, networks, connected Ethernet
devices and fiber-optic cable used for high speed transmission of data in communications
networks.
1.1 Main Functions
Function
LanXPLORER Pro
Screen size
3.5” TFT color, TOUCH
Wiremap
Number of ports
2 copper 1 fiber, Wi-Fi
Tone Generator
PoE / PoE+ measurement
PoE / PoE+ device load measurement
Basic active tests (DHCP, Ping etc.)
Top Ten test (Talkers, Listeners,
protocols etc.)
Device map / NetVerify
Inline testing
VoIP measurement
VLAN Discovery
802.1x
Loopback
Results transfer to PC
Via USB memory stick
Result transfer to mobile devices Via Wi-Fi USB adapter
Internal battery charging
External power supply

LanXPLORER Pro 150835 Iss 5
User Manual Page 7
1.2 Dimensions, Weights, Operating Conditions
Dimensions:
(L) 205 mm x (W) 98 mm x (D) 45 mm
Weights:
Handheld display 650 g (incl. Batteries)
Batteries 180 g
Batteries:
NiMH * (battery pack)
Operating Time With Rechargeable Batteries:
4 hours under normal operating conditions
Charging time:
In instrument 8 hours
Operating temperature (min./max.):
0oC to +40oC (use only when instrument temperature is close to ambient temperature!)
Storage Temperature (Min./Max.):
-20oC to +70oC
Relative Humidity:
5% to 90%, non-condensing
Equipment Included:
Quantity
Description
1 Measuring instrument
1 Active Remote
1 Carrying case
2 STP Patch cables, 30 cm
1 Quick Reference Guide
1 NiMH rechargeable battery pack
1 IDEAL amplifier probe 62-164
1 RJ45 insert extraction tool plus 10 x RJ45 inserts
1 High sensitivity USB Wi-Fi antenna

LanXPLORER Pro 150835 Iss 5
User Manual Page 8
Chapter 2. Instrument description
2.1 LanXPLORER
The LanXPLORER guarantees control of the settings and test functions while performing
individual tests.
2.1.1 Controls And Interfaces/Connections
Item
Controls
Description
1
ON/OFF
For switching the LanXPLORER on and off.
Hold key down: To restart.
2
Arrow keys / Enter
For navigation in menus on TFT display / Entry key for
activation and editing in selected menu.
3
Autotest
Immediate execution of pre-programmed test procedure.
4
Function keys
F1
to
F4
For selection of soft keys displayed on screen.
5 TFT display
Display of menus, test results, graphs, actions selected and
function keys.
Touchscreen* for display and selection of menus, test results,
graphs, action selection and function keys.
6
Escape
Return to previous menu or discontinue and exit current
menu without saving changes.
7 LEDs
Display of charging status
Illuminated green: Batteries are being charged.
Off (with charger connected): Batteries are charged.
Flashing green: Batteries cannot be charged – AA
cells are fitted, battery is too hot or
too cold.
Flashing red: Batteries cannot be charged –
temperature is too high.
Fig. 1: LanXPLORER - Front
view

LanXPLORER Pro 150835 Iss 5
User Manual Page 9
Item
Interfaces / Connections
Description
8 RJ45 main network interface Terminal for copper cables.
9 Fiber-optic network port Terminal for fiber-optic cables.
10 RJ45 2nd diagnostic port Inline interface for copper cables (active devices)
11 USB external port Port for connecting USB device. (Wi-Fi antenna & storage)
12 Power socket Socket for power pack
Fig. 2: LanXPLORER – Top
and side views

LanXPLORER Pro 150835 Iss 5
User Manual Page 10
2.1.2 Image on TFT display
The standby screen appears when the LanXPLORER is ready for operation.
Item
Image
Description
1 Instrument mode Indicates mode to which instrument is set.
2 Job name Indicates job in which project is being processed.
3 Physical test medium Indicates test medium connected to LanXPLORER
4 Battery status Indicates battery operation or external power supply and charge state
of rechargeable battery.
5 Time
6 LanXPLORER
7 Menu points
8 Softkeys Functions will be change on different pages
2.1.3 Touchscreen
Possible options in menus are indicated by symbols on the display. Simply touch the symbol
to select the option indicated.
2.1.4 Arrow keys / Enter
Possible options in menus are indicated by symbols on the display. The options can be
selected by moving to the corresponding symbols with the
arrow keys
. Confirm the selection
by pressing the
Enter key.
2.1.5 Softkeys
Possible options in menus are indicated by softkeys at the bottom of the screen. The
Function keys
(
F1
–
F4
) below the softkeys can be used to select options.
Figure 3: Image on TFT display
1
2
3
5
6
7
8
4

LanXPLORER Pro 150835 Iss 5
User Manual Page 11
The example shows optional selection of the Setup
softkey with the softkeys at the bottom of the screen.
Selection can be accomplished with
Function key
F4
.
2.2 Power options
The LanXPLORER can be operated with replaceable AA alkaline batteries (optional battery
holder required) as well as rechargeable AA batteries or with an NiMH rechargeable battery
pack (default).
•The LanXPLORER can operate for approx. 4 hours with the rechargeable batteries. The
actual operating time in battery mode depends on various factors such as use of the
background lighting and ambient temperature.
•If the rechargeable battery charge level drops to below the required voltage, a warning
message appears. The instrument switches off automatically before any negative
effects occur for the test results.
•To preserve your rechargeable batteries, it is possible to set the LanXPLORER to
switch off automatically after a certain time with no activity.
•To increase the service life of your rechargeable batteries we recommend removing
the batteries when the instrument is not used for longer periods of time.
2.2.1 Mains Operation
The LanXPLORER can be operated using an external DC power source (AC/DC power pack).
During operation of the instrument with the AC/DC charger/power pack, note that:
•The battery pack in the instrument is trickle charged;
•A mains plug is shown in the upper right-hand area on the LanXPLORER;
•Rechargeable AA batteries are not charged in the instrument.
CAUTION!
Use only the power pack supplied with the instrument. Other power packs can damage the tester.
NOTE:
When testing shielded cables do not connect mains power, because otherwise a short-circuit to earth
could occur leading to output of warnings for protection of the tester input.
Figure 4: Softkeys and
function keys

LanXPLORER Pro 150835 Iss 5
User Manual Page 12
2.2.2 Charging rechargeable batteries
NOTE:
The charging time depends on the charge level of the batteries.
Battery pack
The battery pack for the LanXPLORER can be charged in the LanXPLORER using the
charger/power pack. A time of approximately 8 hours is required to completely charge the
battery pack in the instrument.
Rechargeable AA batteries (optional)
It is necessary to charge rechargeable AA batteries externally with a charger. They cannot be
charged in the LanXPLORER.
2.2.3 Removing / installing rechargeable batteries
When the batteries are removed the LanXPLORER saves the data and settings in the battery-
buffered flash ROM.
1. Open the kick stand.
2. Remove the battery cover.
CAUTION!
The battery pack or battery holder is connected to the LanXPLORER with a cable. When
removing the batteries, do not pull on the cable - damage to instrument and connector could
occur.
1. Remove the battery pack or battery holder.
2. Detach the connector for the battery pack or
battery holder from the instrument.
3. If applicable, remove the batteries from the
battery holder.
Install batteries in opposite order.
Figure 5: Changing batteries
Figure 6: Removing batteries

LanXPLORER Pro 150835 Iss 5
User Manual Page 13
Chapter 3. Settings
3.1 Principles
When the tester is switched on, the Startup screen is displayed. This allows selection of the
required test port.
If a test port is not available it is shown in grey.
If the box "Show this screen on start up" is unticked, the standby screen is displayed when
the tester is switched on instead of the Startup screen.
All instrument settings can be made with the Setup menu on the standby screen. From the
Setup menu it is possible to navigate to any of the submenus to make settings there.
1. Select the menu point Setup.
2. Make the settings by selecting the applicable menu point.
3. Select More to display the next page.
Figure 8: Startup screen
Figure 9: Settings
Figure 7: Standby screen
Figure 10: Settings (page 2)

LanXPLORER Pro 150835 Iss 5
User Manual Page 14
3.2 System
Instrument management is possible in the "System"
menu.
1. Select the menu point "System".
2. Make the settings by selecting the applicable
menu point.
3.2.1 Owner
This menu allows information to be saved on the
technician performing the work, the company and the
client.
1. Select the menu point "Owner".
2. Select the desired option.
3. Enter the desired information with the
alphanumeric keys.
4. Save the entry made with OK. You can exit
the menu without saving the changes with
Cancel or
Escape
.
5. Save the entry made with Apply. You can exit
the menu without saving the changes with
Escape
.
3.2.2 Preferences
This menu allows settings to be made for the display
and display format.
Display settings
1. Select the menu point "Pref".
2. Select the desired option.
3. Set the desired option.
4. Save the entry made with Apply. You can exit
the menu without saving the changes with
Escape
.
Image
Description
Auto Off Defines the time after which the LanXPLORER will shut off automatically, if not in
use.
Backlight Defines the time after which the back light dims automatically.
Keyclick Activates/deactivates an acoustic signal when selecting menus and options.
Length Units Definition of units of measure for length measurement in ft or m(feet or meters).
The default setting depends on the language set.
Screen
Calibration* Calibration of touchscreen.
Figure 11: System
Figure 12: User Information
Figure 13: Display

LanXPLORER Pro 150835 Iss 5
User Manual Page 15
Screen calibration
1. Select the menu point "Screen Calibration".
2. After the LanXPLORER has automatically restarted touch the cross-hairs, which
appear one after another in each corner and in the middle of the screen, as precisely
as possible with the pointer or a thin pin.
Successful calibration of the screen is confirmed by a check mark. The LanXPLORER restarts
automatically after screen calibration.
3.2.3 Update
The LanXPLORER software can be updated with this menu.
3.2.4 Jobs
Projects can be created and managed with this menu.
NOTE: Job management can also be selected directly with the menu point "Jobs" on the standby
screen.
The name of the current job directory is shown on the standby screen on the TFT display.
When storing the Autotest it is possible to keep this job directory, activate a job directory
already present or to create a new job directory.
1. Select the menu point "Jobs" to obtain a list of all jobs created on your
LanXPLORER.
Viewing a present job and test details
1. Select a job from the list, to view the test results and their status.
2. Select a test to obtain further details on the test.
3. Select a single test to obtain further details on the test.
Creating a new job
1. Select Options.
2. Select the menu point "New".
3. Select the individual fields and enter the desired
information with the alphanumeric keys.
4. Save the entry made with OK. You can exit the menu
without saving the changes with Cancel or
Escape
.
5. Save the entry made with Apply. You can exit the
menu without saving the changes with
Cancel
.
Changing a job already present
1. Select the job you want to change.
2.Select Options.
Menu point
Description
New Create new job.
To USB Save job on a USB storage device.
Edit Change job information.
View View jobs
Delete Delete a job.
Activate Activate a current job for editing.
Setup Select preferences for the format of the reports
Figure 14: Job management

LanXPLORER Pro 150835 Iss 5
User Manual Page 16
3.2.5 Save
This menu allows you to
1. export the current LanXPLORER configuration to a USB storage device;
2. load a configuration stored on a USB storage device on the LanXPLORER.
NOTE:
Data export and data import is accomplished exclusively to/from a USB storage device connected
to the LanXPLORER.
1. Select the menu point "Save".
2. Select Save to store the LanXPLORER
configuration on a USB storage device.
3. Select Load to load a configuration from a
USB storage device on the LanXPLORER.
The exported file is saved on the USB storage device
under the Name nmmcfg.xml. to load a configuration on
the LanXPLORER, it is necessary for the file with the
same name to be present on the USB storage device.
3.2.6 About
This menu contains information on your LanXPLORER.
1. Select the menu point "About".
Figure 15: Exporting and
importing Configuration
Figure 16: Instrument
information

LanXPLORER Pro 150835 Iss 5
User Manual Page 17
3.2.7 Language
The language can be set with this menu.
1. Select the menu point "Lang".
2. Select the desired language in the Option menu.
Save the entry made with Apply. You can exit the menu without saving the changes with
Escape
.
3.2.8 Date and Time
Correct setting of the date and time is important for
reliable identification of the data records and test logs.
1. Select the menu point "Time".
2. Set the current date by selecting the month,
year and day.
3. Set the current time by selecting the hour,
minute and seconds.
4. Save the entry made with Apply. You can exit
the menu without saving the changes with
Escape
.
3.2.9 Factory
You can set the LanXPLORER back to the factory settings with this menu.
•All settings are set back to the factory settings.
•All data is deleted from the memory.
CAUTION!
The data cannot be restored after deleting with the "Reset" menu. All tests stored previously are
deleted irrevocably.
1. Select the menu point "Factory".
2. With Reset returns the instrument to the
factory settings and any settings you have
made are deleted.
You can exit the menu without saving the changes with
Cancel or
Escape
.
Figure 17: Time
Figure 18: Resetting
instrument to factory settings

LanXPLORER Pro 150835 Iss 5
User Manual Page 18
3.3 RJ45
This menu allows configuration of how the RJ45 interface connects to the network.
1. Select Setup.
2. Select the menu point "RJ45".
3. Select More to display the next page.
Option
Description
Auto
Negotiation
Enabled: Automatic recognition of the network speed.
Disabled: It is necessary to set the communication rate and mode
manually.
Speed Setting the network speed.
Mode Full Duplex (all pairs are used for transmitting and receiving).
Half Duplex (pairs are used for transmitting or receiving).
Min. Rx Size Smallest recognized packet size
MDI Configuration of the device interface
MAC
Error!
Bookmark not
defined.
Display of MAC address.
Link Wait Time Set the time that the tester will wait for Ethernet link establishment before
it stops searching
Monitor Mode
Timeout (s)
Set the time that the tester will wait for both sides of the Ethernet to be
established before reverting to endpoint mode
Save the entry made with Apply. You can exit the menu without saving the changes with
Escape
Figure 19: RJ45 Settings
Figure 20: RJ45 Settings
(page 2)

LanXPLORER Pro 150835 Iss 5
User Manual Page 19
3.4 Fiber-optic cable
The SFP details (if fitted) are indicated in this menu.
1. Select Setup.
2. Select the menu point "Optical".
Item
Description
Status Indicates the availability of the SFP
Vendor Identifies the vendor of the SFP (if
supported)
Part No. Identifies the vendor's part number of the
SFP (if supported)
802.1x Indicates if 802.1x security is enabled
3.5 Tests
This menu allows settings to be made for the tests.
1. Select Setup.
2. Select the menu point "Tests".
3.5.1 Cable Wire Tests
This menu allows settings to be made for "wiremap" and "tone generator".
1. Select the menu point "Wiretests".
Figure 22: Test settings
Figure 23: Cable tests -
overview
Figure 21: Optical Settings
Other manuals for LanXPLORER Pro
1
Table of contents
Other IDEAL Networks Measuring Instrument manuals
Popular Measuring Instrument manuals by other brands

Yenen
Yenen LPG Flow Meter Installation and operation manual

humotion
humotion SmarTracks Diagnostics v.3.16 Installation guide & user manual

Met One
Met One BC 1060 Operation manual

Fluke
Fluke i430-Flexi-TF Instruction

ATP Instrumentation
ATP Instrumentation 8928 Operation manual

ICS Schneider Messtechnik
ICS Schneider Messtechnik GDM-100 operating instructions