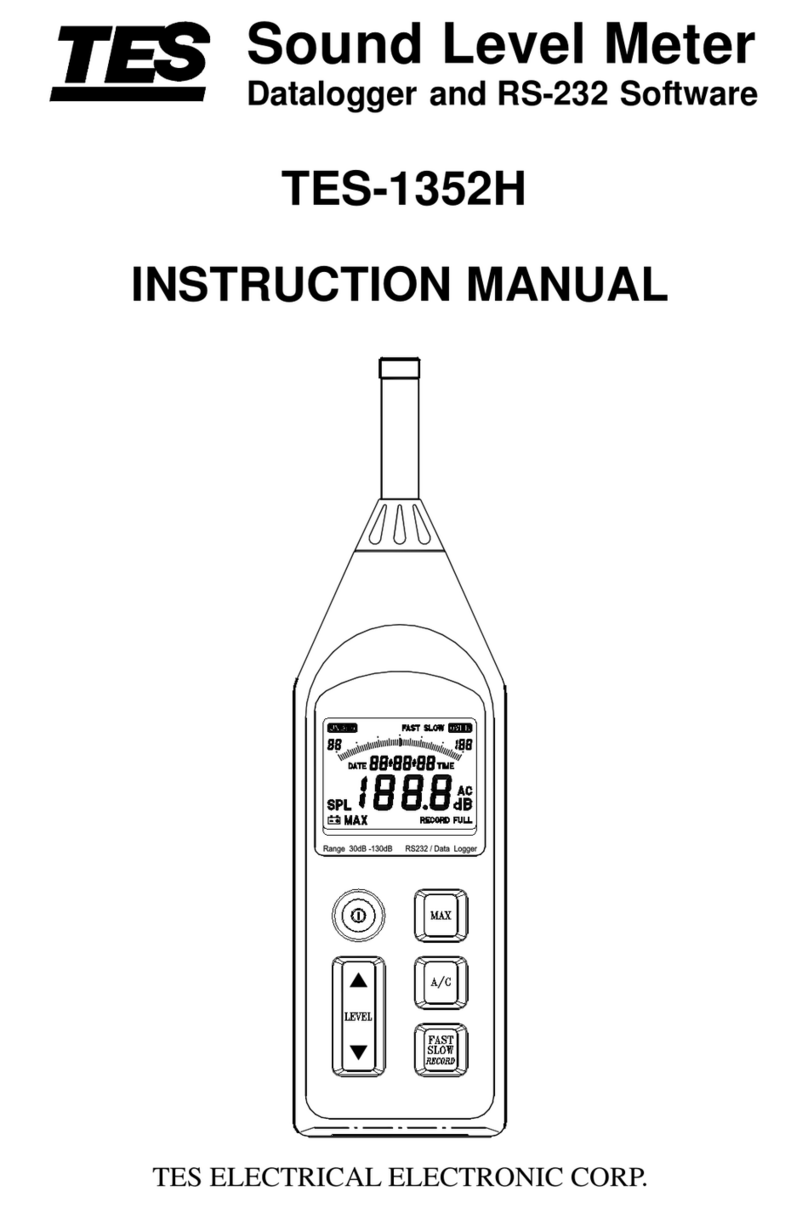
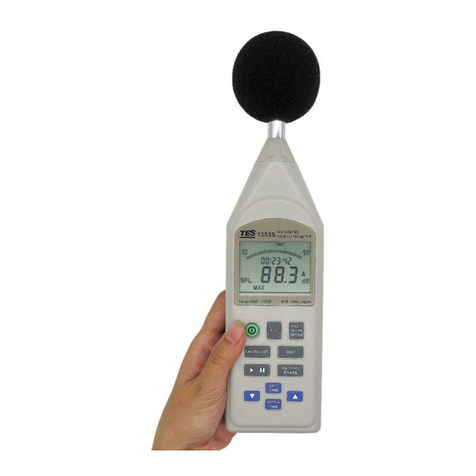
TES 1370 User manual

THERMO-HYGRO-
NDIR CO2METER
TES-1370
INSTRUCTION MANUAL
R
ALM
Err
m:s
2
TES ELECTRICAL ELECTRONIC CORP.
I. SAFETY INFORMATION
Safety
When using the meter to check for CO2values, make certain
that you can safely raise and hold the instrument while making
measurements. Be especially careful when working on a ladder.
Observe all necessary precautions so that the unit does not become
caught in moving machinery or touch any exposed electrical wiring.
Ventilation systems should be designed to bring in enough
outside air to keep the ambient air below 1,000 PPM CO2. CO2
comes from people exhaling CO2in the concentration of
approximately 40,000 PPM. The more people in a room or
building, the more CO2is present.
Unlike CO (carbon monoxide), people can sense CO2. As CO2
levels go up, people can become unproductive, irritable,
uncomfortable and tired.
The way to bring CO2 levels down is to bring in more outside air.
ASHRAE Standard 62-1989 contains guidelines to determine
ventilation rate by measuring CO2content of air. If CO2is higher
than 1,000PPM, ventilation system modifications may be
necessary to insure IAQ conditions are met as established by
ASHRAE.
Danger
Use with corrosive or other dangerous or explosive gas
mixtures is not recommended.
-1-

II. INTRODUCTION
General Description
The meter is a handheld meter to measure ambient
Temperature (℃/℉), Relative Humidity (%RH) and Carbon
Dioxide (CO2 , ppm). An CO2 NDIR sensor in the top of the
meter measures gas content by diffusion through sensing
holes. The meter sensing holes are on the top of the
instrument case. The meter measures carbon dioxide
concentration by relying on one of the natural properties of
CO2molecules. CO2molecules absorb light at a specific
wavelength. High concentrations of CO2molecules absorb more
light than low concentrations. This technique is called
non-dispersive infrared (NDIR) detection.
Don’t exhale into sample air
When measuring ambient air, do not exhale into air
surrounding the meter! Your breath contains 40,000 PPM CO2.
While it won‟t hurt the meter sensor, it doesn‟t take much to
throw your reading off.
When taking measurements, place the meter in the mixed air
that desire to measure. In this way, you won‟t contaminate the
gas measured by the instrument with your breath. Up high,
near the return vent might be a good spot. On a table
surrounded by people looking at the meter (and breathing on
it) would be a very bad spot.
III. SPECIFICATIONS
General Specifications
Display : LCD triple display.
Display Rate : One time per second.
Low Battery Indication : The “
+
” is displayed when the battery
voltagedropsbelowtheoperatingvoltage.
-2-
PowerSupply : Six(6)AAA-sizealkaline(large current)batteries.
Regulated AC adapter.
Battery Life : Approx. 8 hours by using alkaline(largecurrent)
batteries (without backlight or Alarm function).
For long time datalogging, please useAC adapter.
Manual Data Memory Capacity : 99 sets.
Auto Datalogging Capacity ; 20,000 sets (maximum 99 blocks)
Operating Temperature Range : 5℃to 50℃(41℉to 122℉)
Storage Temperature Range : -10℃to 60℃(-14℉to 140℉)
Operating Humidity Range :10%RHto90%RH,non-condensing.
Storage Humidity Range : 10%RH to 90%RH, non-condensing.
Dimensions : 158 (L)x72(W)x35(H)mm, (6.22”x2.83”x1.38”)
Weight : approx. 255g (including batteries)
Accessories : Instruction Manual, Battery, ACAdaptor,
Software CD Rom & RS232 Cable.
Electrical Specifications
CO2 Specifications :
Sensing Range : 0 to 6000ppm
Sensing Resolution : 1ppm
Accuracy : @ 101.4 kPa (29.92 inHg) and @ 25℃(77℉)
3% of reading or 50ppm, whichever is greater.
Sensing Method : Dual wavelength detector with non-
dispersive infrared (NDIR) sensor.
Gas Sampling Mode : Diffusion.
Warm up time : 10 seconds.
Response time : < 10 minutes in still air.
Temperature Coefficient : Add 0.36% of reading per ℃
(0.2% of reading per ℉) away from calibration temperature.
-3-

Temperature & Humidity Specifications :
Relative Humidity
Temperature
Range
10% ~ 95%RH.
-20℃~+60℃/-4℉~+140℉
Resolution
0.1%RH
0.1℃, 0.1℉
Accuracy
3%RH(at 25℃, 30~95%RH)
5%RH(at 25℃, 10~30%RH)
0.5℃, 0.9℉
Sensor type
Precision capacitance sensor.
Thermistor
Response
time
45%RH95%RH≦1min
95%RH45%RH≦3min
10℃/ 2sec
IV. PARTS & CONTROLS
2
4
3
2
7
11
13
14
8
10
5
19
15
12
6
9
1
m:s
ALM
RErr
16
18
17
-4-
1). Display.
2). Gas exhaust.
3). RS232
4). Gas inlet connector.
5). AC adapter socket (9V, 300mA).
6). Power key : Press power keyto turn the meter on or off.
7). HHOLD key : Press HHOLD key to freeze or unfreeze
the display reading.
8). key : Press key to turn the backlight on or off.
9). MX/MN Key:Press MX/MN key to enter MAX/MIN mode and
cycle through the CO2 maximum (MAX) / minimum (MIN) /
current(△) reading, maximum reading with stamp time,minimum
reading withstamptimeand currentreading withtime.
Press key to exit the MAX/MIN mode.
10). SET key :
Press SET key one time to enter real-time setting mode.
Press SET key two times to enter auto datalogging
interval time setting mode.
Press SET key three times to enter clear manual
memorized data mode.
Press SET key four times to enter clear auto datalogged
memorized data mode.
In the alarm mode, press SET key to enter alarm Hi/Lo
limit value setting mode.
11). ALARM key : Press ALARM key to turn on or off the
alarm function.
12). MEM key : Manual memorizes data.
13).
(Enter) key : Press key can exit MX/MN mode,
real-time setting mode, alarm setting mode and manual
memory data reading mode.
-5-

14). READ key : Recall and Read Manual memorized data.
15). TIME key :
Press this key to turn on or off the time display.
In the setting modes, press this key to move the
flickering cursor to left position.
16).
℃
/
℉
key :
Press this key to change the temperature units.
In the setting modes, press this key to move the
flickering cursor to right position.
17). DEW key :
Press this key to select the ambient temperature or
dew point temperature displays.
In the READ mode, press this key to increase the
select memory location.
In the data setting mode, press this key to increase the
setting value.
18). WET key :
Press this key to select the ambient temperature or wet
bulb temperature displays.
In the READ mode, press this key to decrease the
select memory location.
In the data setting mode, press this key to decrease
the setting value.
19). Temperature / Humidity sensor probe.
second display
RErr
m:s
ALM
Third display
2
Main display
-6-
V. BEFORE OPERATION
5-1 Power Supply
The meter can be powered by two ways : SixAAA-size
alkaline batteries or the AC adapter.
5-2 Install the Batteries
Insert six AAA-size batteries as indicated by the diagram
located on the inside of the battery compartment.
The meter is designed to operate only with alkaline batteries.
When the battery voltage drop below the operating voltage,
the “
+
” indicator will be displayed, it indicates the
batteries need to be changed.
5-3 AC Adapter
The AC adapter allows you to power the meter from a wall
outlet.
When using the AC adapter, the batteries (if installed) will
be bypassed. The AC adapter is not a battery charger.
5-4 Gas Inlet
Always ensures that the meter gas inlet connector and gas
exhaust are not blocked and open to the atmosphere.
VI. OPERATION
Note
Do not hold the instrument close to your face. CO2exhaled
by humans will affect the accuracy of the reading.
6-1 CO2Measurement
1.Press key to turn on the meter, LCD will shows 30
seconds count up then display CO2measured values.
(Warm-up time: 30 sec.)
2.Press “HHOLD” key to freeze and unfreeze the data reading.
-7-

3.The meter sensor needs about 10 minutes to stabilize in
still air, after that the readings can be considered
accurately. Moving the meter may decrease this
stabilization time.
6-2 Humidity Measurement
1. Press the “ ” key to power on the meter.
2. The display will show the humidity reading value (% RH)
directly on the third display.
3. When humidity value of the tested environment changes,
please wait for few minutes to get the stable “ %RH ” reading.
6-3 Temperature Measurement
1. Press the “ ” key to power on the meter.
2. Press “℃/ ℉” button to select “℃” or “℉” unit.
3. The display will show the Temperature reading (℃or ℉)
directly on the second display.
6-4 Dew Point Temperature Measurement
1. Press the “ ” key to power on the meter.
2. Press “ DEW ” key to display dew point temperature
reading on the second display, press “ DEW ” key again to
exit dew point temperature reading.
6-5 Wet Bulb Temperature Measurement
1. Press the “ ” key to power on the meter.
2. Press “WET” key to display wet bulb temperature reading
on the second display. Press “WET” key again to exit the
display.
6-6 CO2Maximum and Minimum Recording Measurement
1. Press “MX/MN” key one time to enter maximum / minimum
recording mode, the “MAX” (maximum), “MIN” (minimum),
“△” (current) marks and the recorded values are displayed.
Press “MEM” key to memorize the display reading and
then press “READ” key to recall the reading again.
-8-
2
2. Press “TIME” key to enter time display mode, LCD displays
the “MAX” mark, maximum value and its stamp time.
m:s
2
3. Press “MX/MN” key again, LCD displays the “MIN” mark,
minimum value and its stamp time.
2
m:s

-9-
4. Press “MX/MN” key again, LCD displays the “△” mark,
current value and current time.
2
m:s
5. Press “MX/MN” key again will recycle procedure 2 to 4.
6. Press “” key to exit this mode. The meter does not
store these recorded readings, when exit this mode, all
previous data is lost. Press “MEM” key to memorize
these display readings before exit the MX/MN mode.
7. Press “TIME” key exit time display mode.
6-7 CO2 Alarm Operation
1. To Set the Alarm Limit Values
Press “ALARM” key to turn on the alarm function, the
“ALM” mark, and current value are displayed.
2
ALM
-10-
Press “SET” key to enter High/Low limit value setting
mode, the “SET” mark is displayed and the left two digits
of the high limit value is flickering.
ALM
2
Press “” or “” key to set desired value.
Press “” key to move the flickering cursor to the right
two digits of the high limit value.
Press “” or “” key to set desired value.
Press “” key to move the flickering cursor to the left two
digits of the low limit value.
Press “” or “” key to set desired value.
Press “” key to move the flickering cursor to the right
two flicking digits of the low limit value.
Press “” or “” key to set desired value.
To change any setting, press “” or “” key to move the
flickering cursor to desired high or low limit value position.
11
Press “” key to store these setting and exit this mode.
2. To Turn-On and Turn-Off Alarm function
Press “ALARM” key to turn on the alarm function, the
“ALM” mark is displayed.
When the CO2value is below to the low limit value, the
“” mark is displayed and beep.
When the CO2value is upper to the high limit value, the
“” mark is displayed and beep.
To exit the ALARM function, press “ALARM” key again.

-11-
6-8 To Set-Up the Real –Time
1. Press “SET” key one time to enter the real-time setting mode,
the “SET” mark is displayed and the numbers of minute are
flickering.
2. Press “” or “” key to set the minute of the real-time.
3. Press “” key to move the flickering cursor to second.
4. Press “” or “” key to set the second of the real-time.
5. Press “” key to move the flickering cursor to day.
6. Press “” or “” key to set the day of the real-date.
7. Press “” key to move the flickering cursor to hour.
8. Press “” or “” key to set hour of the real-time.
9. To change any setting, press “” or “” key to move the
flickering cursor to desired position.
10. Press “” key to store these setting and exit this mode.
6-9 Manual Data Memory and Read Mode
1. To Memorize the reading
Press " MEM " key one time, one set of reading will be stored to
the memory. At this moment, LCD will show the " M" mark
andthe memory address number. Totalmemorysizeis 99 sets.
When the memory address number is displayed “ 99 ”, that
means the memory is full.
2. To Recall and Read Manual memorized reading
Press " READ " key to enter READ mode, the LCD will show
" R" mark and the memory address number.
Press " " or " " key to select the desired memory
address number data for display.
Press " " enter key to exit this mode.
3. To Clear the manual memorized data
Press “ SET ” key three times, the “ CLr ” mark is displayed
and enter the clear memory mode.
Press “” key to clear the manual memorized data and exit
this mode.
-12-
To not clear the memory, press “ SET ” key two times then
press “” key to exit the clear memory mode.
6-10 Auto Datalogging Function
1. To Setting interval time
Press “SET” key two times, the “INTV” mark is displayed
and enter to the setting interval time mode.
Press “” or “” key to select desired interval time from 1
second to 255 seconds.
Press “” key to store the setting value and exit this mode.
2. To Enter Auto Datalogging mode
Press “MEM” key two seconds, the “ ” mark and the
memory block number are displayed.
The “M” mark is displayed one time, one set of reading is
stored to the memory.
The maximum memory capacity is 20,000 sets and can be
divided to 99 blocks max.
Press “” key to exit this mode.
3. To Clear Auto Datalogged memorized data
CAUTION
Before perform the clear auto datalogged memorized data, user
must to download the previous memorized data to PC.
Press “SET” key four times, the “CLr” and “ ” mark are
displayed, and enter to the clear auto datalogged
memorized data mode.
Press “” key to clear the auto datalogged memorized data
and exit this mode.
To Not clear the memory, press “SET” key again then press
“” key to exit the clear memory mode.
6-11 Standard Reference Reading
Use Standard CO2 meter to verify the reading
Press key to turn on the meter, get fresh air for 10
minutes, and be careful for your every breath to the meter.

-13-
Press “SET” key 5 times, till the “C-0XXXXX” shows on LCD
(calibration mode).
Press “” or “” key to expected position.
Press “” or “” key until the LCD value is same as the
standard CO2meter.
Press “” keytostorethecalibratedvalueand exitcalibration
mode.
Perform CO2 zero calibration (if need)
Press key to turn on the meter. Use Nitrogen gas has a
CO2 concentration of zero ppm into the meter Gas inlet
connector.
Press “SET” key 6 times, till the “SET CAL”and “CO2”show
on LCD.
Press “”or “”key select LCD third display shows “0 ”or
“- -”, symbol “0 ”means perform zero calibration, and symbol
“- -”means back to factory default value.
Waiting about 10 minutes, until the meter reading is stable.
Press “”keytostorethezerocalibrationvalueand exitcalibration
mode.Waiting about 1 minute, the meter will display 0 ppm.
Use Standard humidity meter to verify the reading
Press key to turn on the meter.
Press “SET” key 7 times, till the “SET CAL” shows on LCD.
Waiting about 60 minutes, until the meter Temperature/
Humidity sensor probe and standard humidity meter are
environment humidity balance.
Press “” or “” key until the LCD value is same as the
Standard humidity meter.
Press “” key to store the calibrated value and exit calibration
mode.
Use Standard temperaturemeter to verify the reading
Press key to turn on the meter.
Press “SET” key 8 times, till the “SET CAL” shows on LCD.
Press “” or “” key until the LCD value is same as the
Standard temperature meter.
Press“”keytostorethecalibratedvalueandexitcalibrationmode.
-14-
VII. MAINTENANCE
7-1 Cleaning
Periodically wipe the case with a dry cloth or a damp cloth
with mild detergent.
Do not use abrasives or solvents to clean this instrument.
7-2 Battery Replacement
When the “ ” symbol appears on the LCD, the six
1.5V „AAA‟ alkaline (large current) batteries must be replaced.
Turn the meter off.
Remove the meter‟s battery cover
Replace the batteries observing polarity
Affix the battery cover and secure the rear screws.
VIII. RS-232 INTERFACE, SOFTWARE INSTALLATION and
OPERATION
For the detailed instruction, please refer to the content of
attached CD-ROM, which has the complete instruction of
RS-232 interface, software operation and relevant
information.
RS-232 protocol : are enclosed within the content of CD-ROM,
please open the CD-ROM for details.

TES
ELECTRICAL
ELECTRONIC
CORP.
7F, No. 31, Lane 513, Rui Guang Road, Neihu Dist. Taipei.
Taiwan, R. O. C.
Tel : (02) 2799-3660
Fax : 886-2-2799-5099
E-Mail : tes@ms9.hinet.net http://www.tes.com.tw
Apr-2007-3
Table of contents
Other TES Measuring Instrument manuals
Popular Measuring Instrument manuals by other brands
Xylem
Xylem Sensus PolluCom F/S C Installation and operating instructions
HF Scientific
HF Scientific CLX-Ex owner's manual
micro-trak
micro-trak SafeGuard ISOmod System manual
ESTERS ELEKTRONIK
ESTERS ELEKTRONIK GD 300 quick guide

Stomer Professional
Stomer Professional SRF-40 user manual
AgSense
AgSense AQUA-TRAC Lite Wiring instructions
